I’m still intimidated by York itself (and its multiple square feet of structures and hardscape), but I’ve made progress nonetheless.
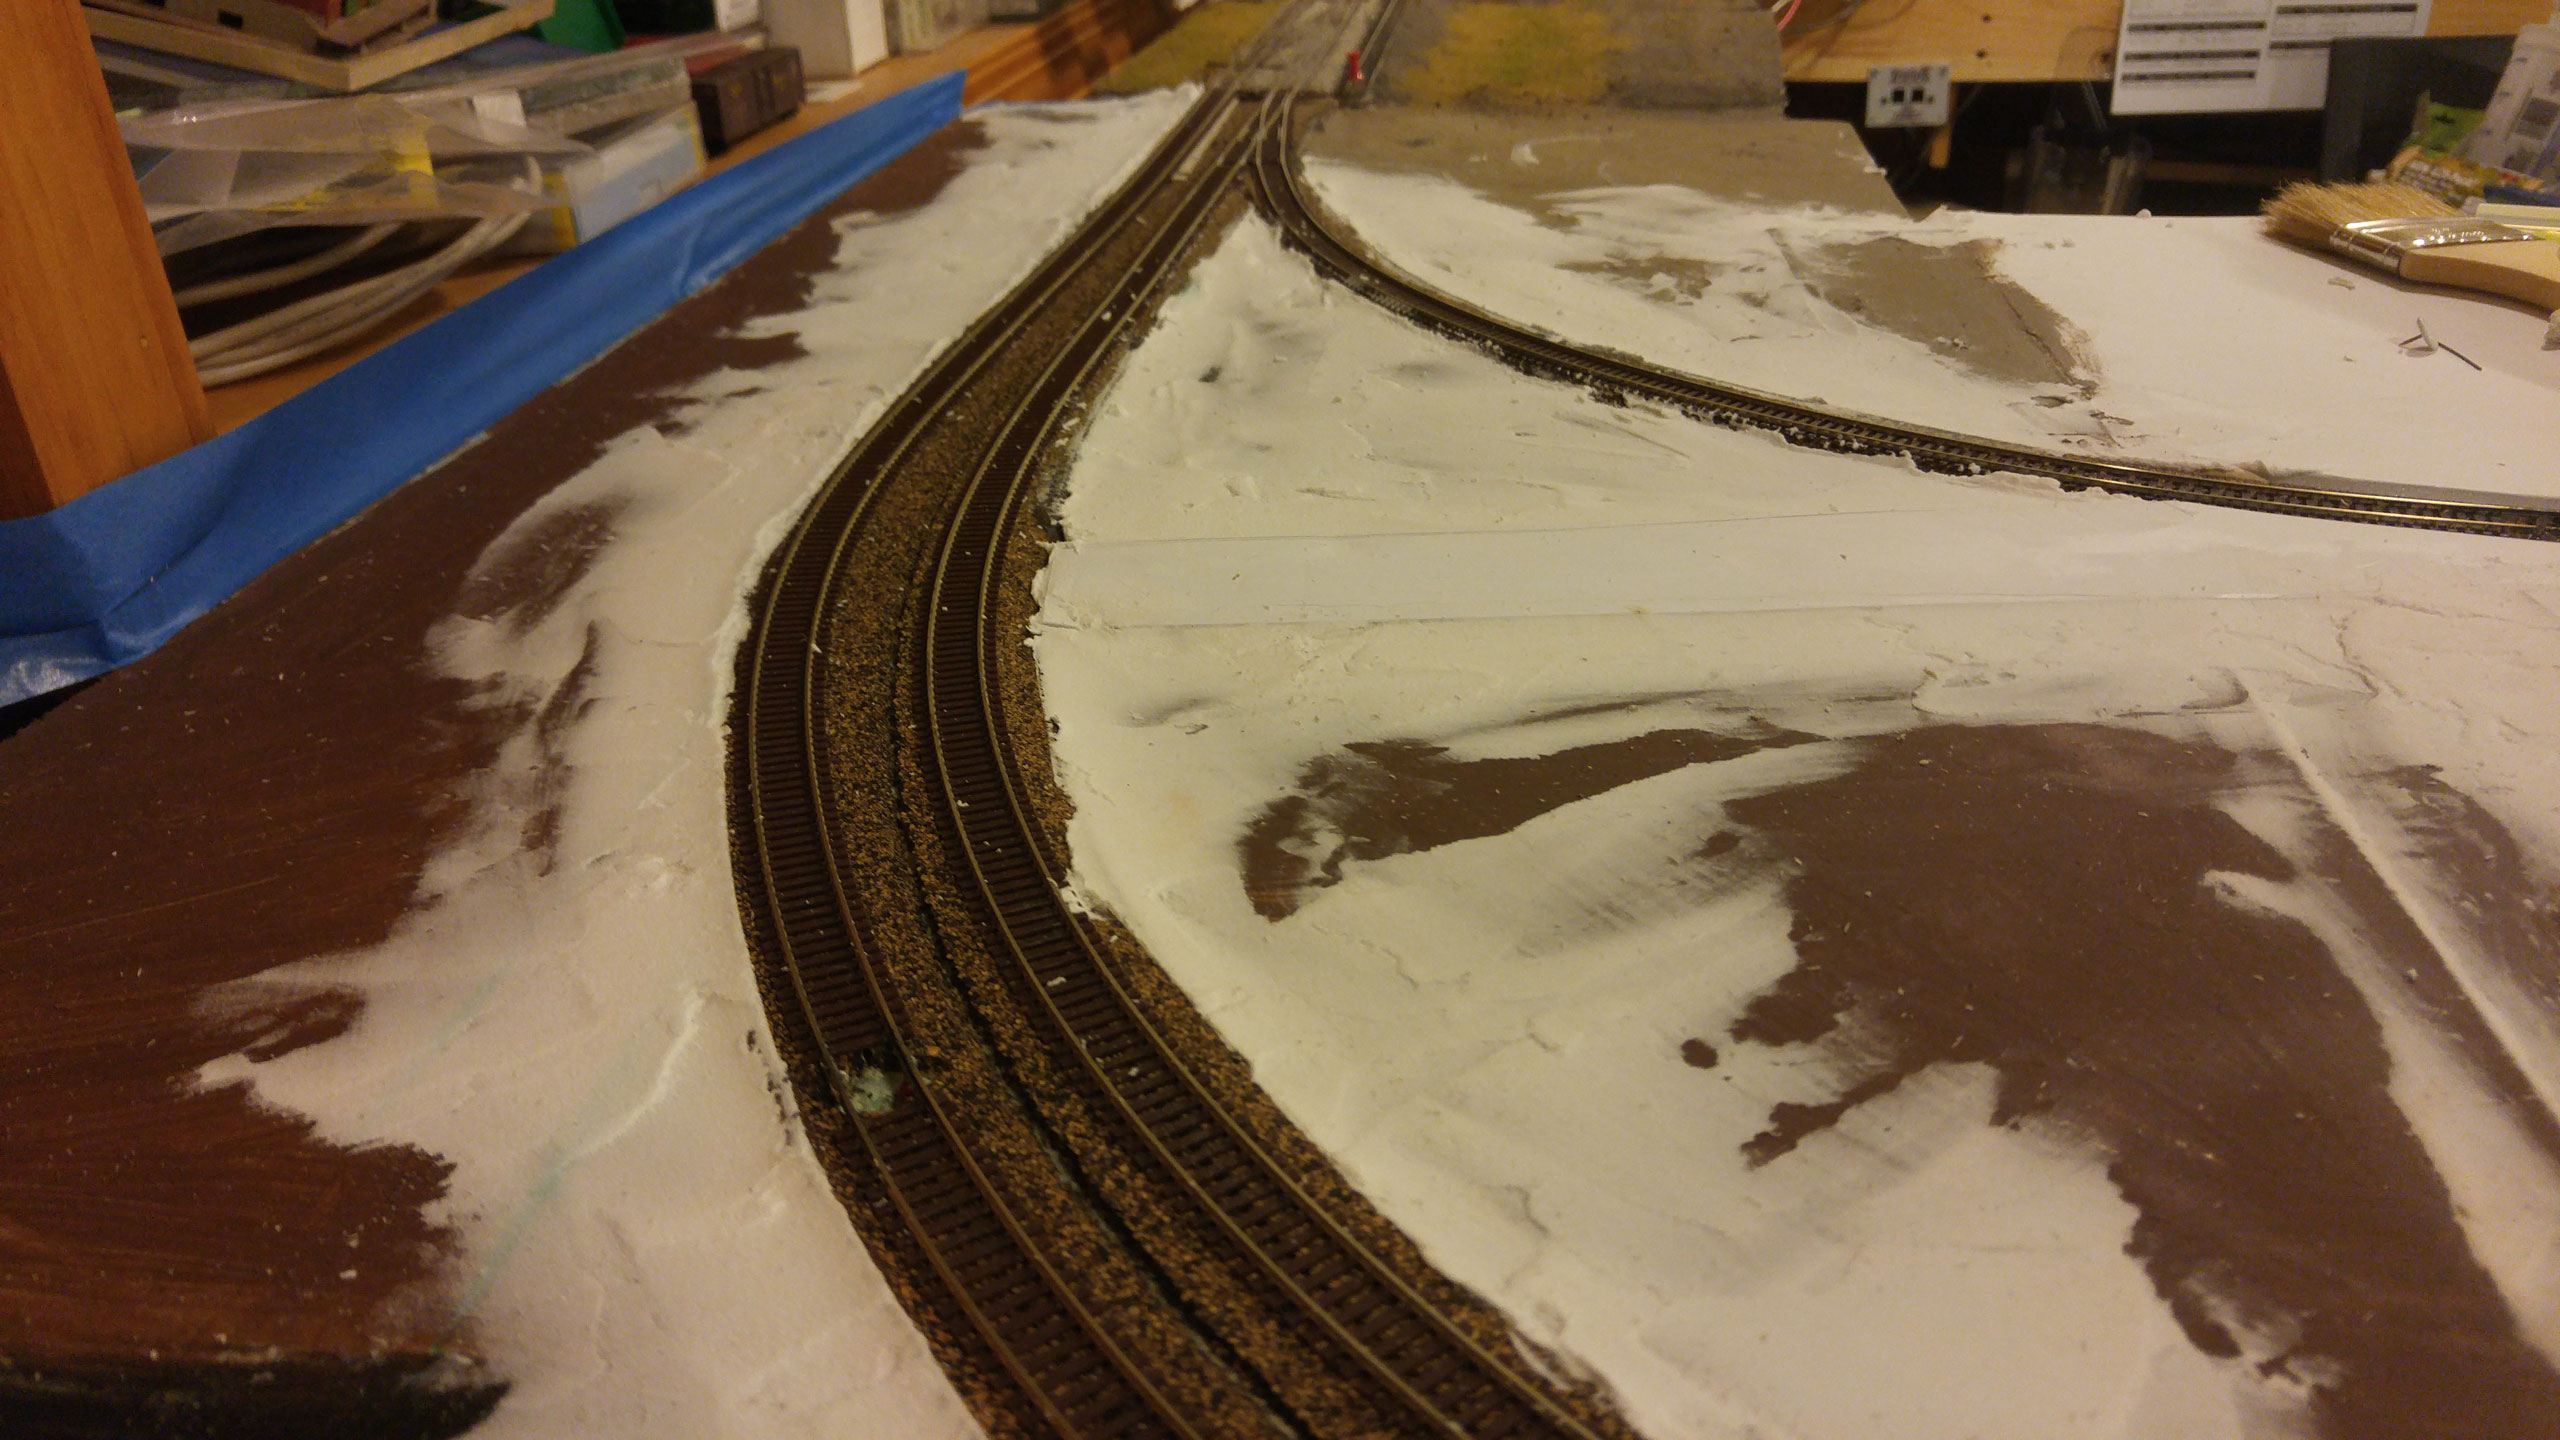
I have realized how unhappy I am with the standard way that cork roadbed situates track in N. In this section of the layout, I’ve tried two approaches to improve it. The first was using some lightweight spackle (my current ground goop of choice) to smooth things out, and to build up a gentle incline to the tracks, so that the roadbed did not seem to be 5′ tall. It was very important to tape the track with masking tape during this stage, to keep the spackling out of where it didn’t belong. Then, it was time for a quick sanding to smooth things out (remember, N scale is small, and even a small “meringue peak” in the stuff would look like a few foot tall termite mound.
 Then it was time for paint. I used a sample jar of one of my favorite colors of all time: Valspar Treetrunk, which I use for both ground coloring and actually painting trees (it comes in a spray can too).

Then it was time to paint track. I had thought of using my newly up and running airbrush, but decided to stick with what works (and doesn’t screw up switches): acrylic craft paints and brushes. I used a few different colors and techniques, trying to add a little more color and character to the different types of track (mainline, yard and siding).

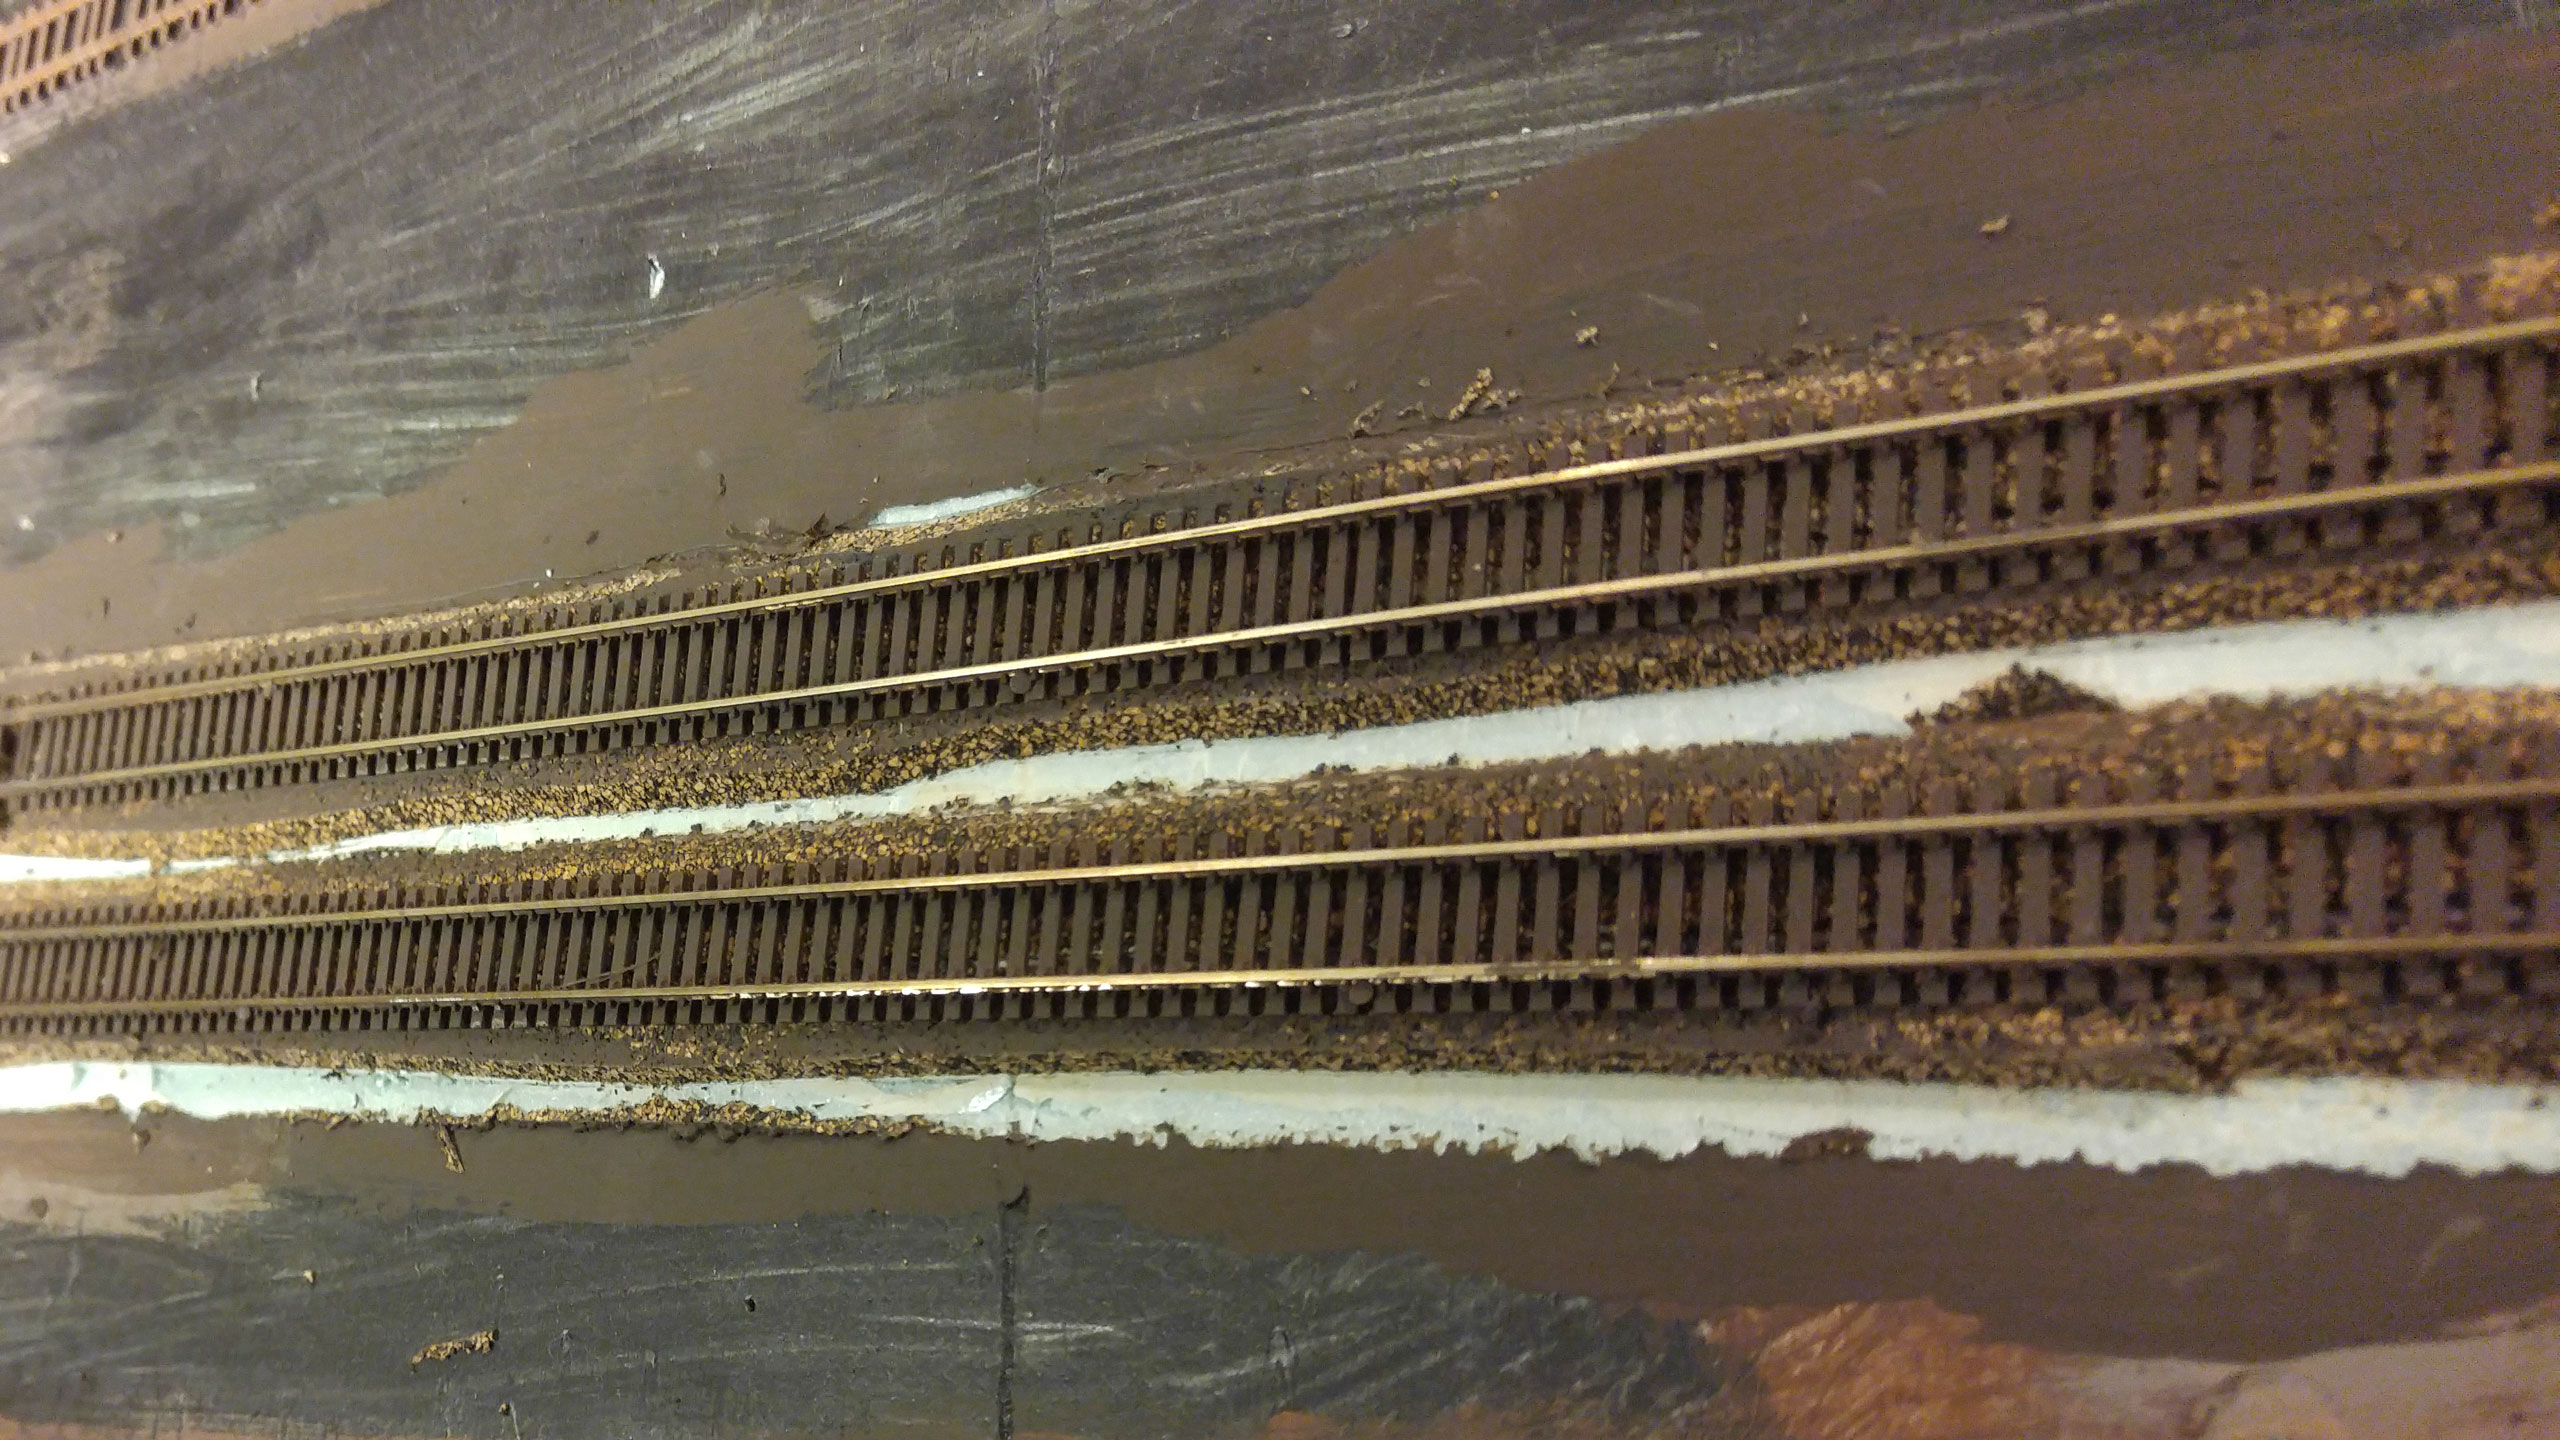
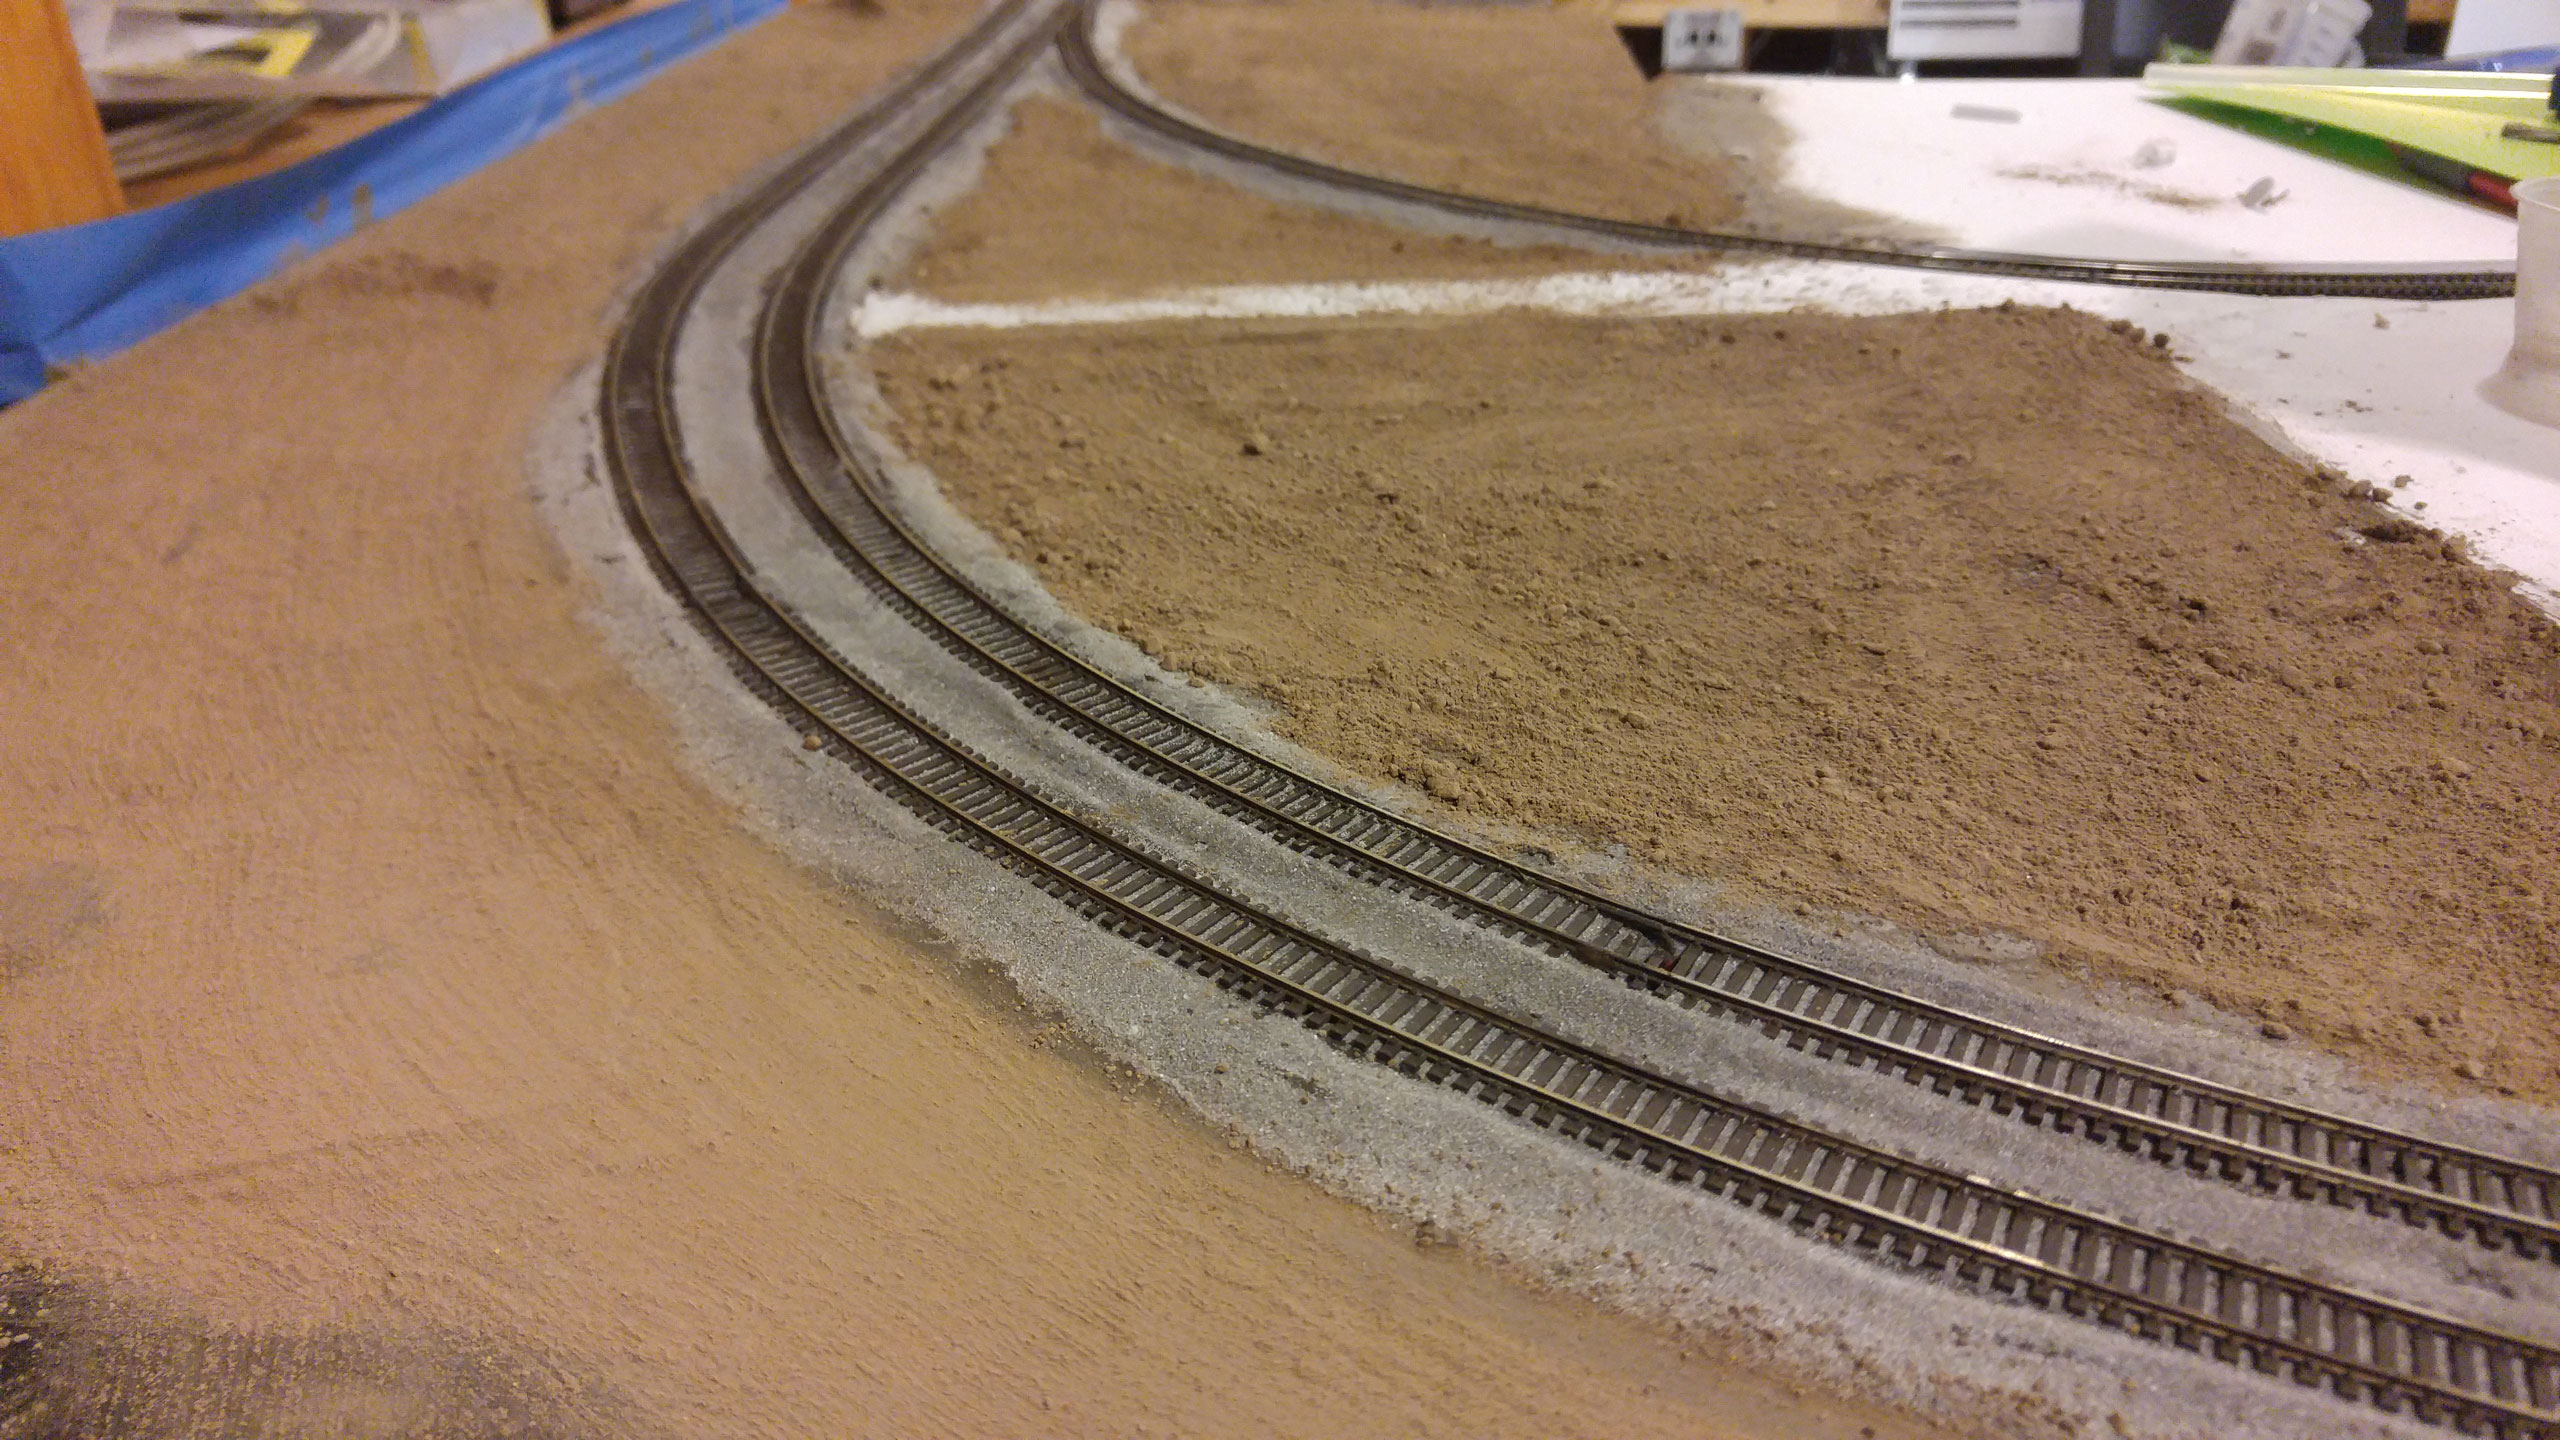
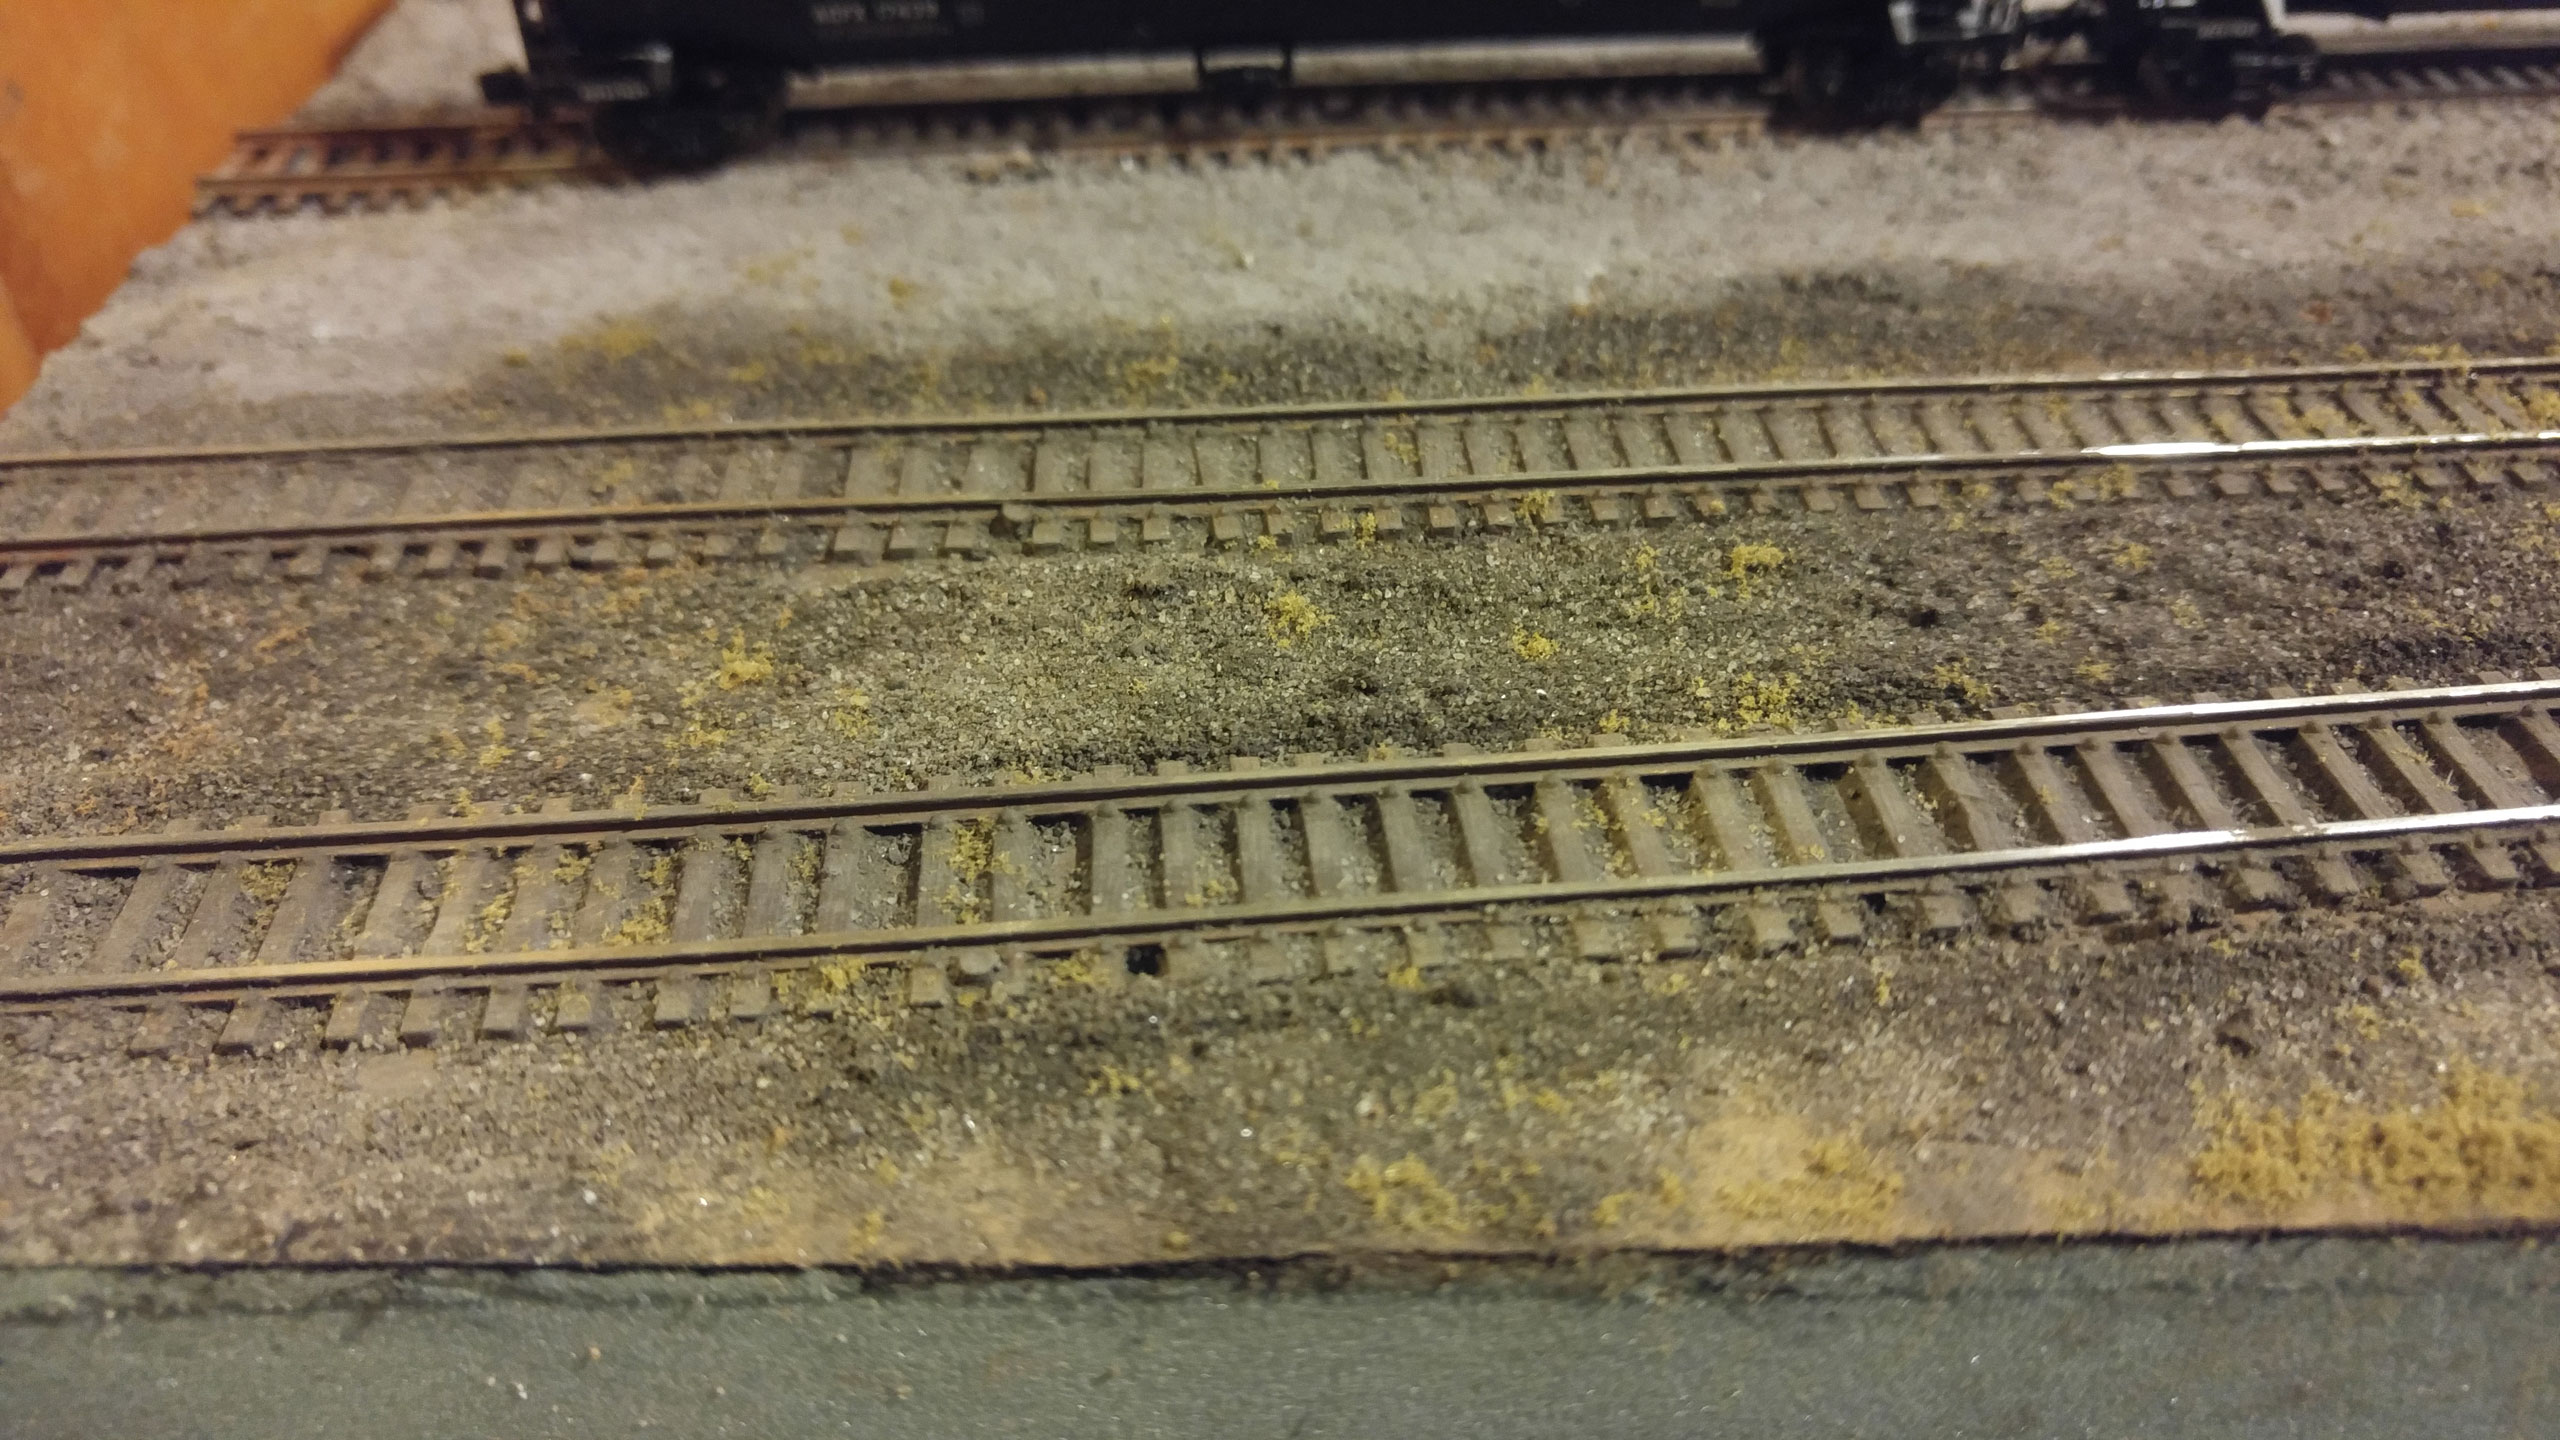
Then it was time to ballast. Well, it would’ve been, except I realized something. I still hated the parts where I hadn’t built up the ground around the roadbed. The problem is that double wide cork roadbed is simply too wide to allow for a proper ballast shoulder. You can see in this illustration.

My solution, going forward, is to only use a single width of cork roadbed. However, in this case, since the deed was already done, I decided to simply use an xacto knife to cut away the excess cork and allow me to have a better ballast profile.
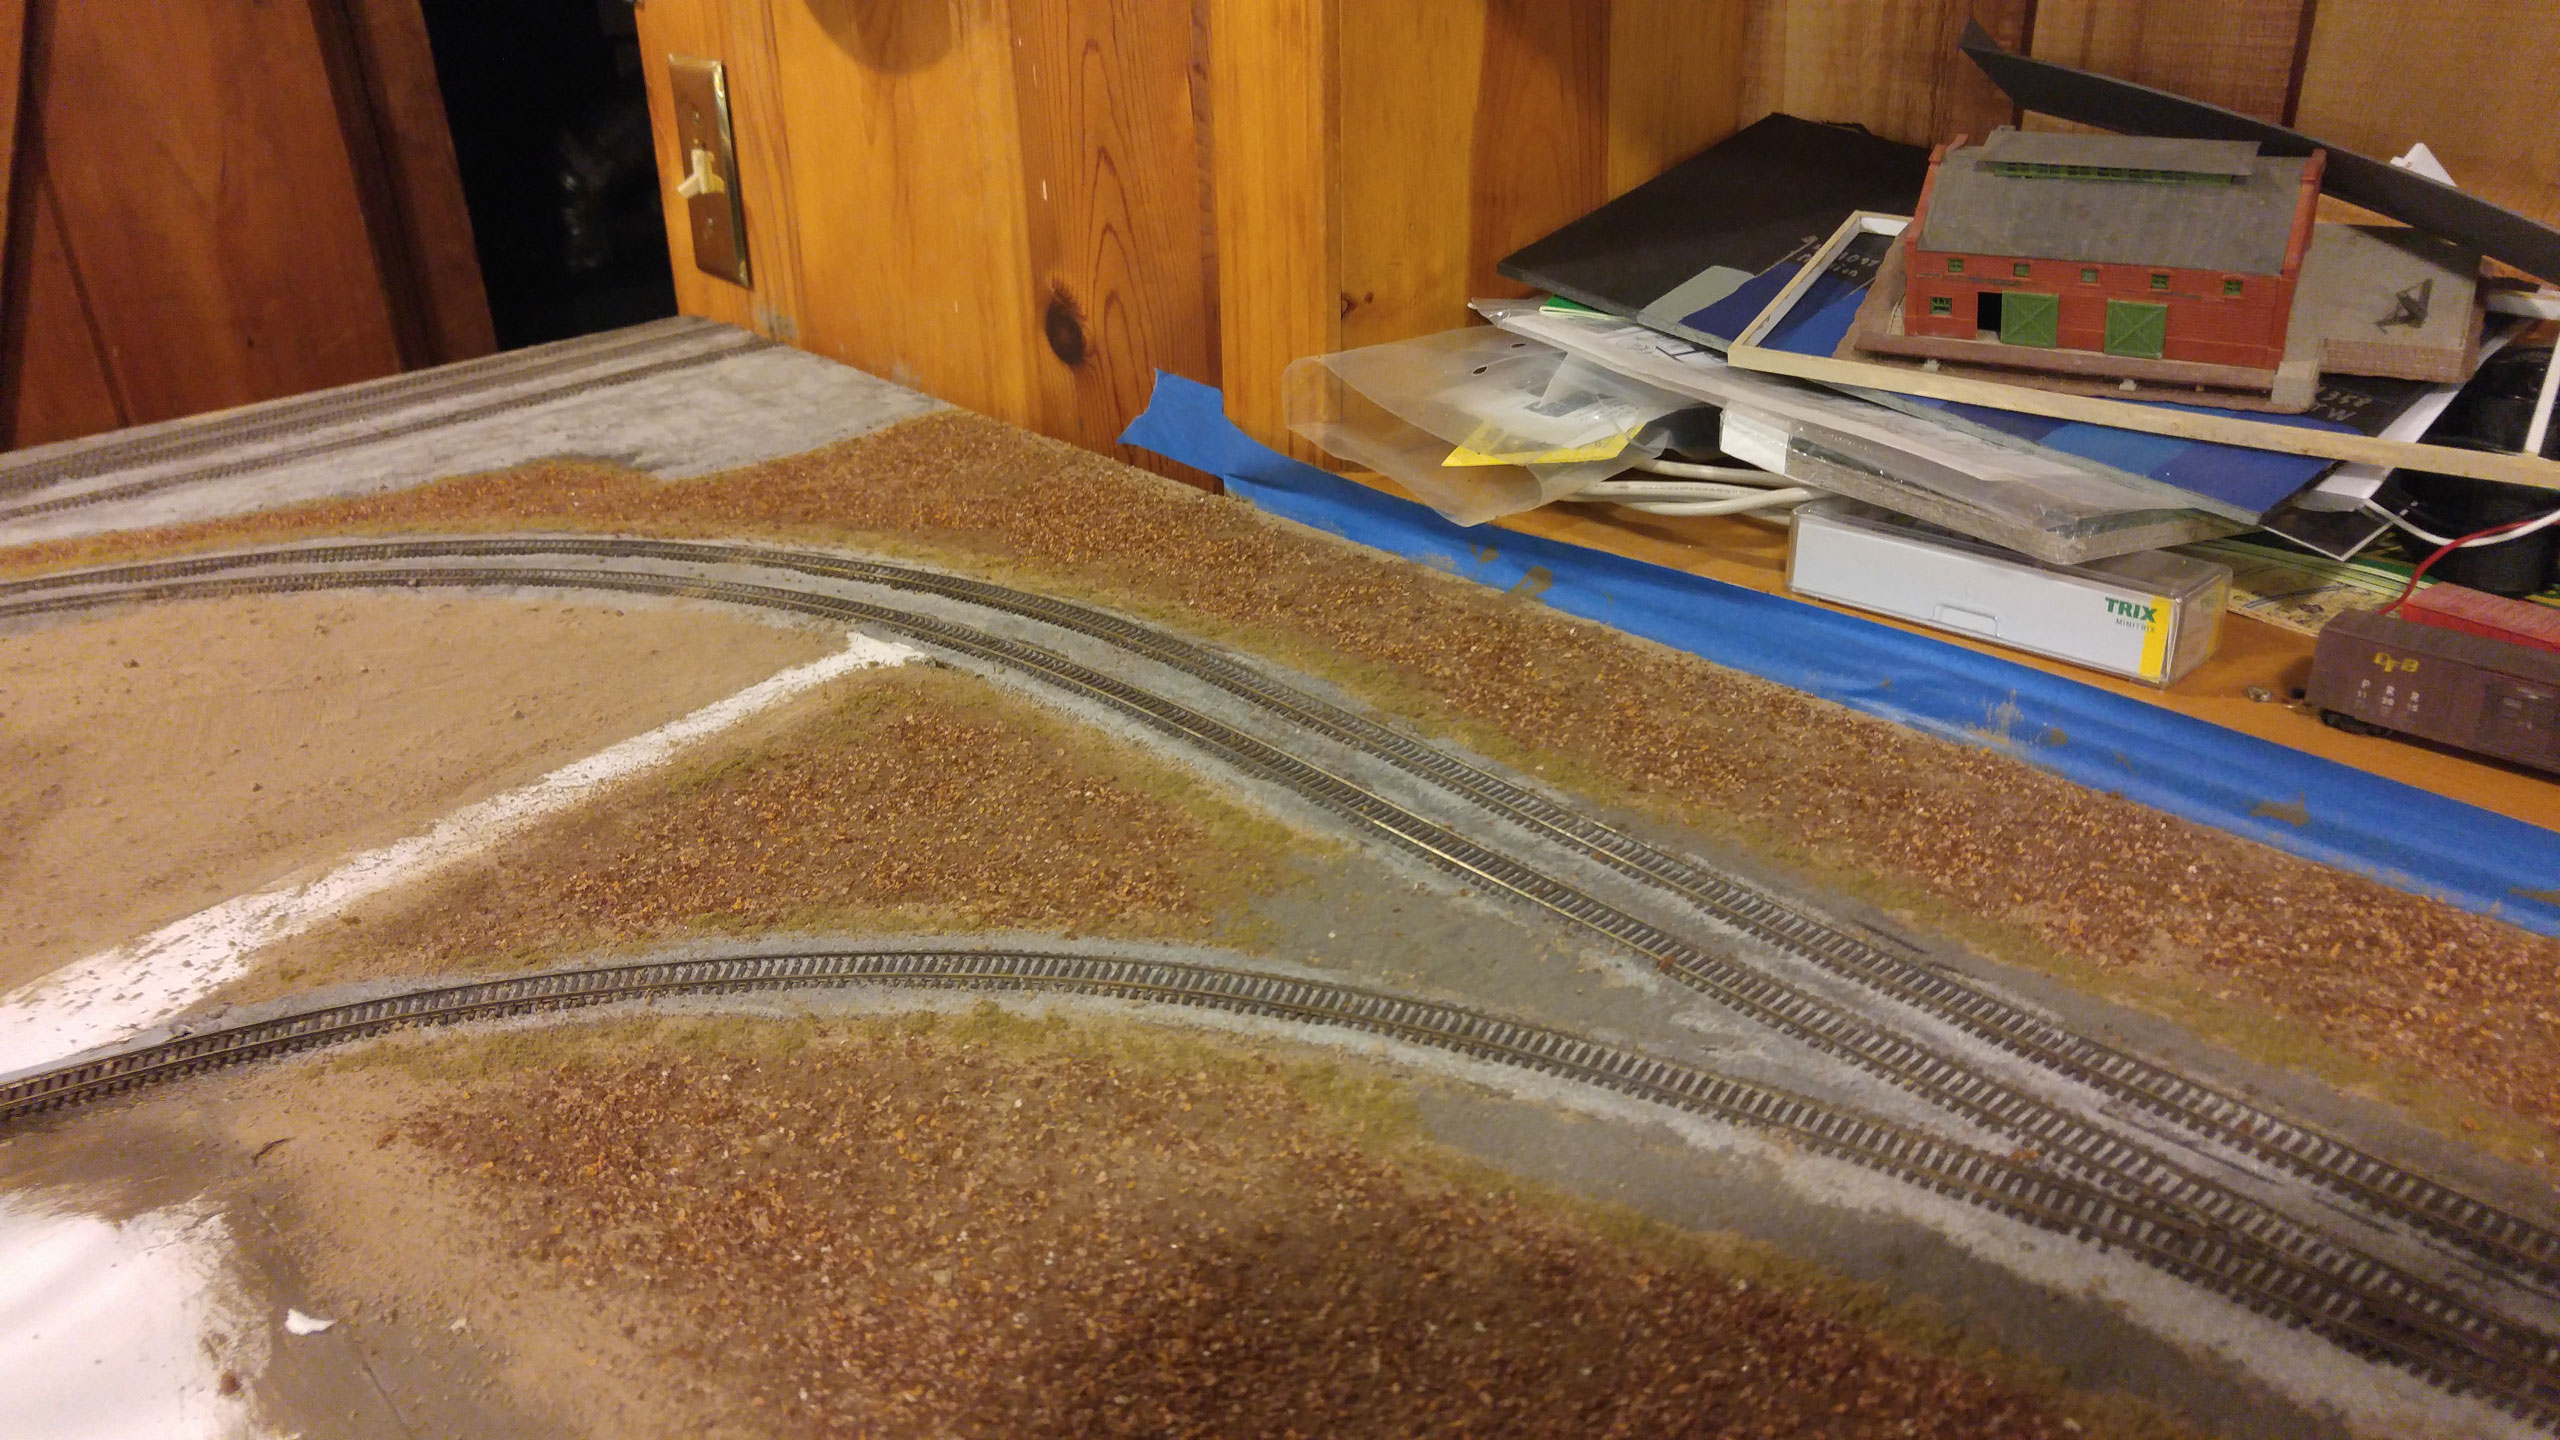
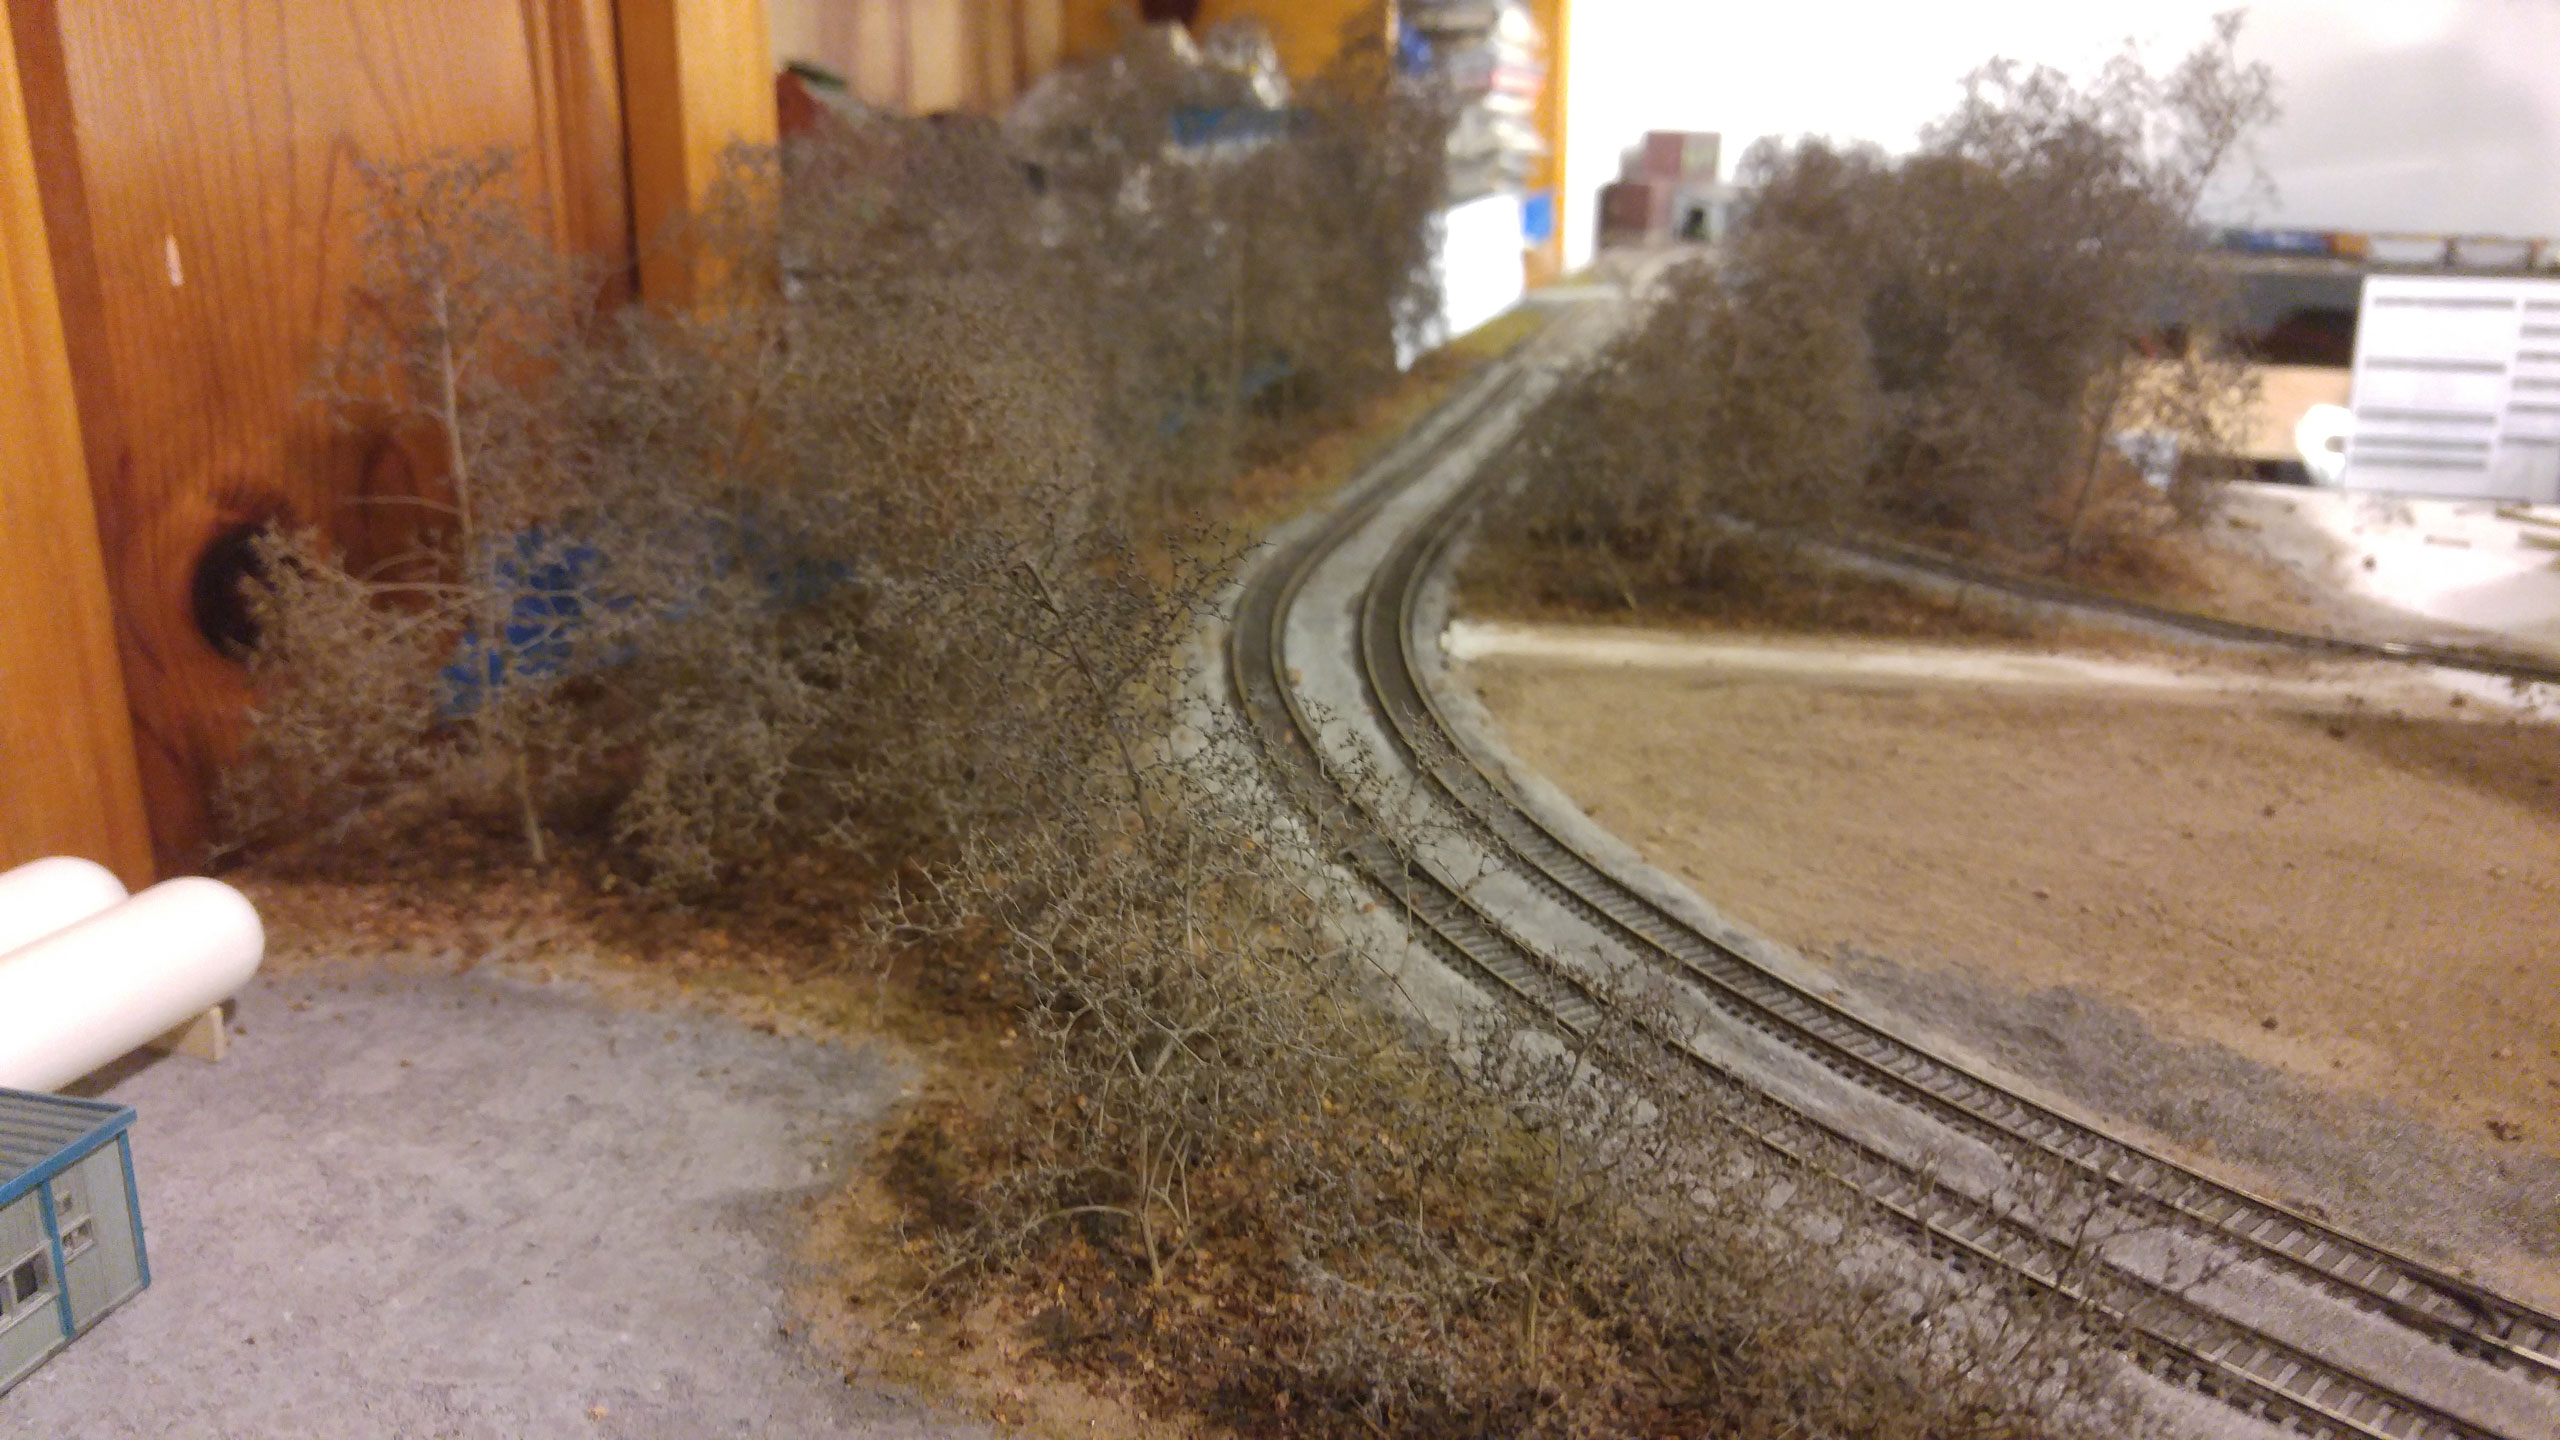
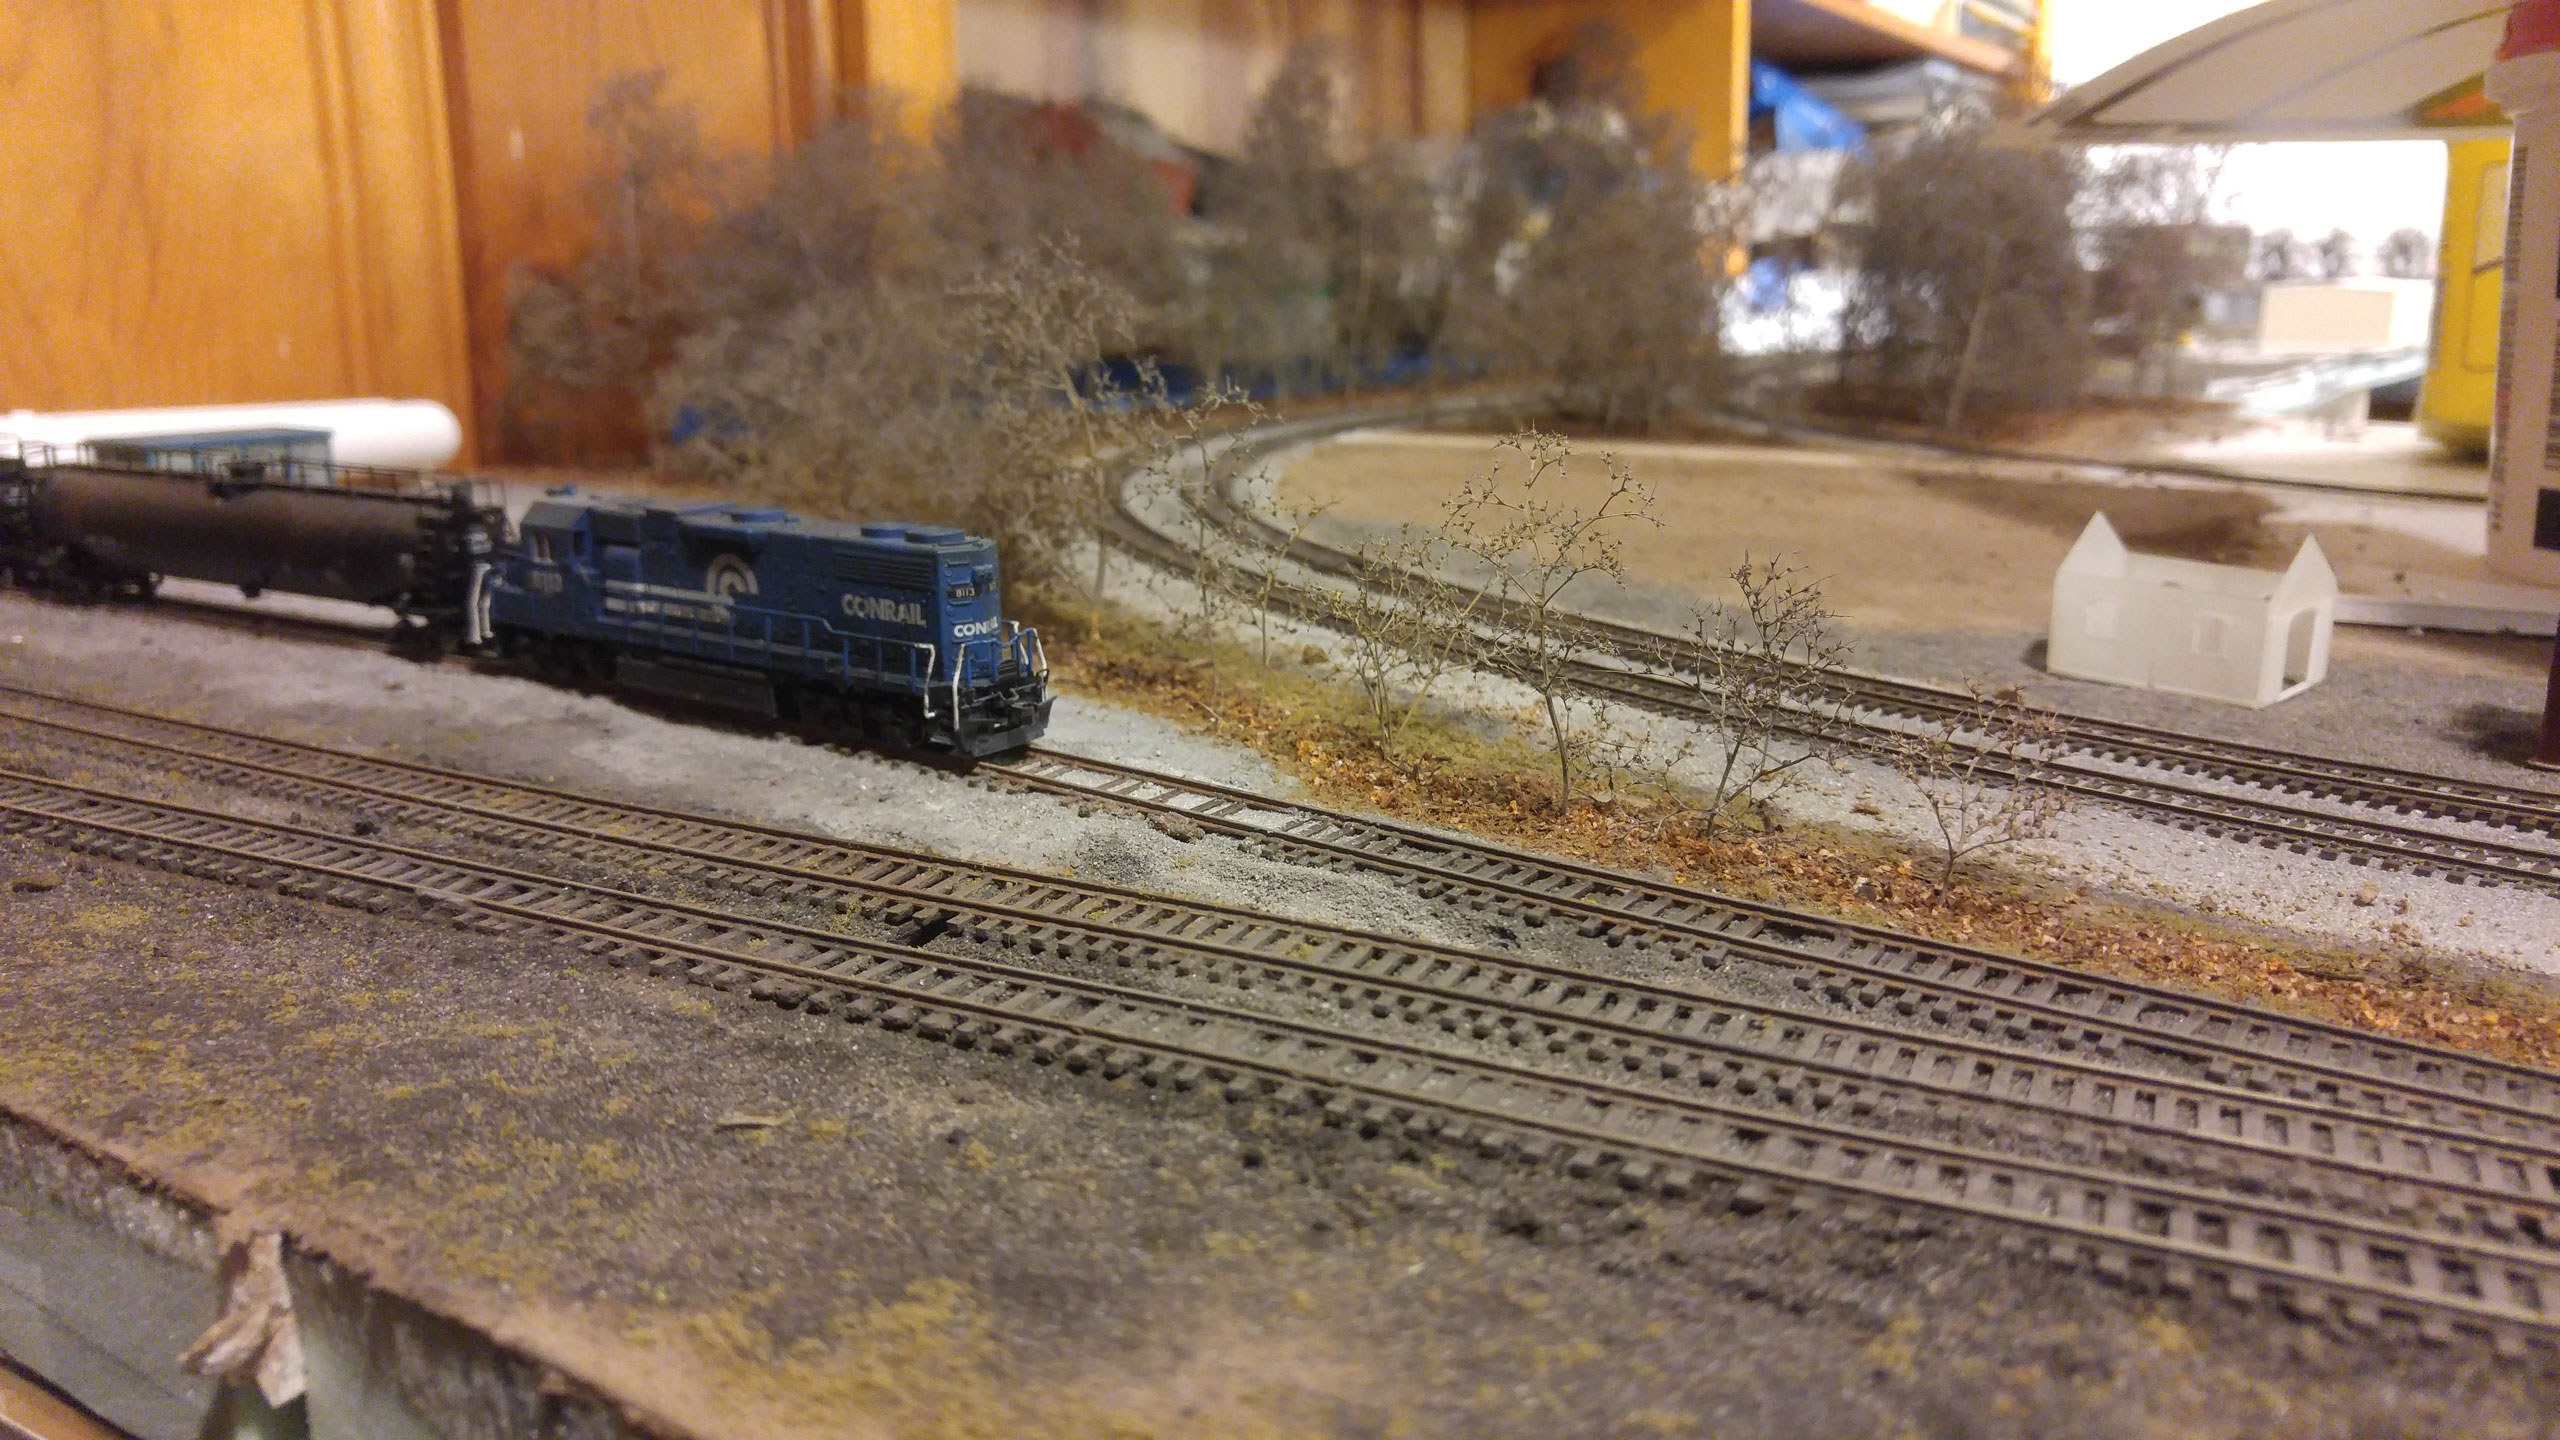
Then it was finally time to ballast. I used my tried and true sanded grout method, and my standard Conrail Mainline Color for the mains.
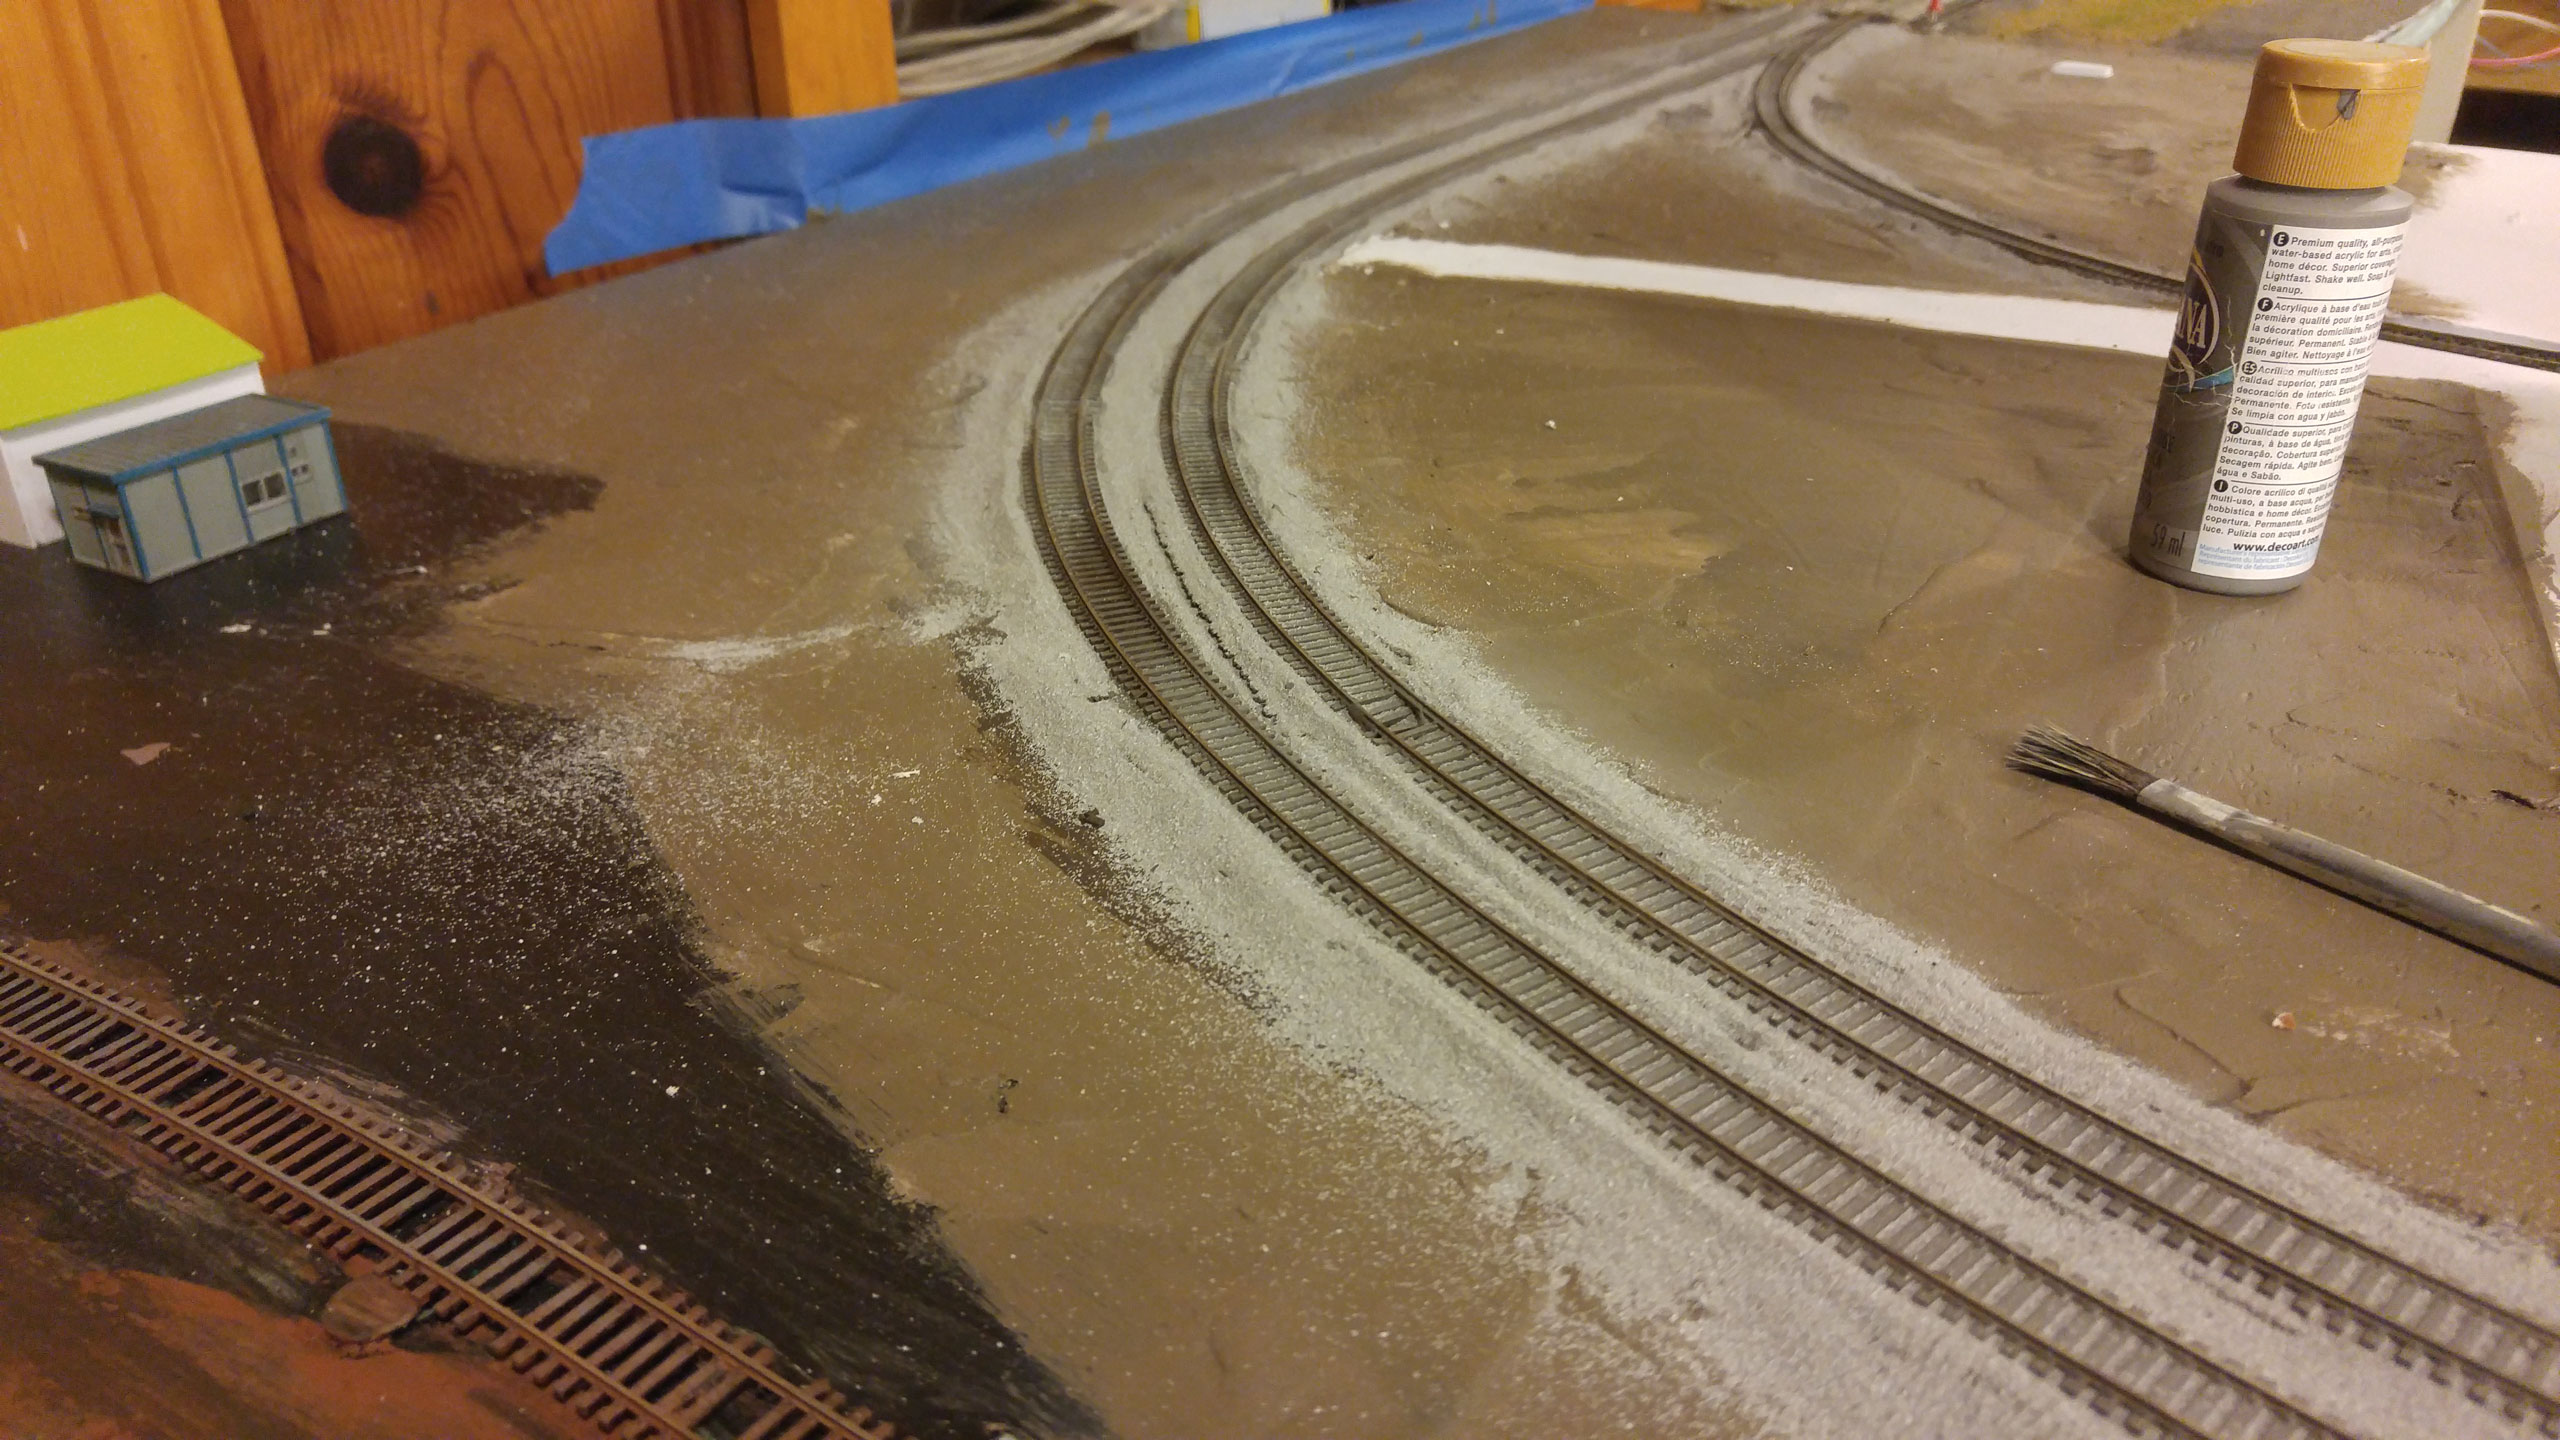
You can see the benefit of cutting away the cork here, which I consider some of the best ballasting I’ve ever done.

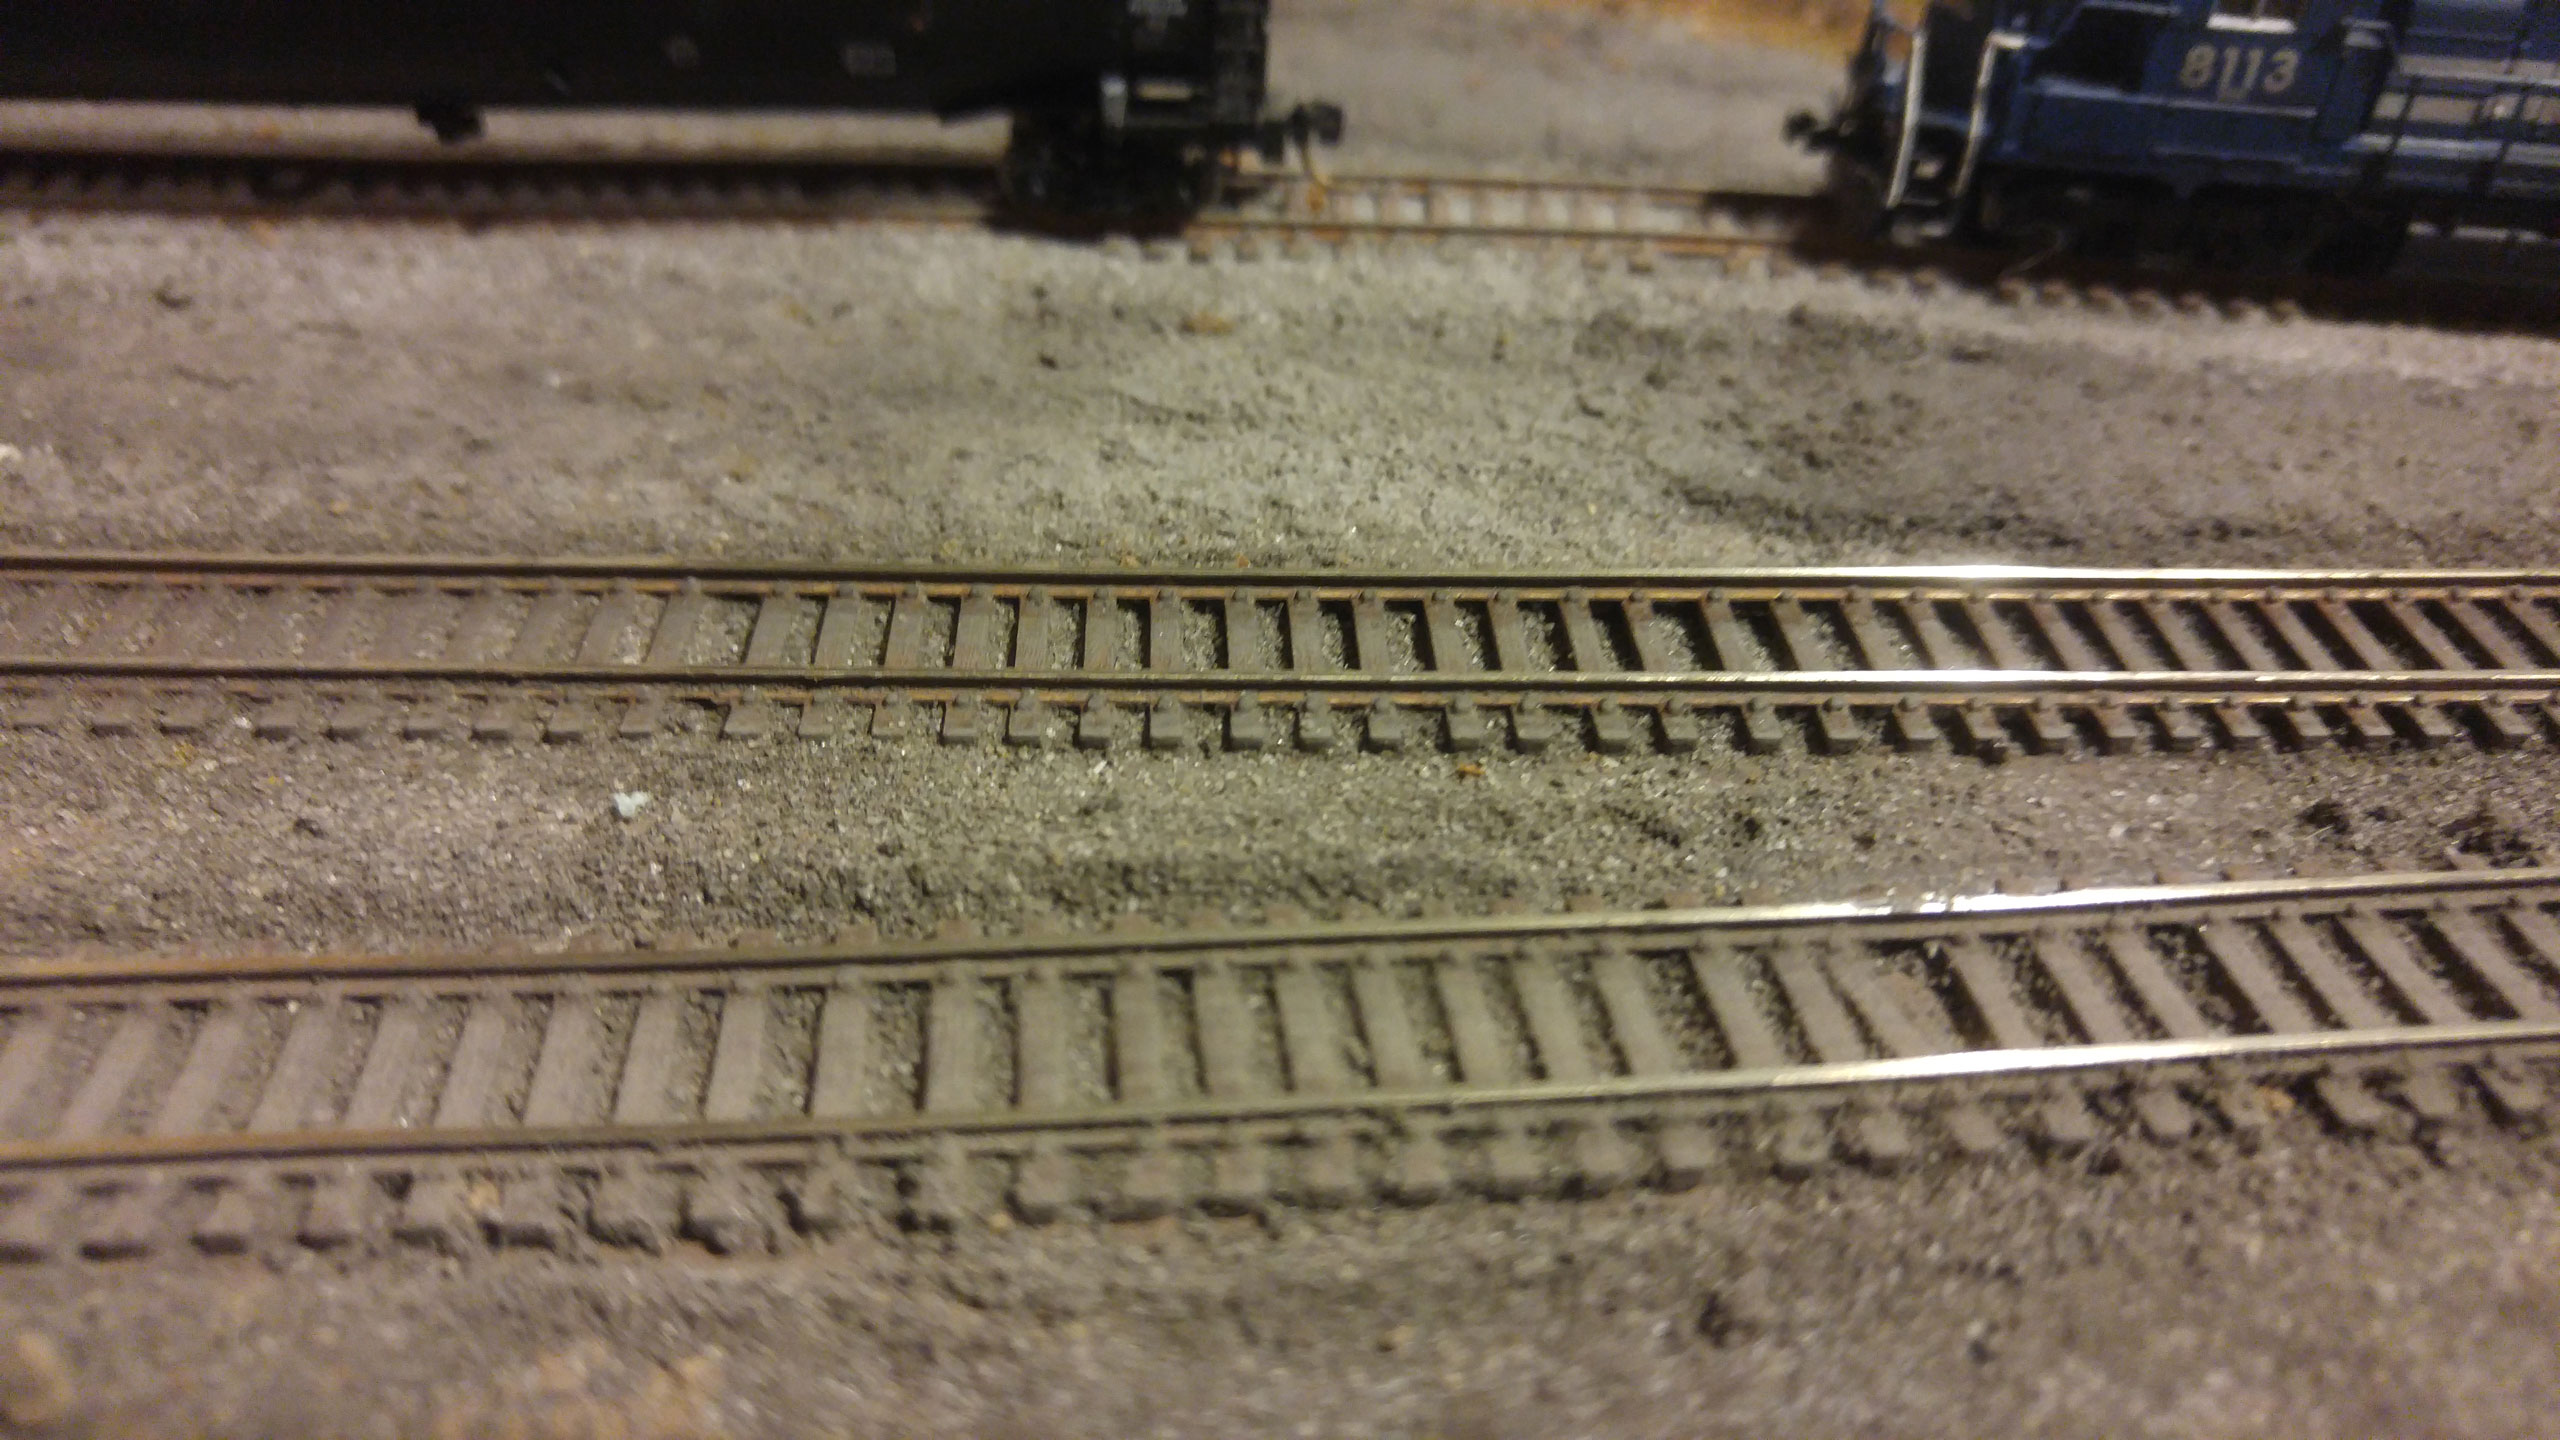
Things got interesting when I started working on the Poorhouse Yard tracks. Instead of using sanded grout, I accidentally used a mix of materials that had a high unsanded grout composition. Unsanded grout is, essentially, a pigment, which ended up coloring most of the track. I was able to use a denture toothbrush to clean up some of it, but the track color was definitely changed. In this case, it ended up looking ok, but it is something to watch out for.
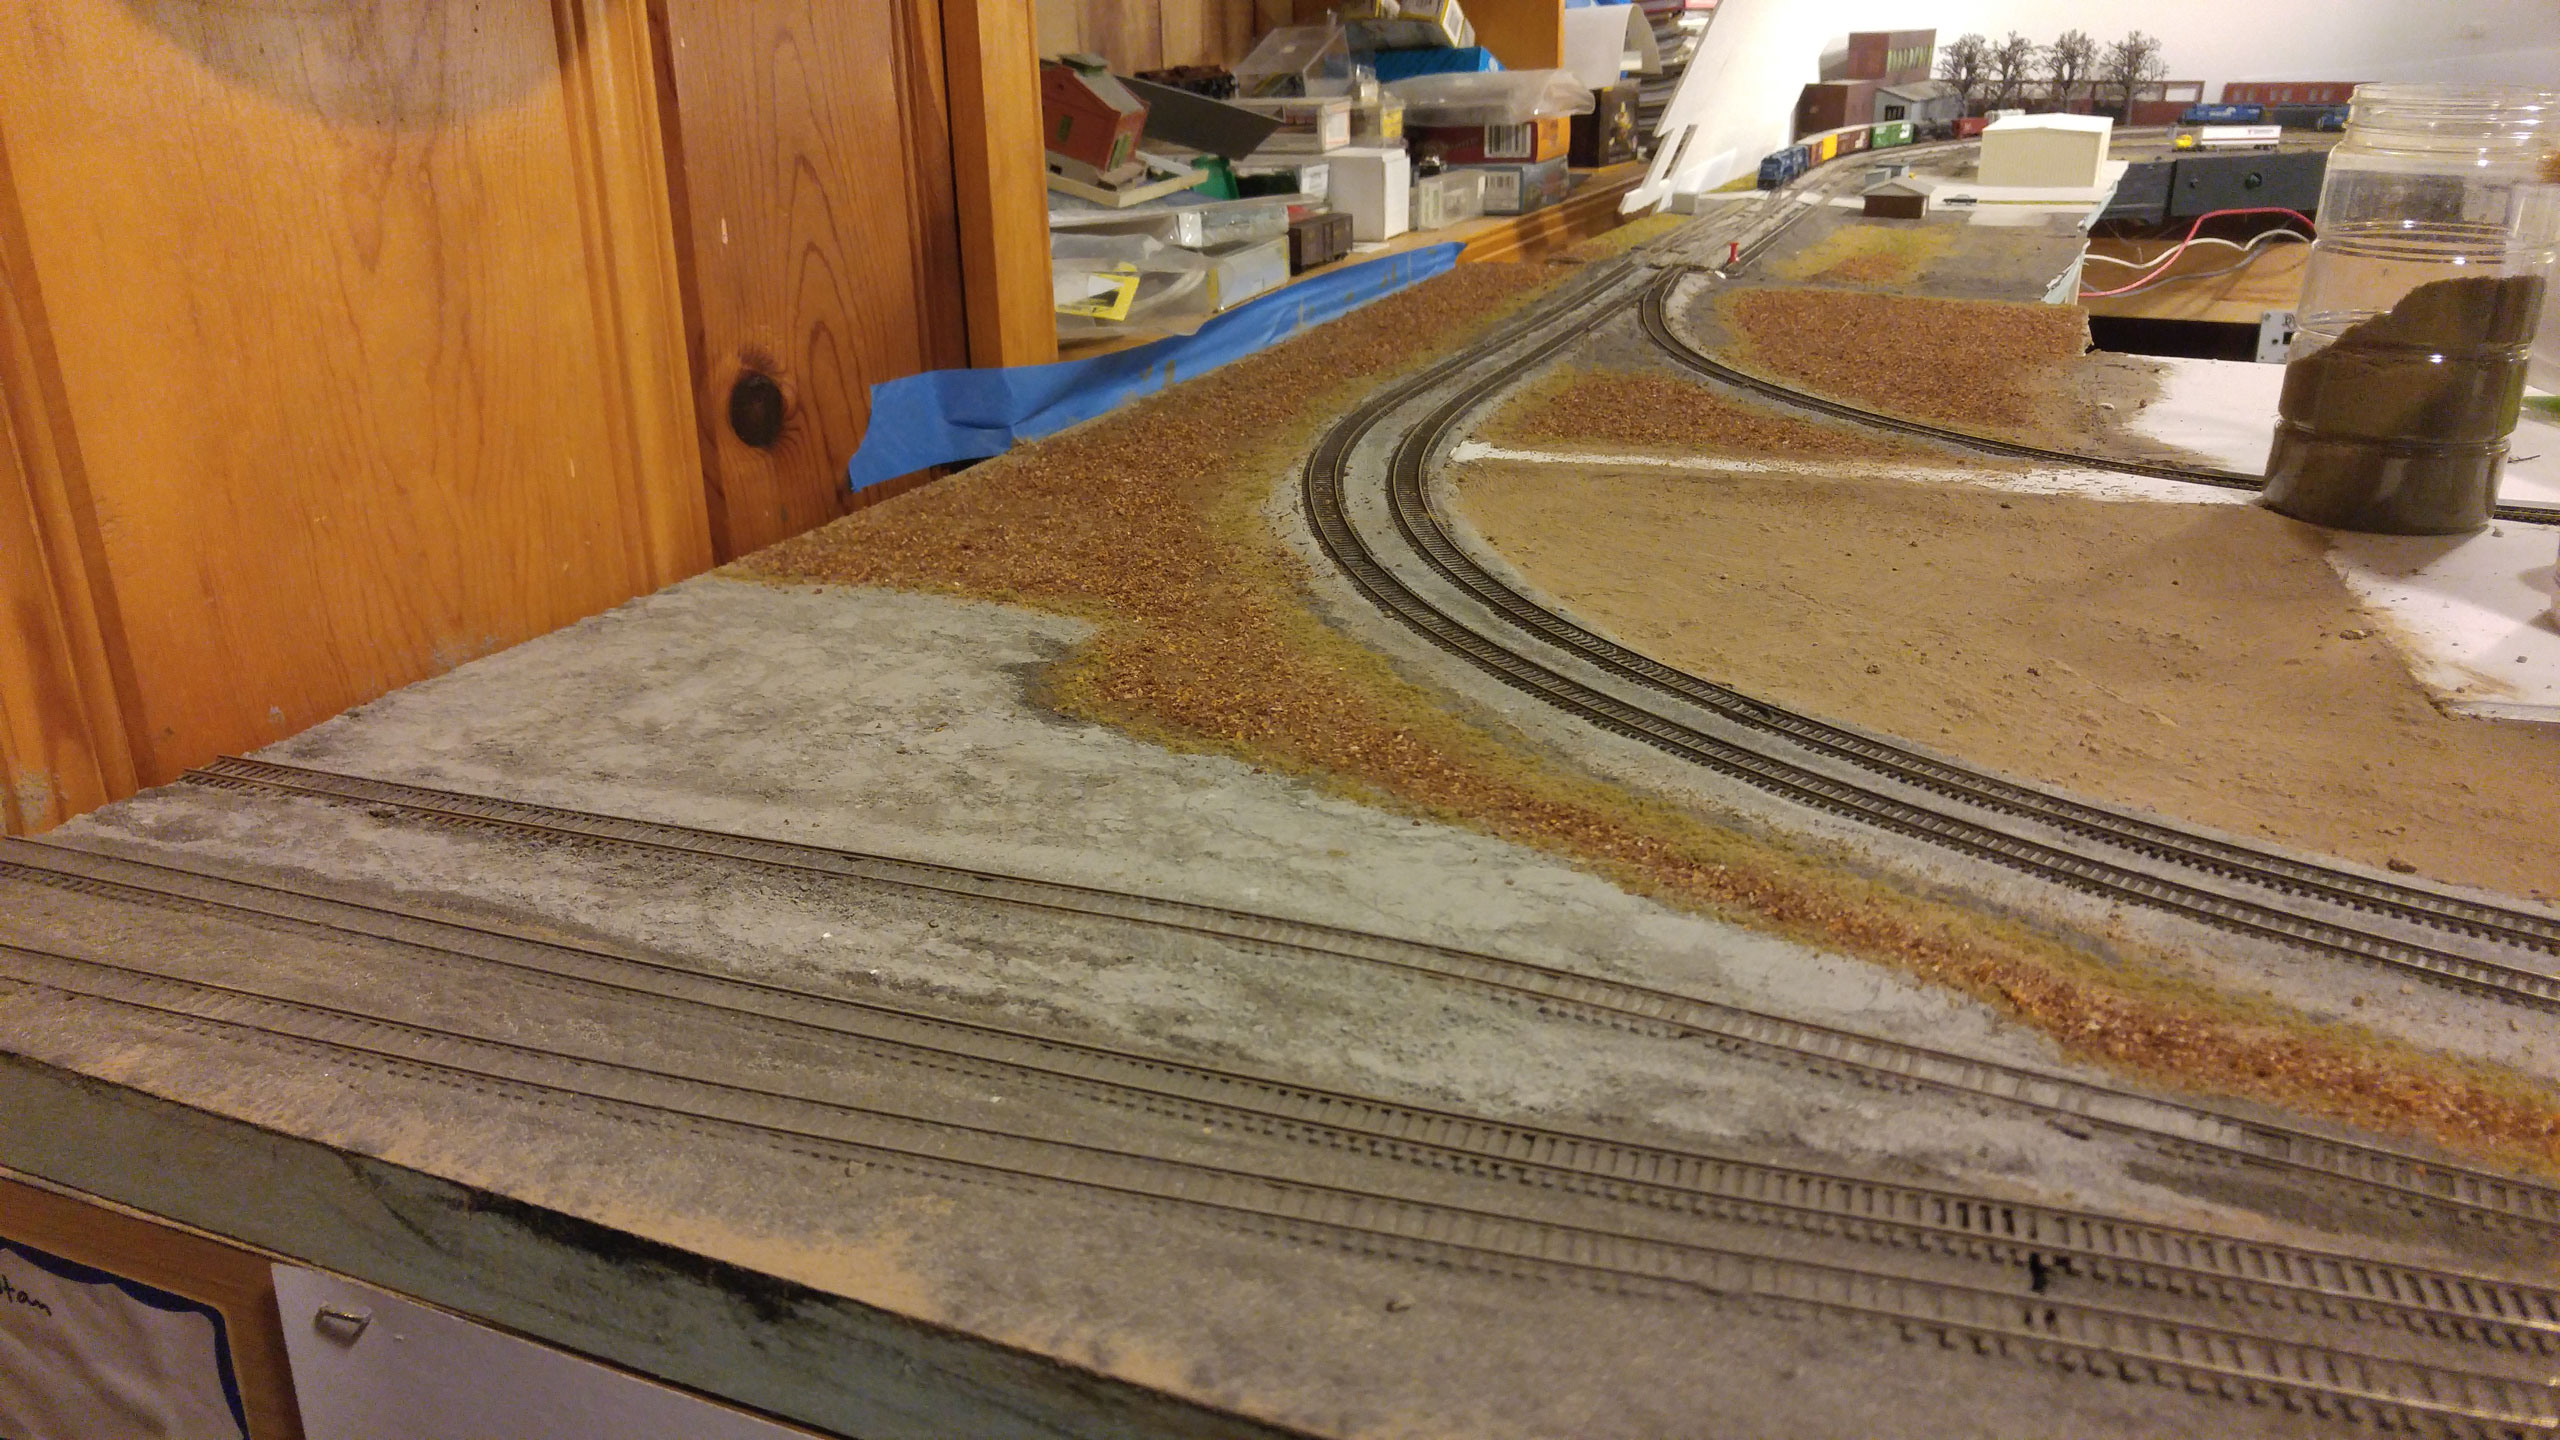
It was then on to ground cover using the techniques I’ve also already discussed.
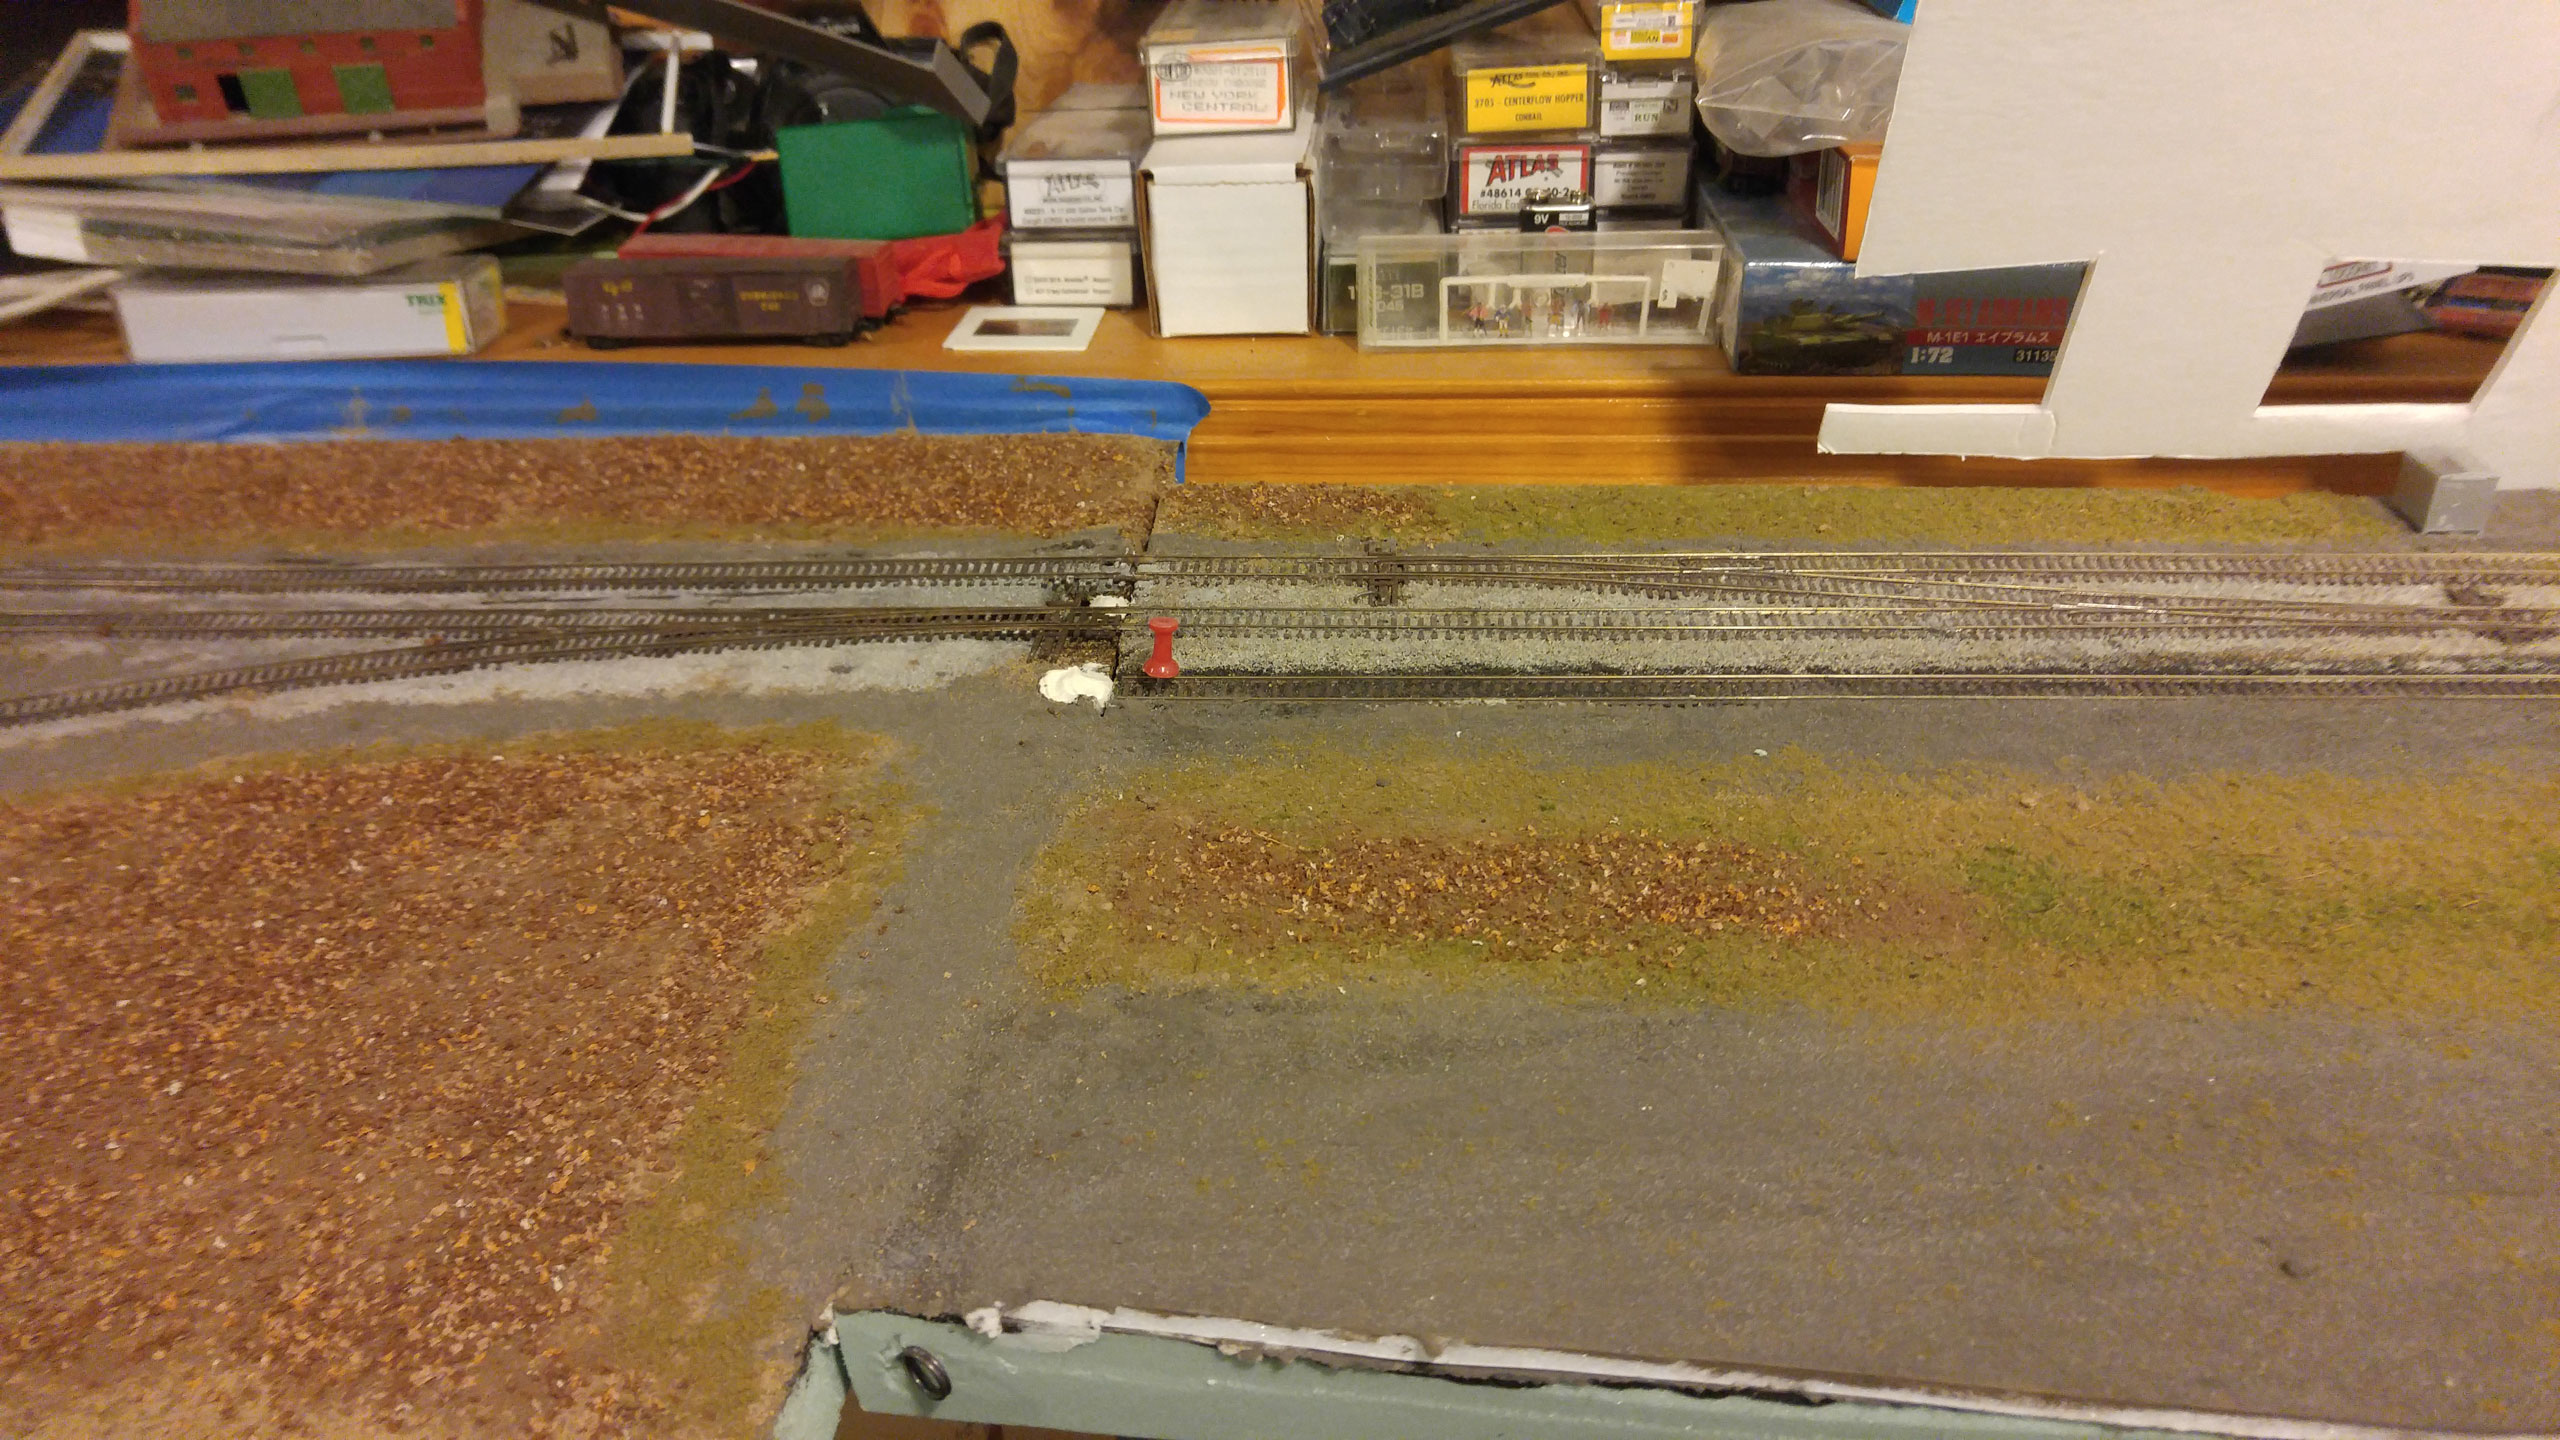
The one area where I did something slightly different was in the LPG terminal area. I used some unsanded light gray grout that I compacted with a piece of scrap styrofoam to achieve the “worn” area around the facility.
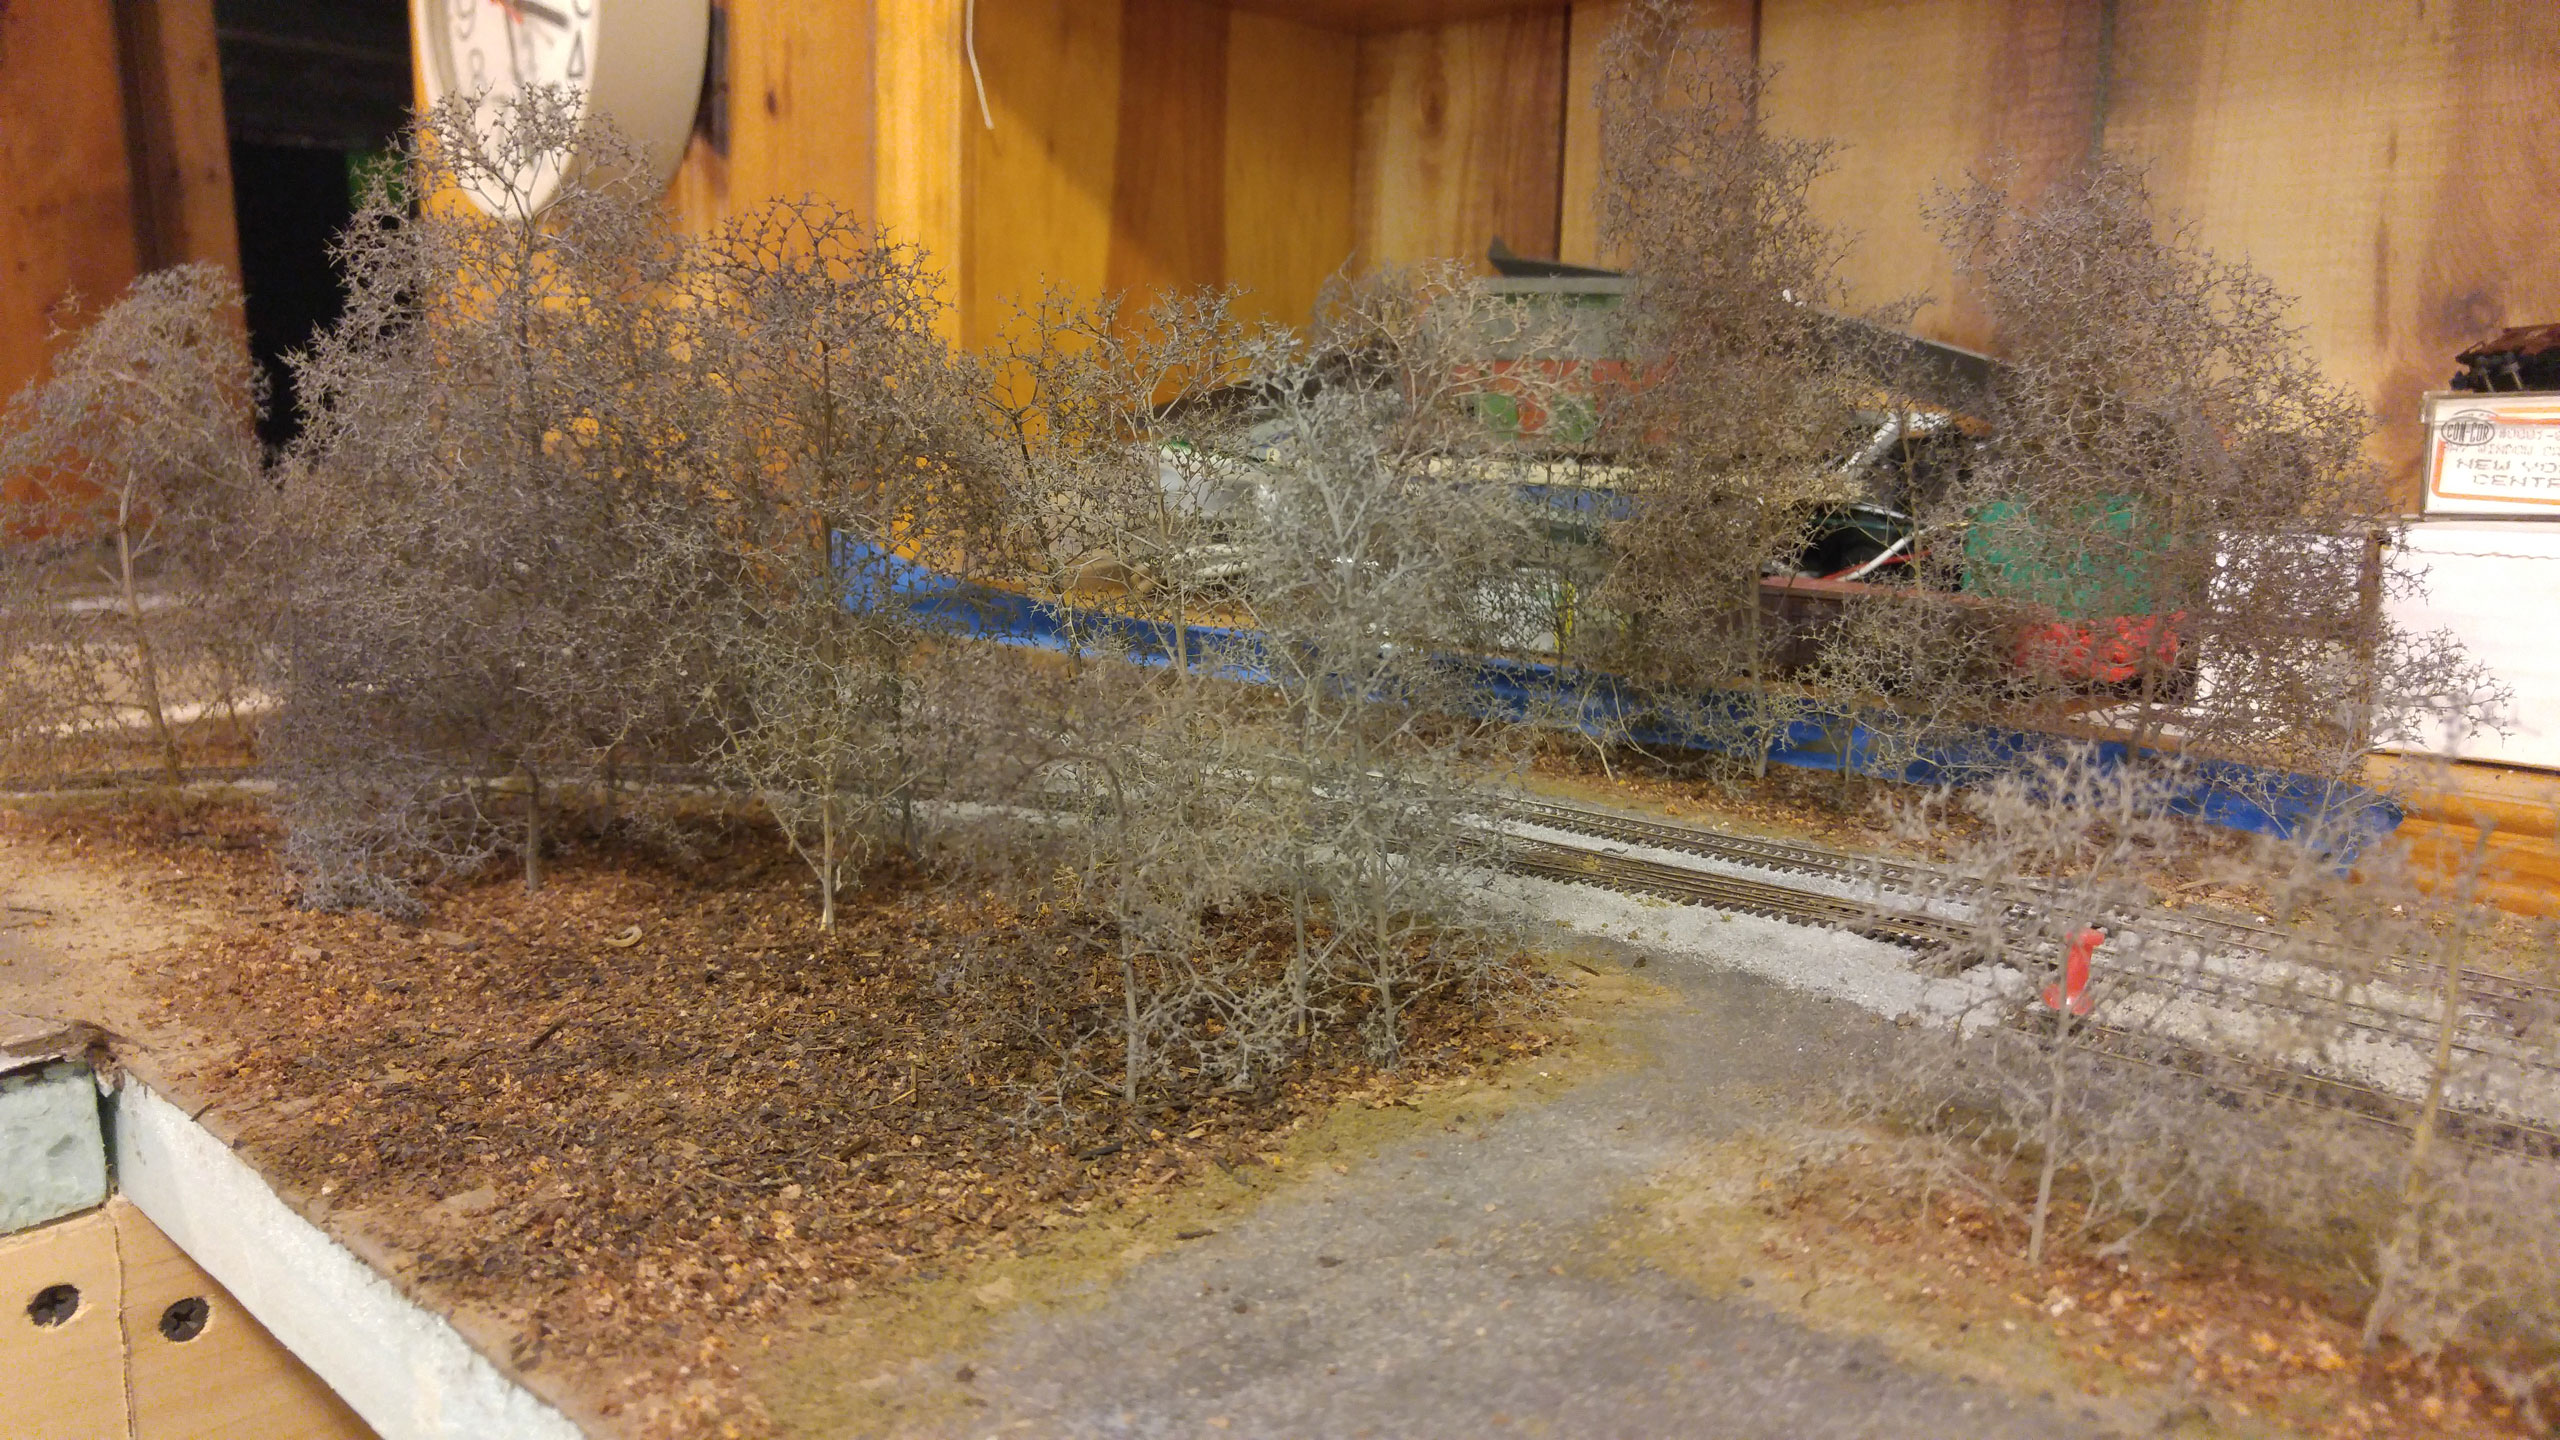
Next… trees!
Finally, some additional groundcover in the yard area.
So far, I’m pretty pleased with how this is working out, and it’s giving me the courage to keep moving through York.