Woodland Scenics has, for years, been the default ballast choice of model railroaders. I’m not happy with it though, so I went looking for something better. I found it in sanded grout.
Sanded grout is a product used for tiling, and it, along with its unsanded version, is very useful for N scale scenery use. It has some significant advantages over the traditional Woodland Scenics walnut shell based products:
- It’s much closer to scale.
- It’s got a binder in it (wetting it makes it stay in place, instead of floating).
- It’s available in a wider variety of colors.
- It’s a good bit cheaper, ounce for ounce.
- It’s more available (home improvement stores, instead of hobby shops, stock it)
For those reasons, I think it’s a far superior option and one I’ve adopted for my own use.
Sanded grout is available from a number of sources, but I have a Lowes right around the corner, so I use the brand they stock: “SpectraLock” by Laticrete. It’s a multi-part product, with parts “A” and “B” being the grout part, and the”C” part is the sand that you want. This search (at the time of this writing) found the stuff on Lowes website. Polyblend seems to be the line that Home Depot carries.
The packages I’ve purchased have always been the milk carton style ones.

As I mentioned, the product comes in a wide variety of colors. The one down side to it is that, unlike the Woodland Scenics products that can usually used right out of the package (even though I wouldn’t recommend it), you have to mix multiple colors to really get a good ballast. This is because the color is too uniform (as is the Woodland Scenics), and the finer appearance doesn’t provide the shadow effect that covers for it. Because of this, the initial investment is high because you need to buy multiple colors.
There is an upside to this, however, in that you then have a palate of colors to blend to reproduce the ballast color you’re trying to replicate. This is key, because real world ballast comes in more colors than Light Gray, Gray and Brown.
It’s important, while you’re working on mixing your colors, that you take good notes about what you’ve mixed. This allows you to replicate the mix if you need more for an expansion, touch up, or for a future layout. I’ve also found it helpful to write the blend on the container you’re storing your mix in (if you’re storing it).

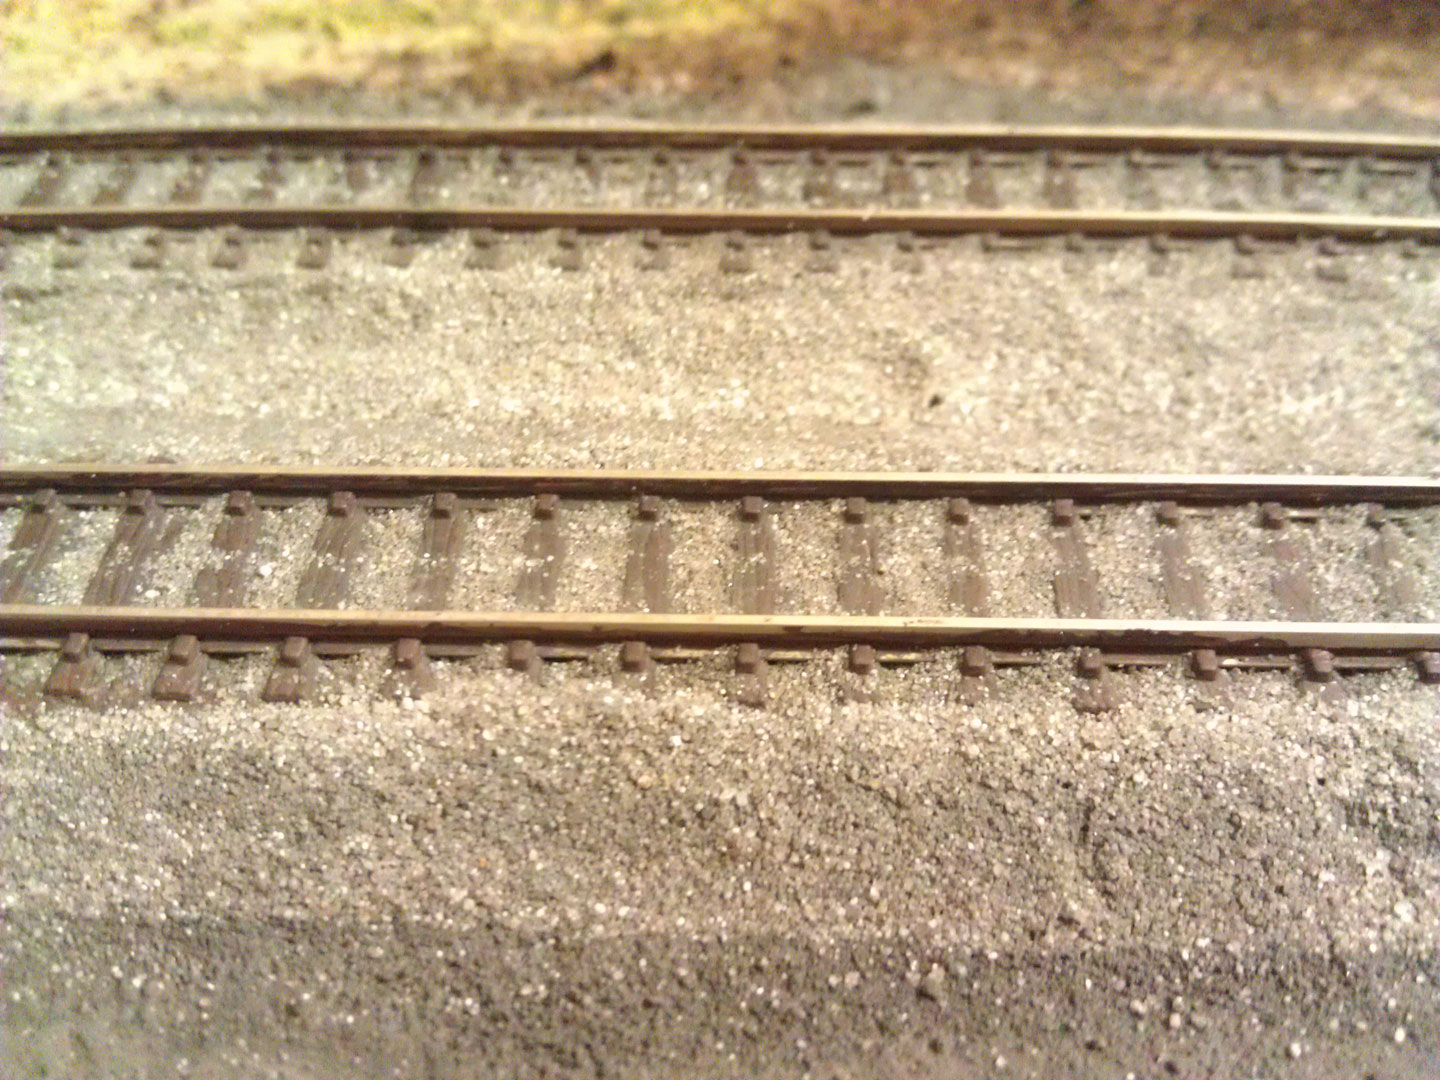
Once you’ve got your blend, just use it the same way you would any other ballast: apply it, wet it down, and then soak it with a white-glue and water mix.
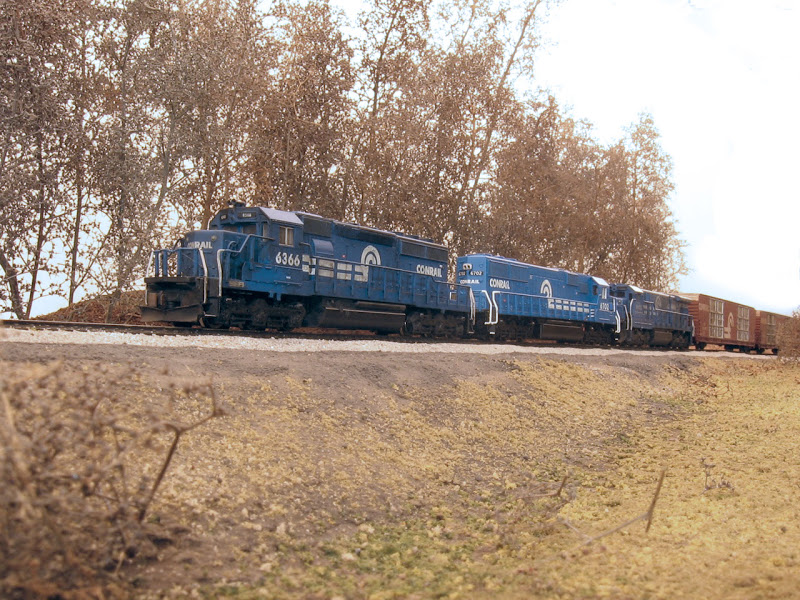
All of the ballasting work on my NCR shelf and TTRAK modules was done with sanded grout, and I am very happy with the results.
One additional technique I’ve found that greatly improves the look of my track is to include the under-grade. This was done using plain black unsanded grout (a different product from the sanded variety used for ballast), and a tape line to ensure it’s straight.


One last note: I’d like to thank Dan Crowley, a former N Scaler from Canada for originally giving me the idea to try grout. He’s got a writeup on his on site too, if you’d like to read more.
3 thoughts on “N Scale Ballast Using Sanded Grout”
Comments are closed.