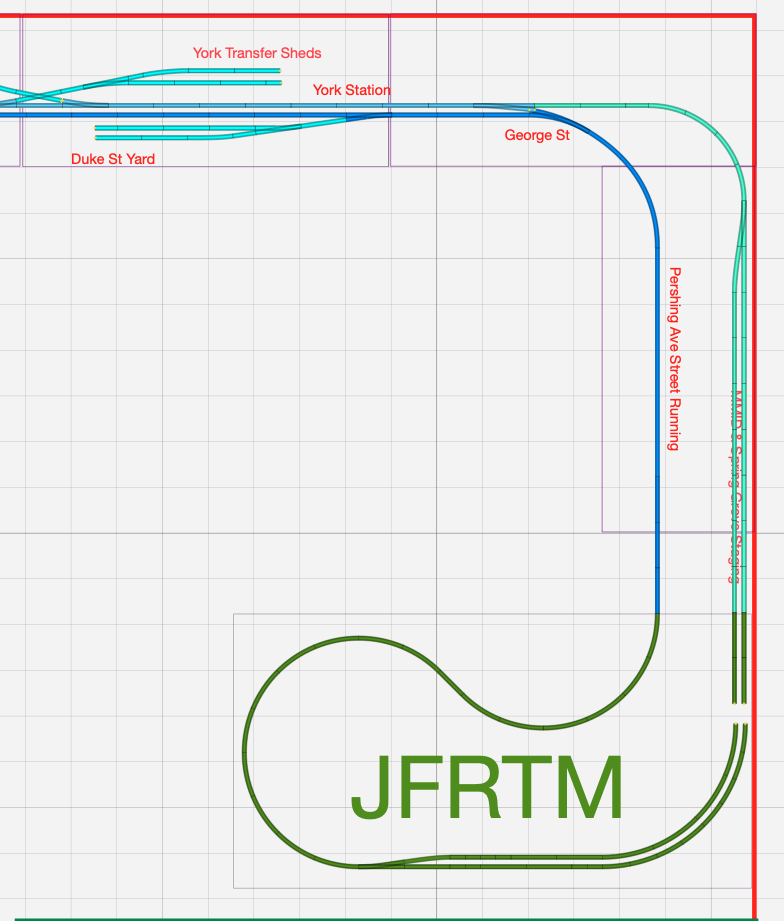
I want to “torture test” my York construction, and it’s tough to do that without the ability to JFRTM. Or at least that’s what I tell myself. In order to do that, I need some temporary return loops on either end.
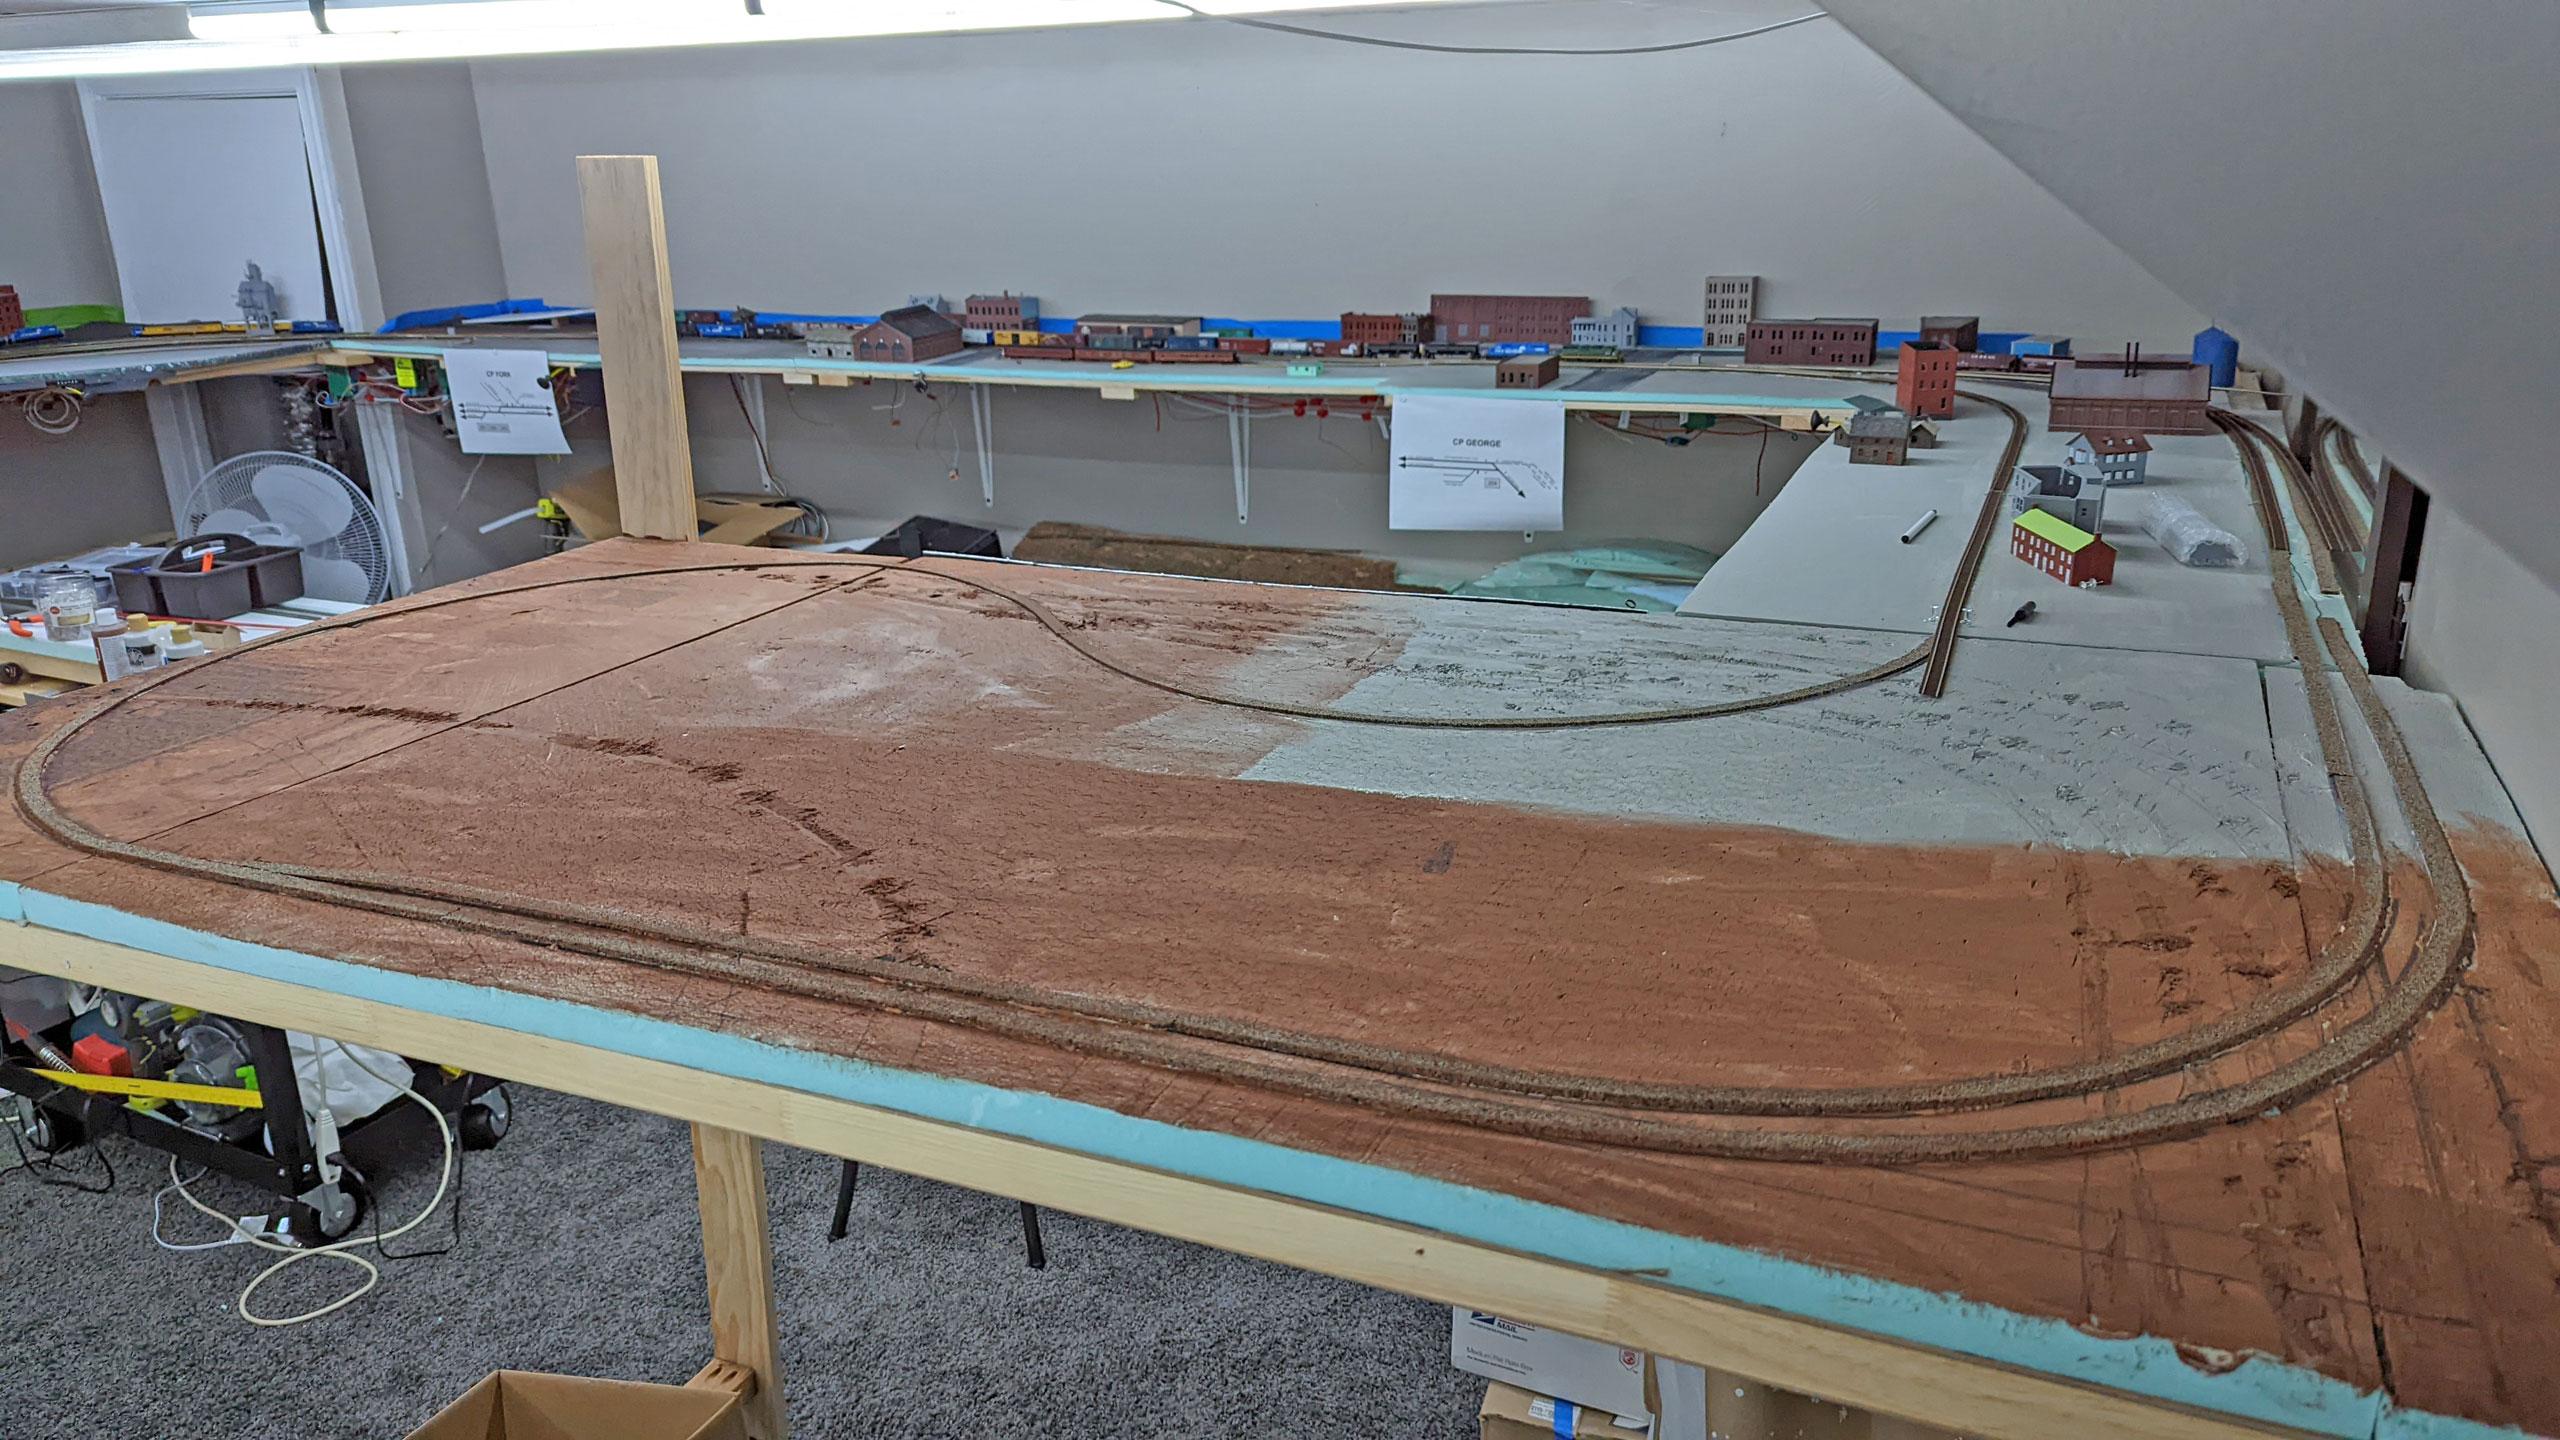
I’ve had the doors I used for my Coal Country layout hanging out in the garage waiting for a new purpose in life. Turns out a couple turnback loops are going to be just that.
For this loop I used the one that I had cut down since it provided all the space I needed. I quickly drew up a plan to make sure I could get everything working with a 15″ minimum radius and of course added an appropriate note. You can see how it fits into the plan here as well. Personally, I think it’s quite clever using the Frederick Branch to make this happen.
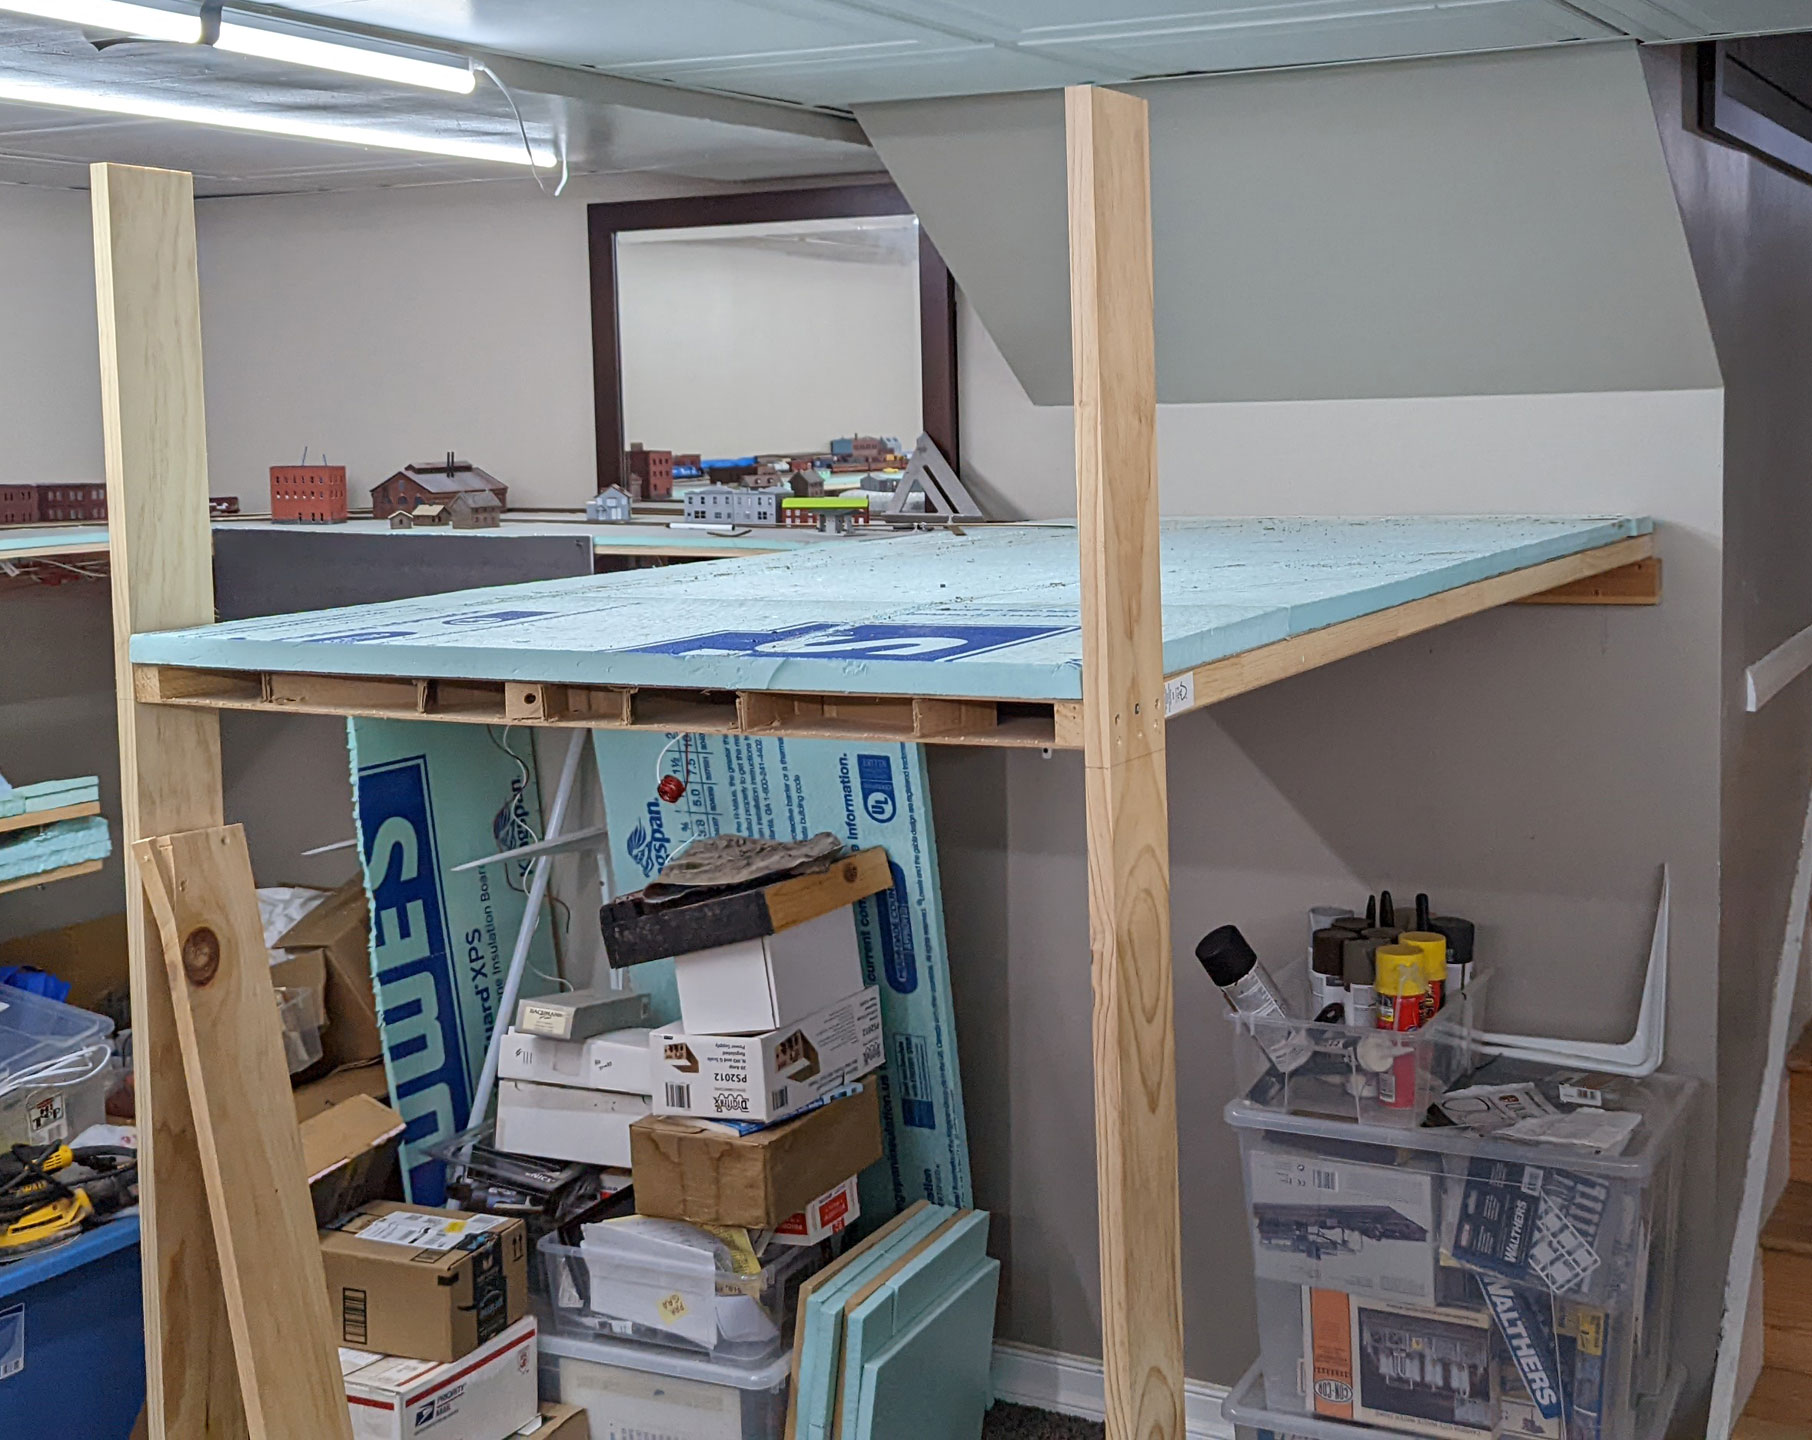
Construction began using both the door and some leftover lumber from, I’m not sure what, honestly, but it was ugly. You can also see the remains of West Cressona Yard here too.

Those gimpy legs allowed me to get it up in the air and to attach a cleat to the wall to solidly support it.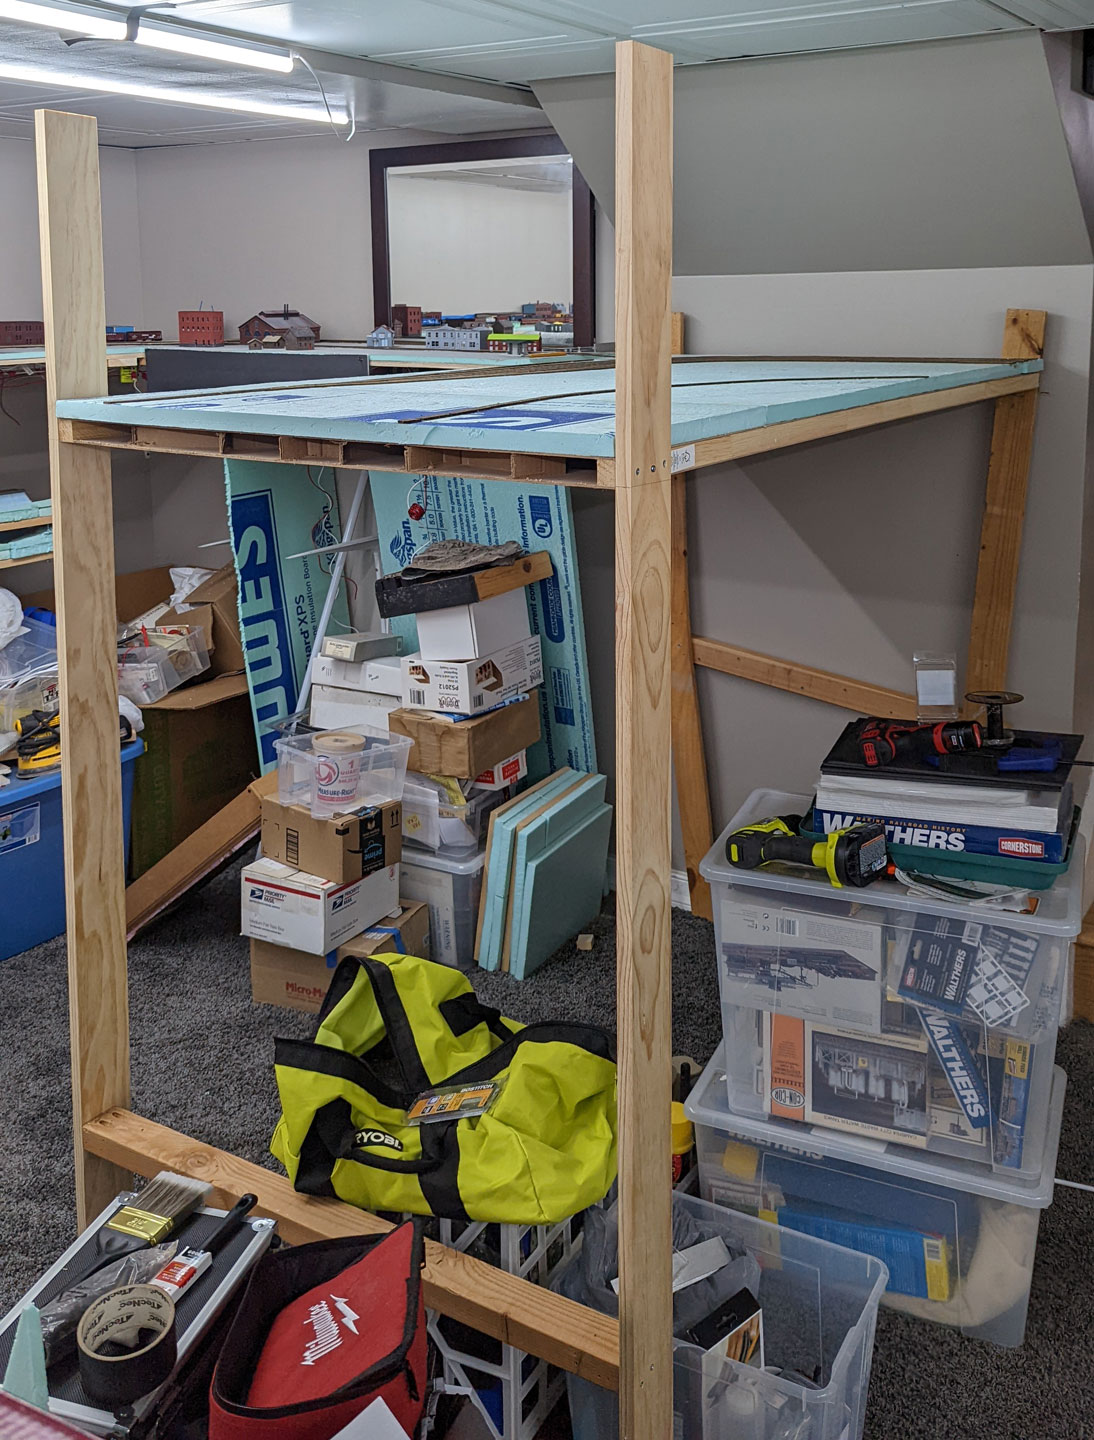
You can also see how that the old cork is now also removed meaning it was time to start laying out the track.
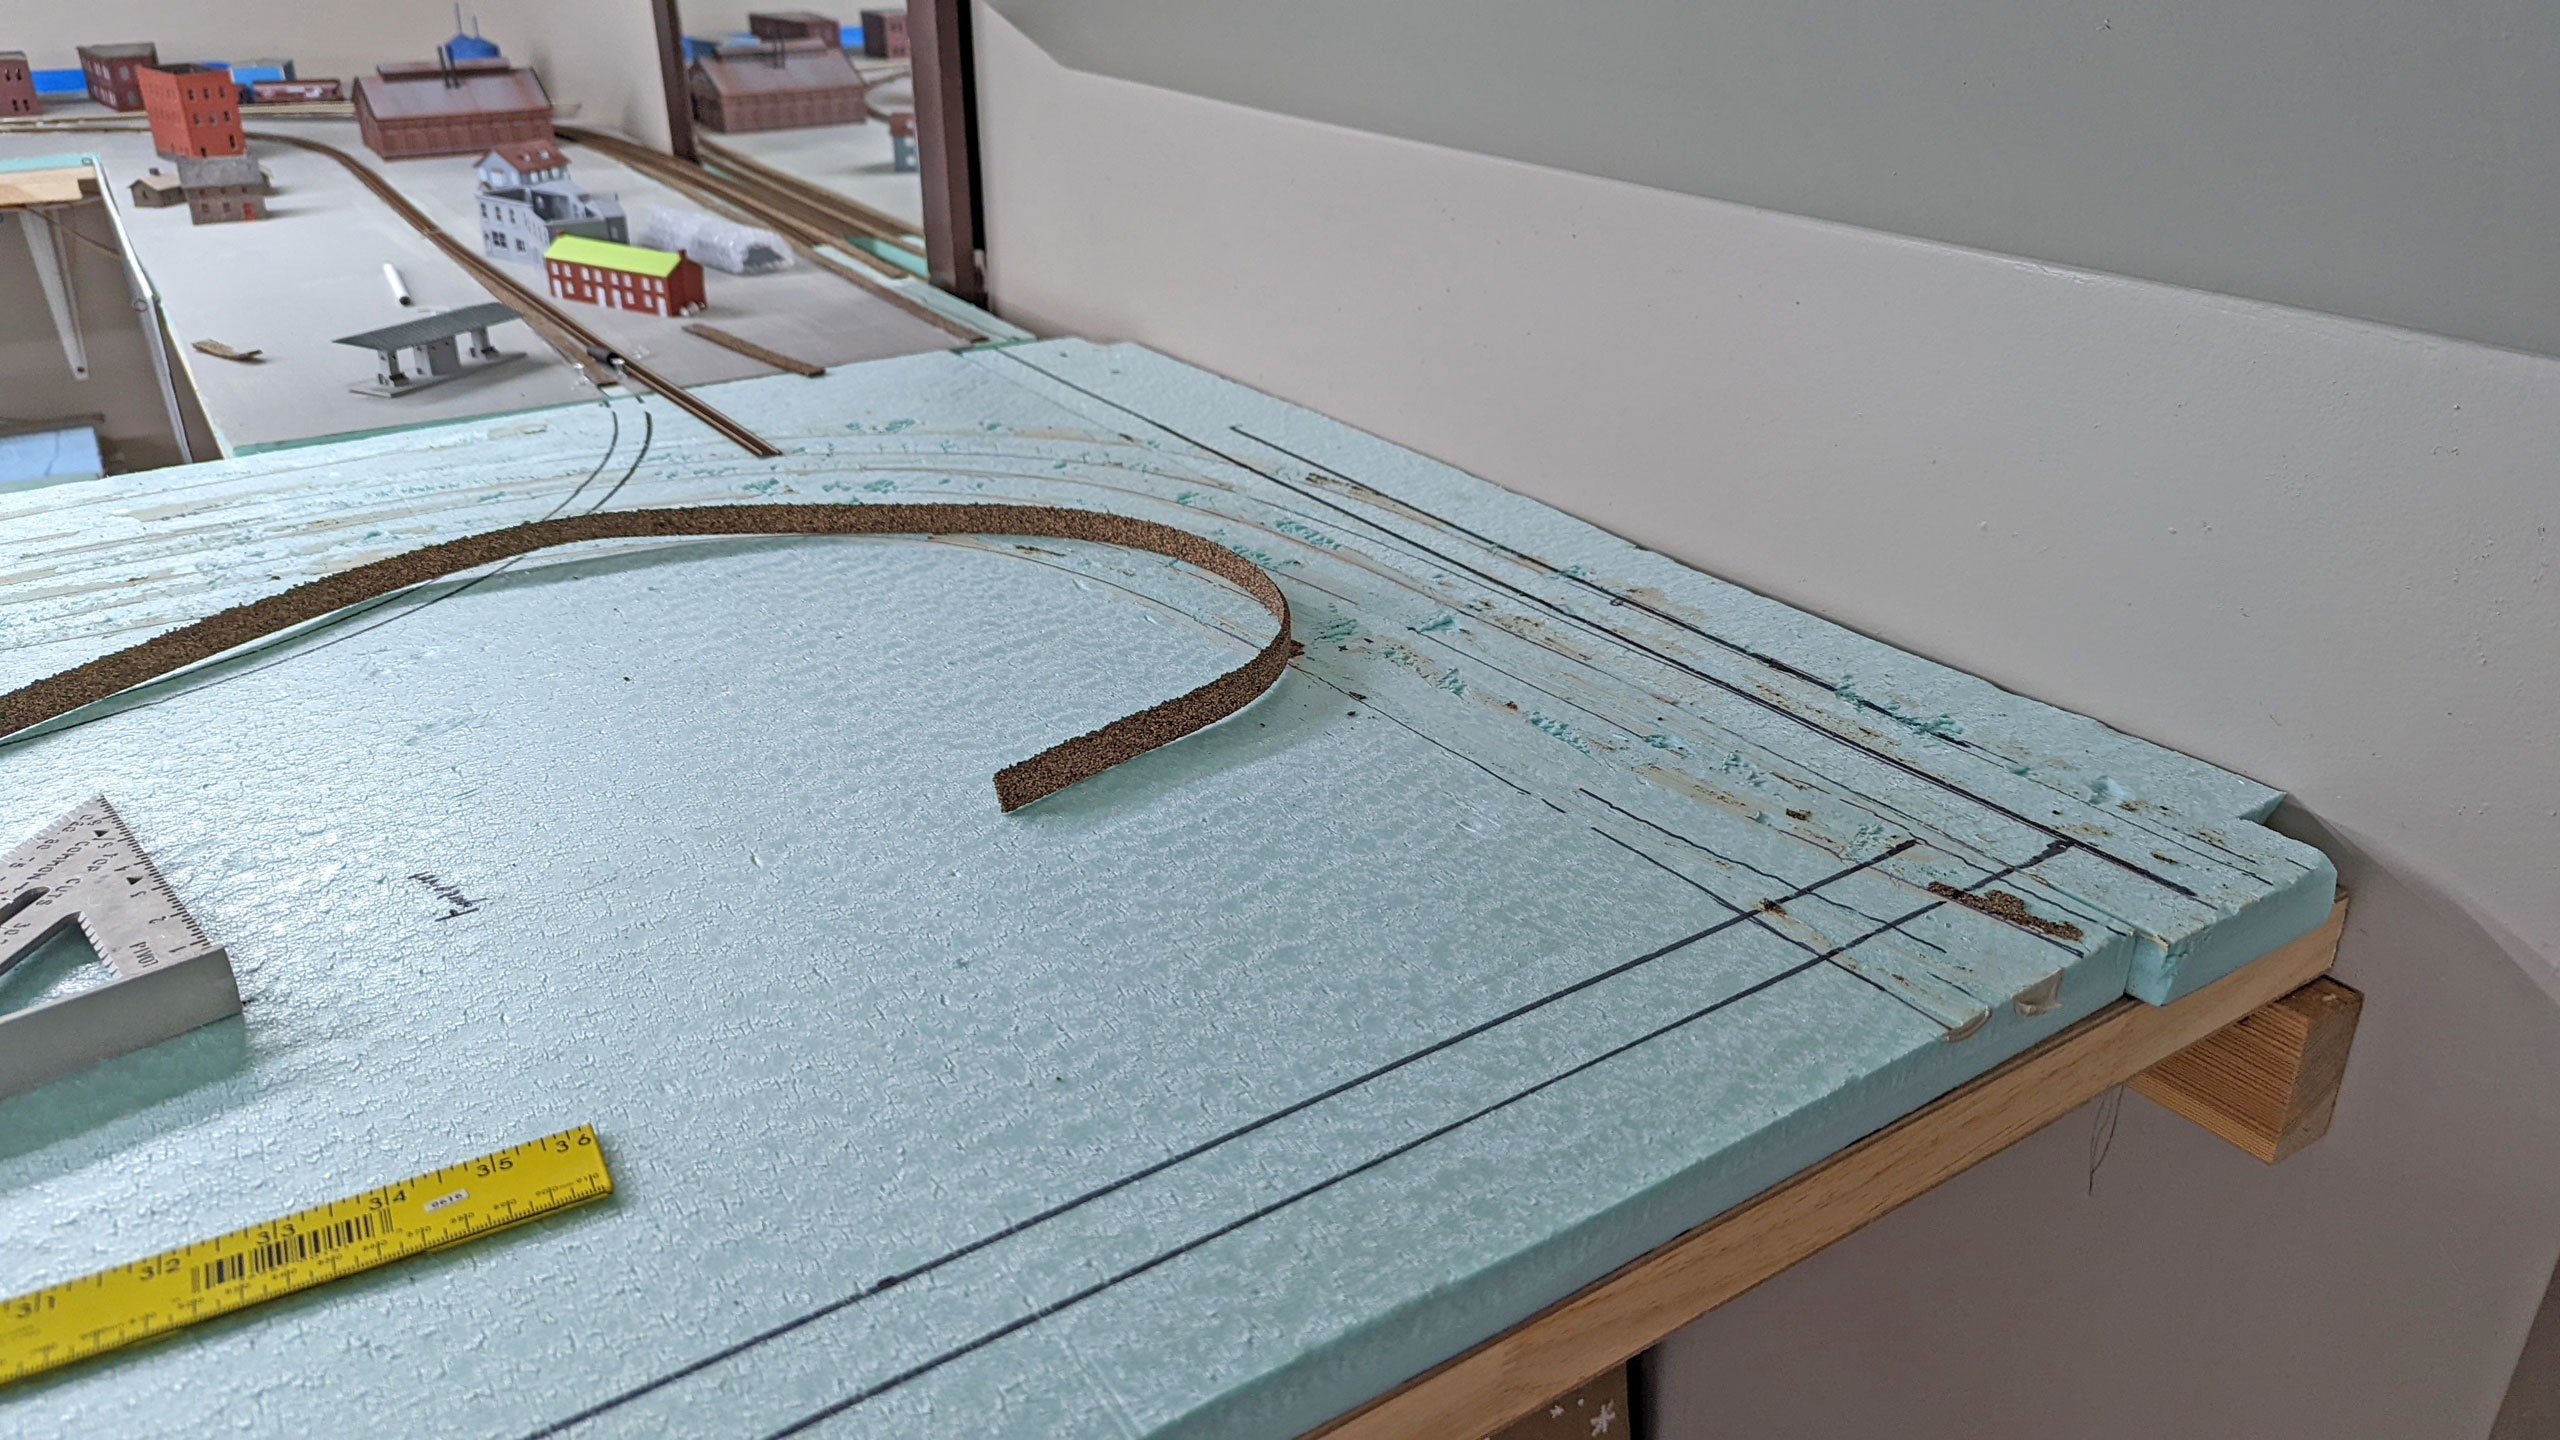
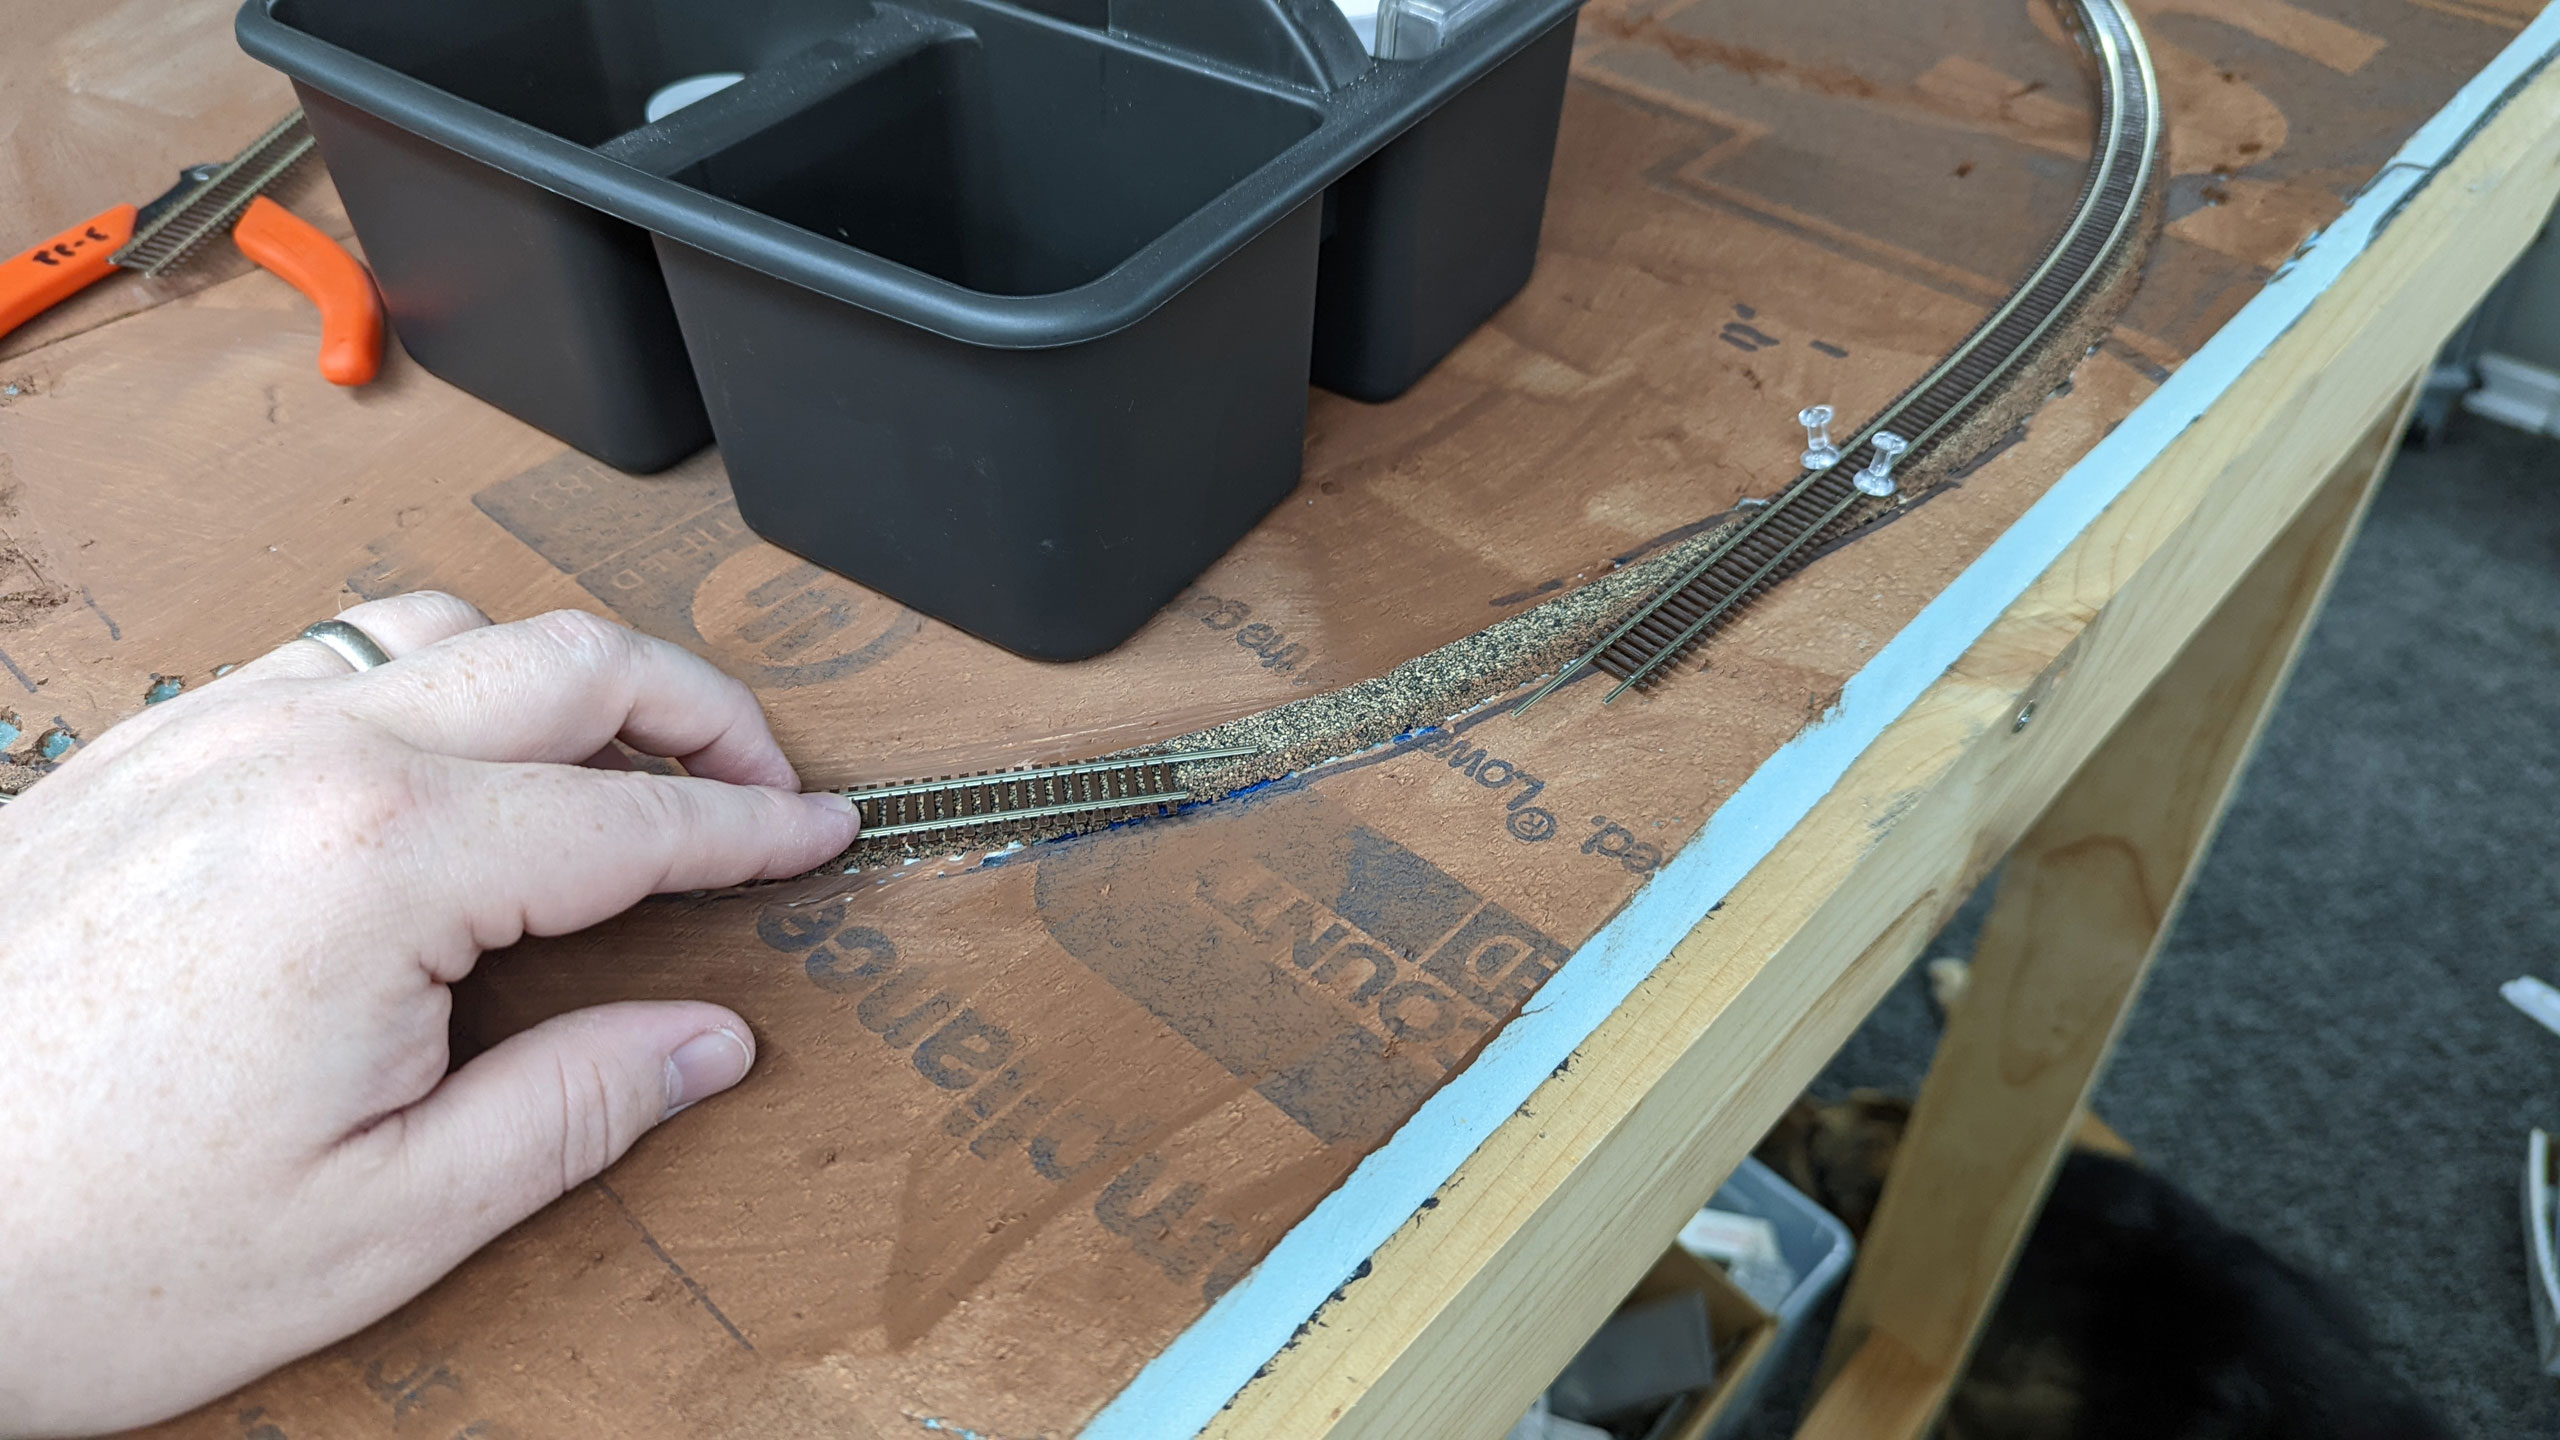
I start this process by using the drawing to locate key spots, and then use a handful of snap track that I have in the standard radiuses to lay out curves. I lay it out and pin it down before tracing its outlines for future cork placement.
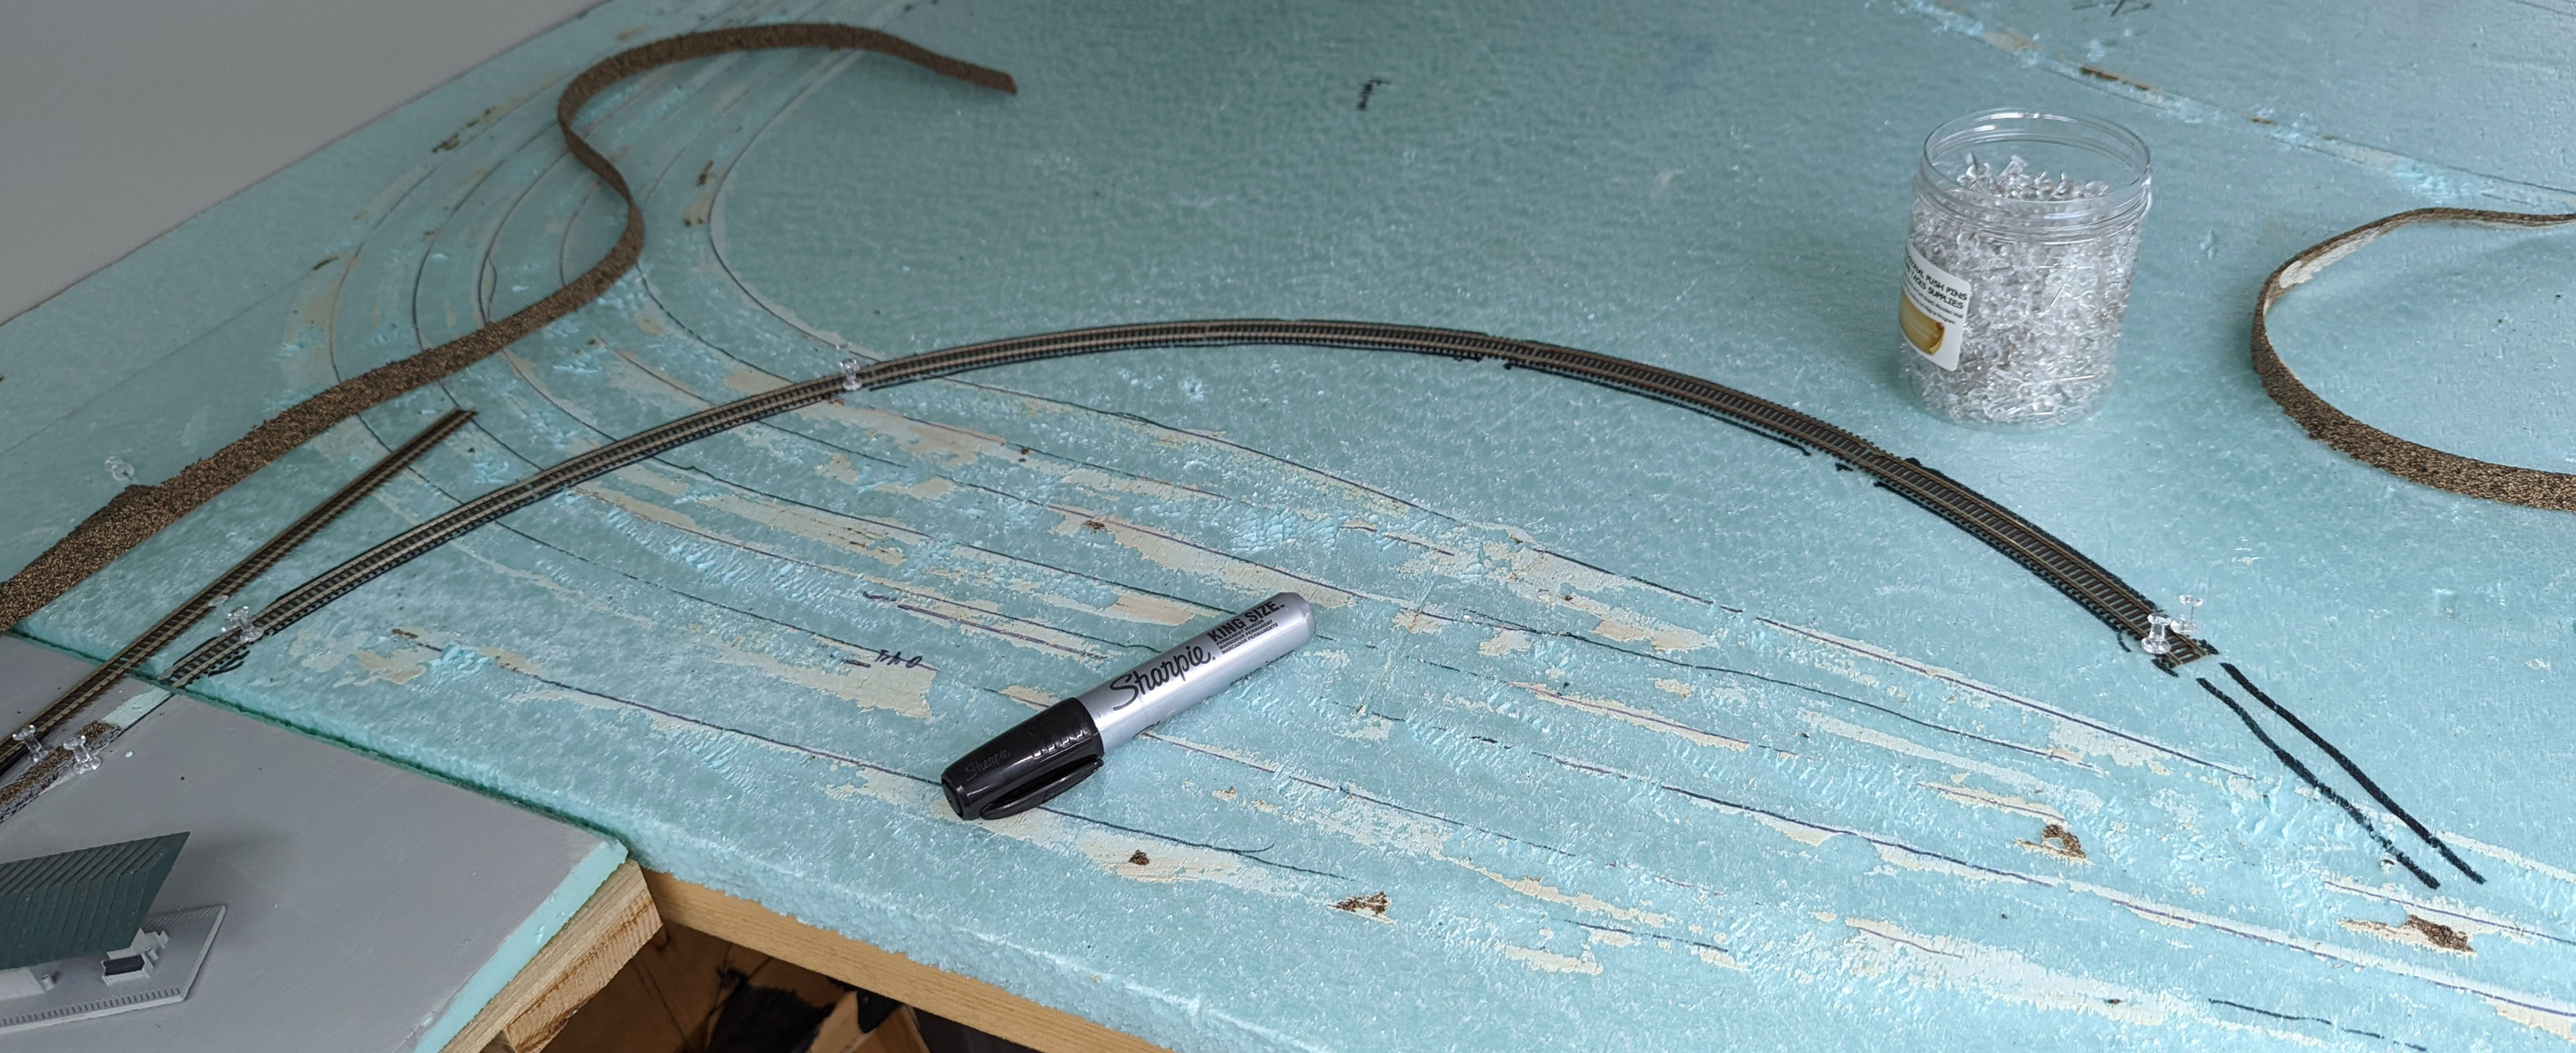
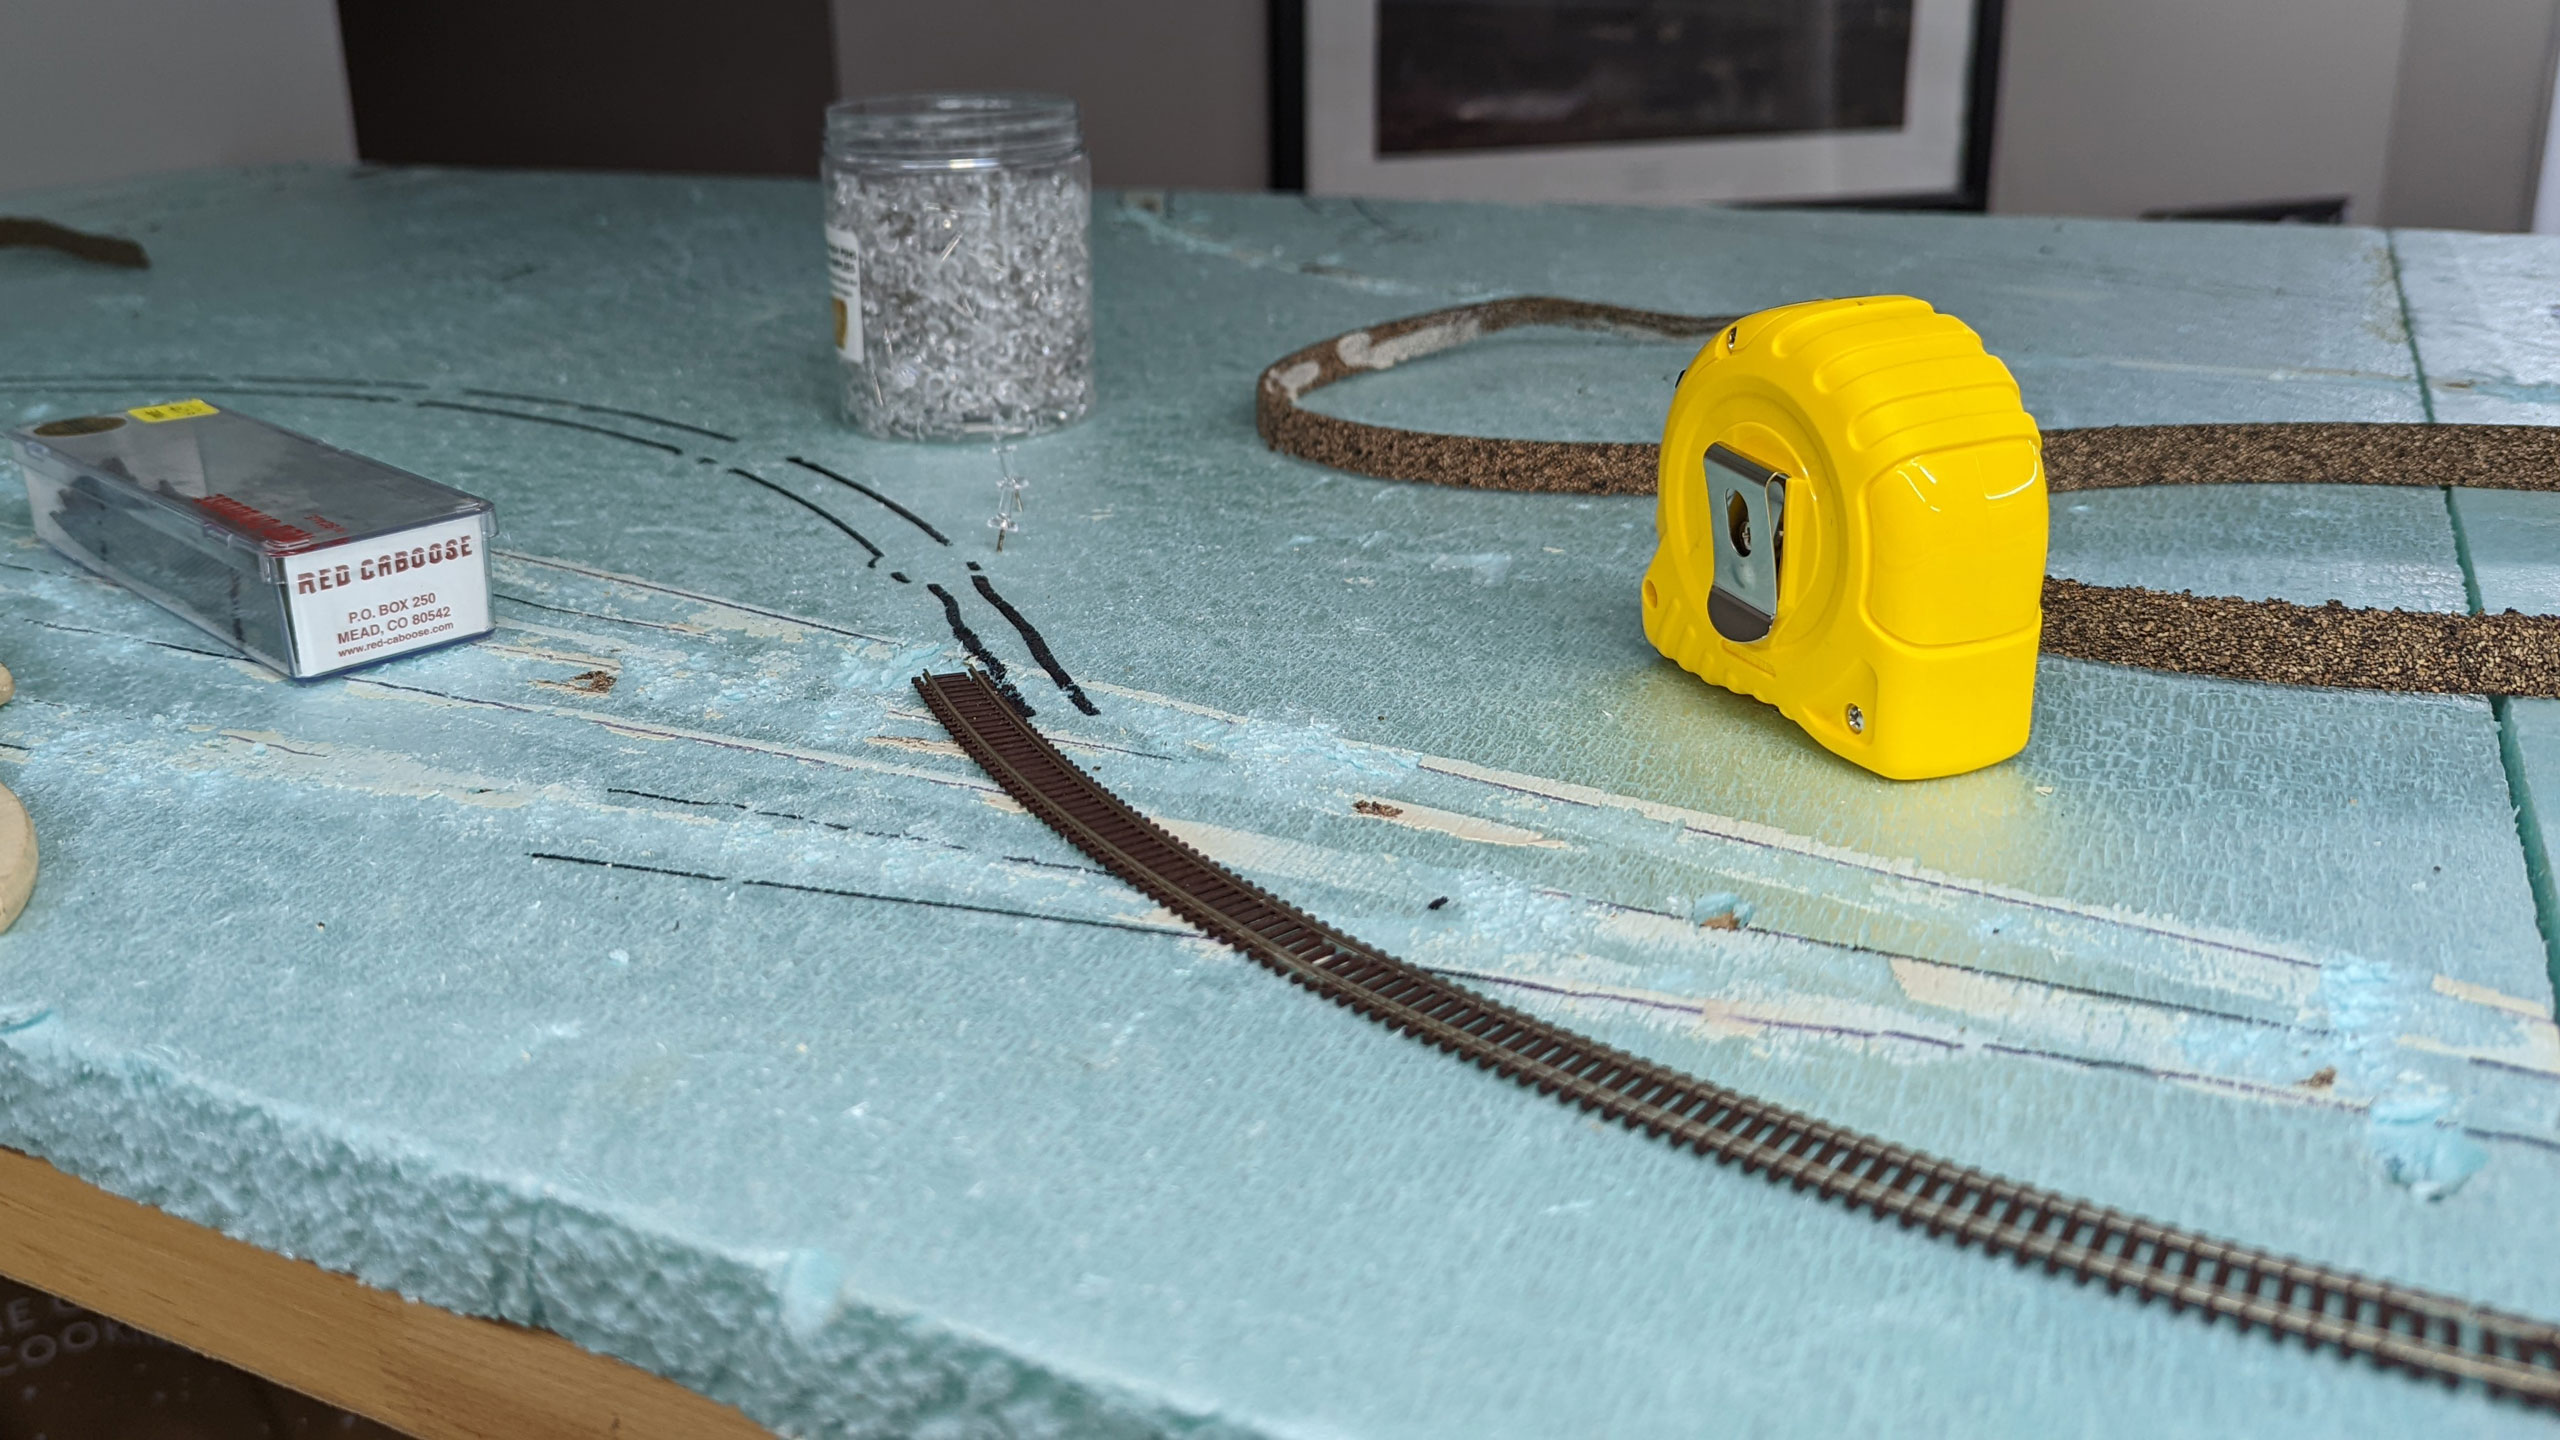
In some cases I laid out lines where track was and then just joined them with track of the appropriate radius.
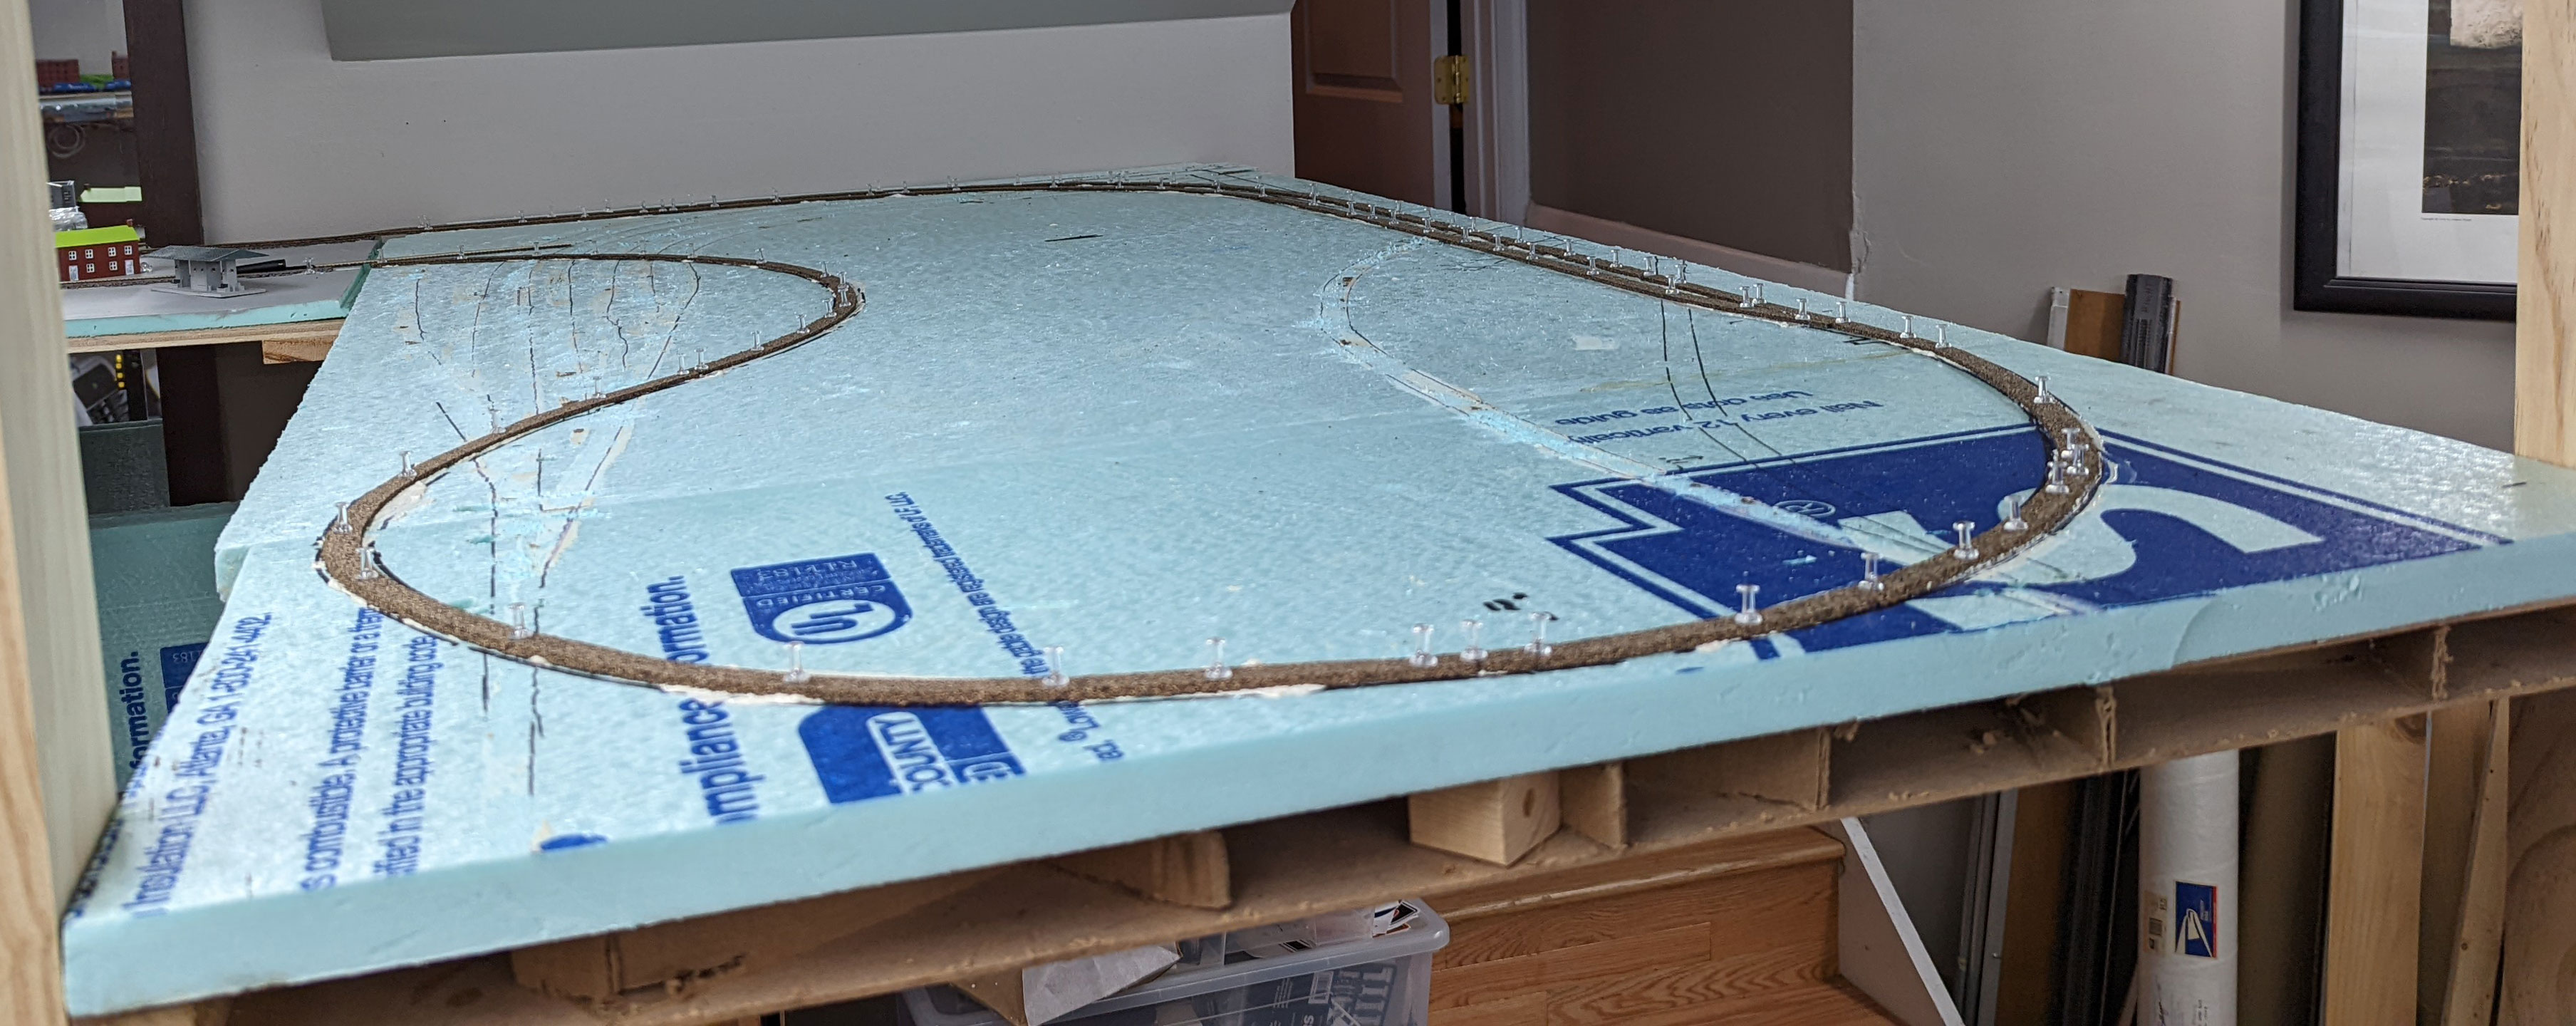
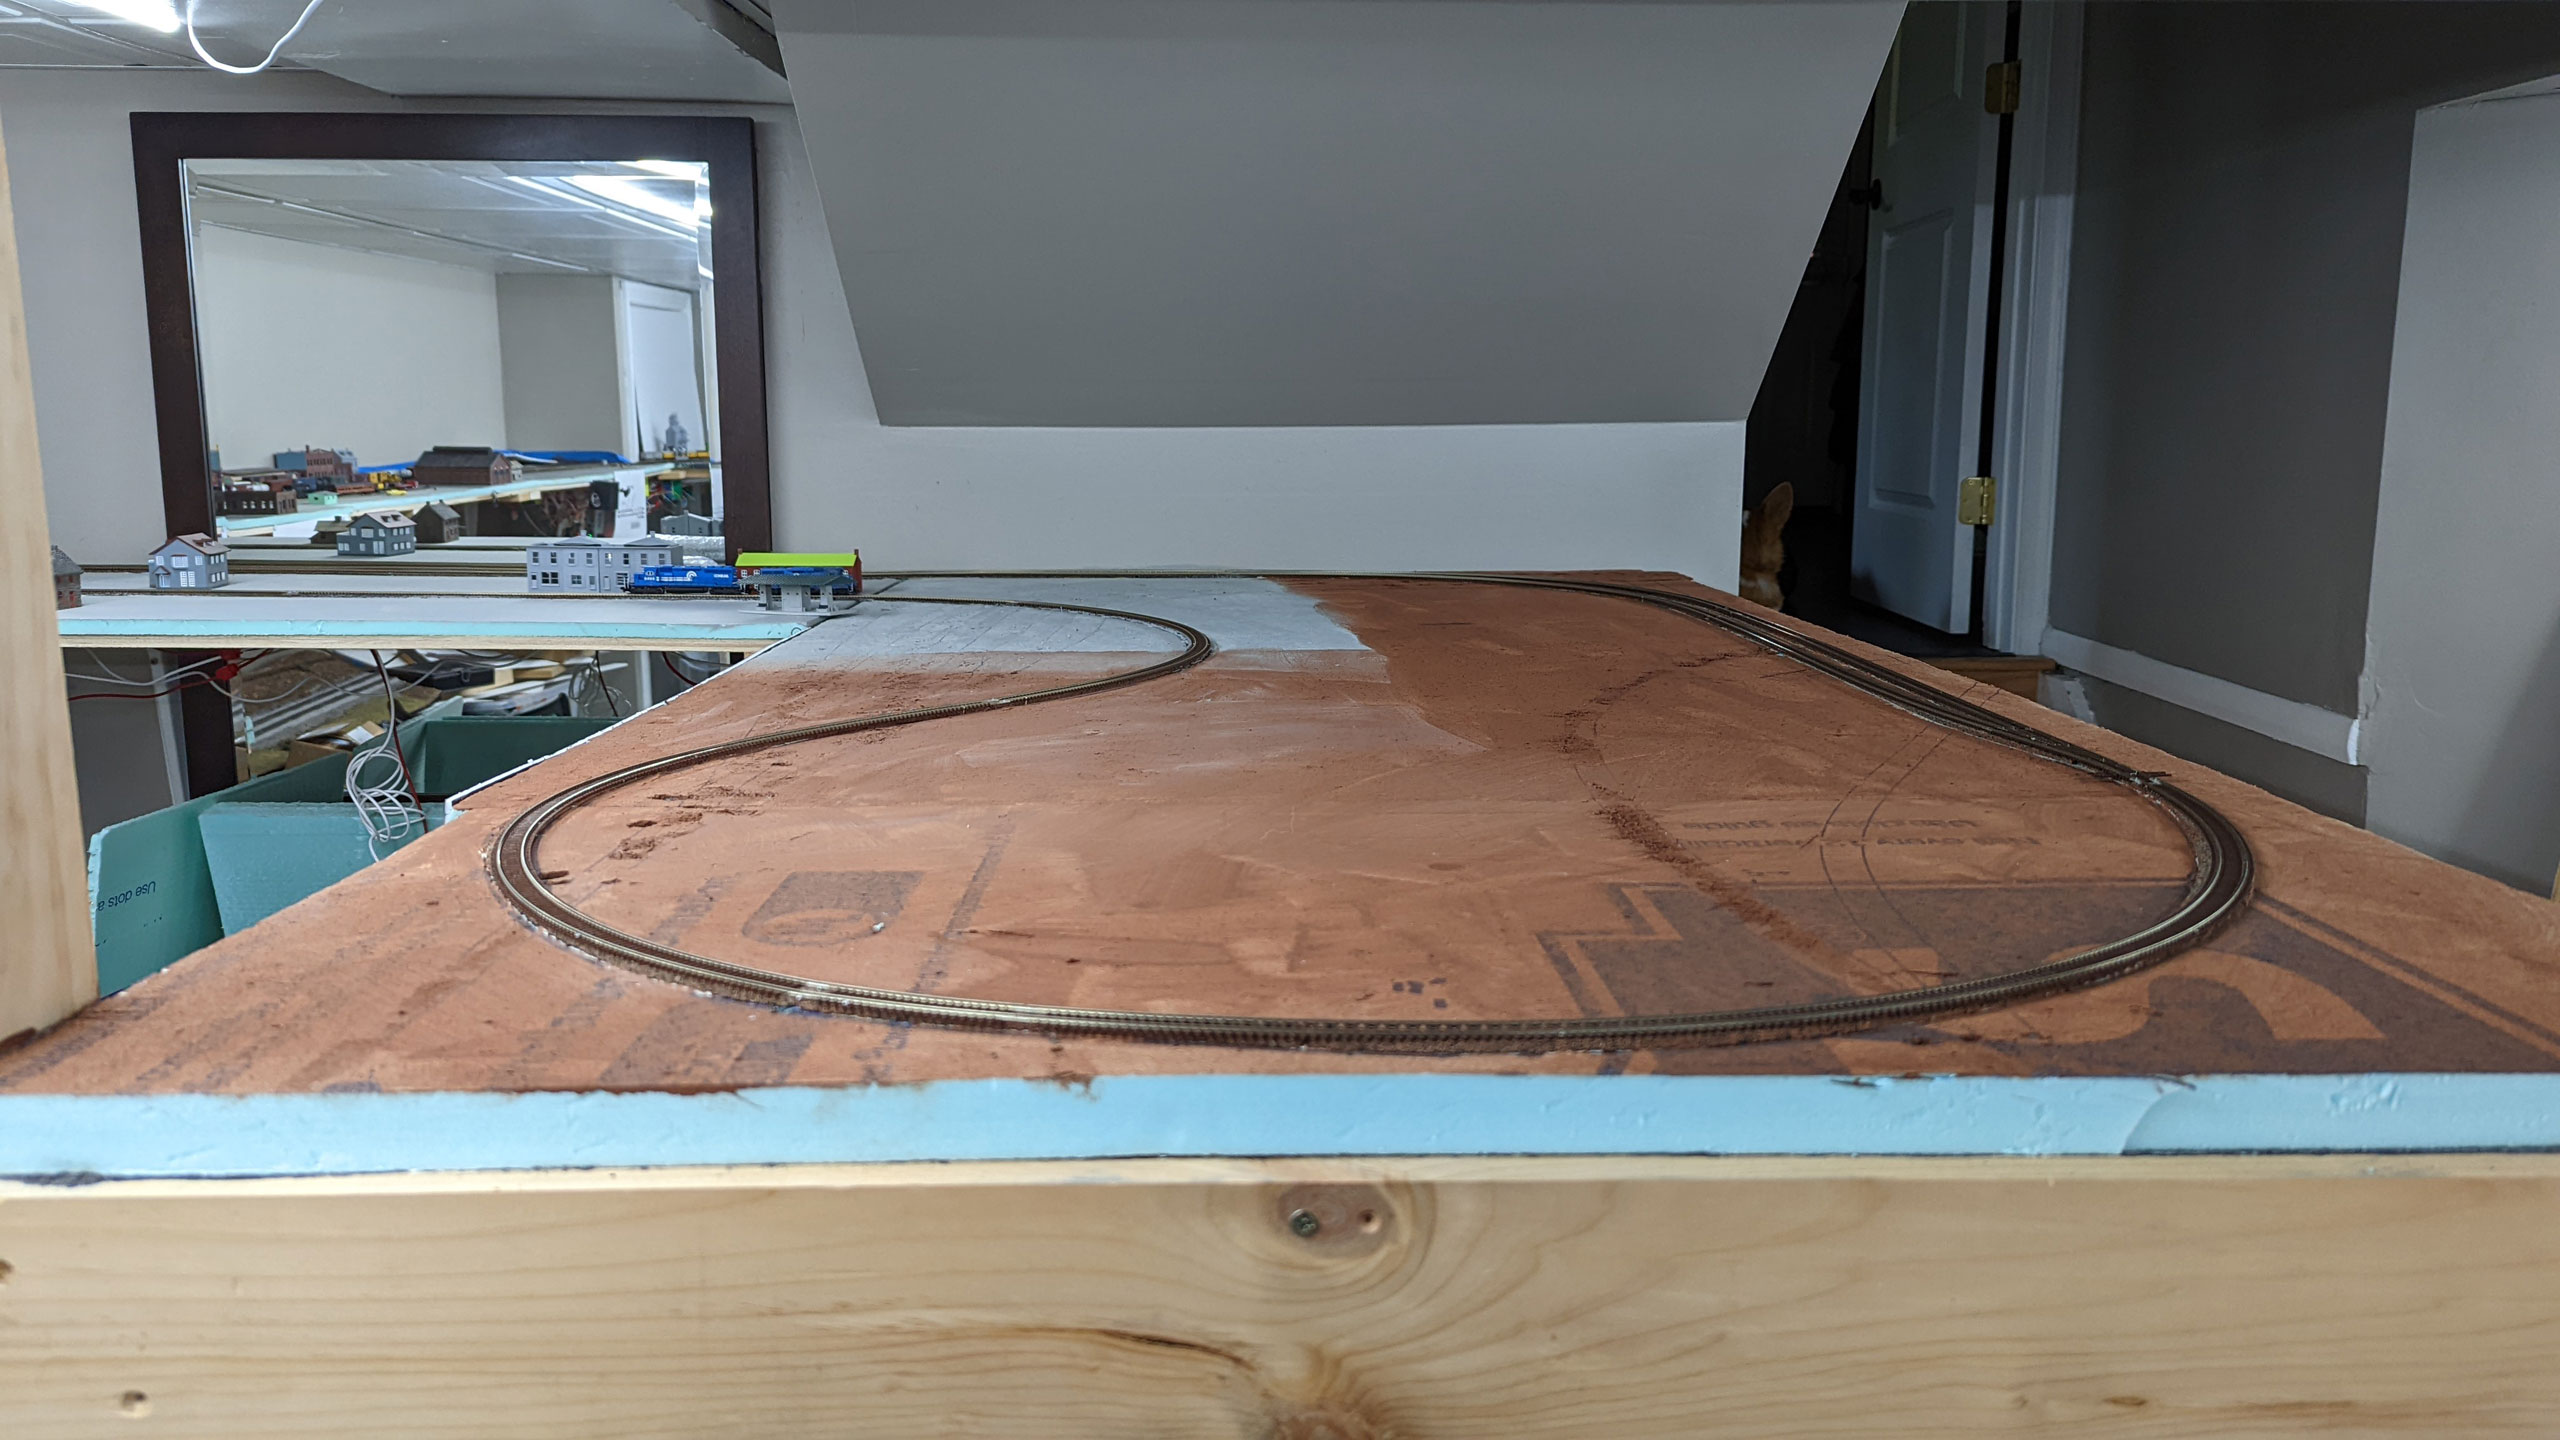
This photo illustrates everything in place, but also should serve as a reminder to modelers: be smart, when laying out foam, remember to put the lettering side down.

With the lines in place it’s just a matter of “coloring inside the lines” with a thin screed of Liquid Nails for Projects and cork on top.
With cork down it was time to paint the foam. I hate seeing green foam and a few minutes with some craft paint hides it all.
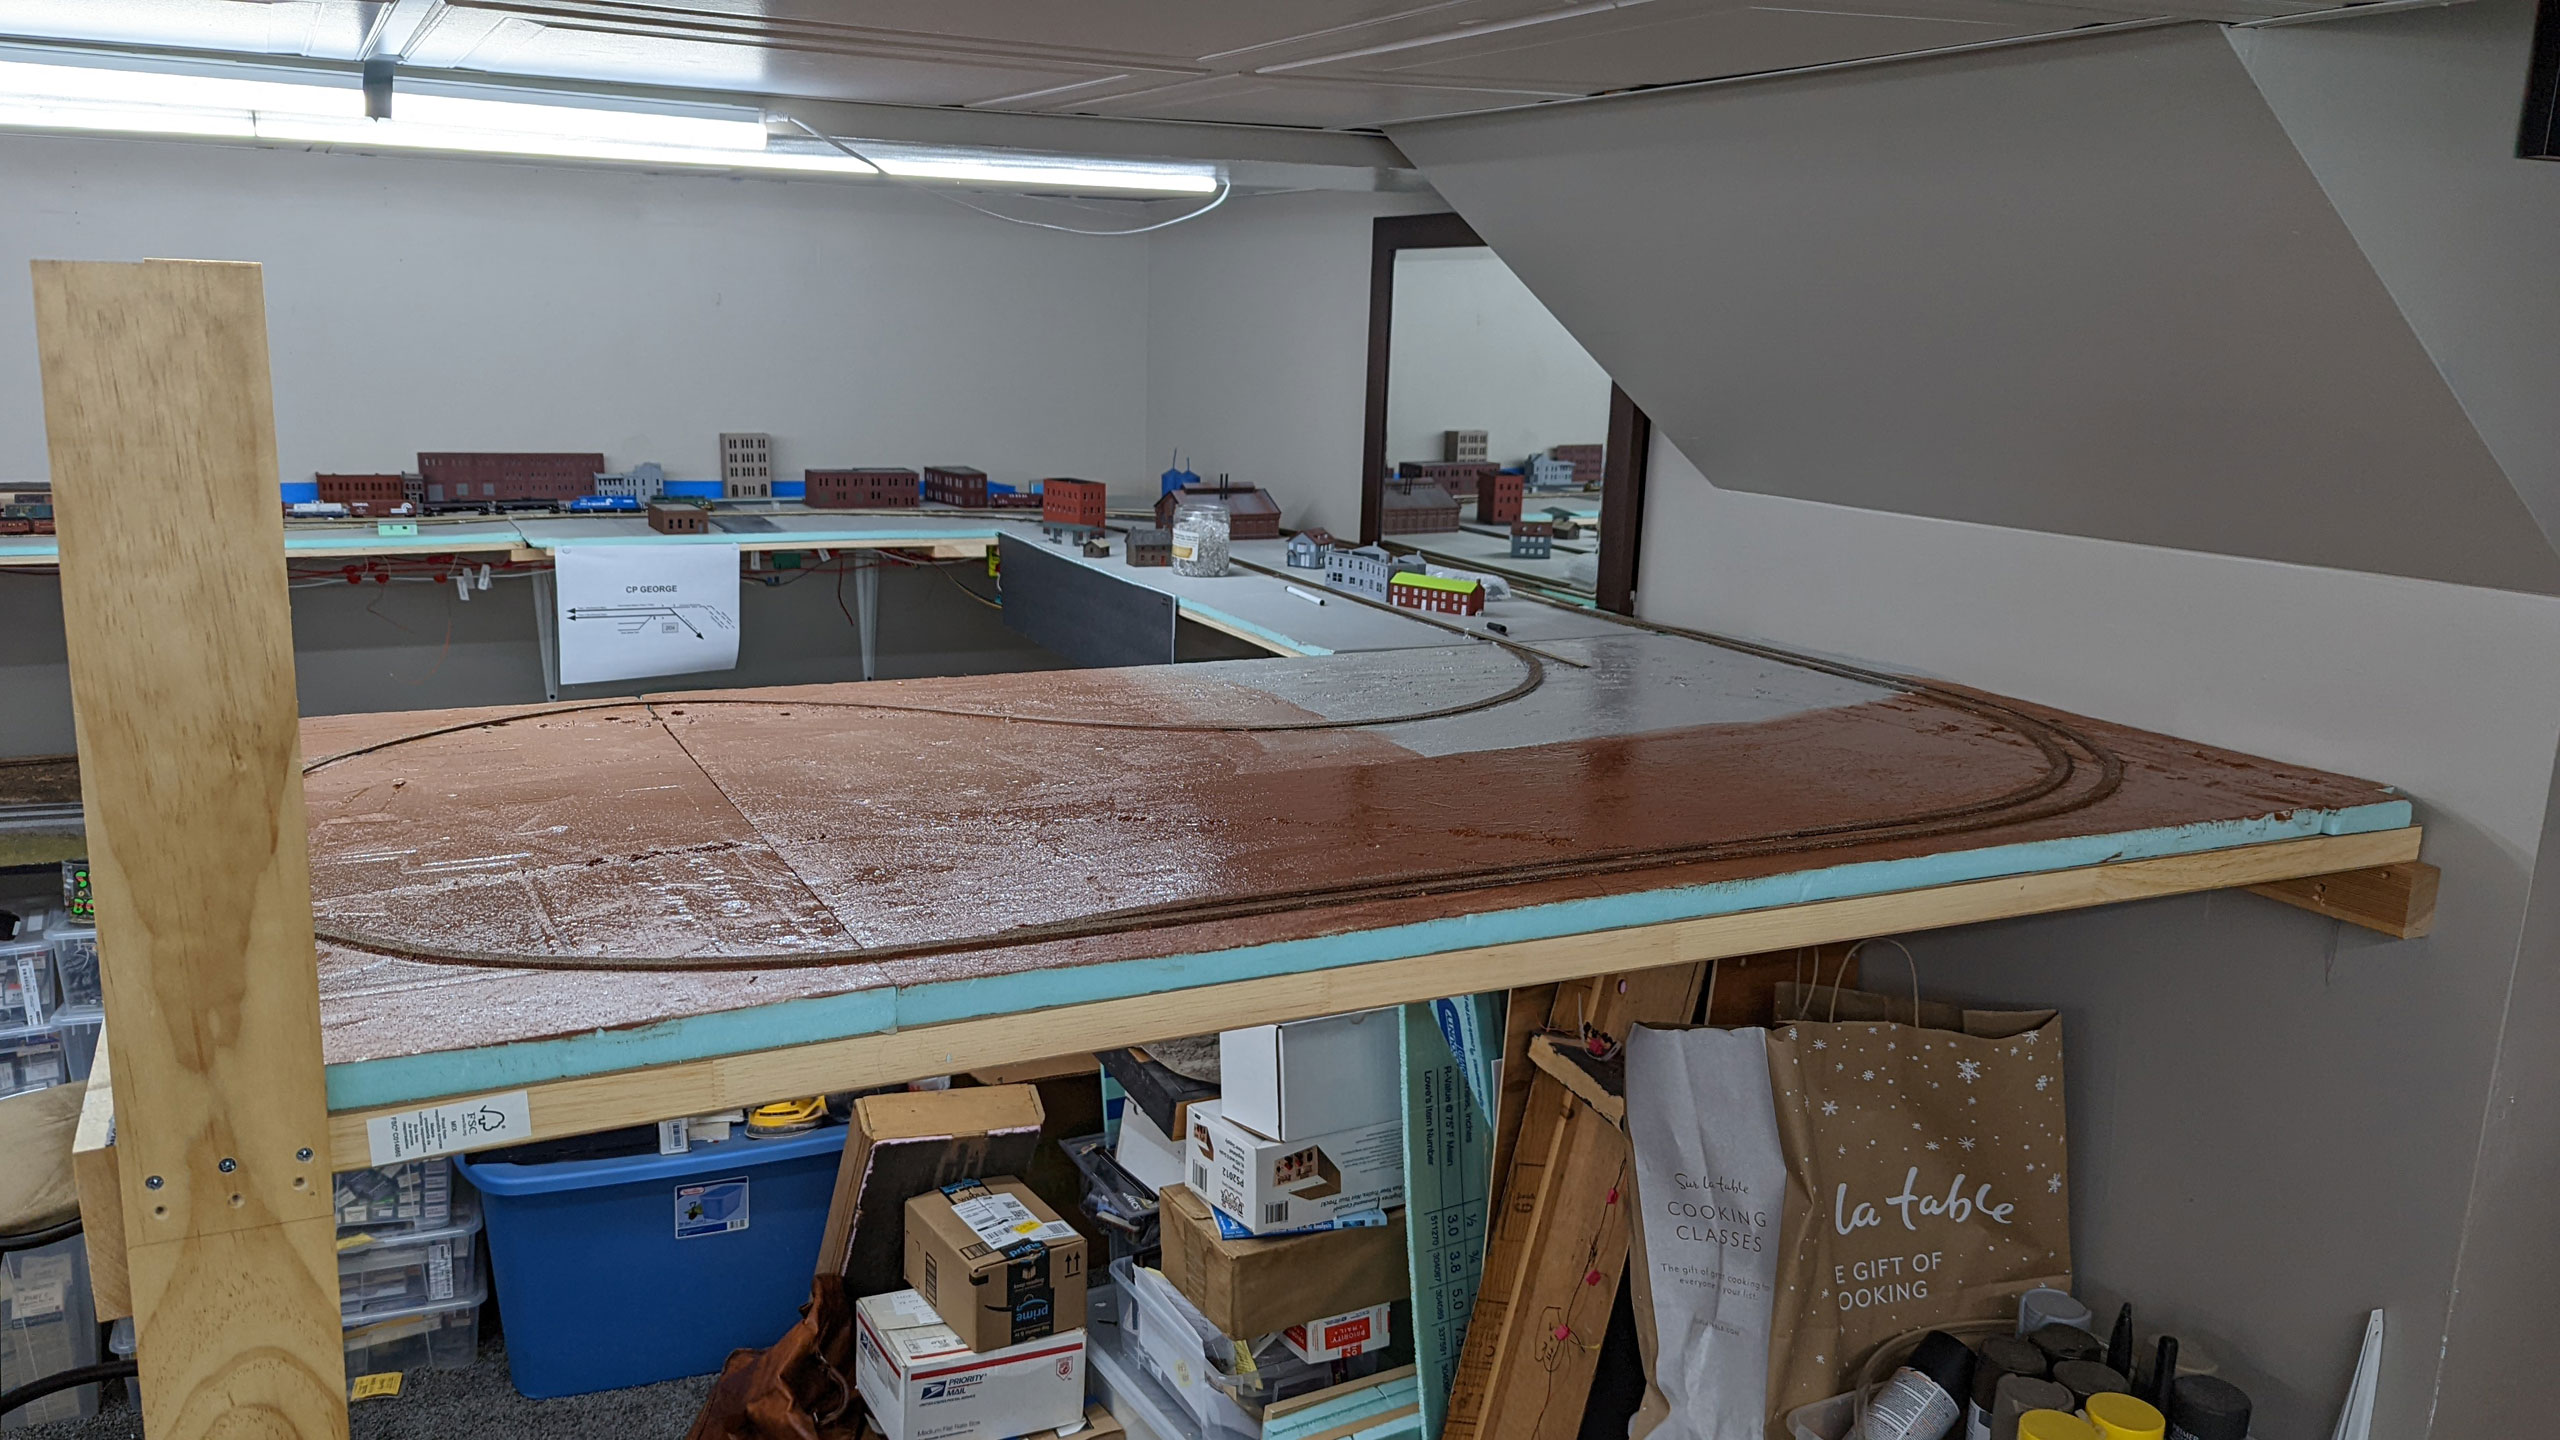
You can still see the scars from the previous use and the lettering printed on the foam showing through, but it’s far better than a sea of shiny green.
Track was laid using “head pins” to hold it all in place. These things are great because they do a good job of holding things in place while also barely protruding, meaning they’re great for track.
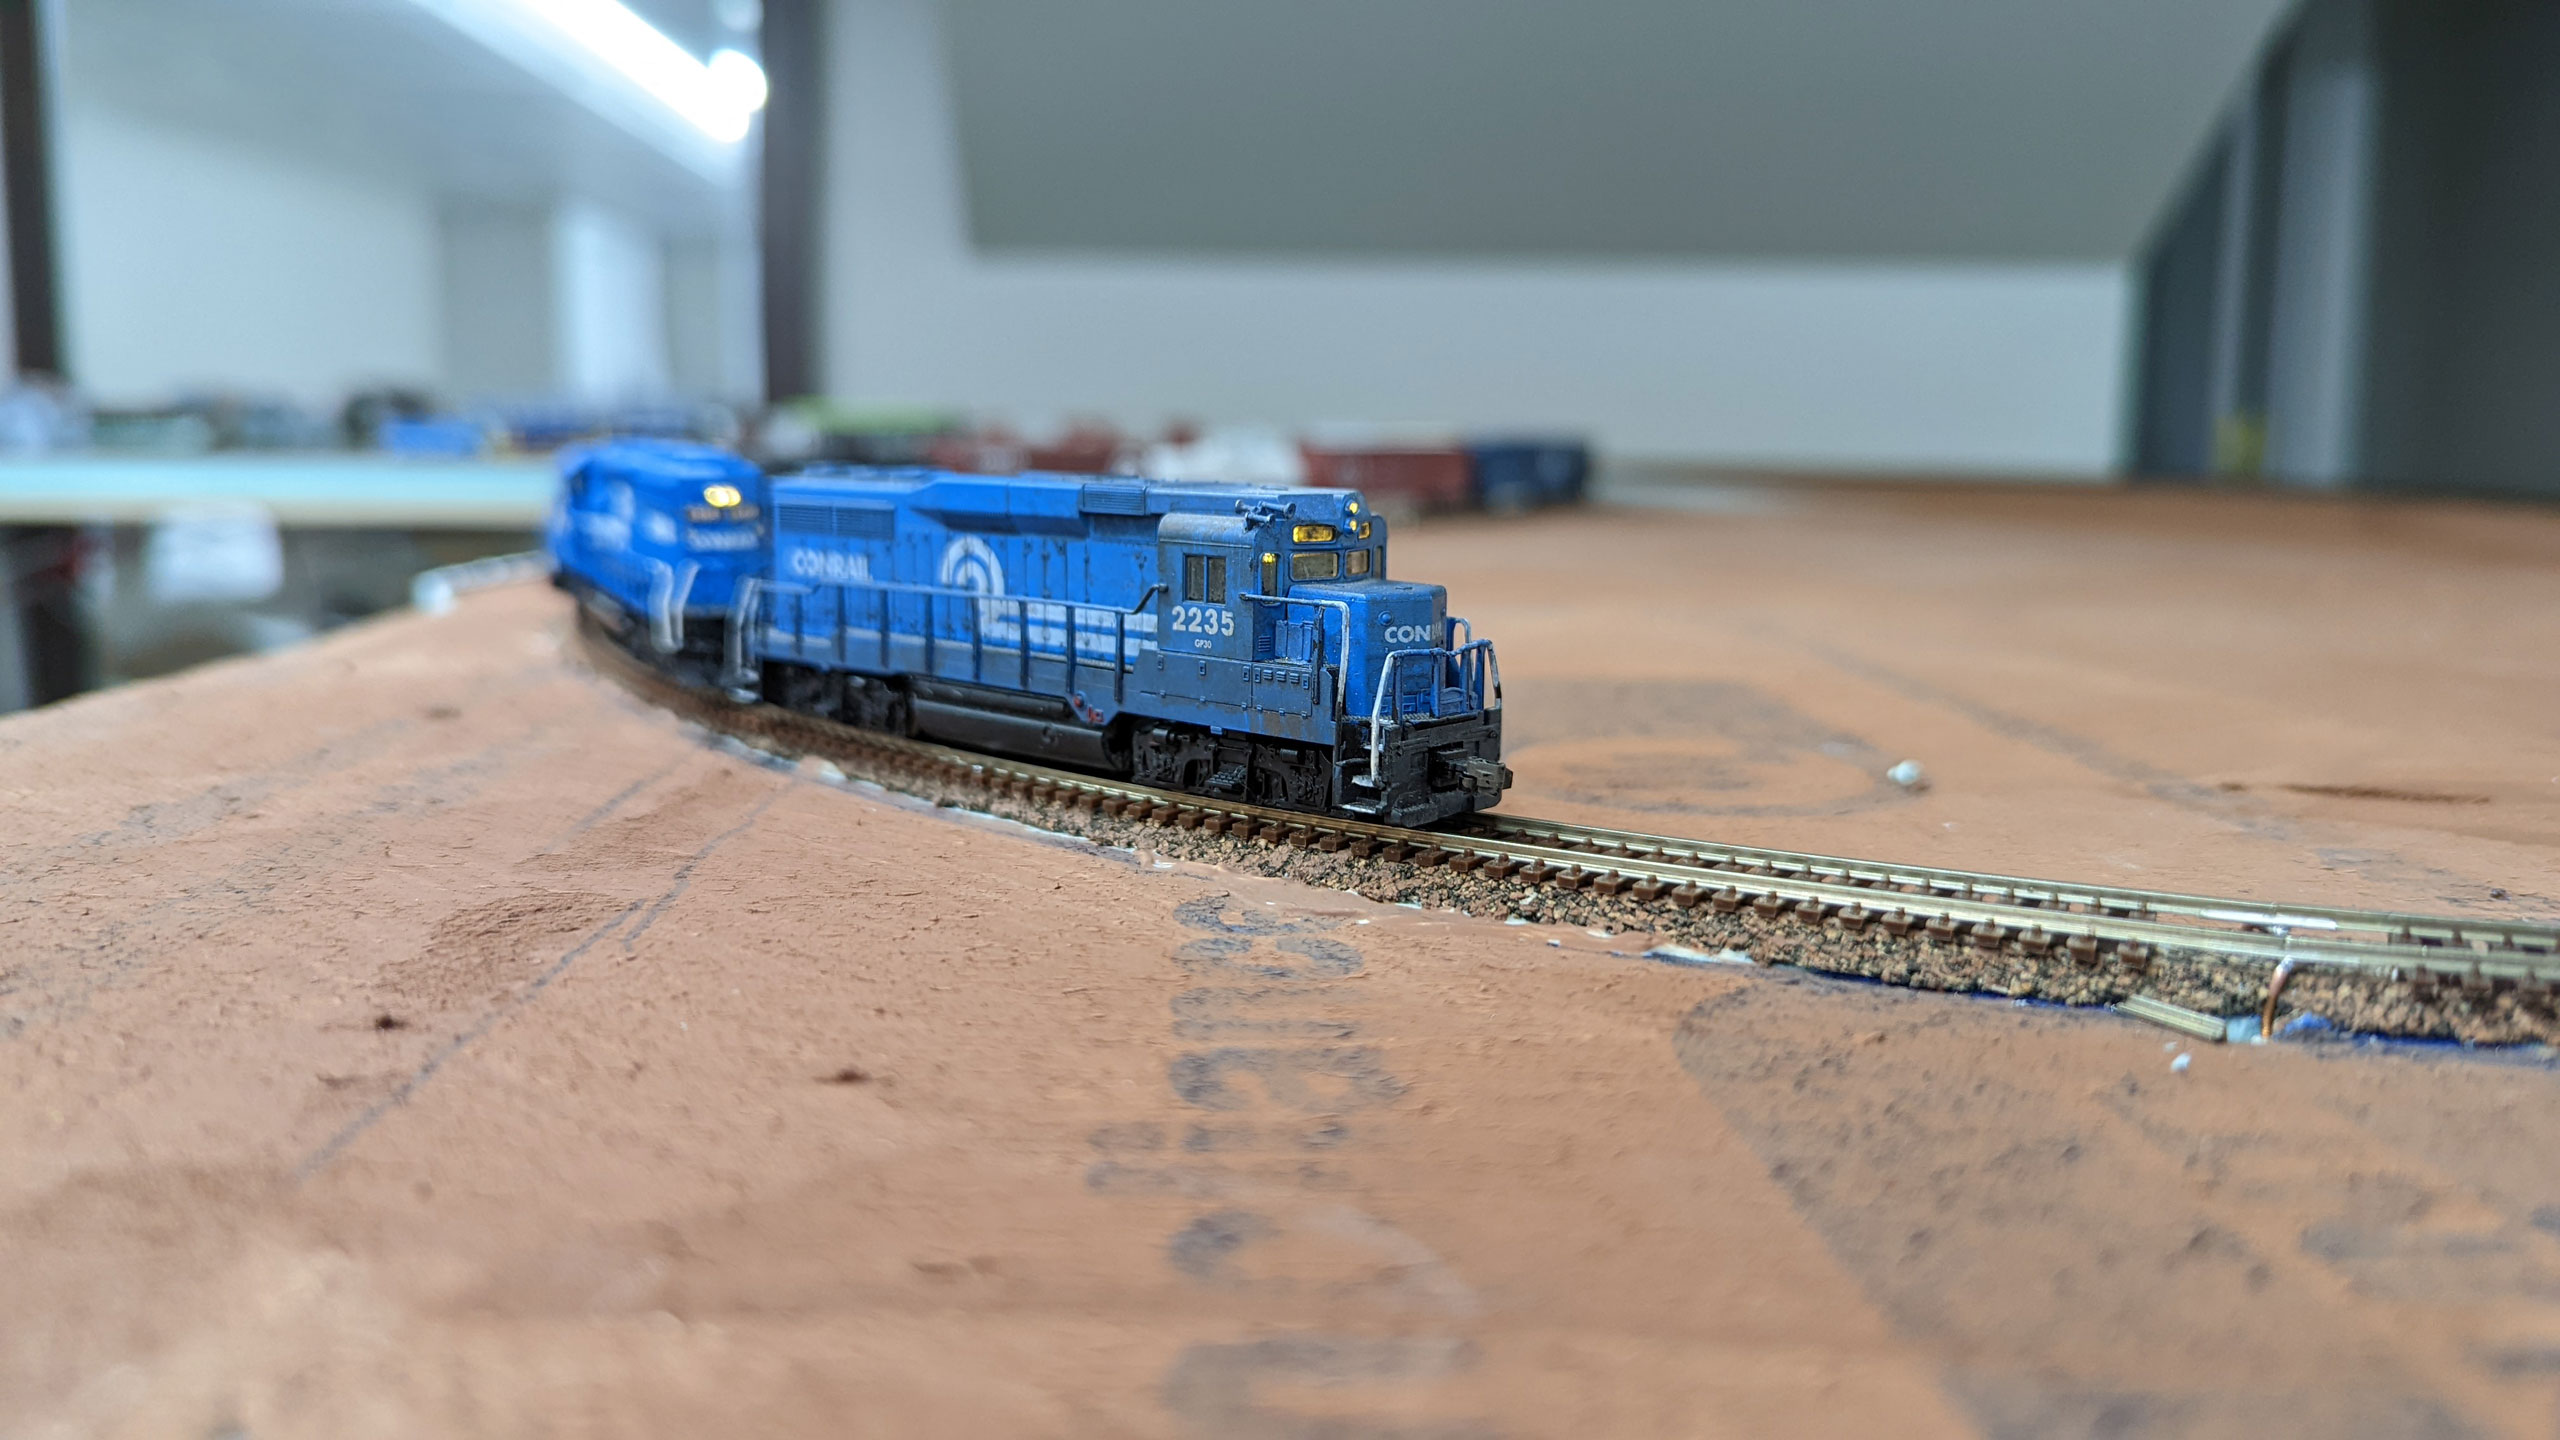
I started laying track from both ends, and of course it worked out like this.
Since this was temporary, I did not drop many any to either line that extends from the permanent layout. Because it’s a return loop I needed to install an auto reversing section, so I soldered up some feeder joiners for use in this otherwise insulated section.
I’m re-using a DCC Specialties OG-AR from my “DCC in a Box” install here. Again, because it’s supposed to be temporary. I did learn an important thing about these, however. In this situation I had tied it in to the end of the PSX protected “un-signaled” wiring bus. This caused a problem in the OG-AR’s function because the PSX trips before the OG-AR does, which means there is a very noticeable delay in the polarity reversal. For this reason I simply “jumpered around” the PSX for now and everything works smoothly. That, however, is the reason for the stutter in this video of the first train around the loop.
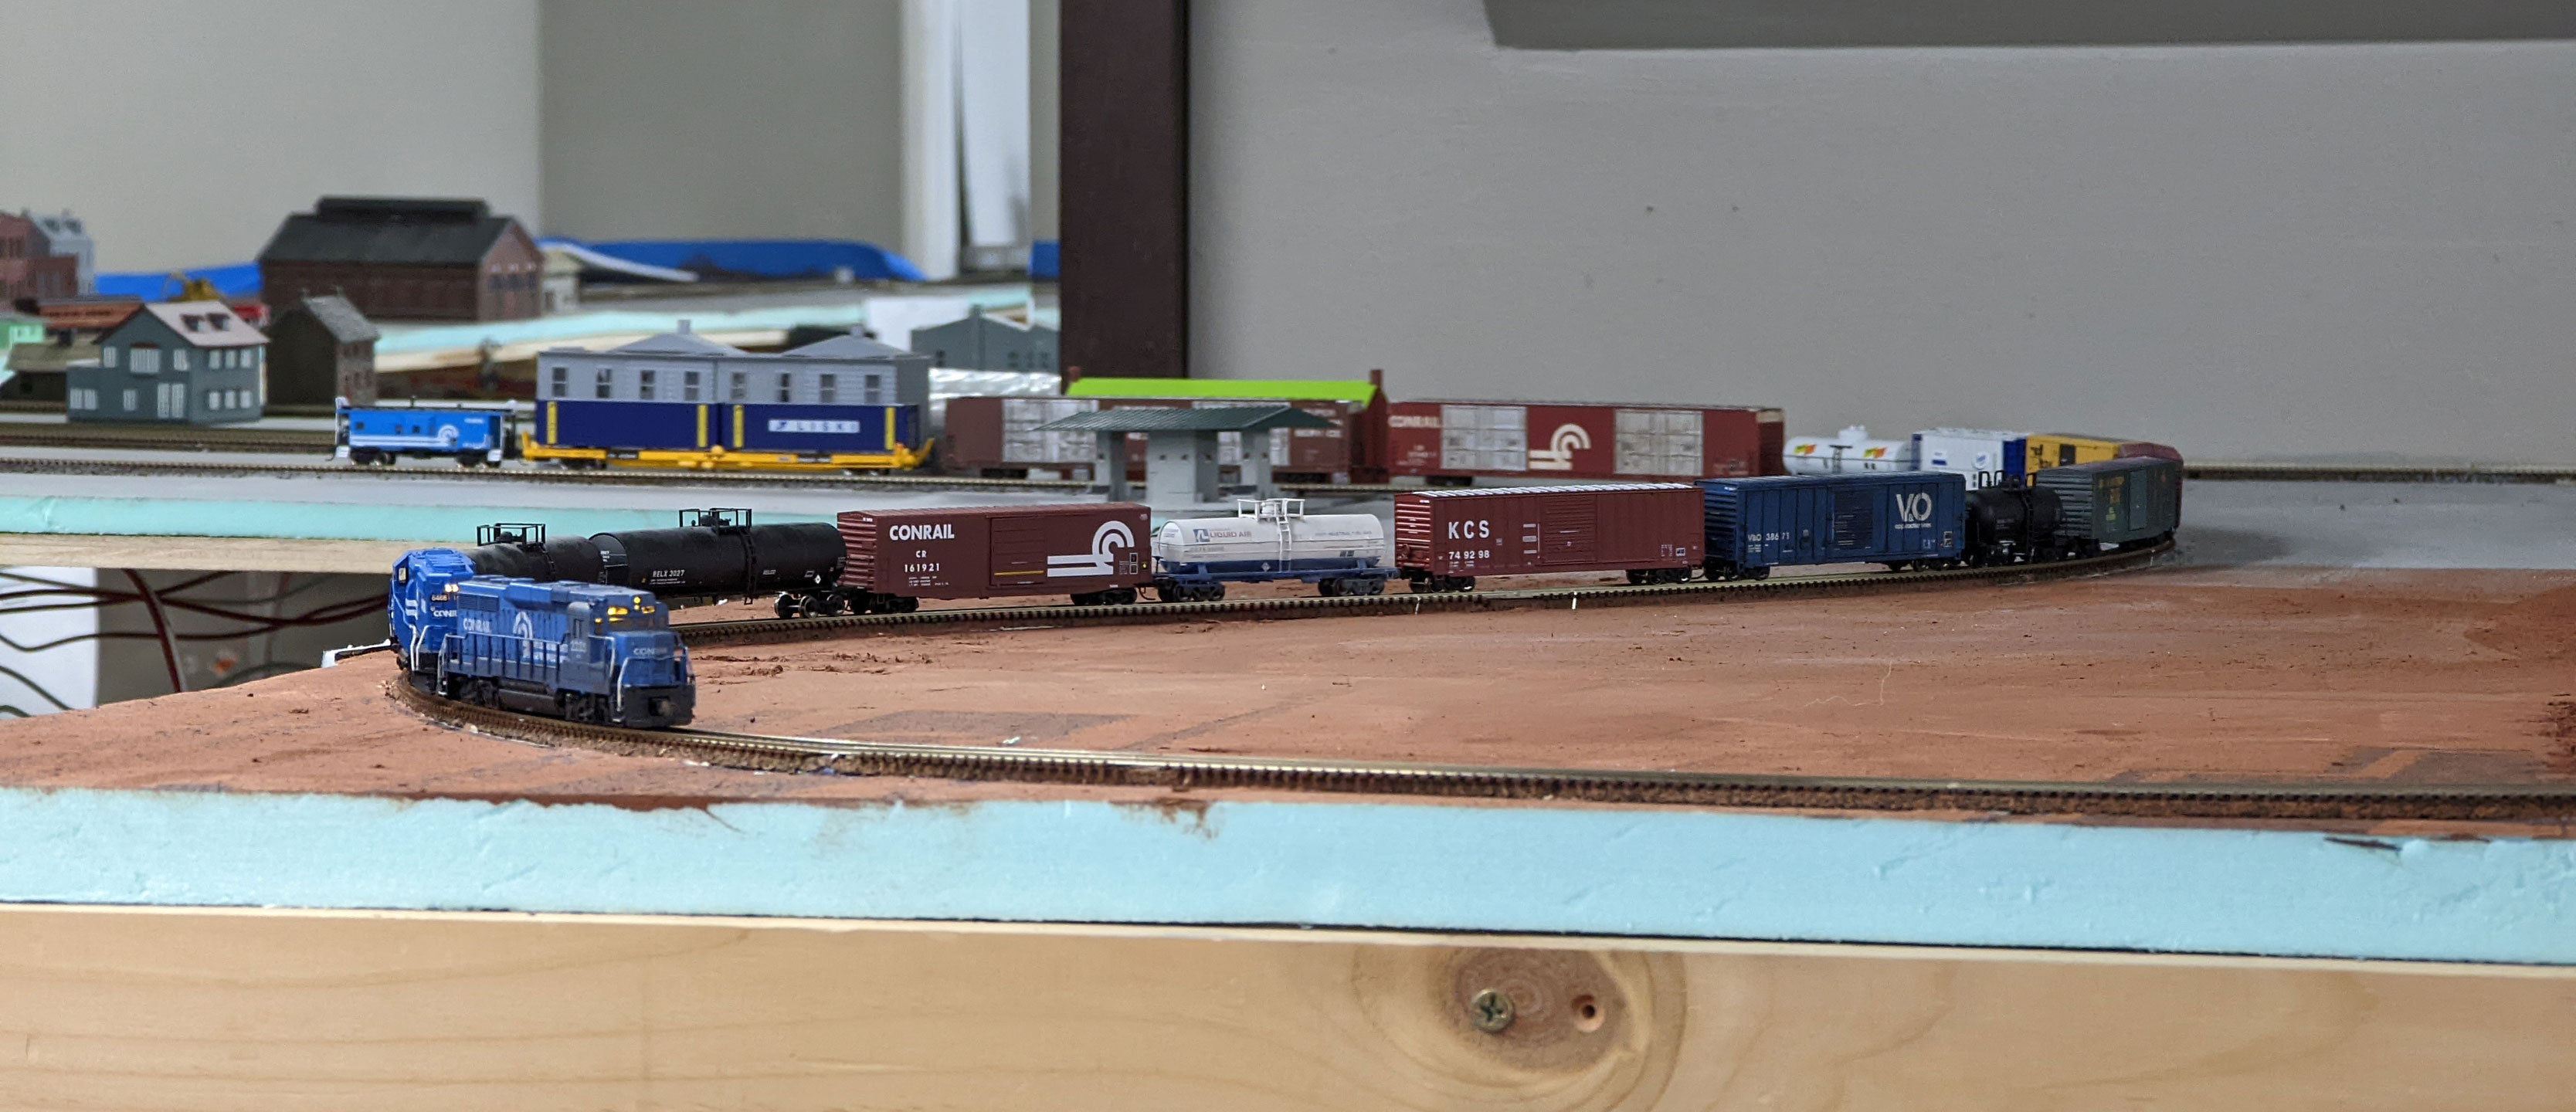

With this, I am now halfway ready to “drink a beer and run some trains”, a day I am very much looking forward to.