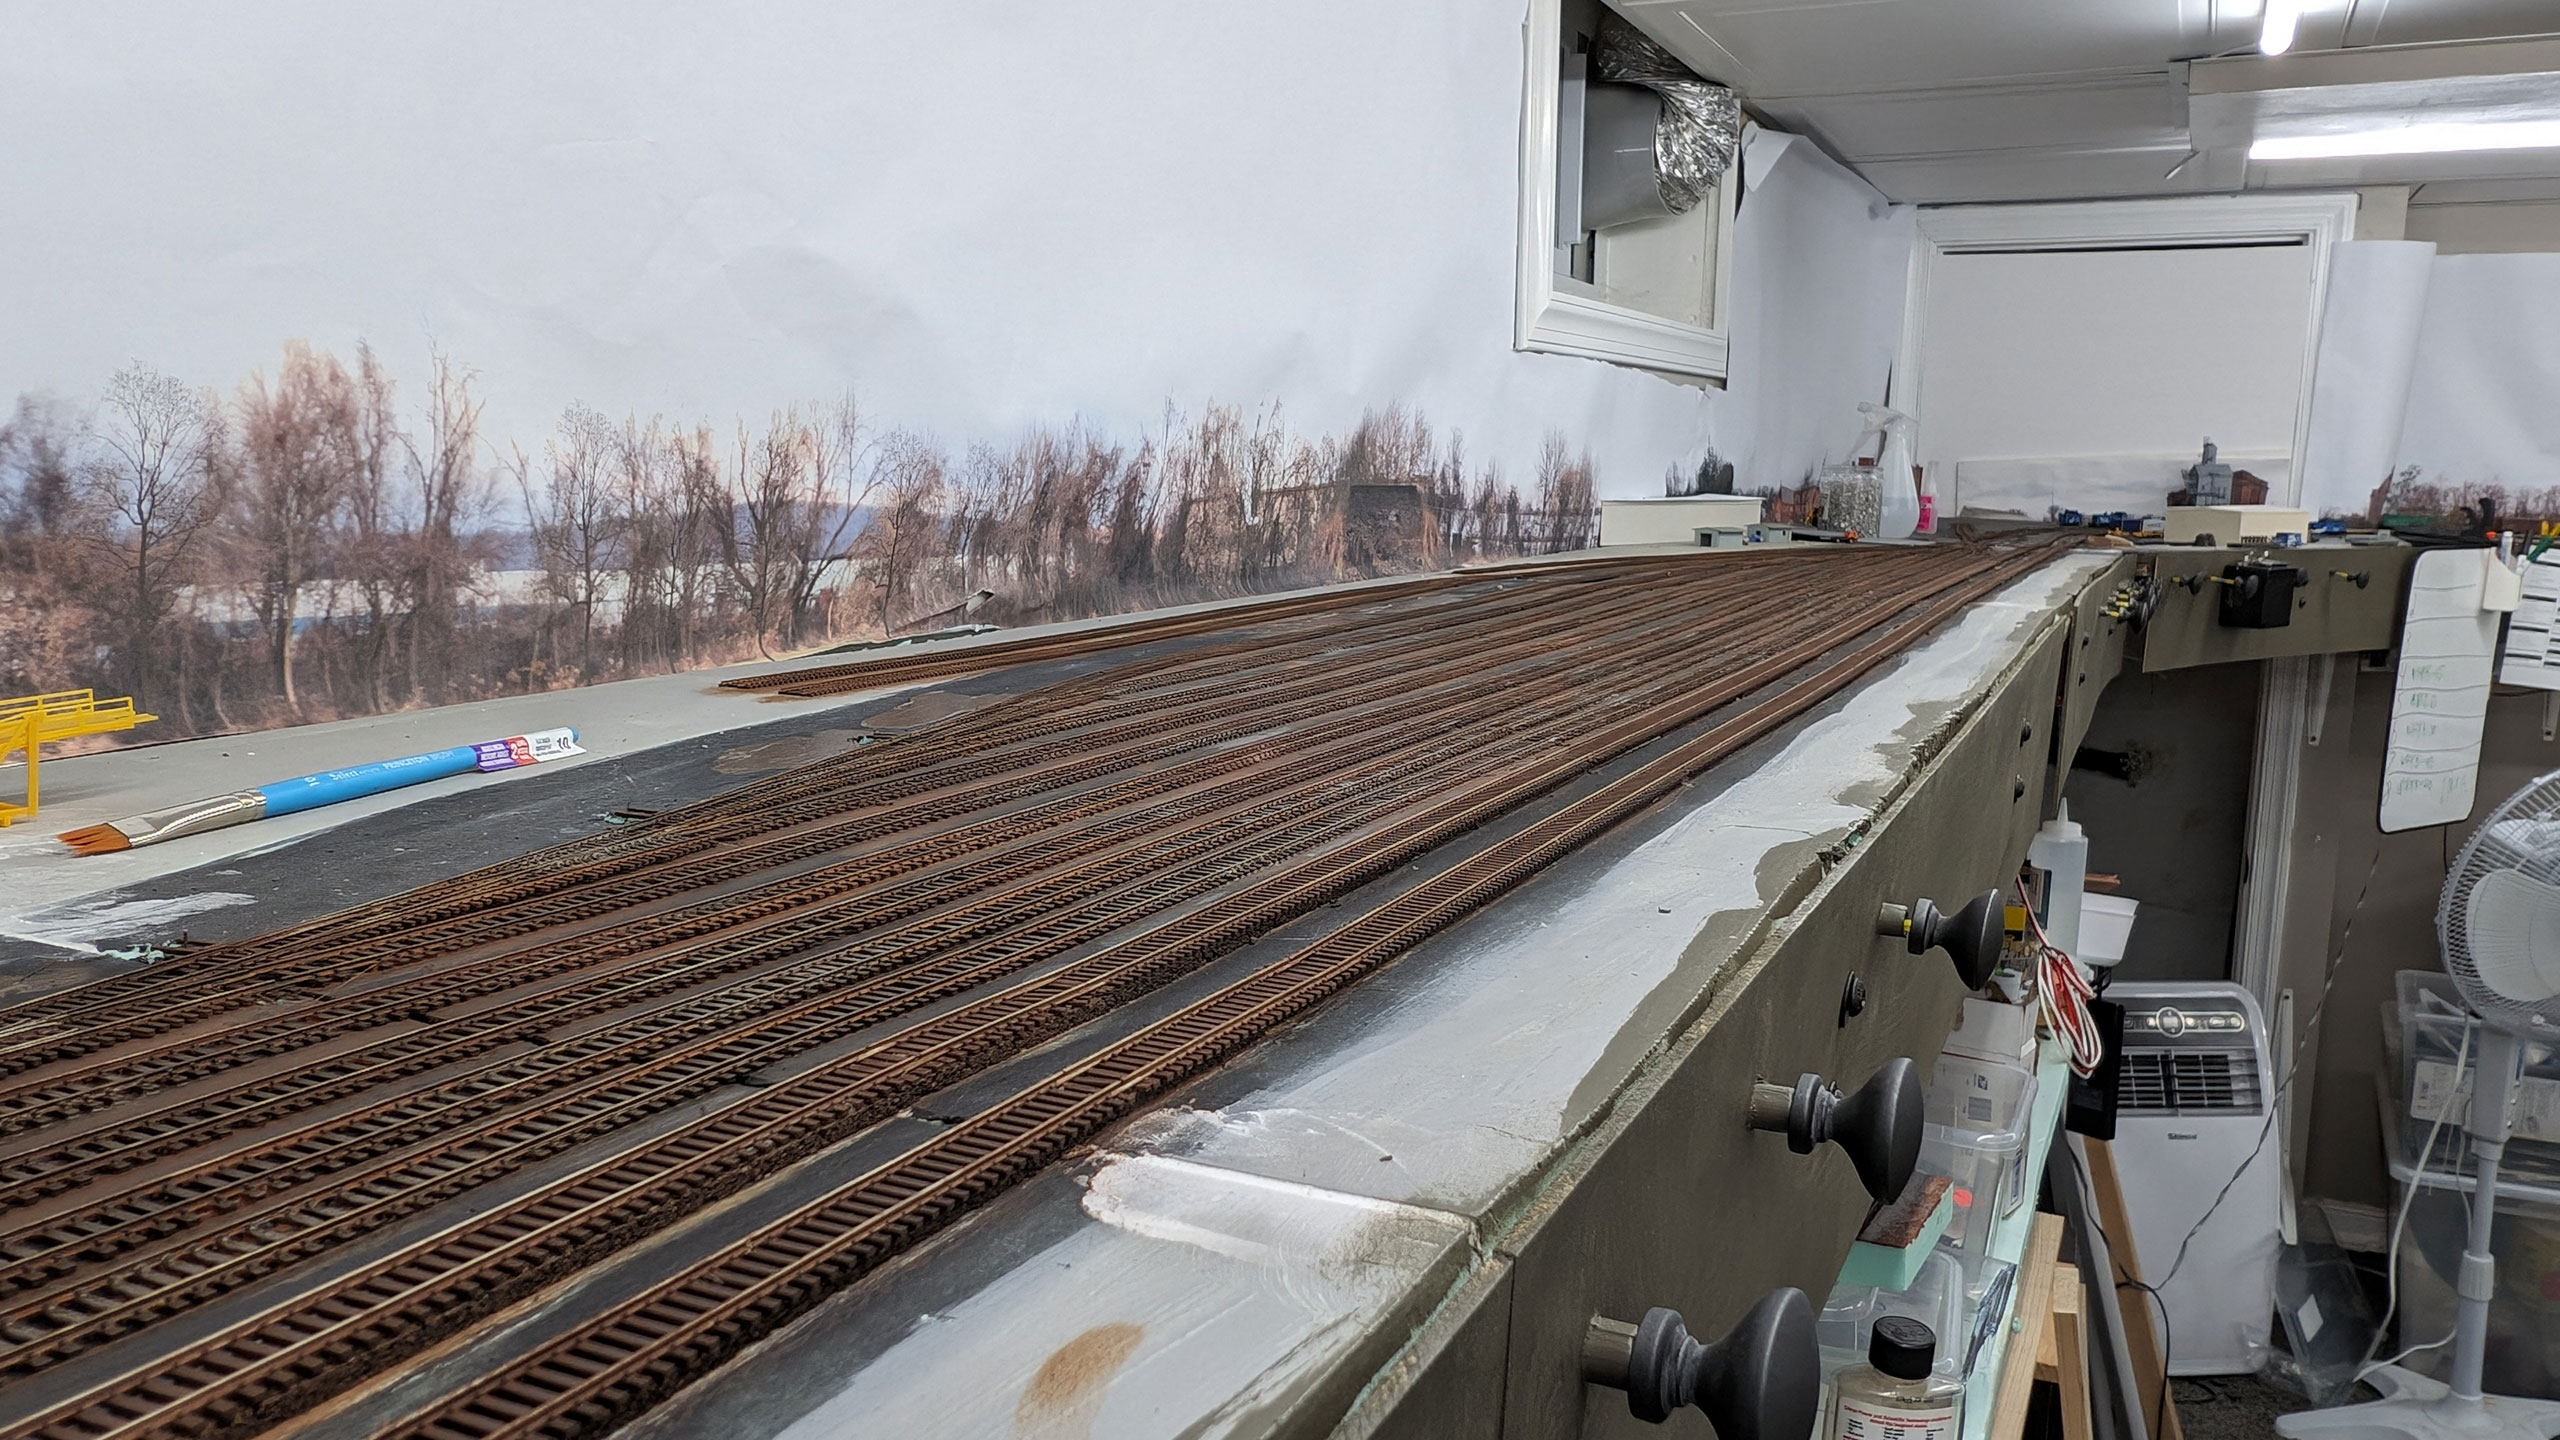
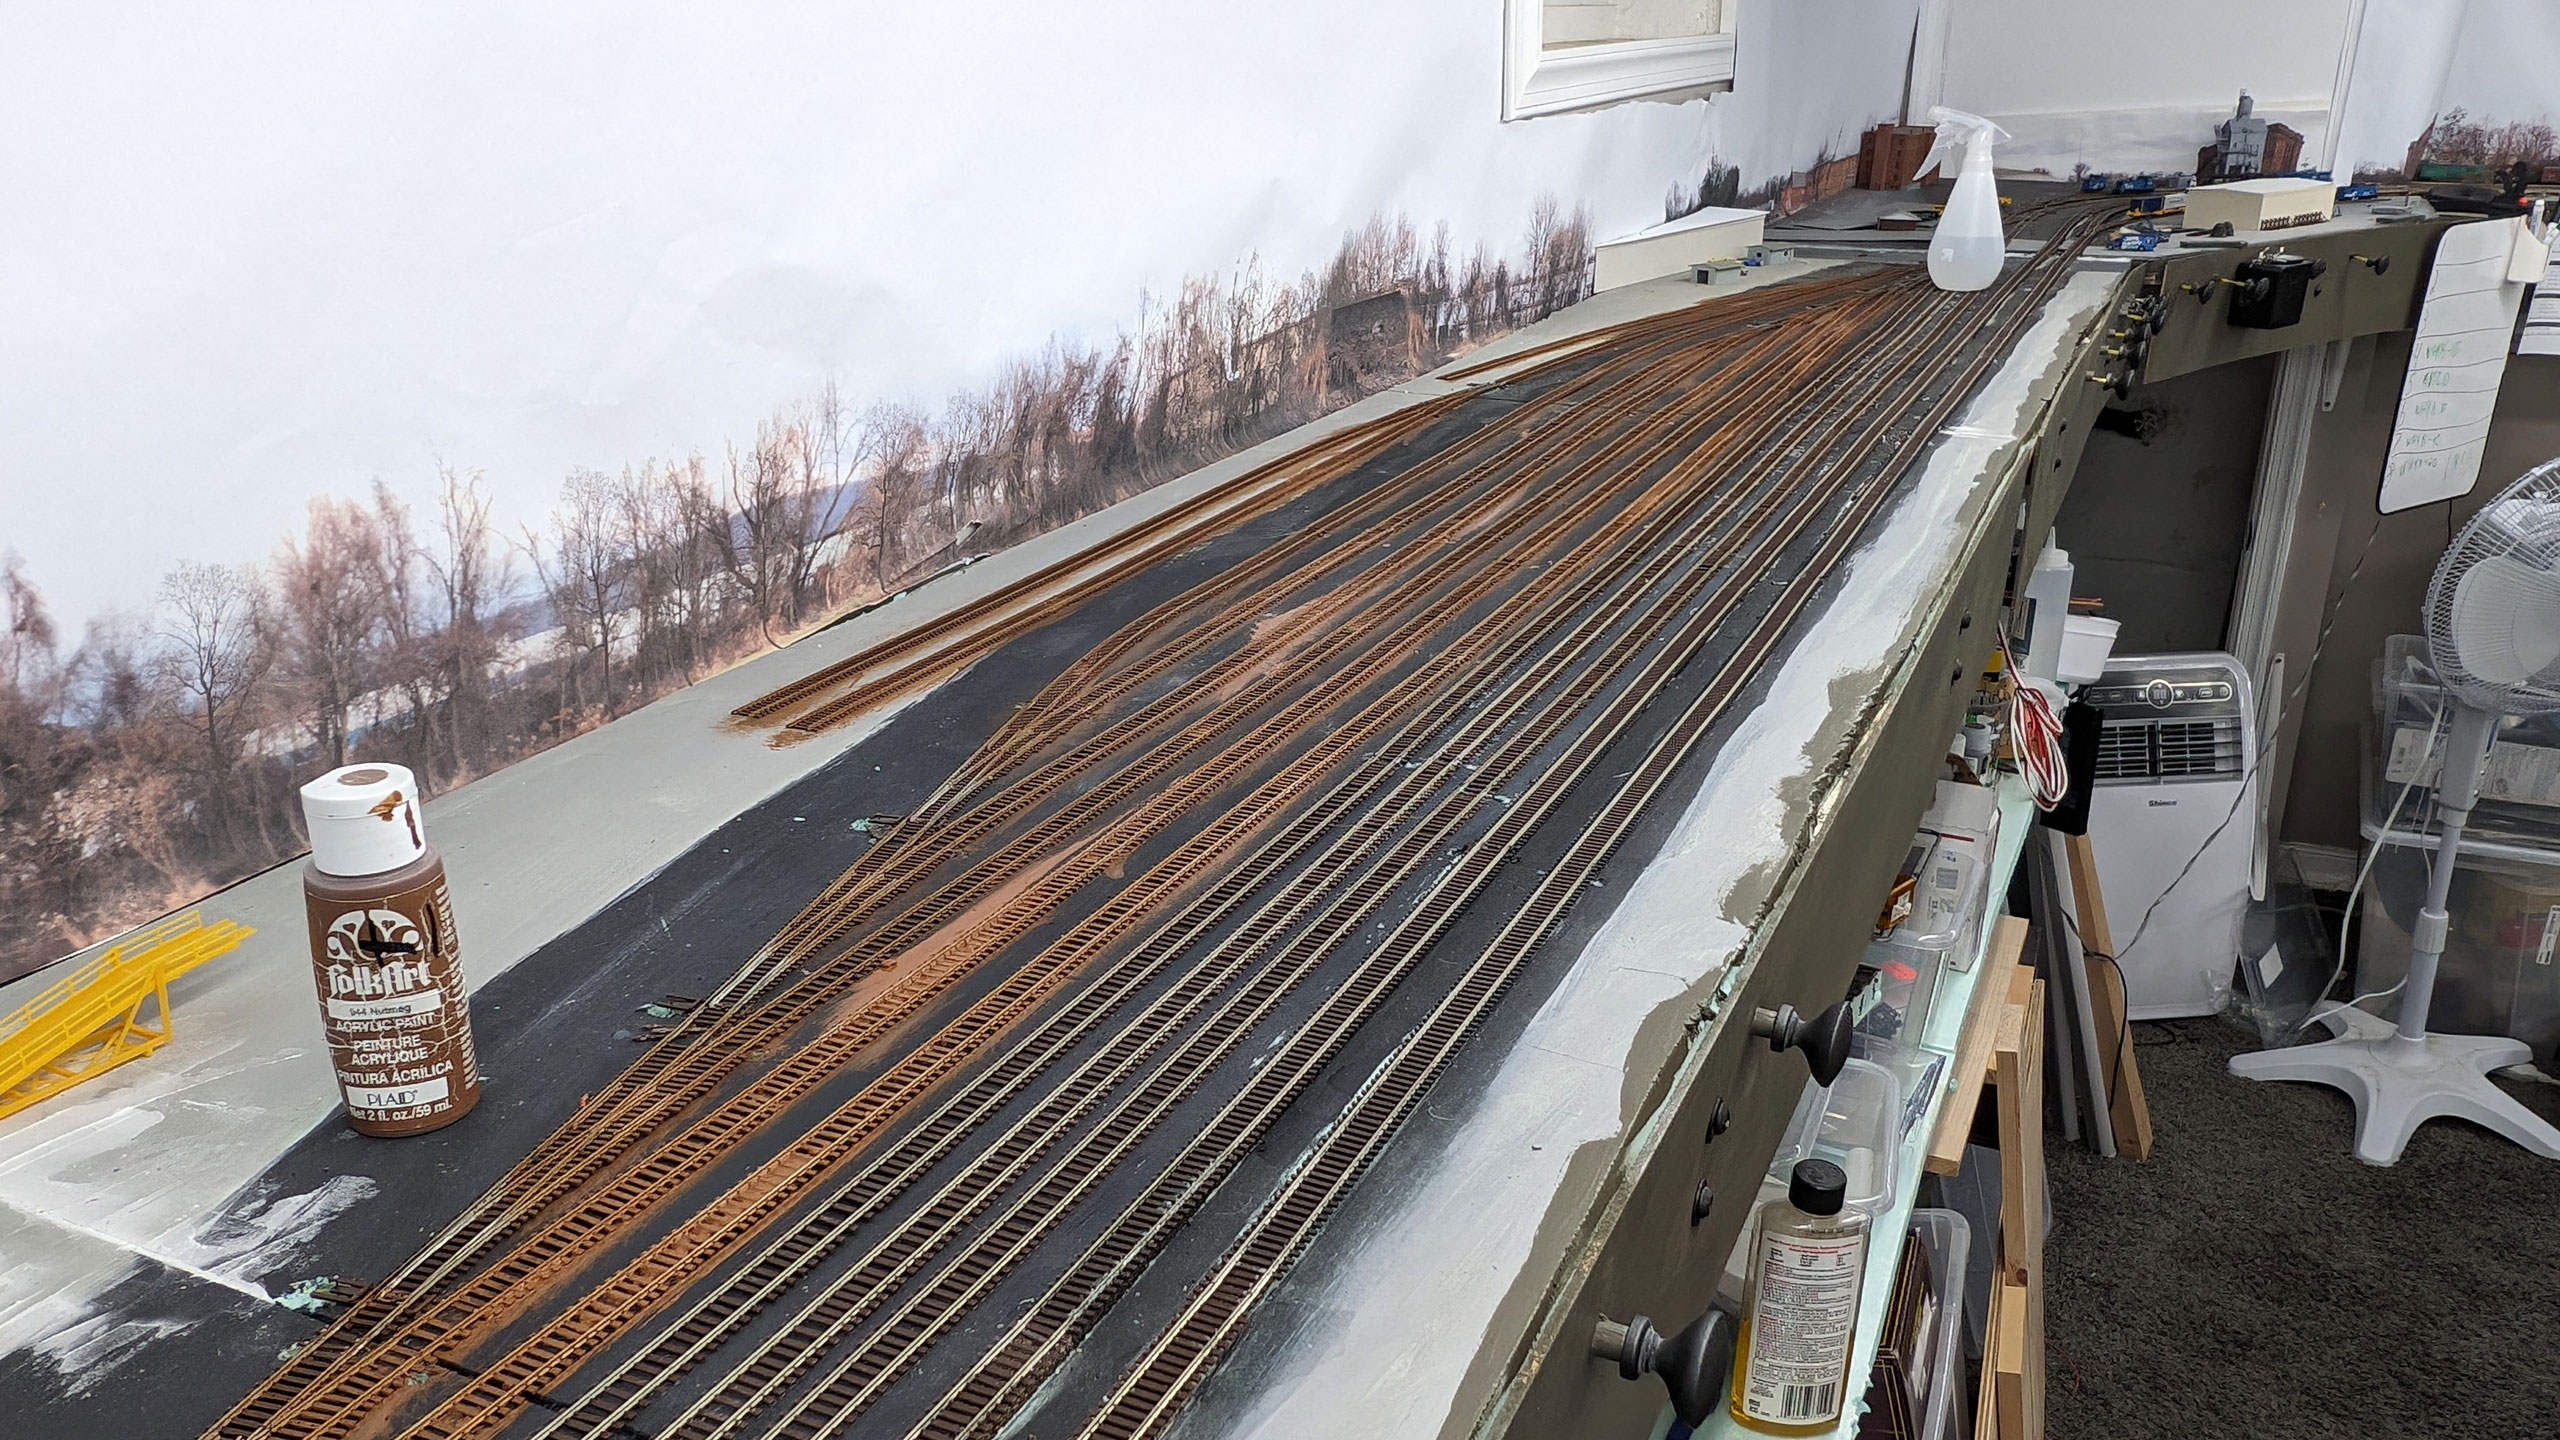
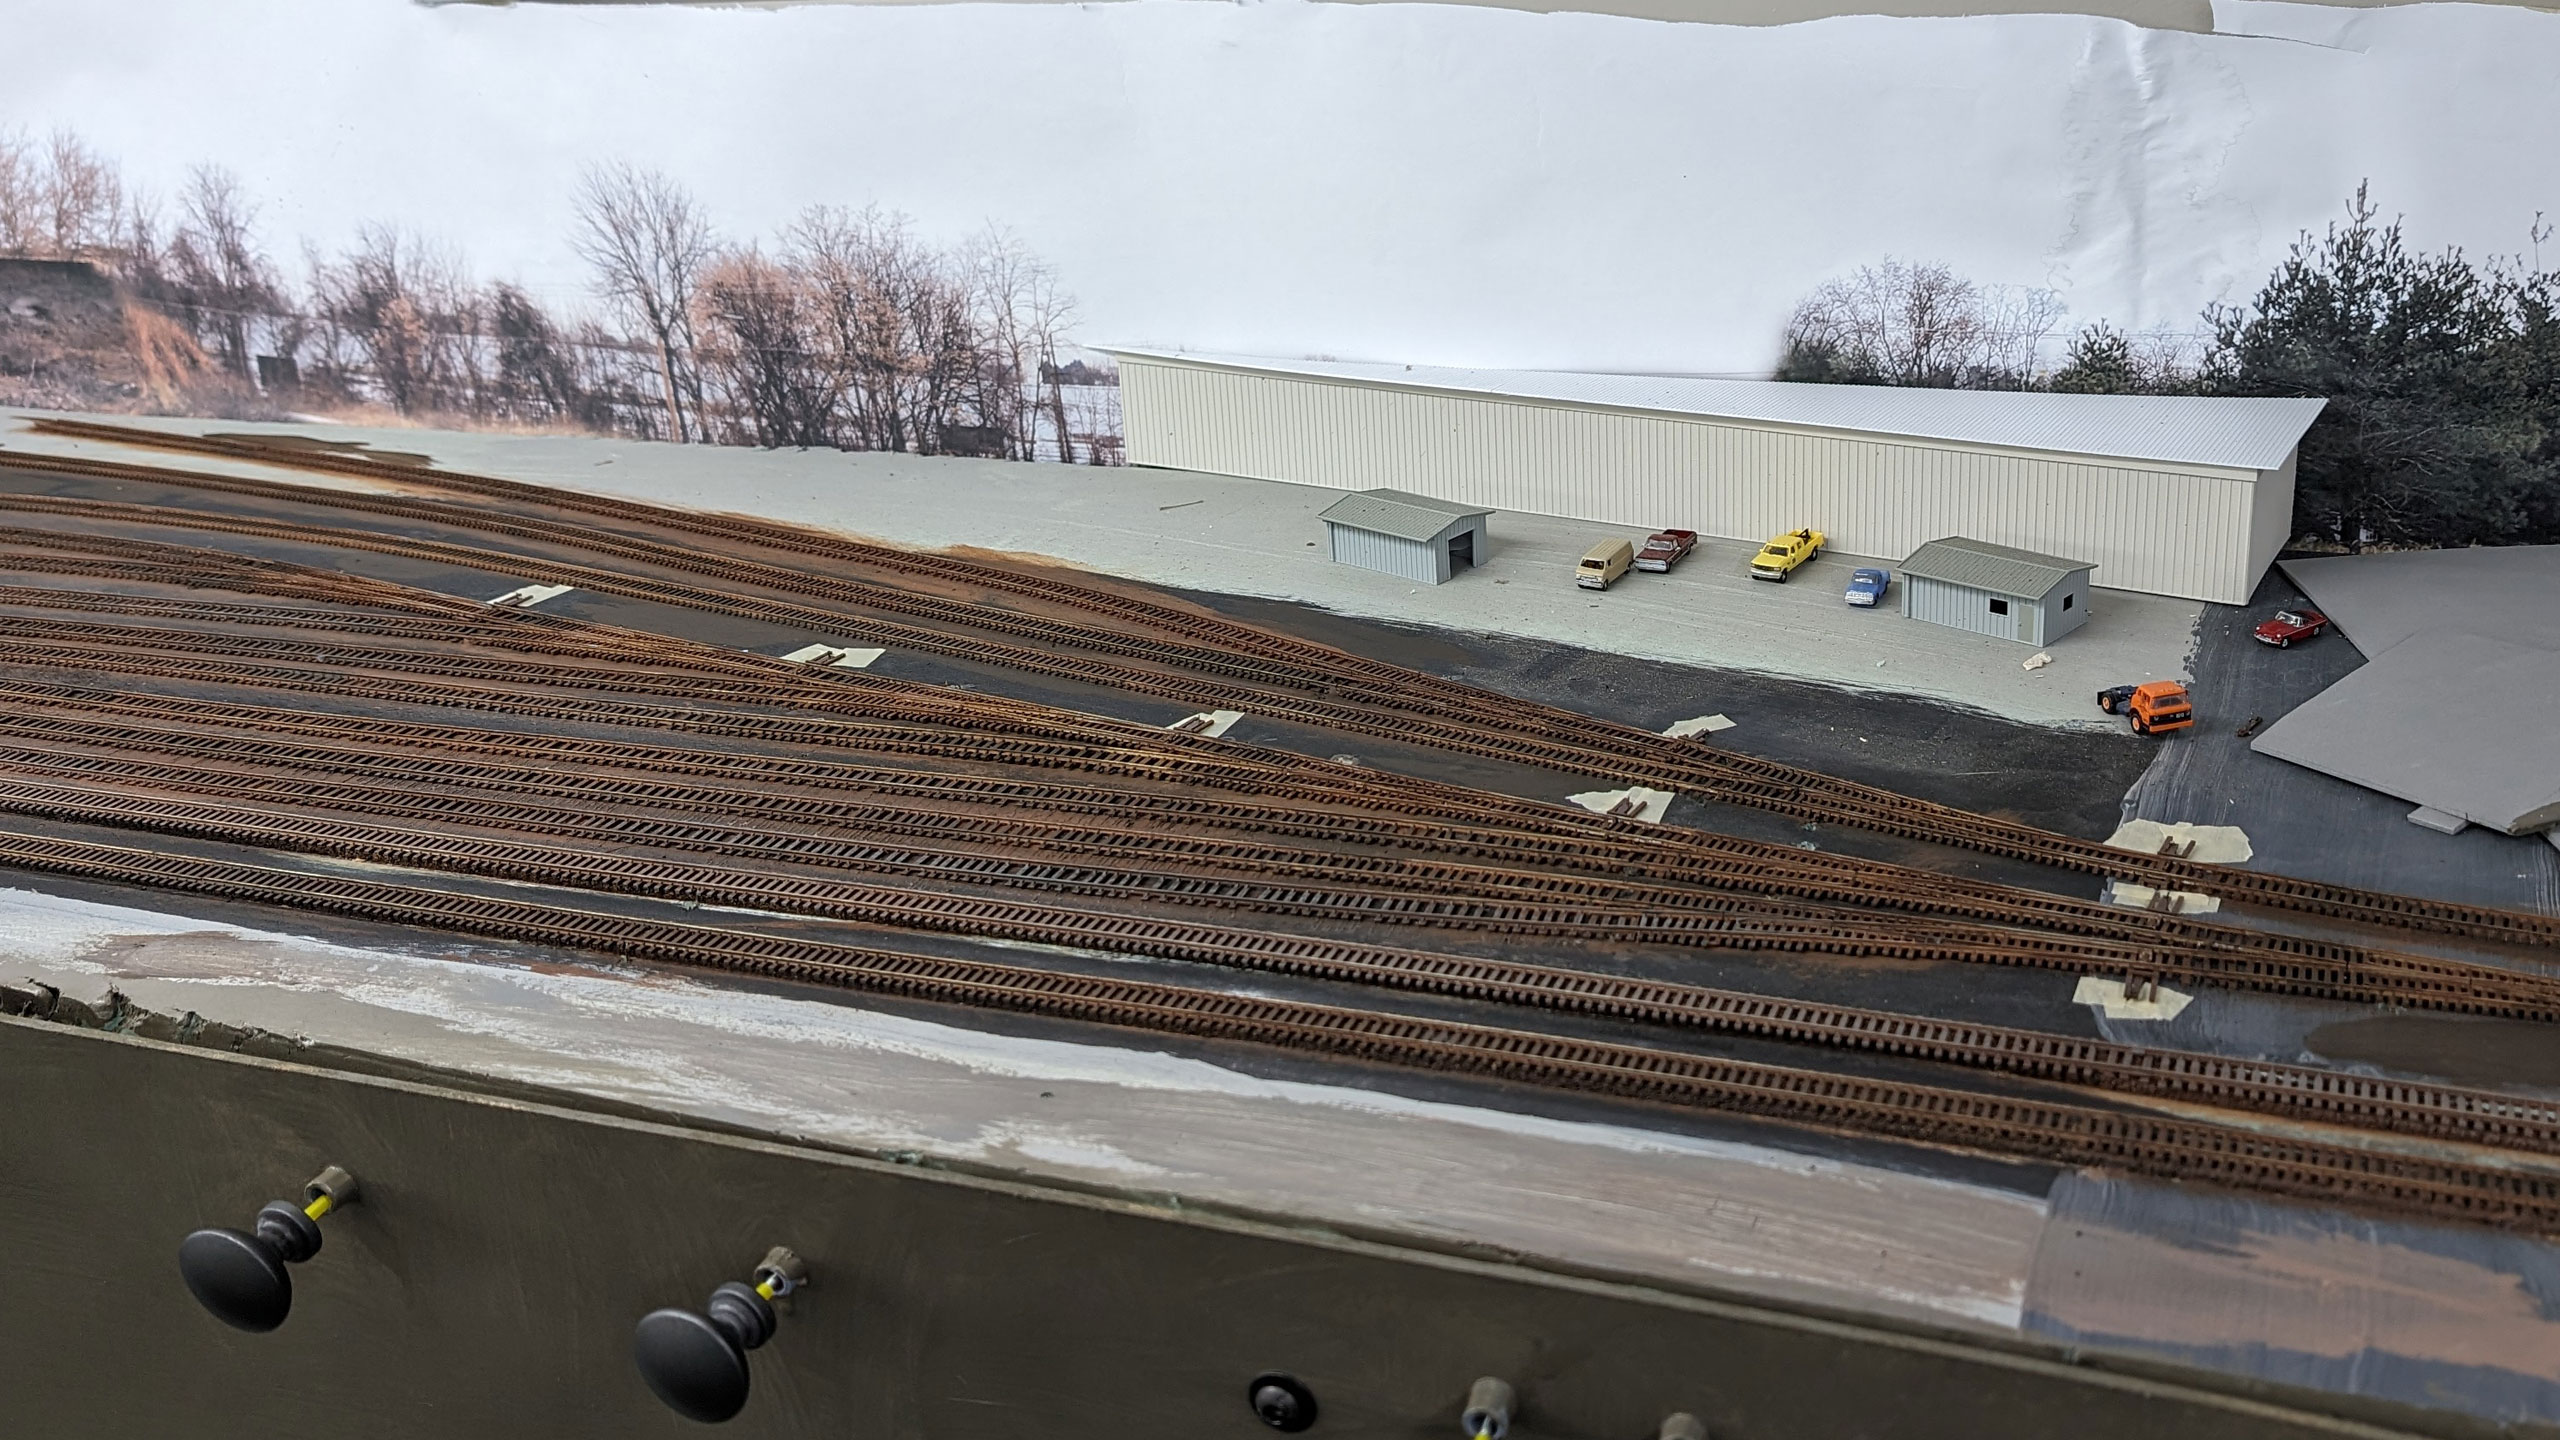
The time of staring at an unpainted yard full of track has come to an end. Last night we blew the trench whistle and went over the top.
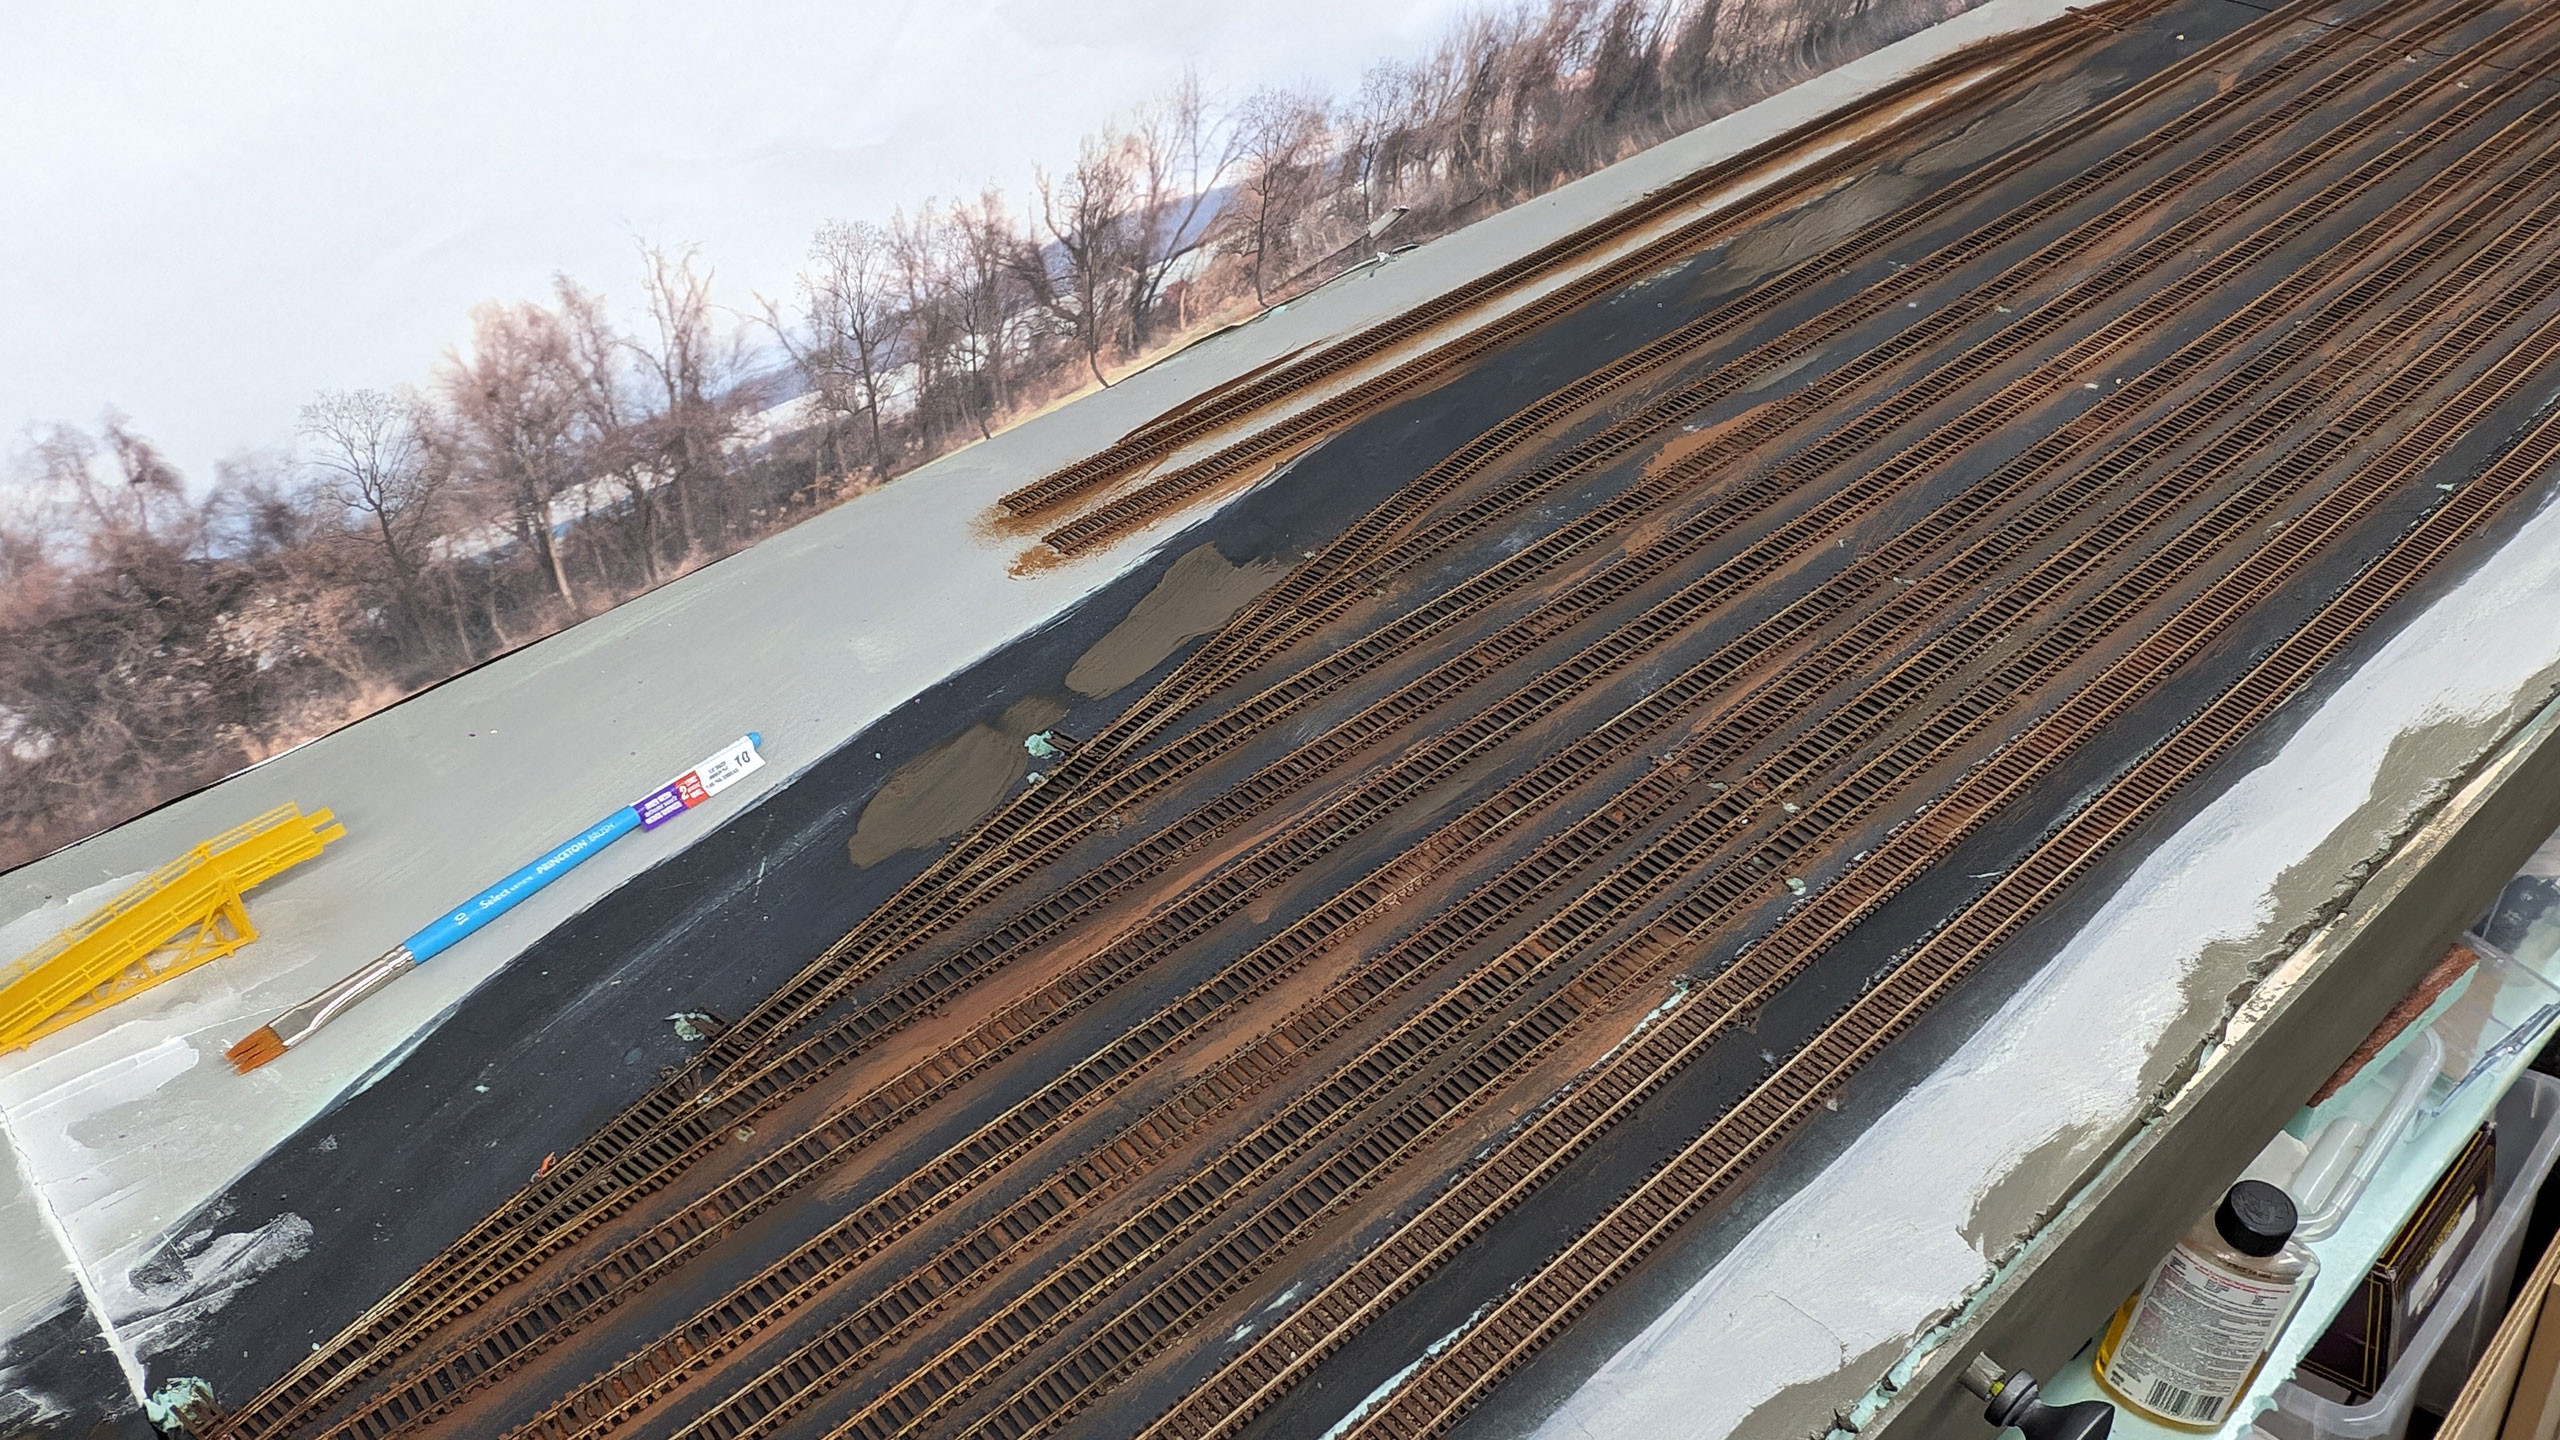
Picking up where I left off with my “Eat the Frog” post, I started painting the track. I used a variety of craft paints applied with a brush to give me better control than an airbrush would’ve given.
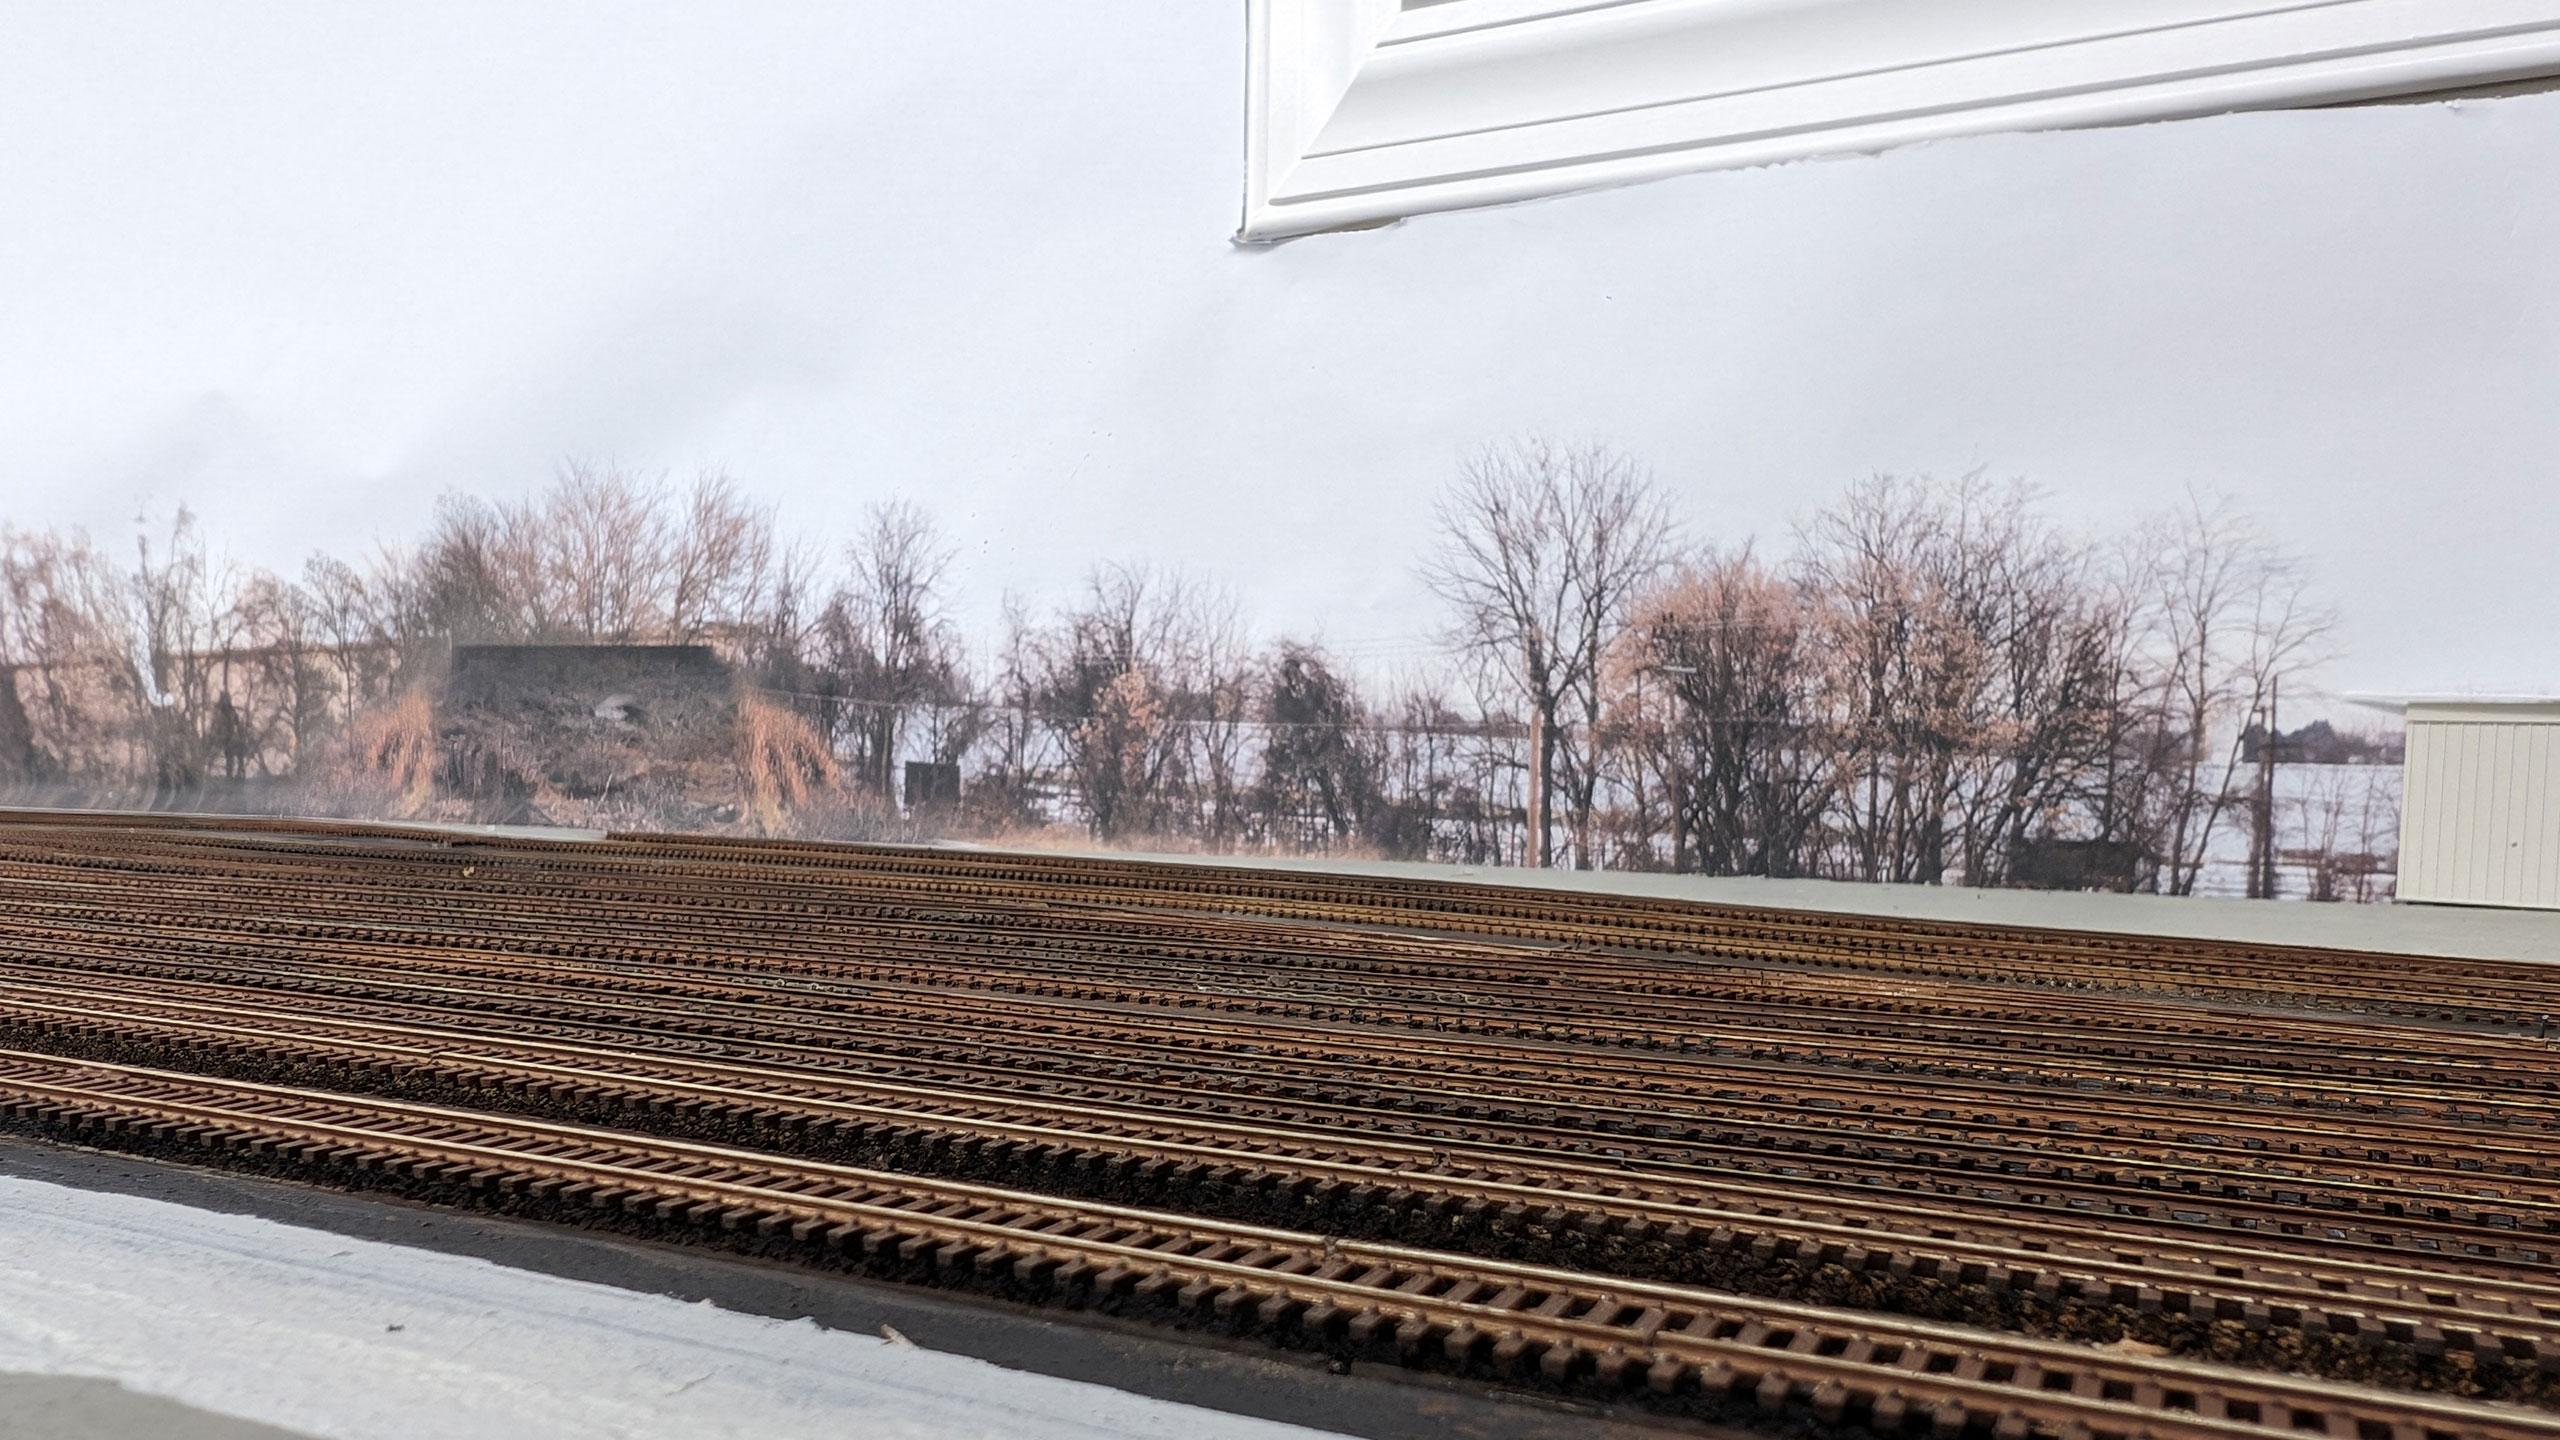
I started with a dark rusty color applied to the side of the rails. I first tried “Nutmeg” but ended up using “Espresso”. I followed that up some raw umber brushed more vertically onto the ties. That was followed up with some drybrushing of various grays and tans to demonstrate the difference in maintenance of different tracks. I decided to spice things up a bit and actually make the “mainline” track a bit grayer and older looking than the controlled siding track. The theory with this is that the siding was rehabbed in the early 70s when the line was upgraded, while the mainline was likely the same as it was since before Hurricane Agnes.
With the track painted, it was time for ground cover. I realized my stash of grout has gotten low so I grabbed some fresh stuff from Home Depot and started mixing up blends for various locations.
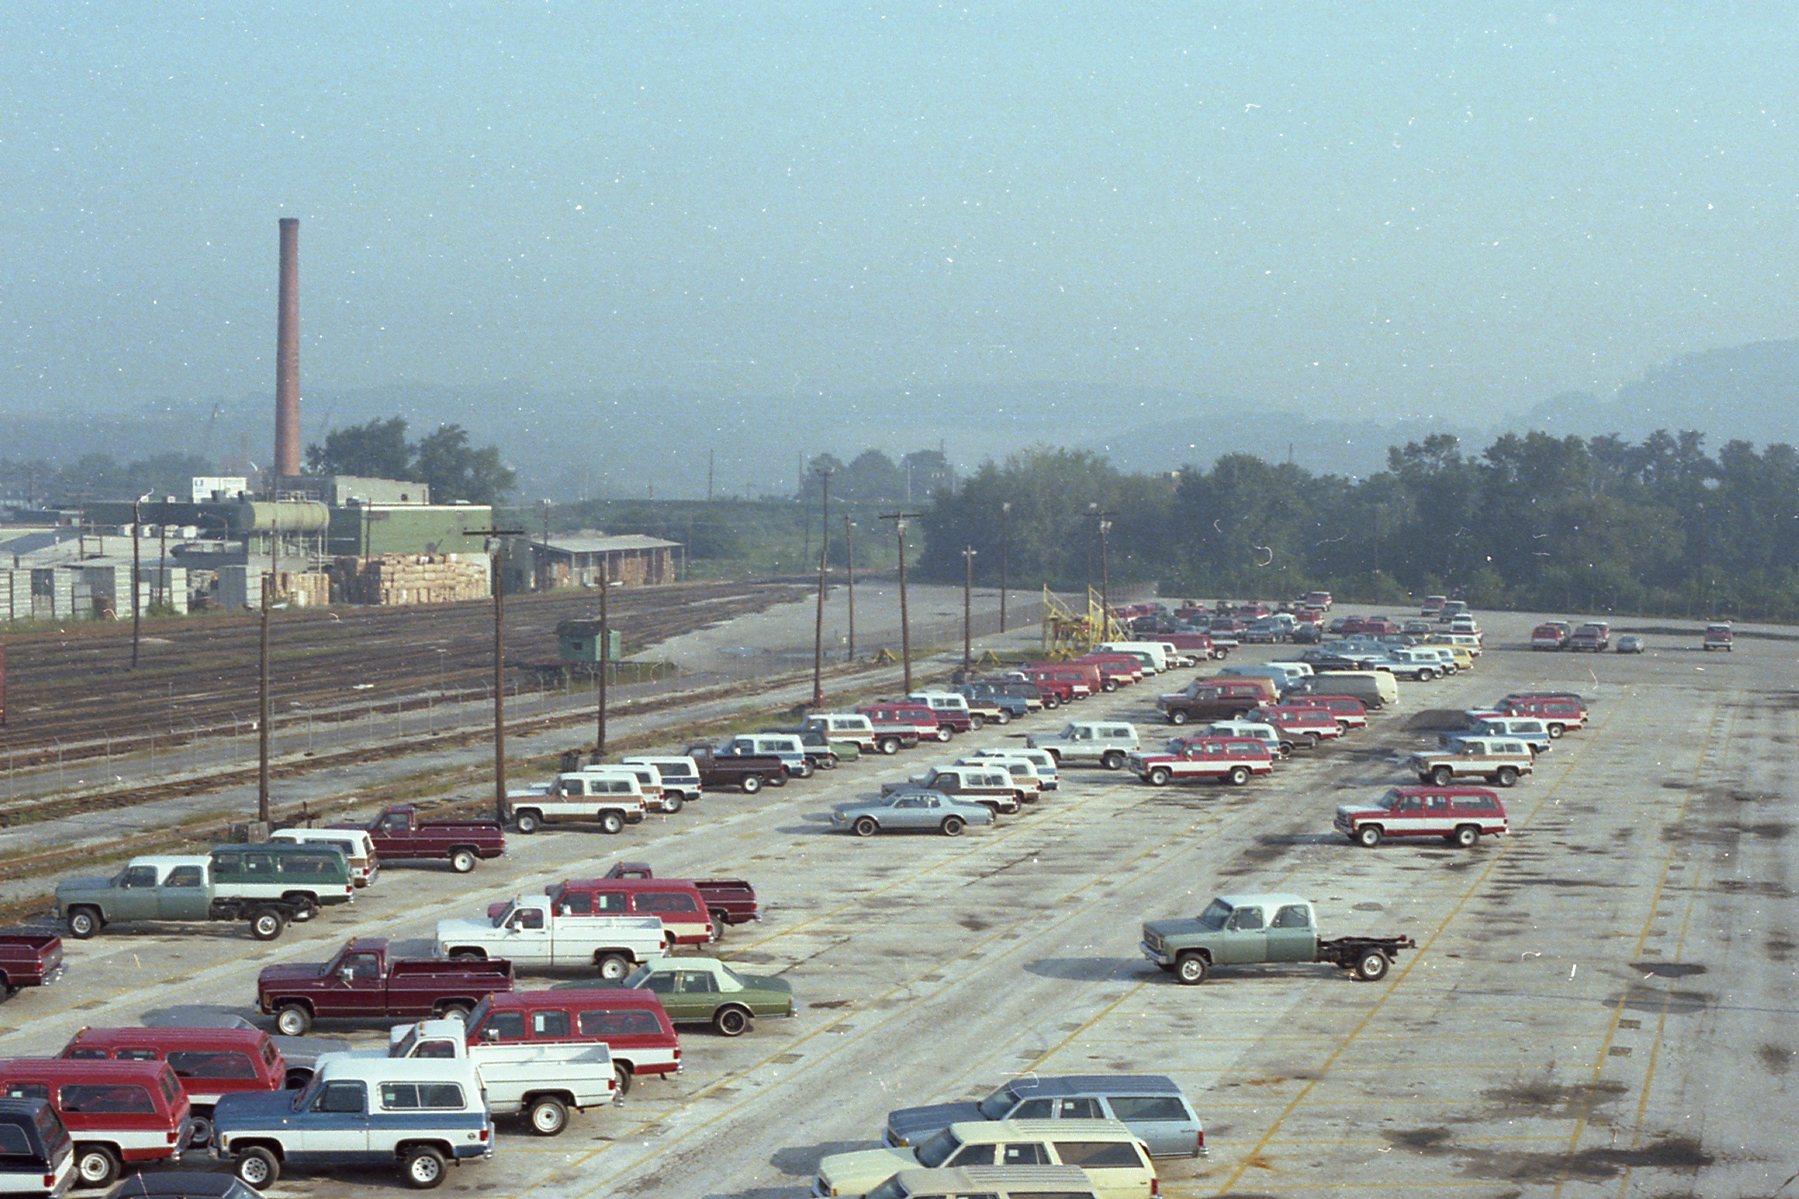
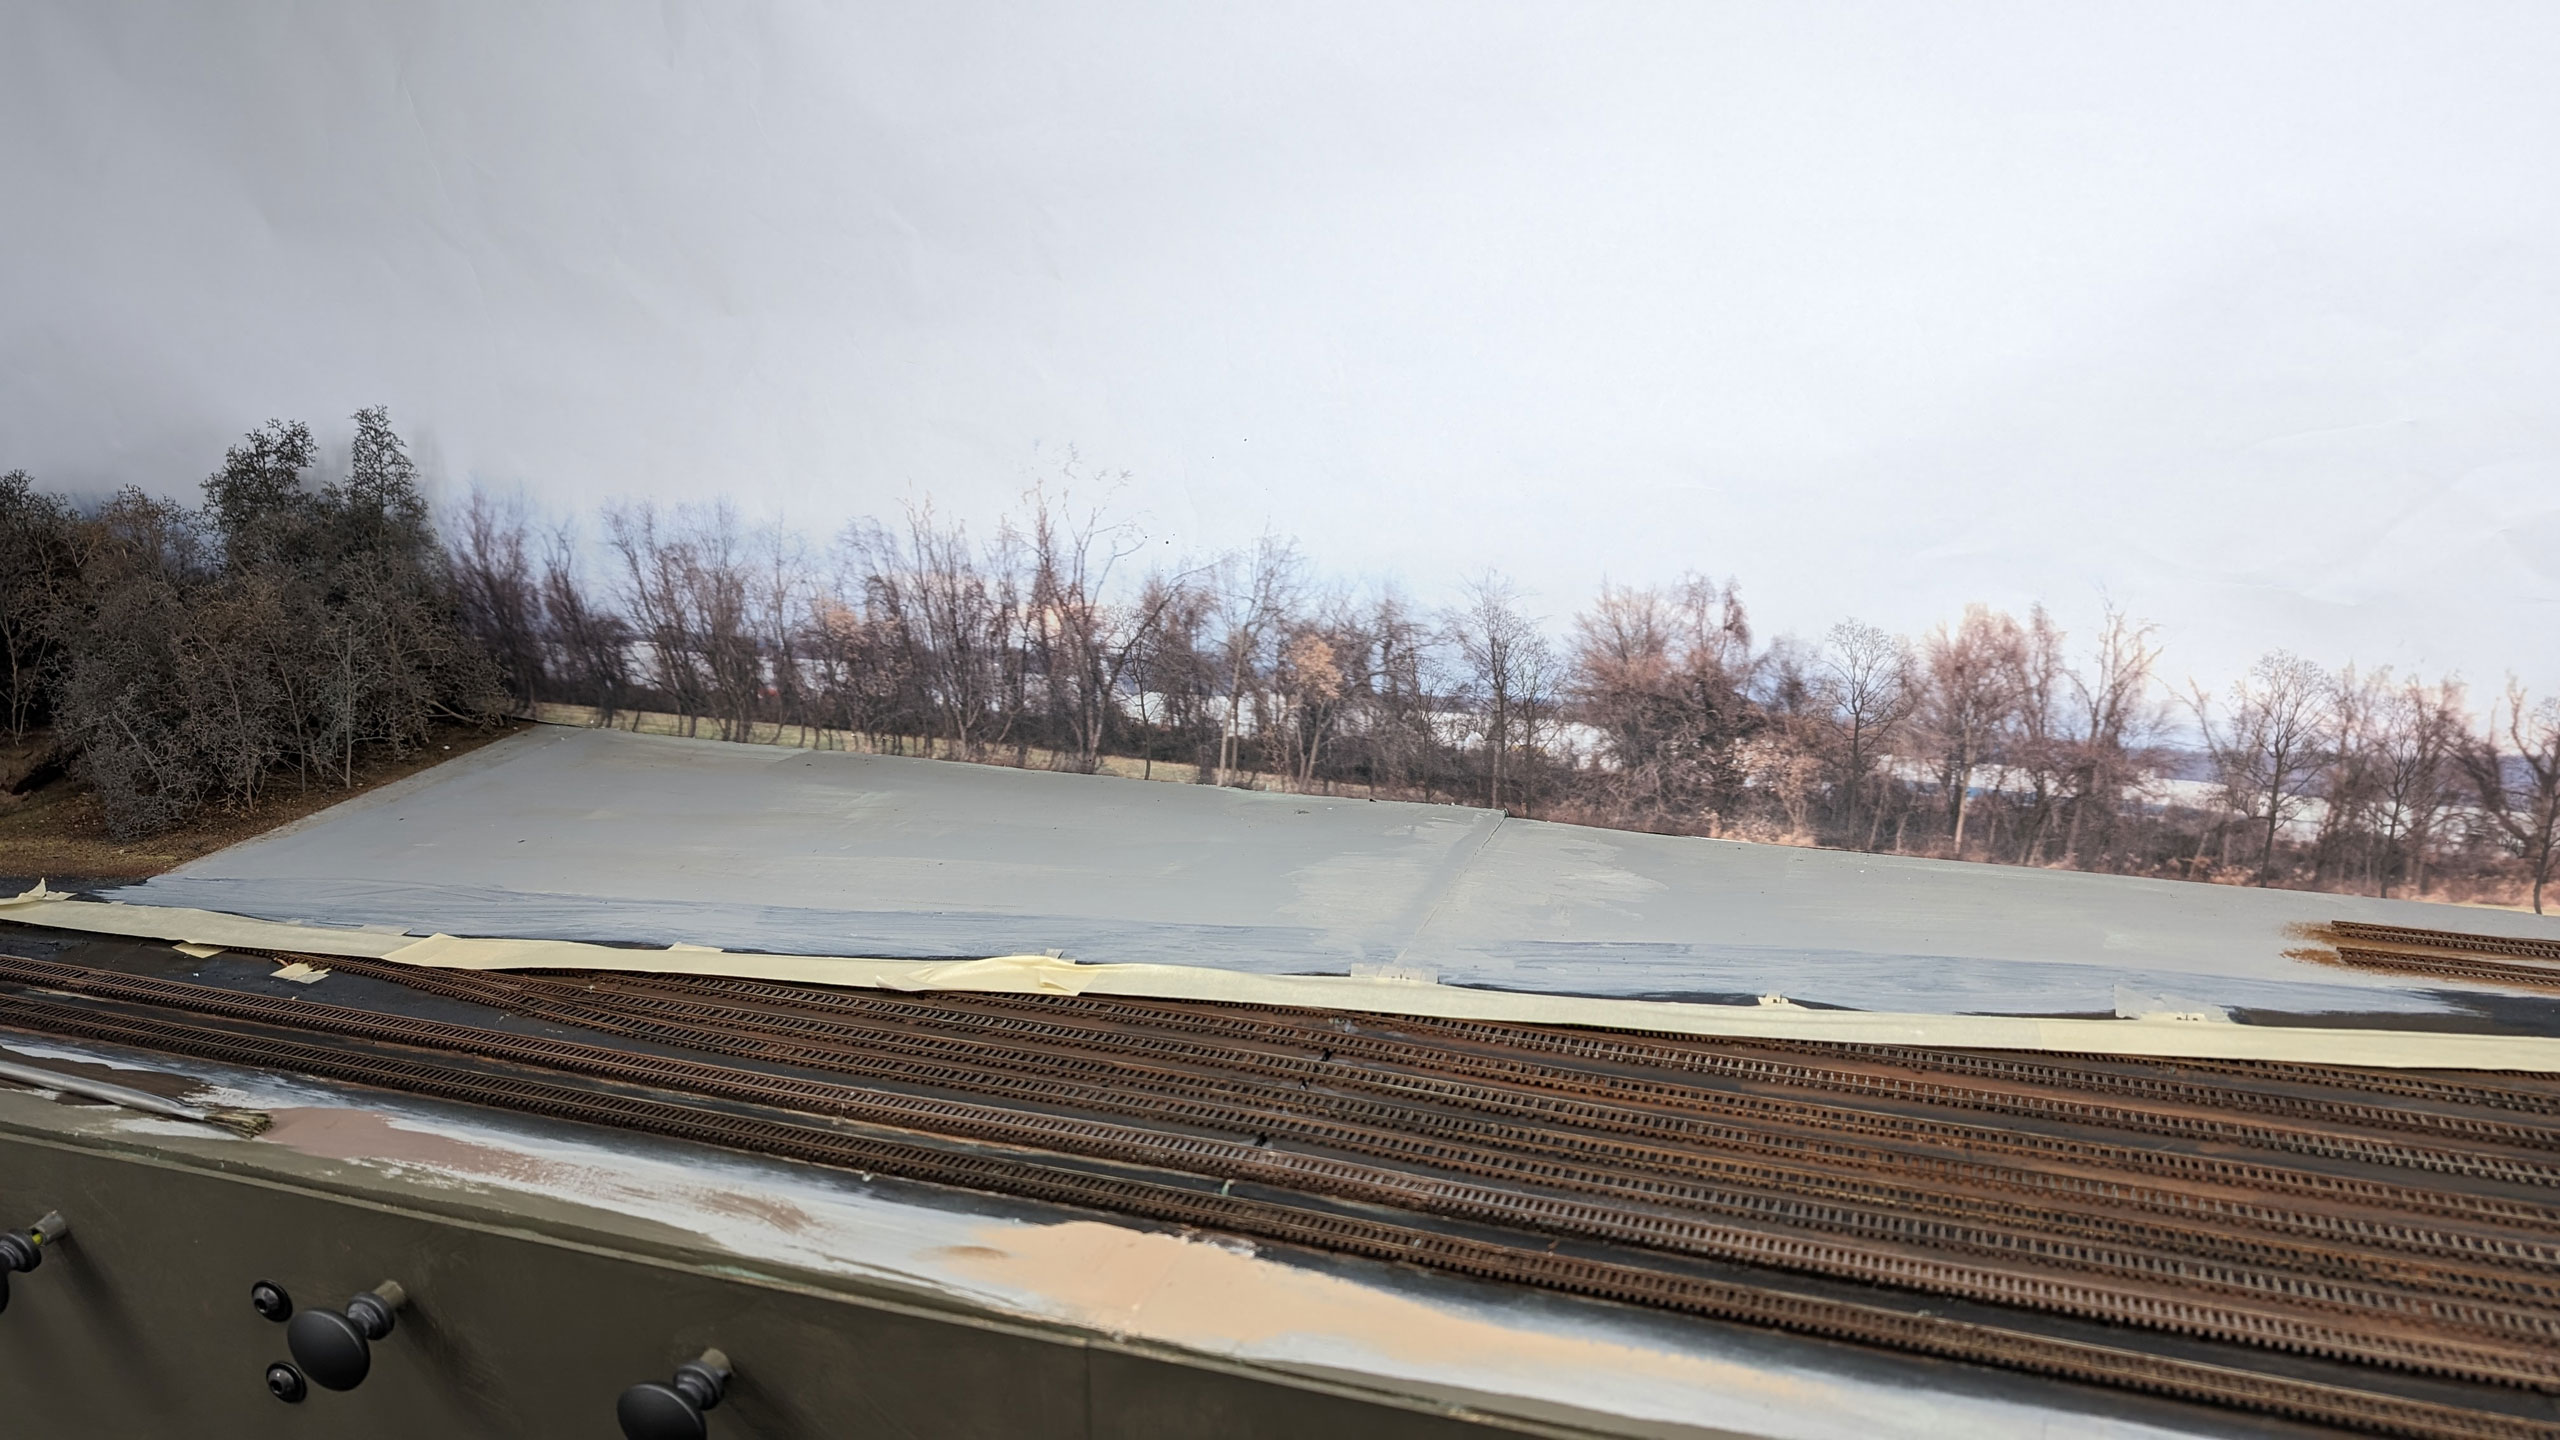
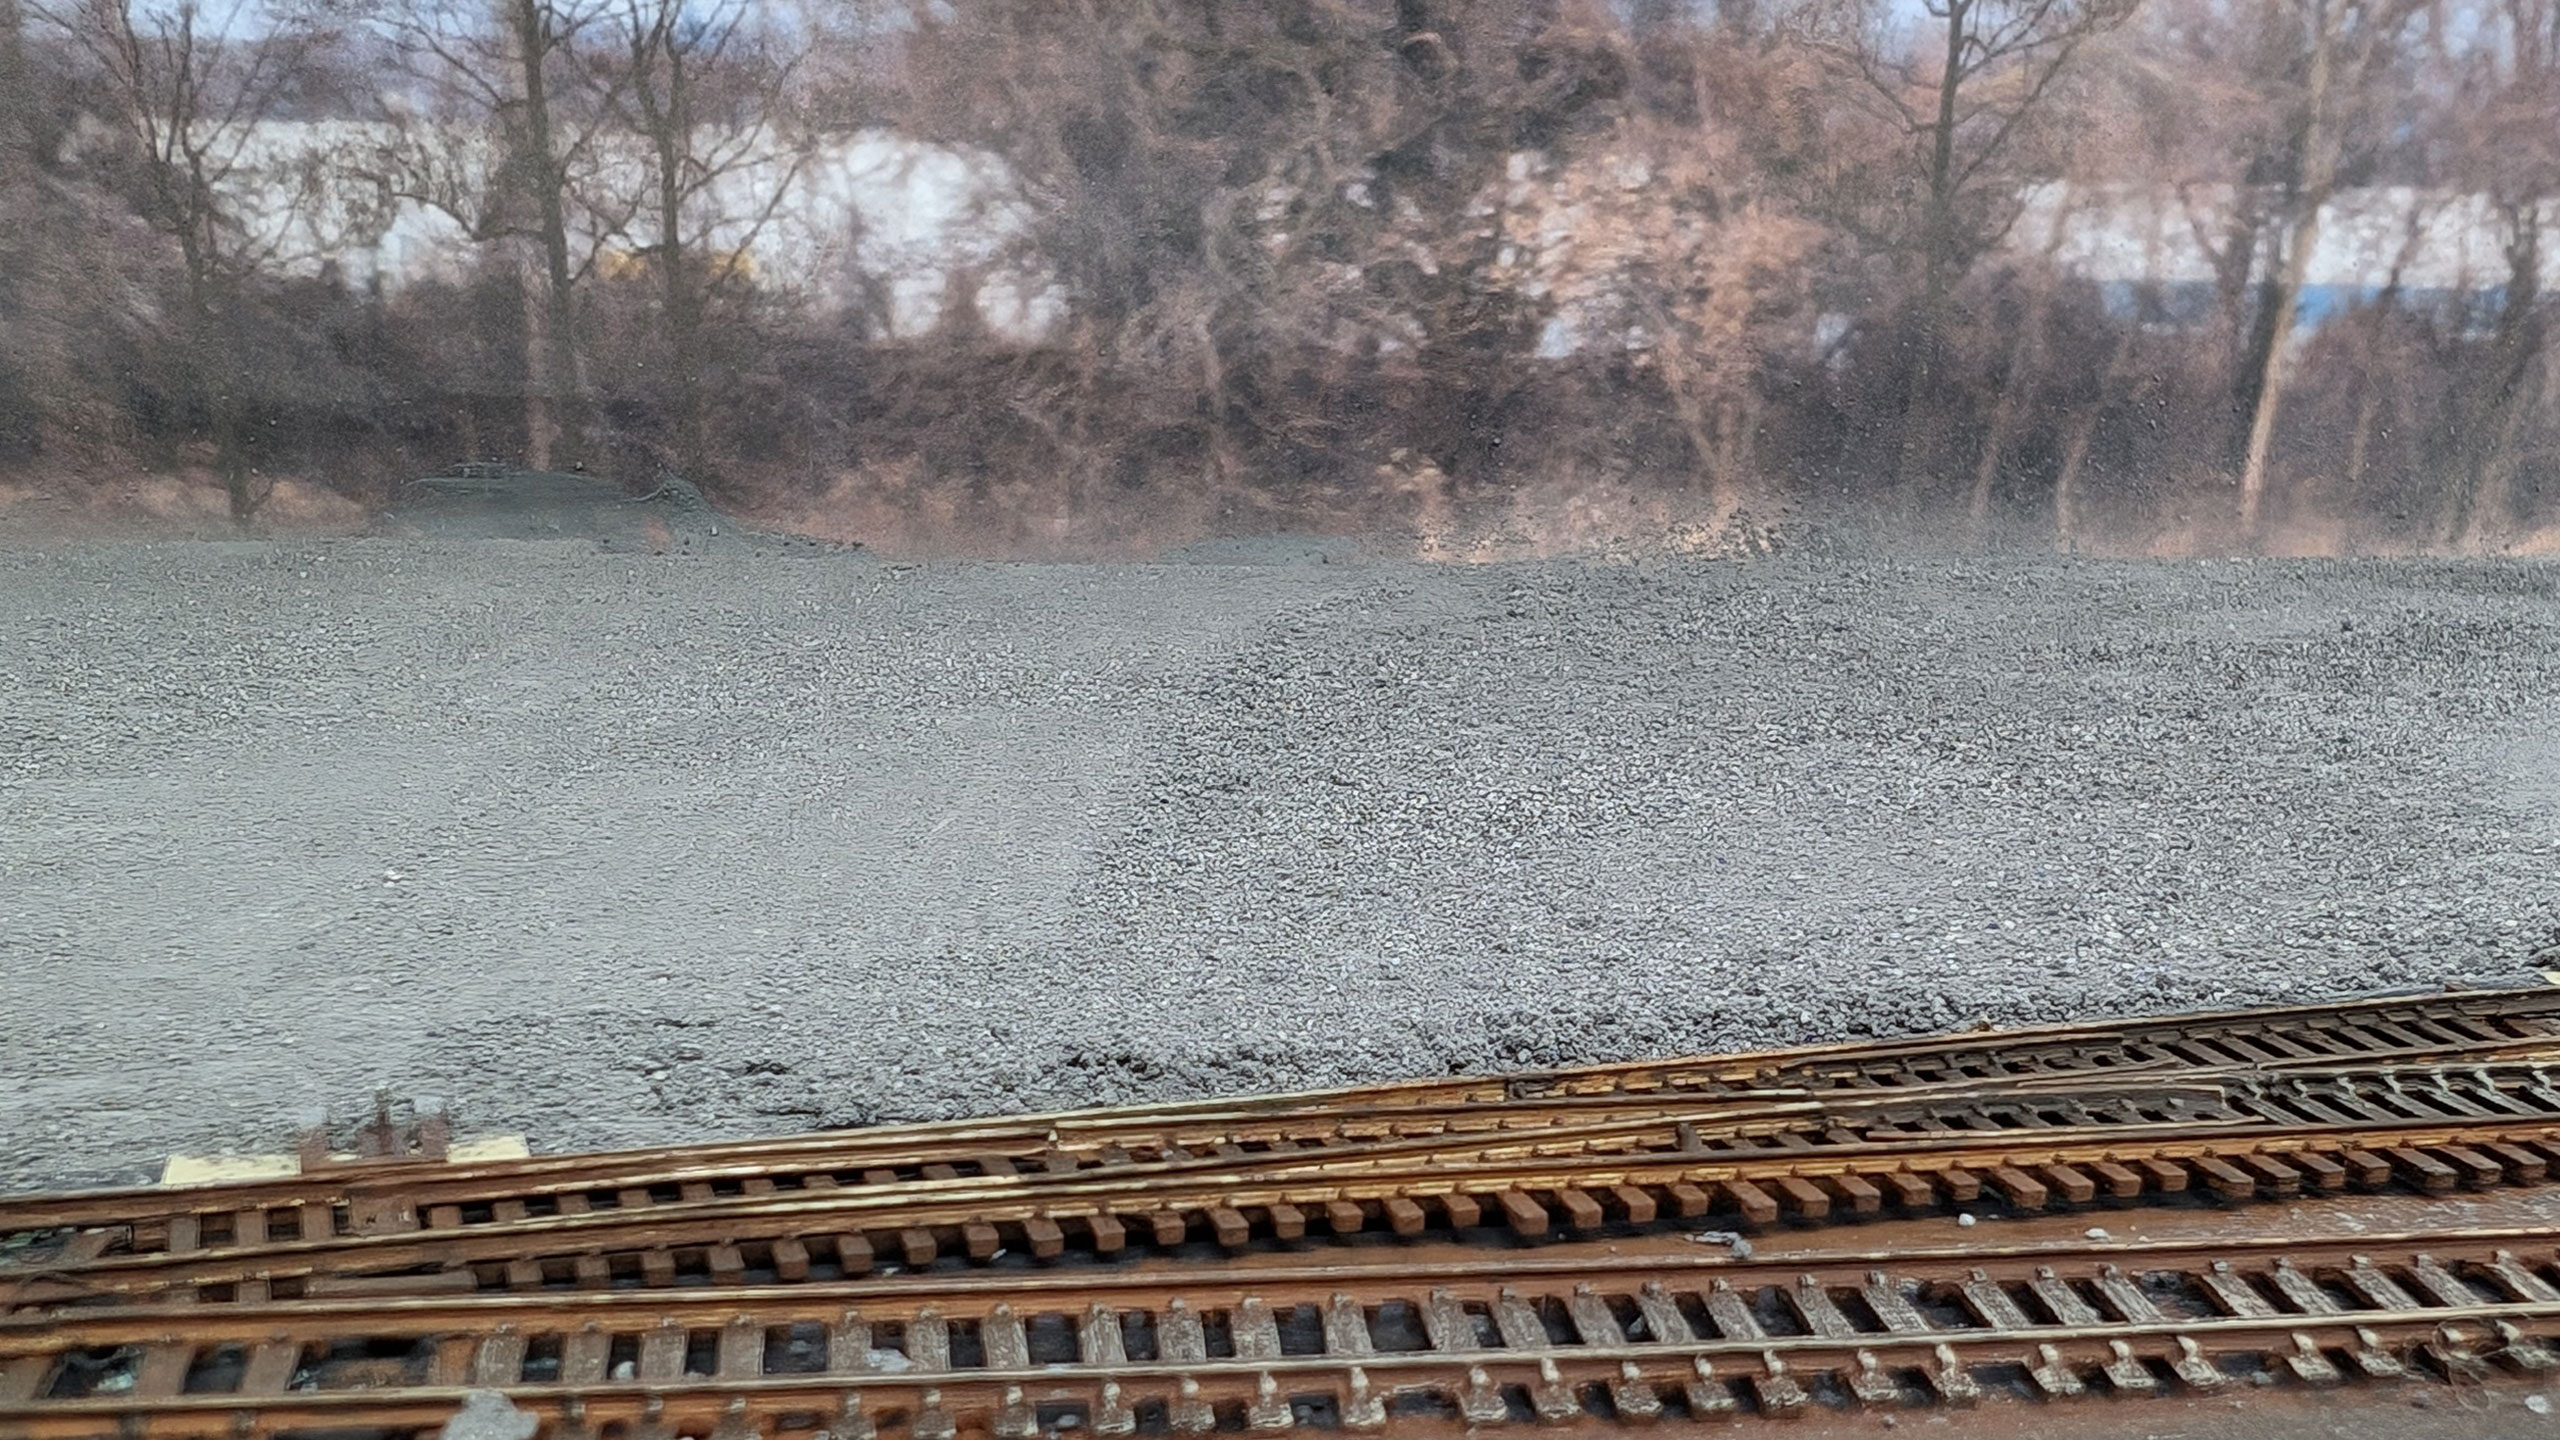
First up was the large parking area at the north end visible in the back of this photo.
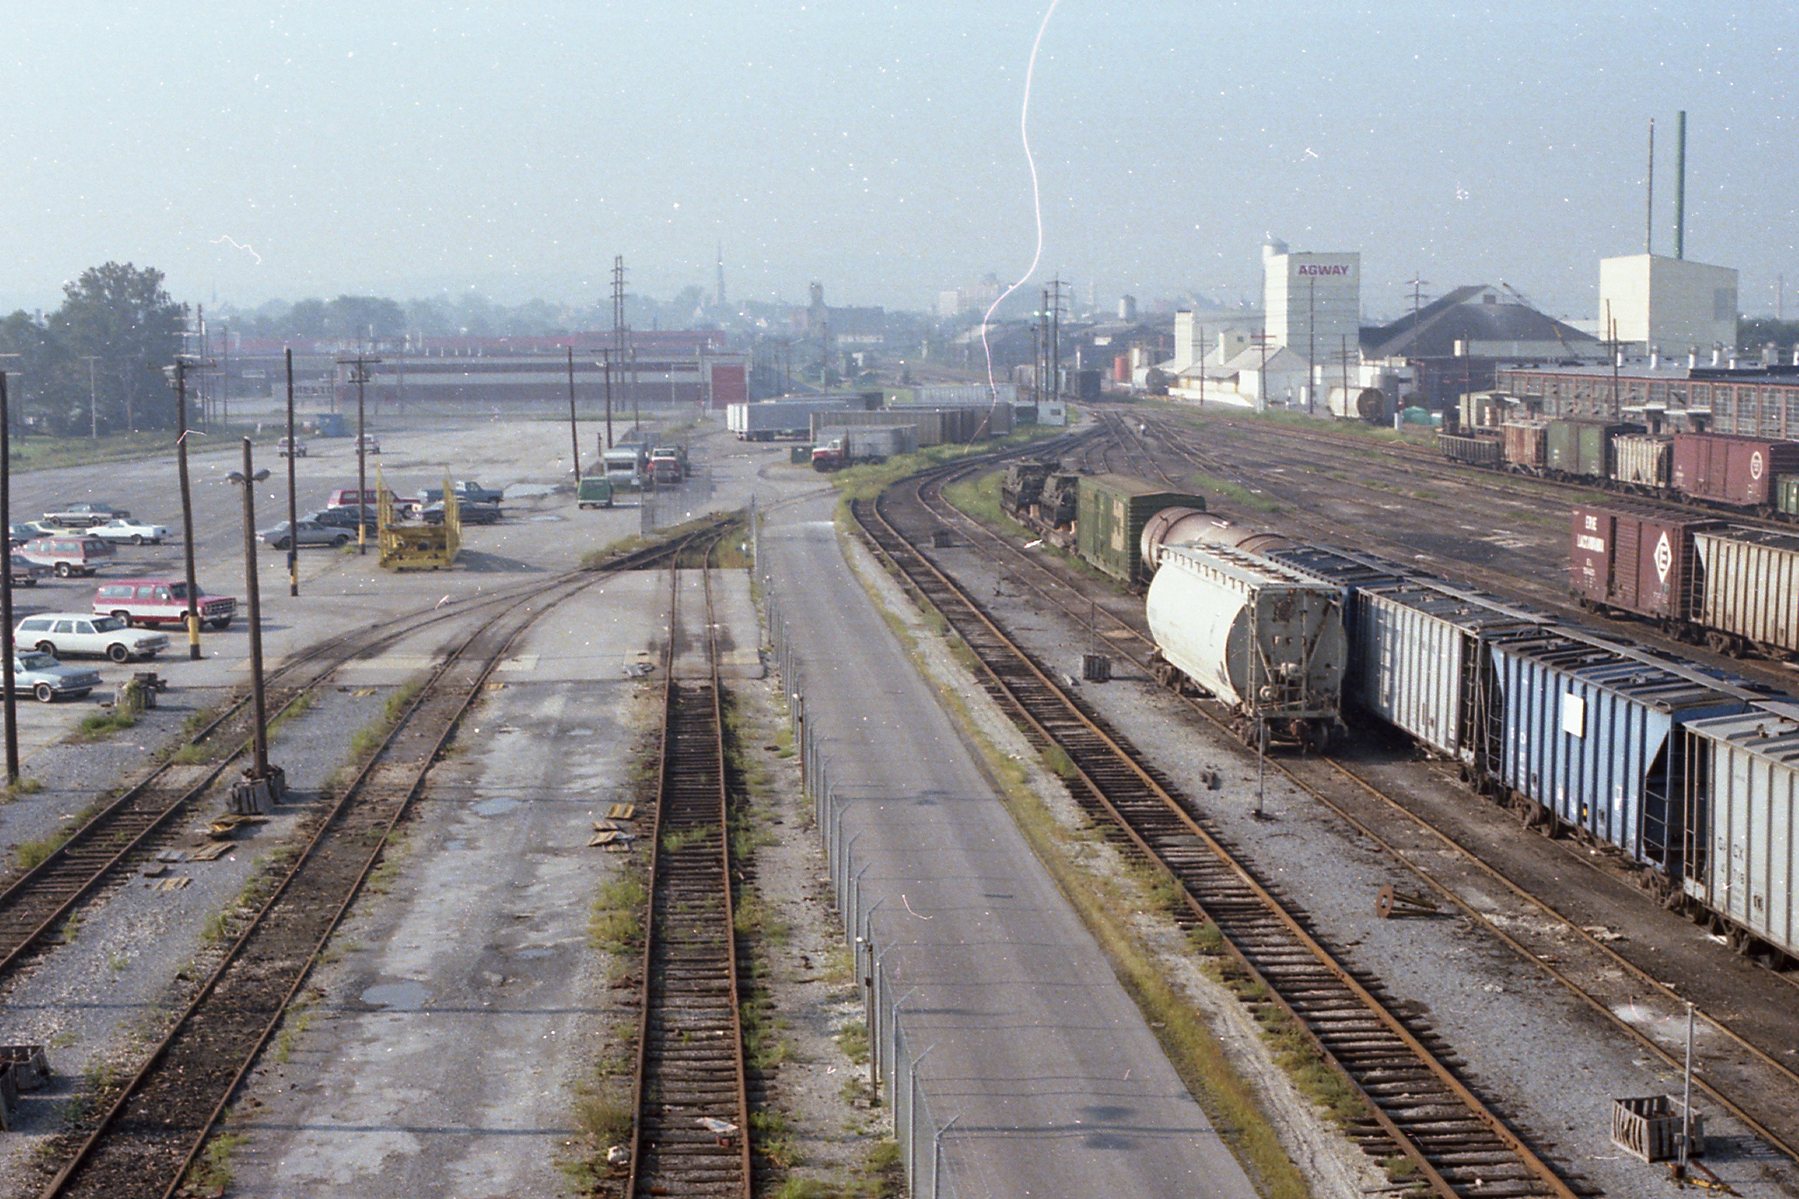
I assumed it was similar in color and texture to the gravel between the tracks on the left in this other area in the yard, which was helpful for getting the color and texture right. I am forever in debt to George Sloanaker for taking these photos and Ryan Thoman for sharing them with me. If you like them, please go buy something from Ryan’s shop White Rose Hobbies.
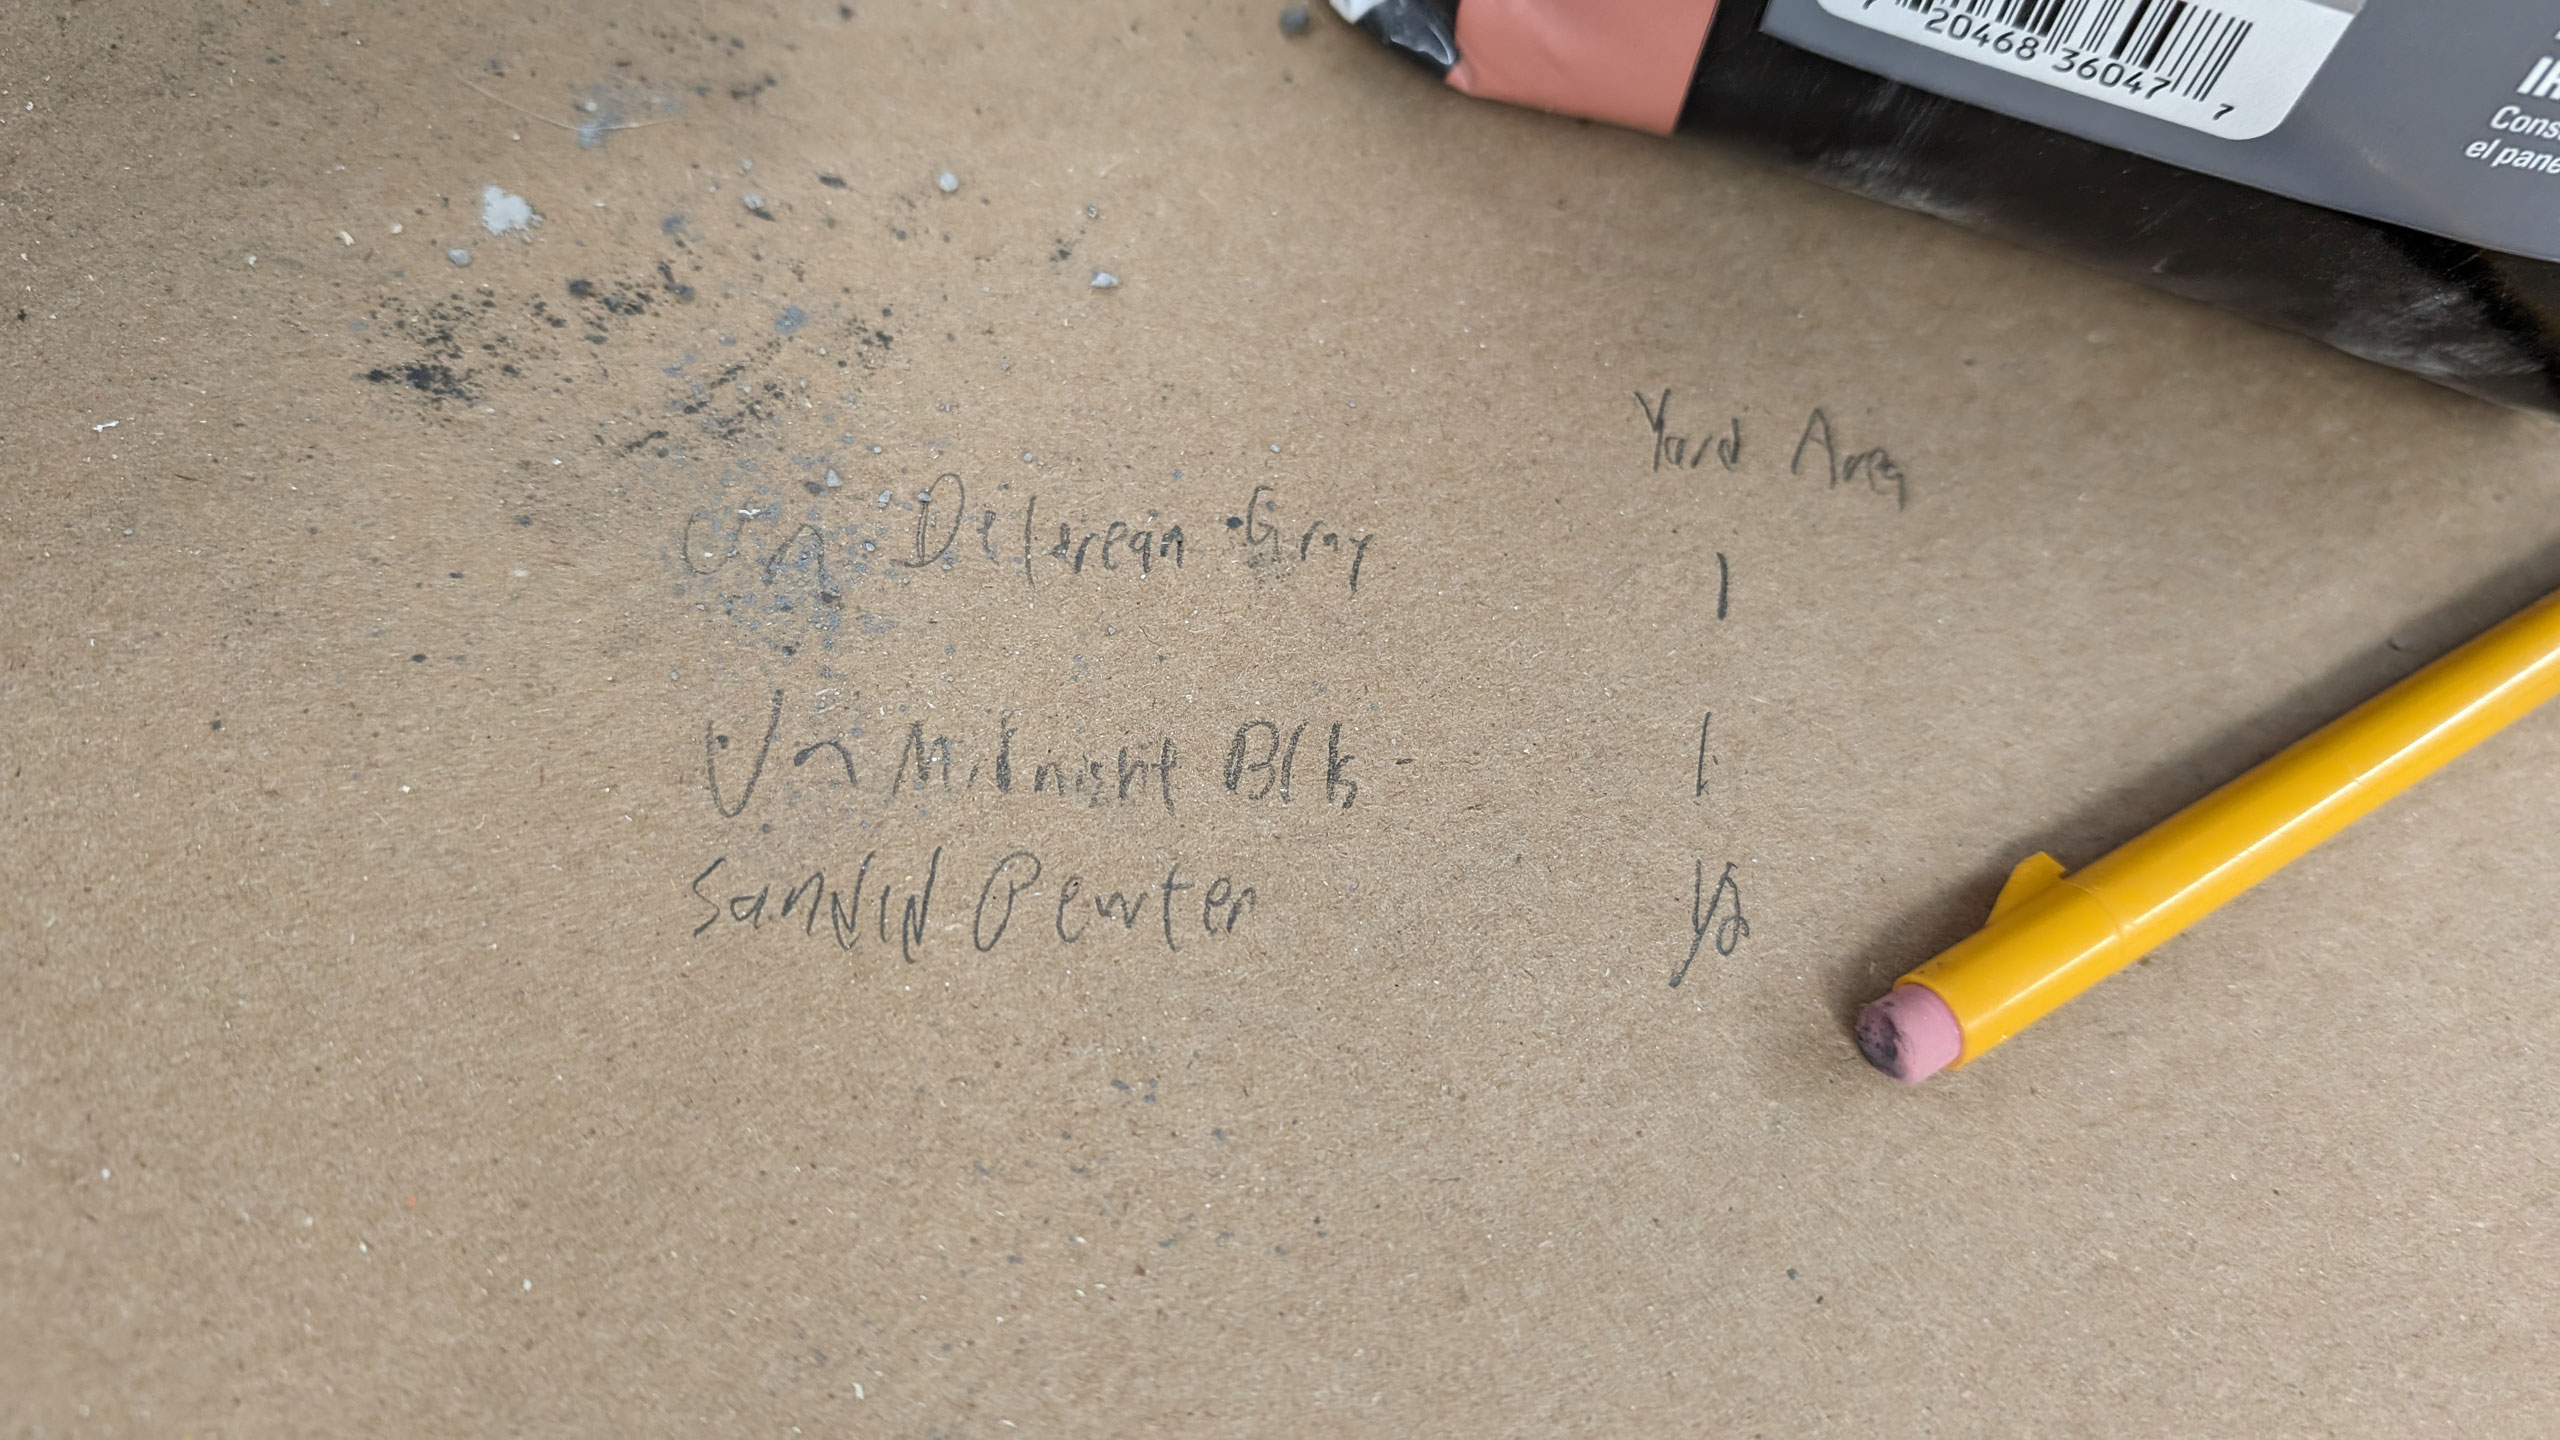
I took some notes on my blends so I can easily recreate them. Consistency in stuff like this surprisingly important in my experience. While there is natural variation, our brains struggle with it in model form.
In this case it was one part of Polyblend Plus Unsanded “Delorean Gray“, one part Laticrete Unsanded “Midnight Black” and 1/2 part Polyblend Plus sanded “Pewter“.
I taped off the track in the area I was going to apply it on. Don’t want to ruin that beautiful track (or get grout in your switch points).
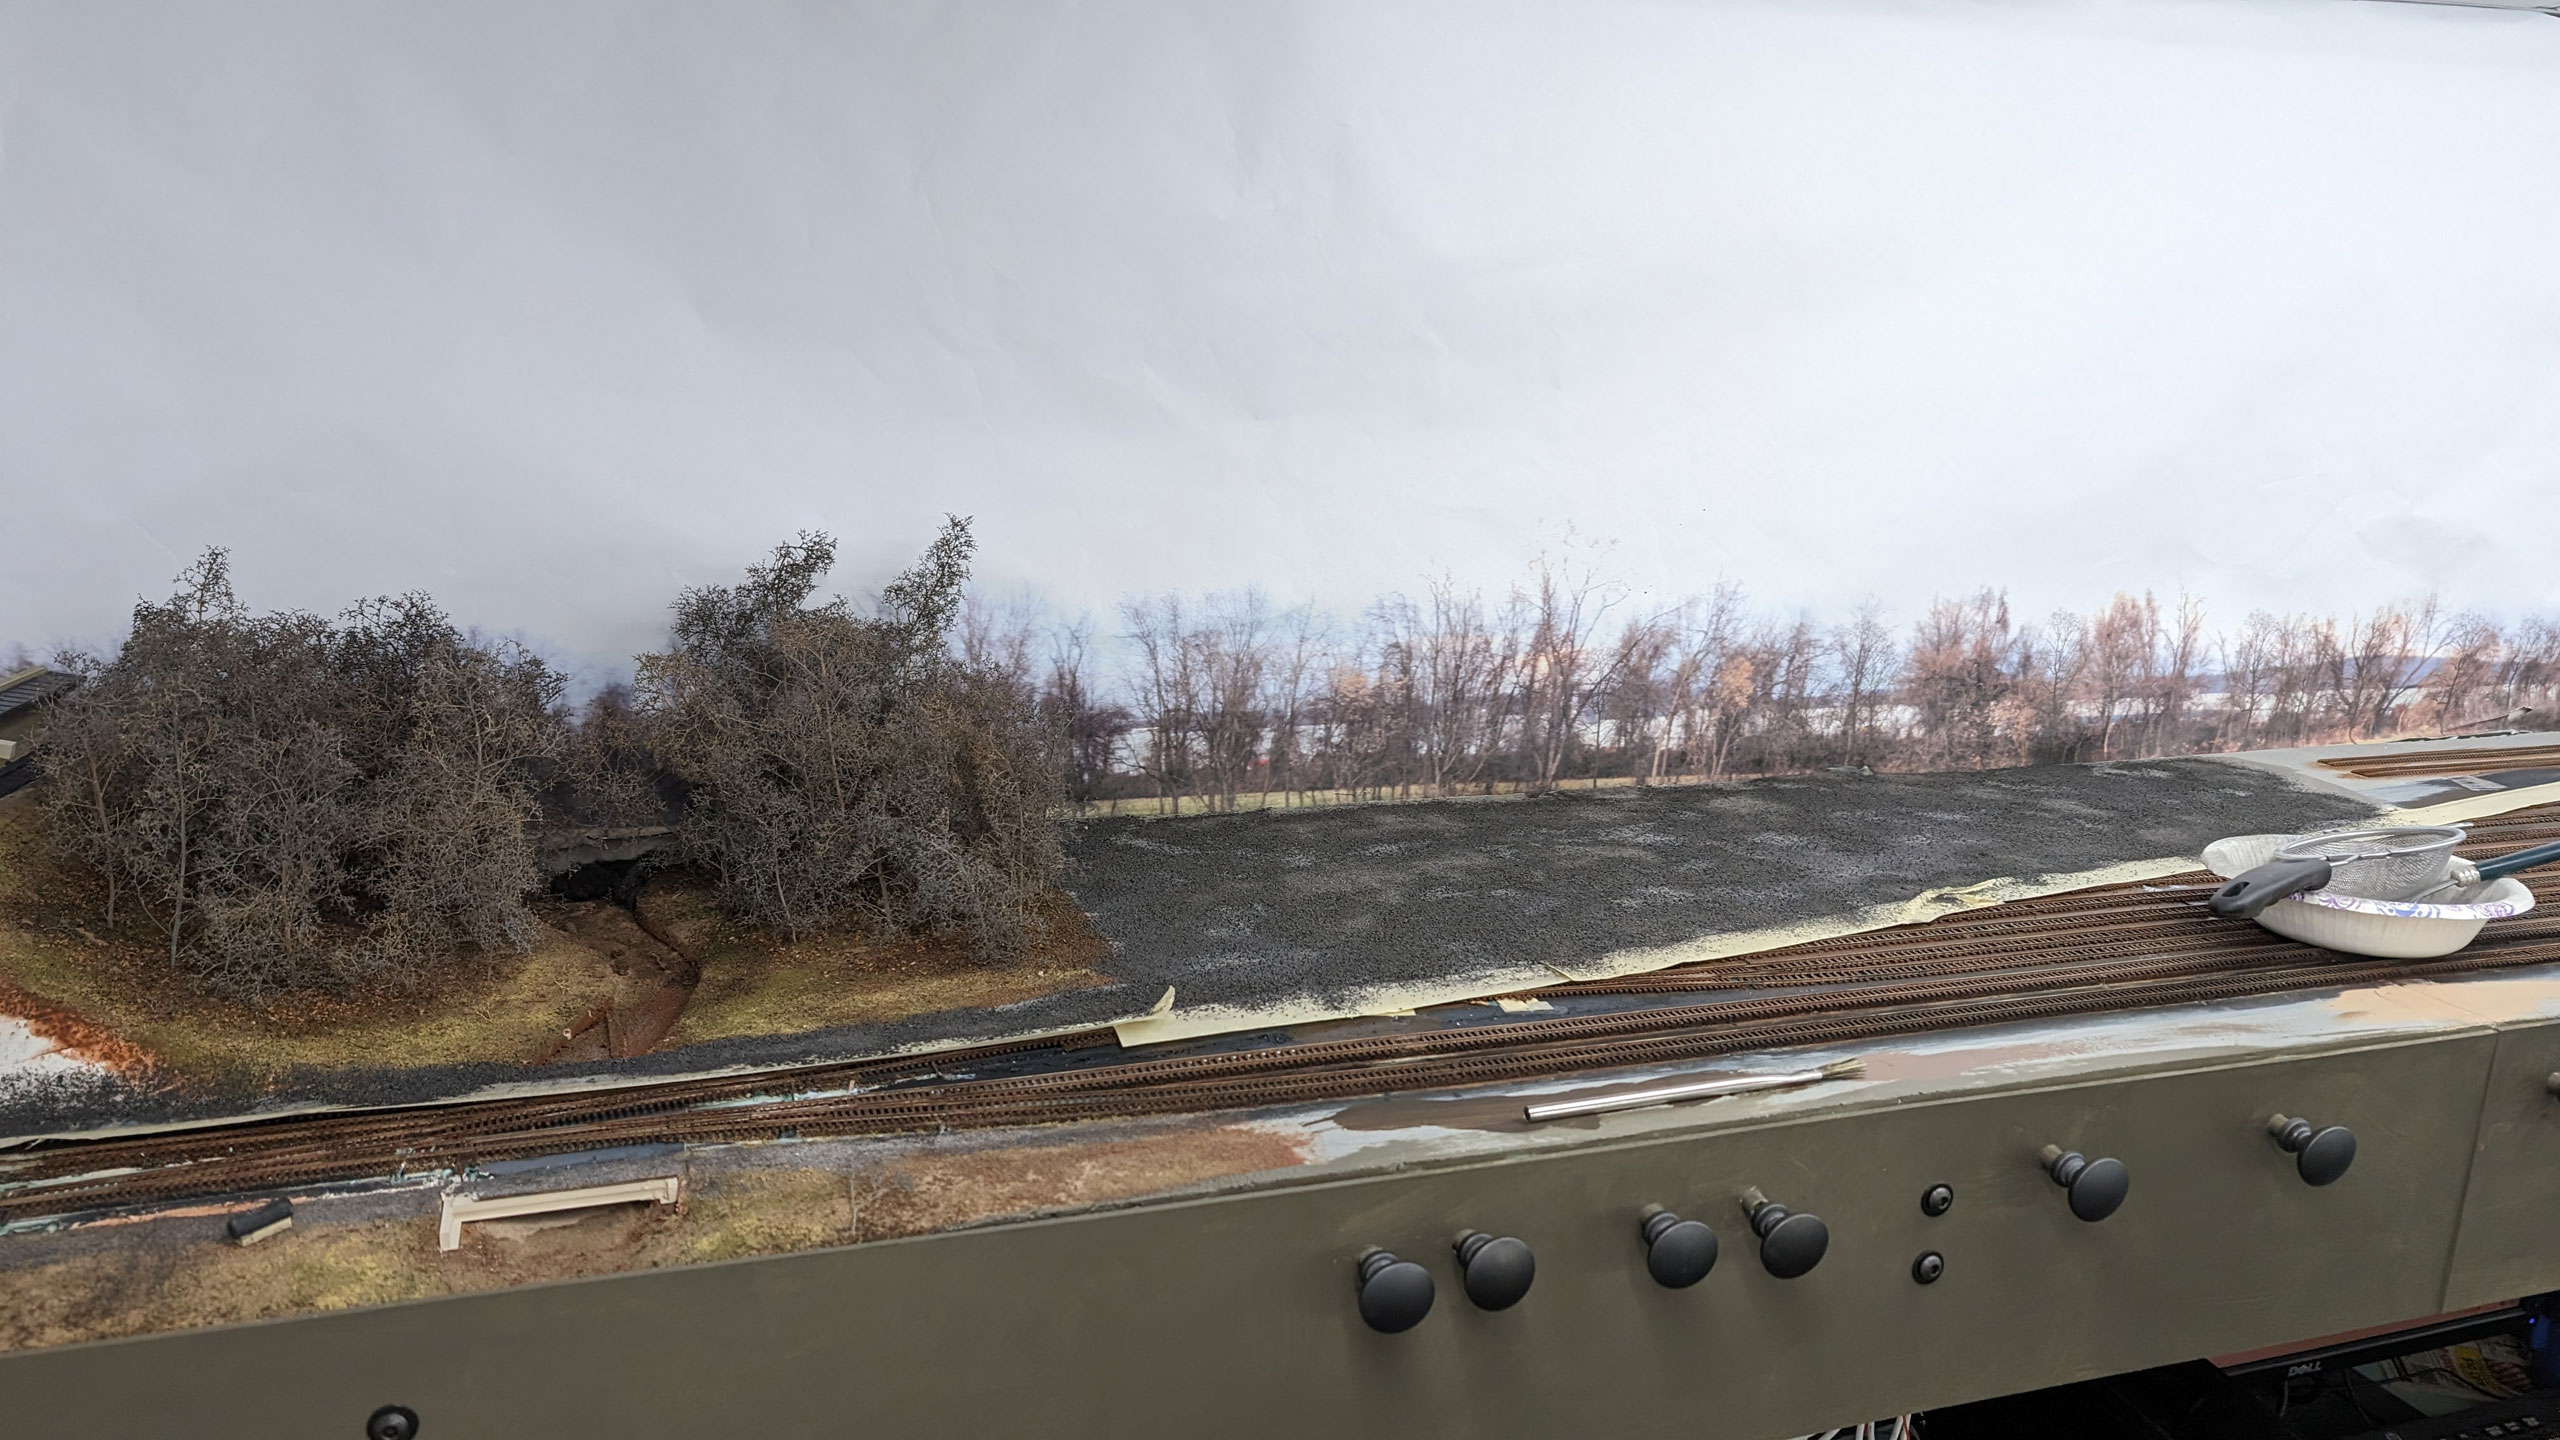
I squirted on some “Medium Gray” craft paint and thinned white glue and spread it around with a paint brush. I find the paint and glue combo to be really good because it has better adhesion than just pure glue and has more “stick” than just paint. I sifted the mix on with a cheap sifter from the Dollar Store. Dollar Stores are fantastic resources for scenery tools that you don’t mind abusing and for scenery material storage containers.
I then wet everything down with a fine mist of water to let the grout’s binder do its thing.
I aimed a fan at it to speed up drying, and a few hours checked it out. 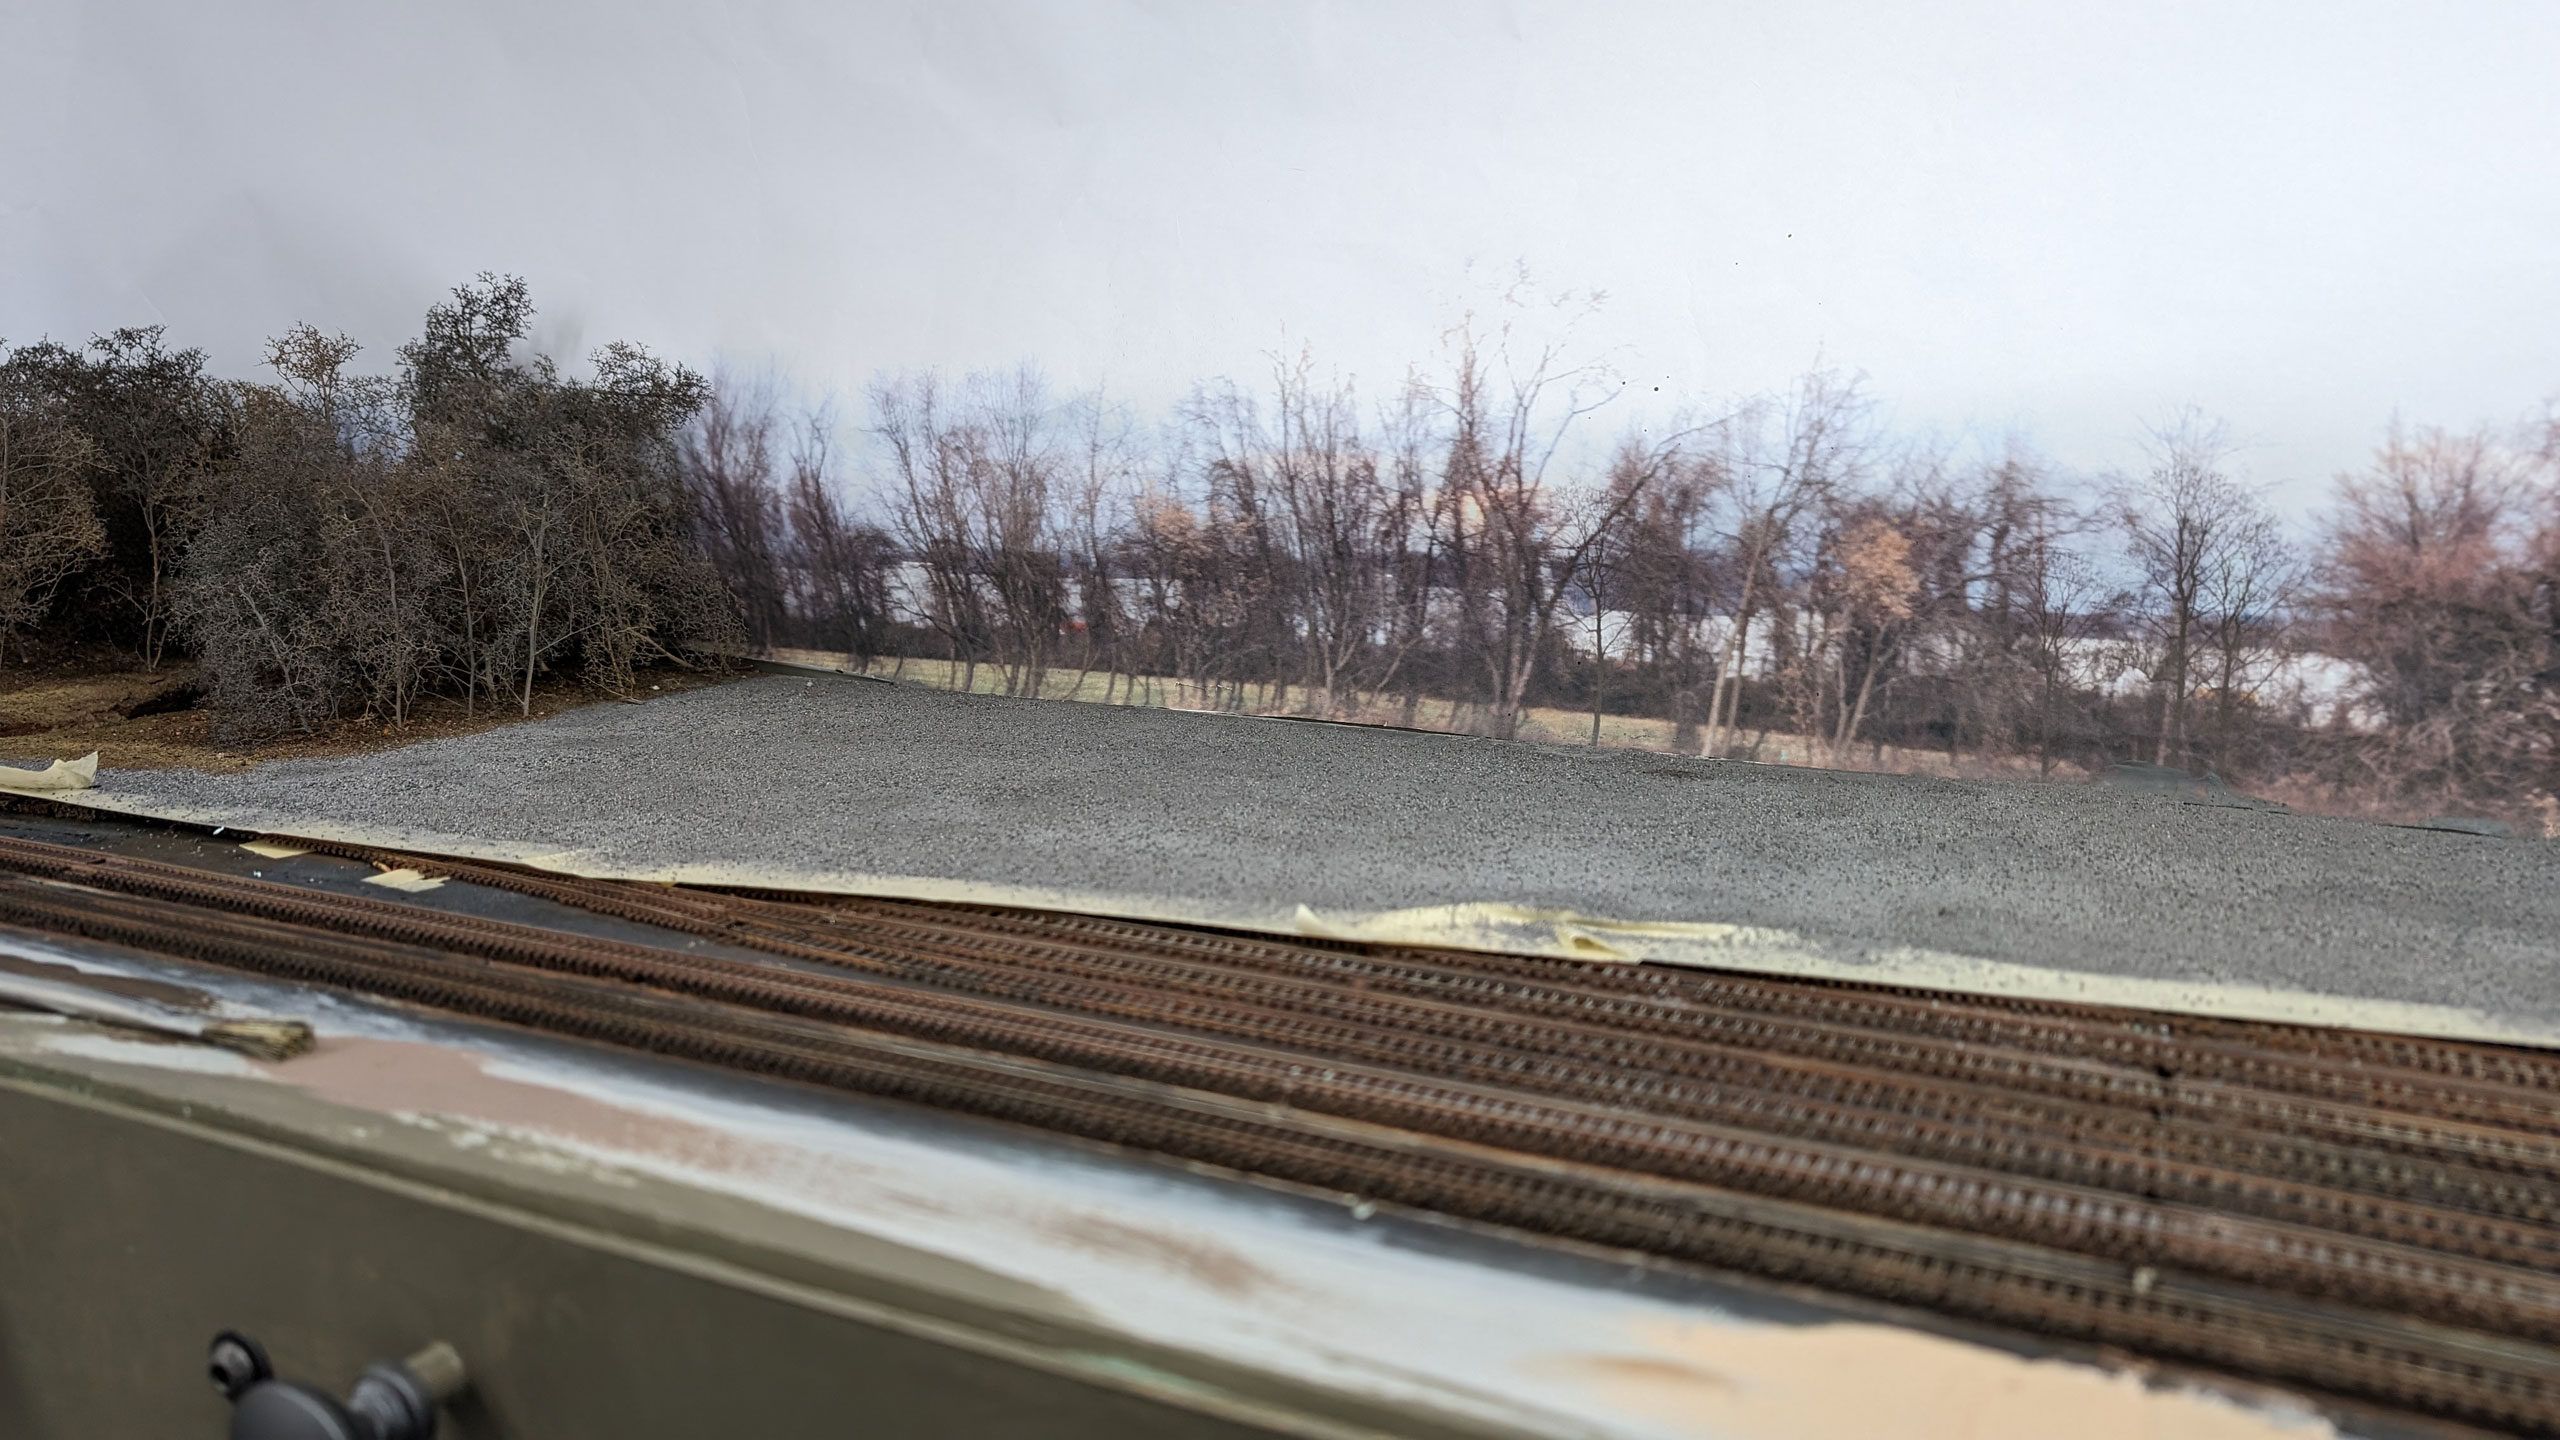
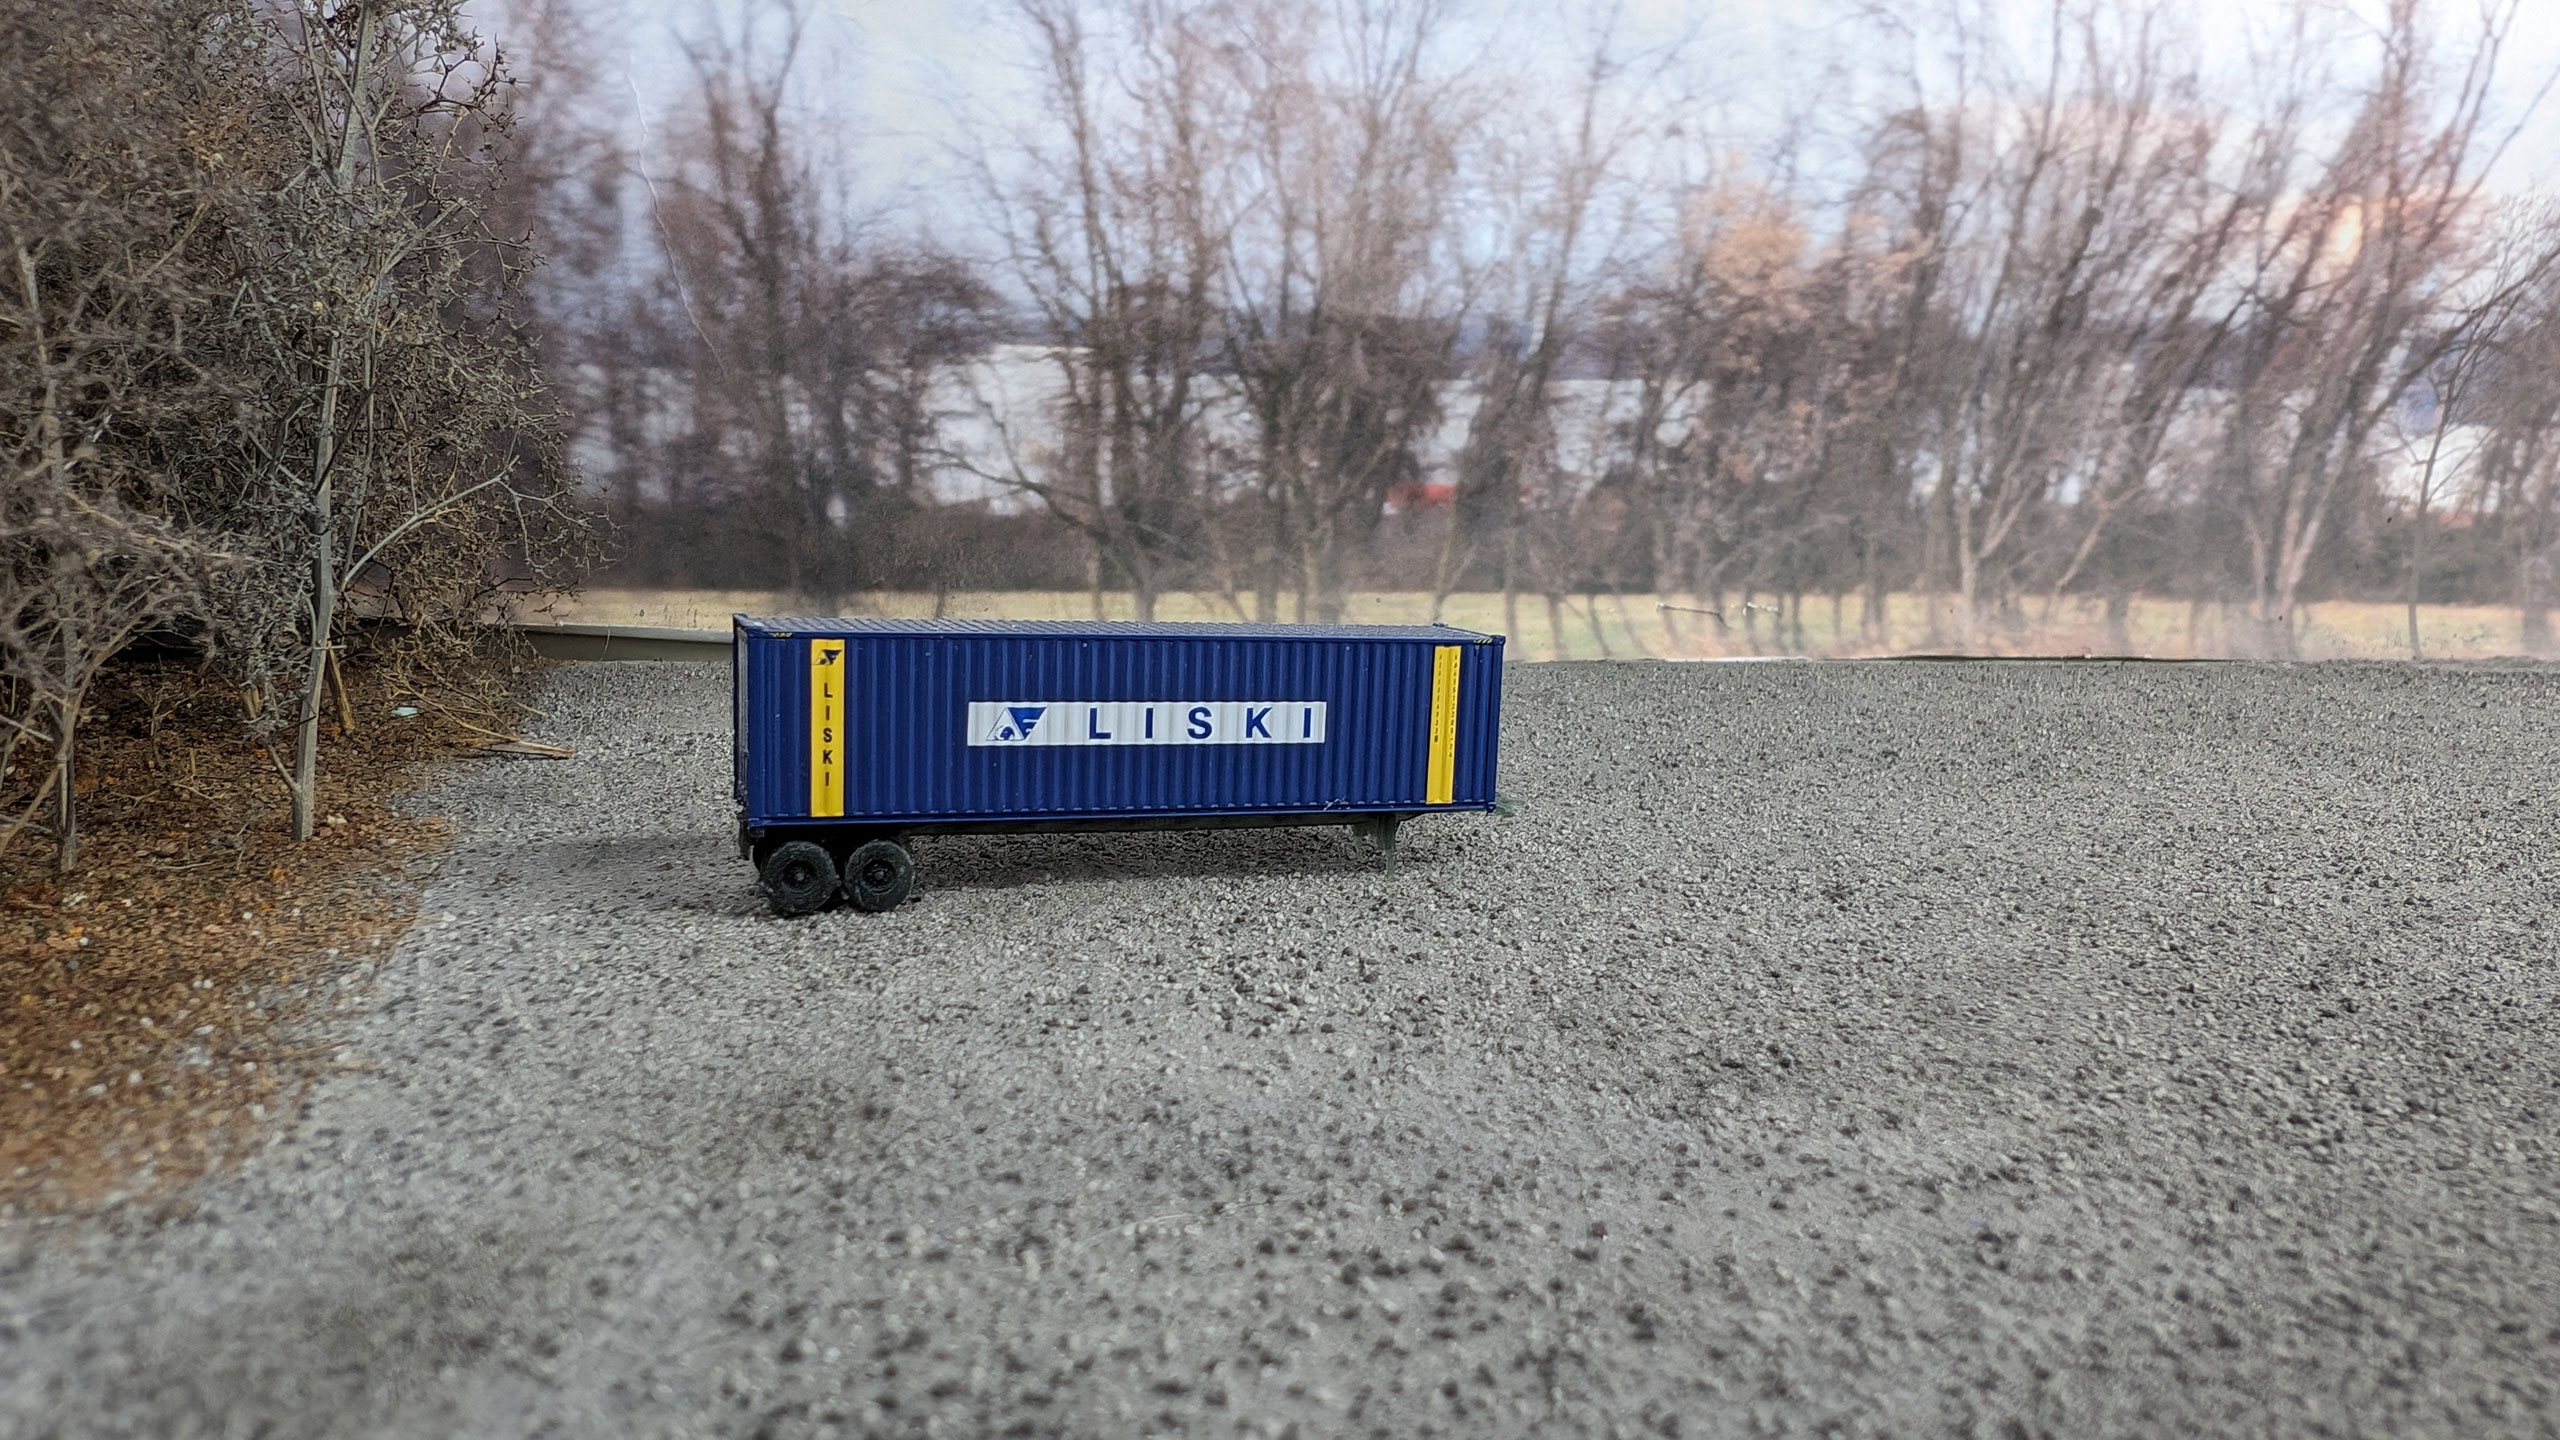
Color was good. But that texture. Damn. If I wanted that texture I’d have just used Woodland Scenics ballast. Sheesh. This, however, is a place where grout comes into its own for stuff like this. I used a small piece of scrap styrofoam to “groom” it all by just rubbing it.
MUCH better!
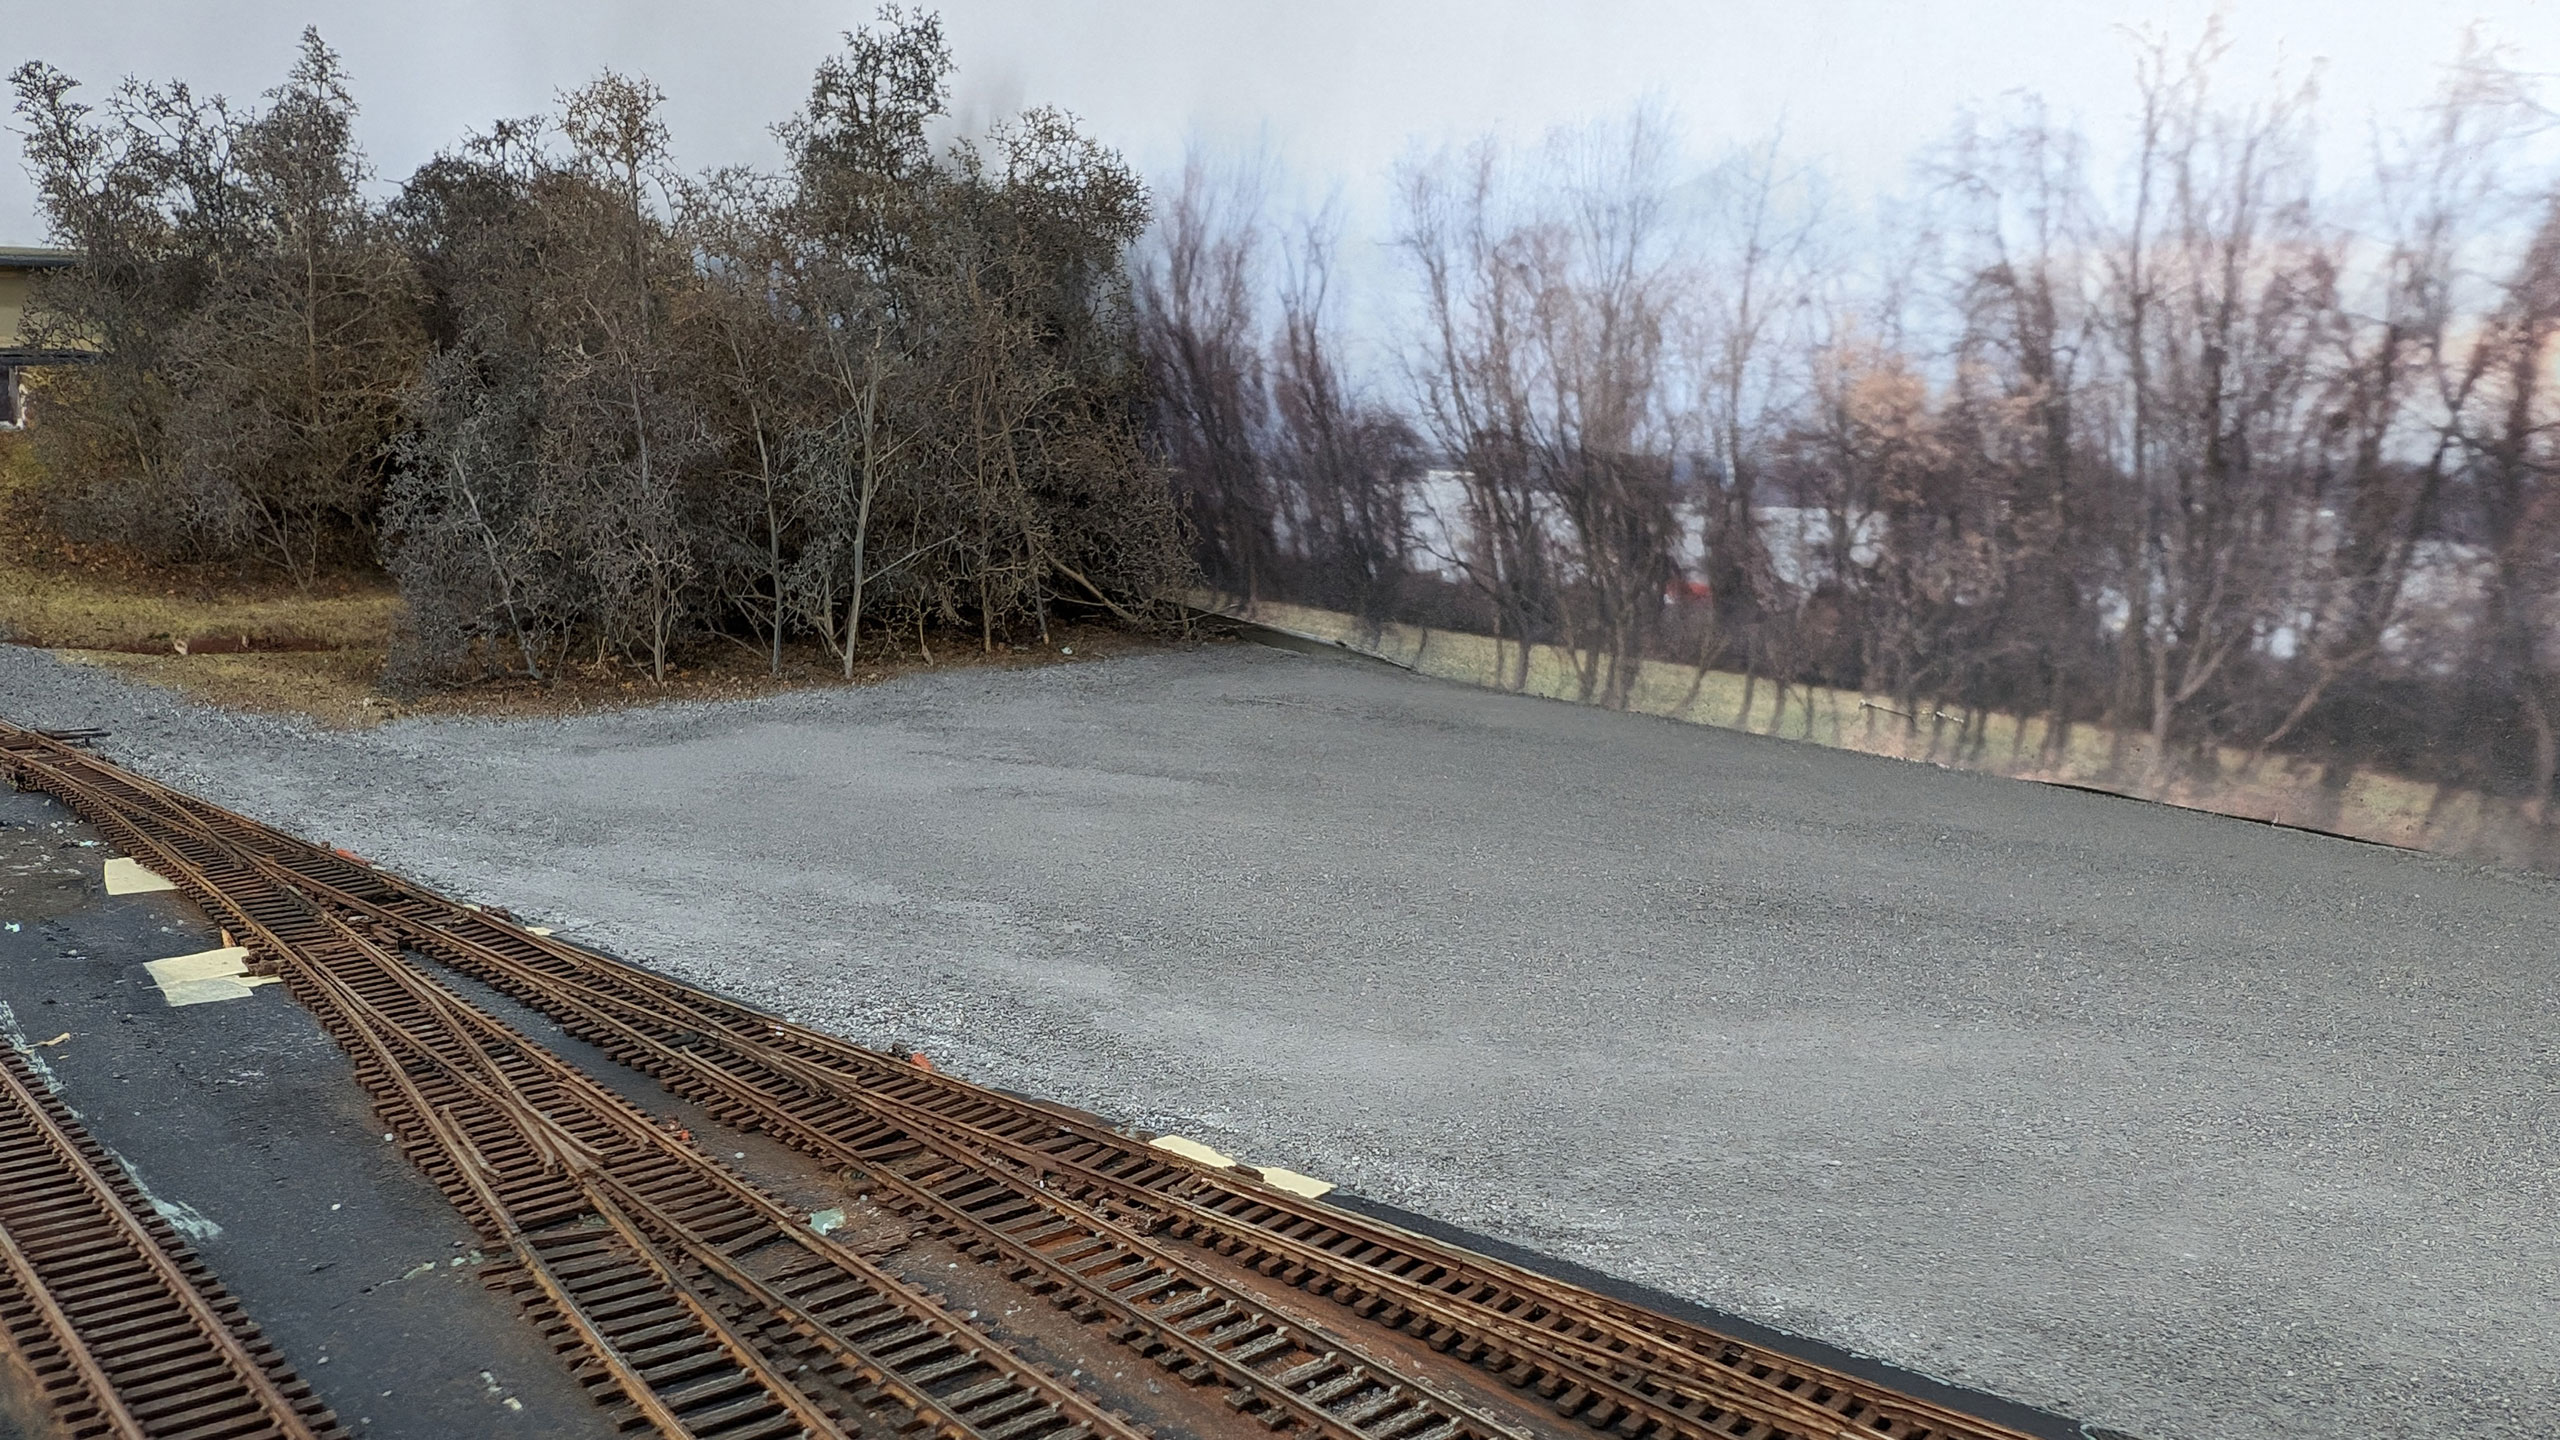
You can see difference in this photo, where the “groomed” gravel is on the left and the ungroomed on the right.
This is pretty encouraging, so I think the rest of the yard might be getting done soon. Also, don’t sweat that spatter on the backdrop. Being able to easily reprint it is one of the big reasons I bought my own printer to do them instead of having them commercially done. In this case, the backdrop you see is just a test version and, in this case, helping provide some protection for the wall behind it.
Onward!
