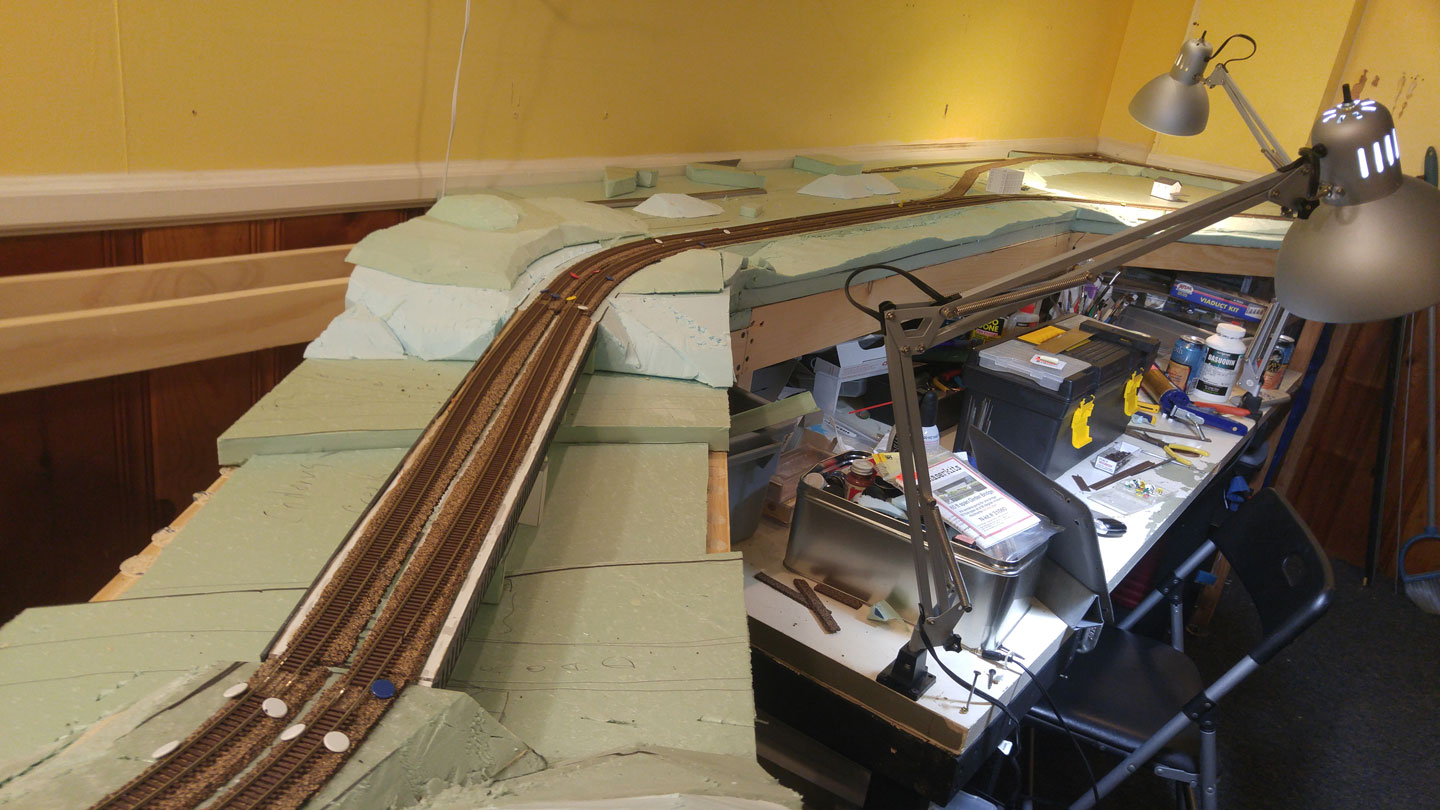
I successfully hosted my first evening of having people over to run trains. It was great, as long as you were cool with running out of the yard, and then back into the yard… so now that the pressure of having that ready is out of the way, I decided to get moving on getting track going up the other direction.
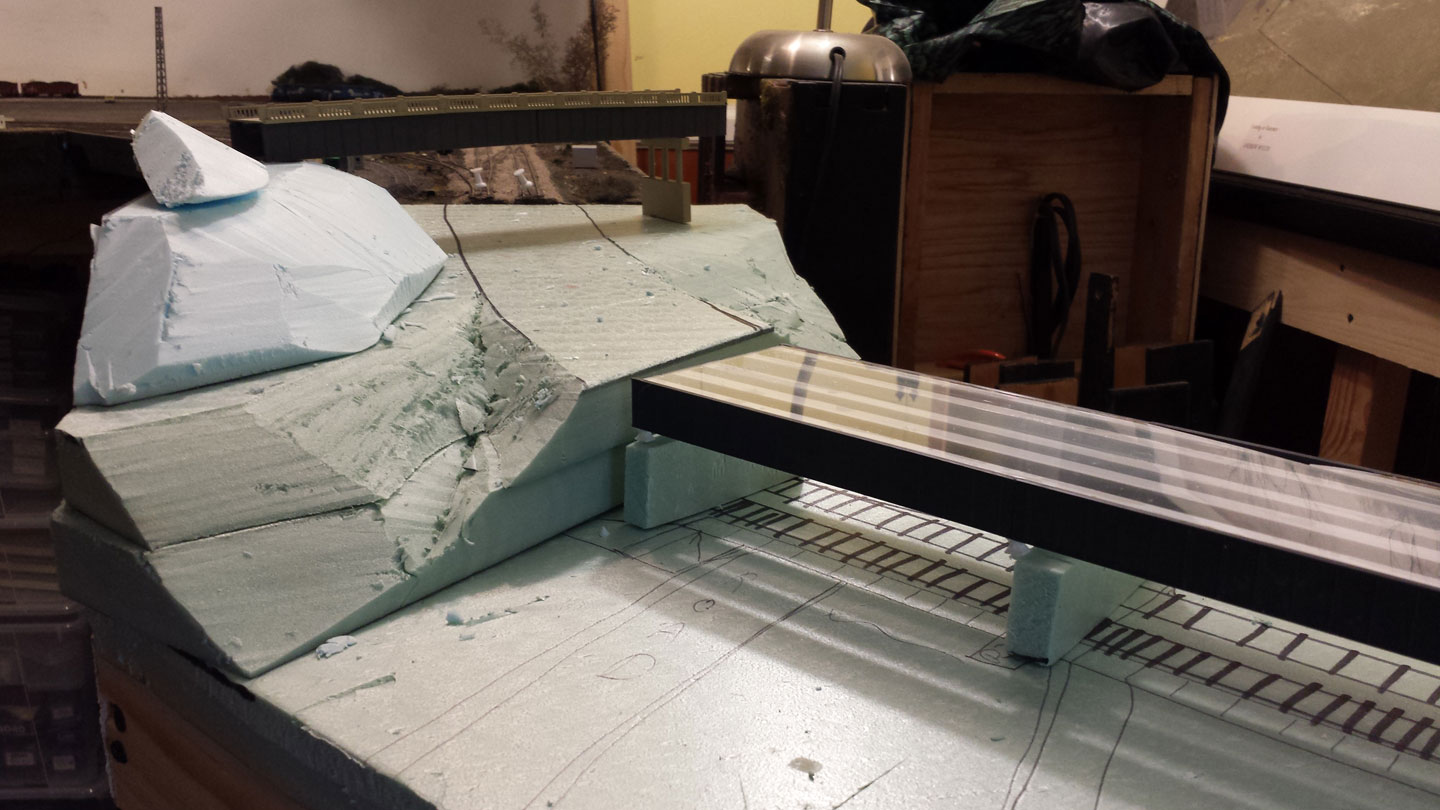
The first step was in cutting the styrofoam around the bridge scene, since it’s MUCH easier to do before it’s all glued together.


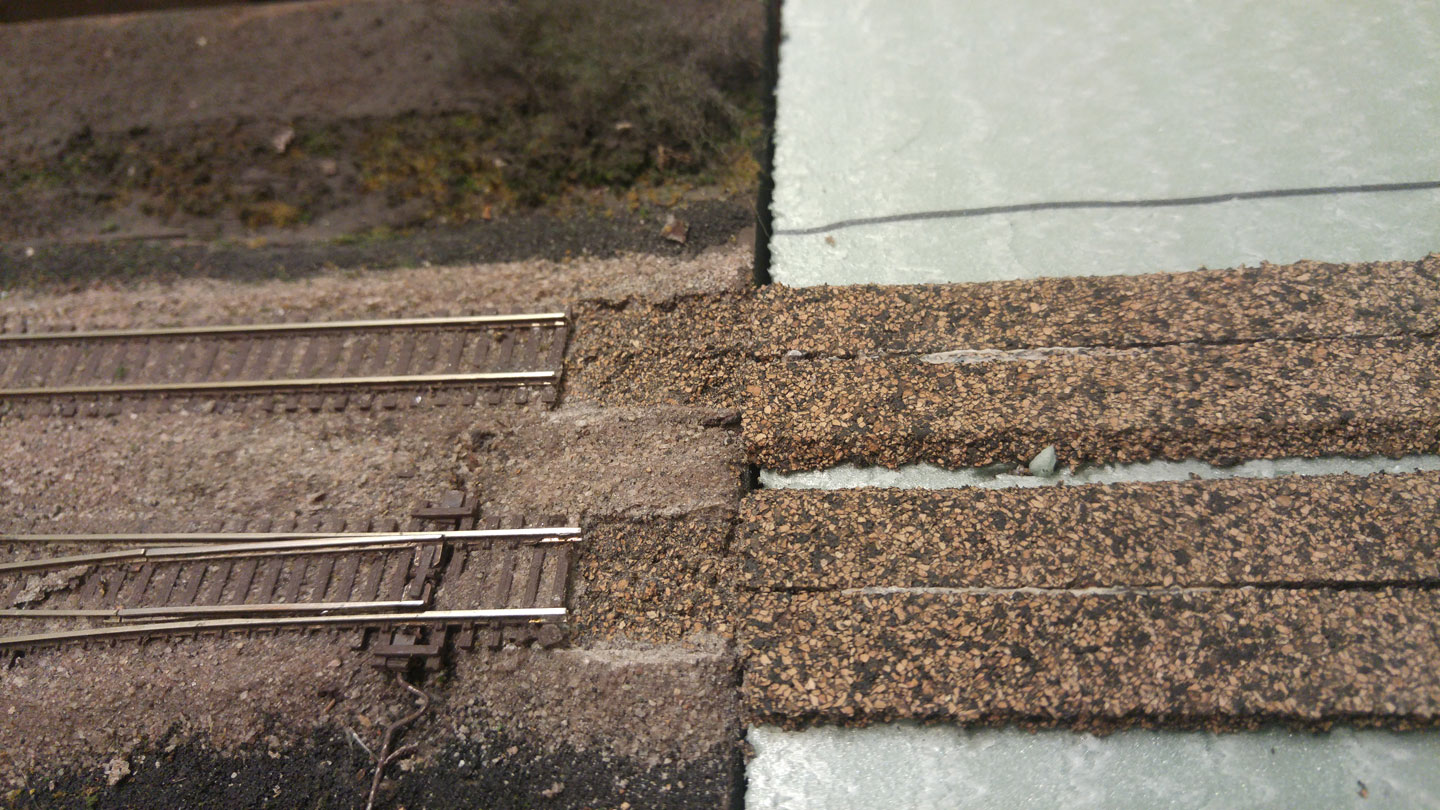
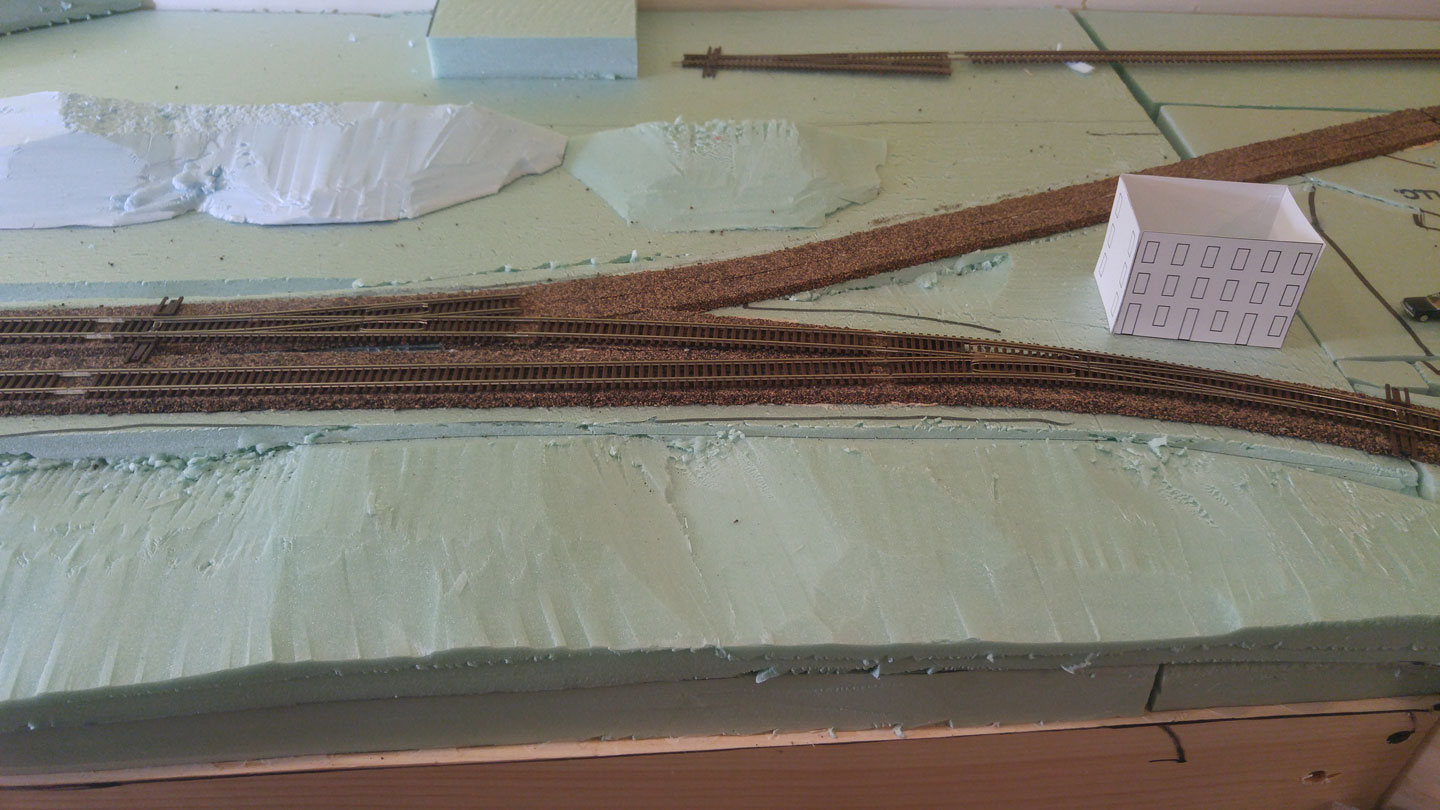
 After all the foam was cut and glued down, it was time to get cork in place. I placed the better looking cork edge facing out, generally, and held the entire thing down with Liquid Nails and push pins (until it dried). My method is to pin the back strip in place, then get the front strip cut to length. With the back strip pinned down, I run a bead of liquid nails along under where the front strip will go. I then use some scrap foam to spread that out thin, so it doesn’t create a lump. Then I just lay the front strip on top, using the back strip as a guide. Once that’s down, I pin it down to keep it in place, and repeat the process with the back strip. This makes it easy to always have my guide marks visible, and gives me good alignment of the two cork strips.


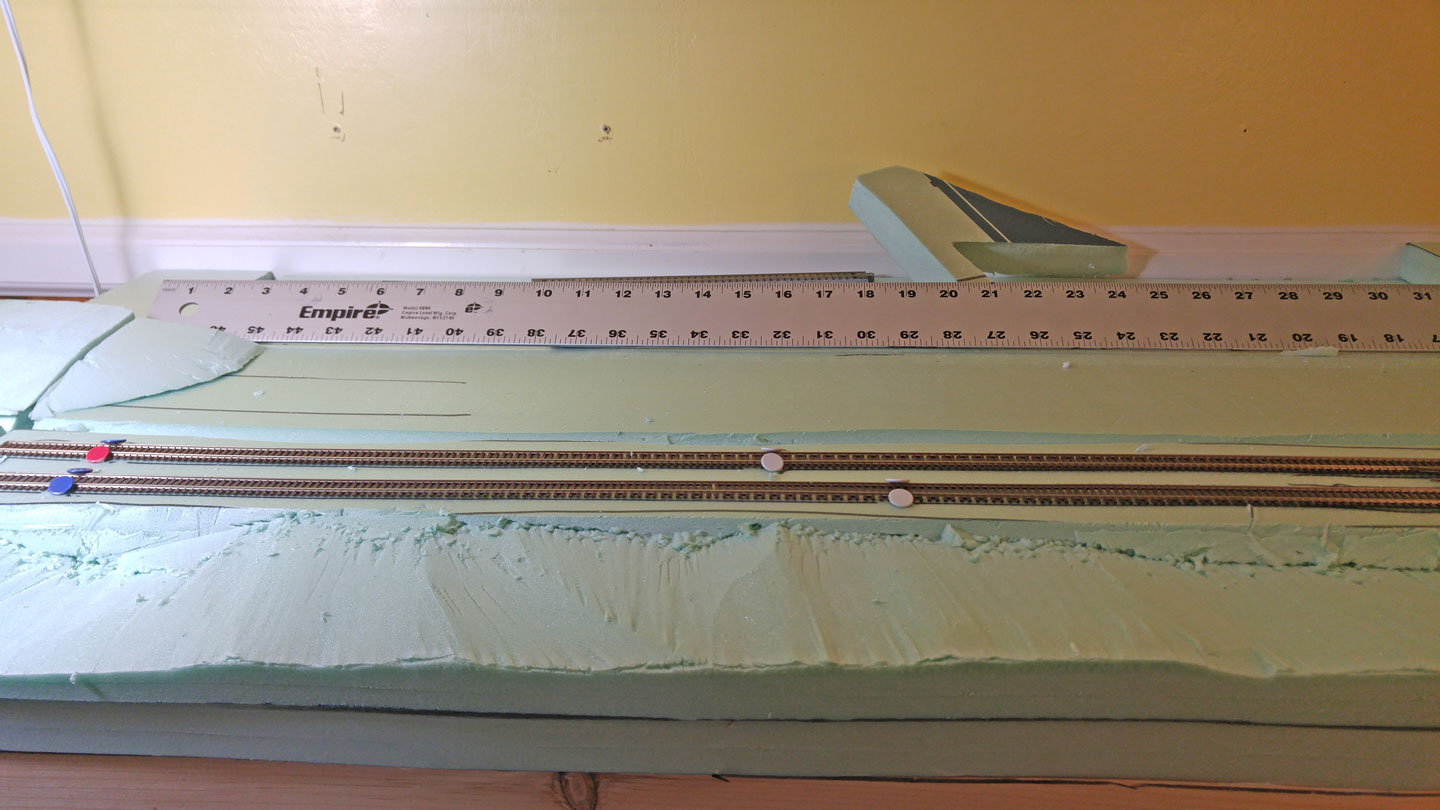
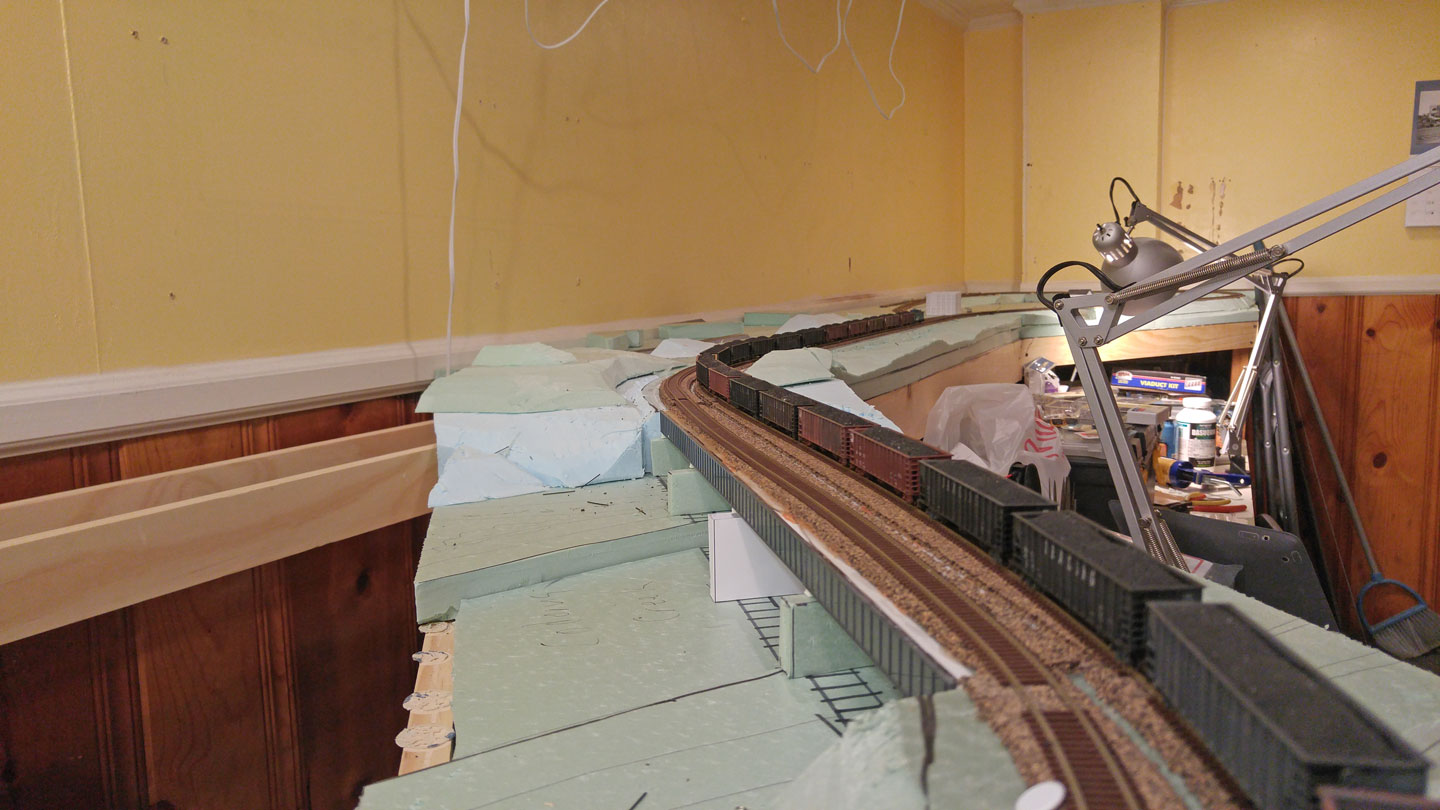
With the cork all down, it was finally time to start laying track. I started by cutting the track on the existing layout back a little, so I had a good mating surface. This took a little bit of work, and involved unsoldering a small length of existing track that existed at the end. I didn’t want a small 1/4″ piece right before the gap, and it also meant I could line up the block boundaries a bit better. A little work with an Xacto chisel blade cleared out the old ties and ballast. I’m definitely glad Lee didn’t use my grout techniques here, otherwise I might’ve had to resort to some dynamite.
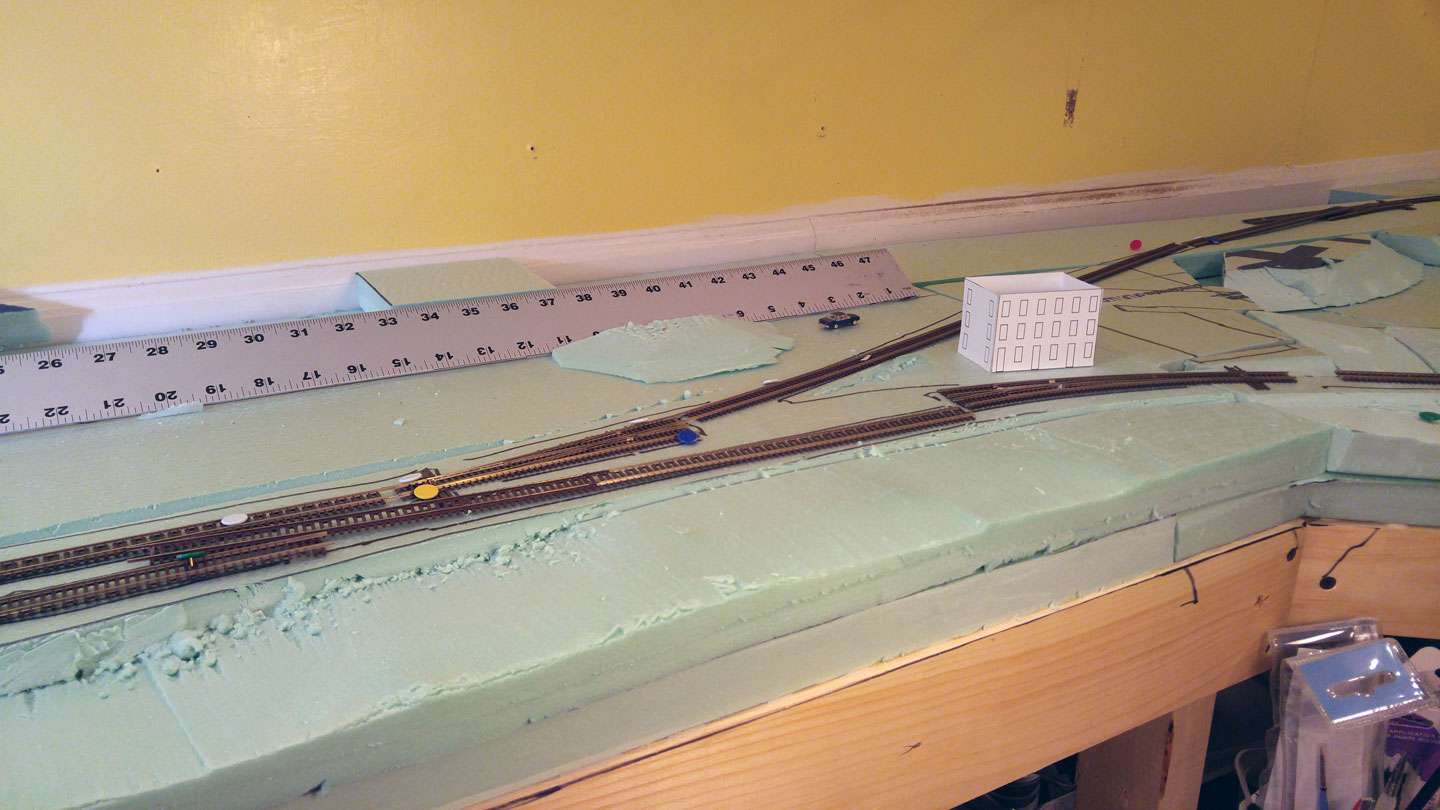
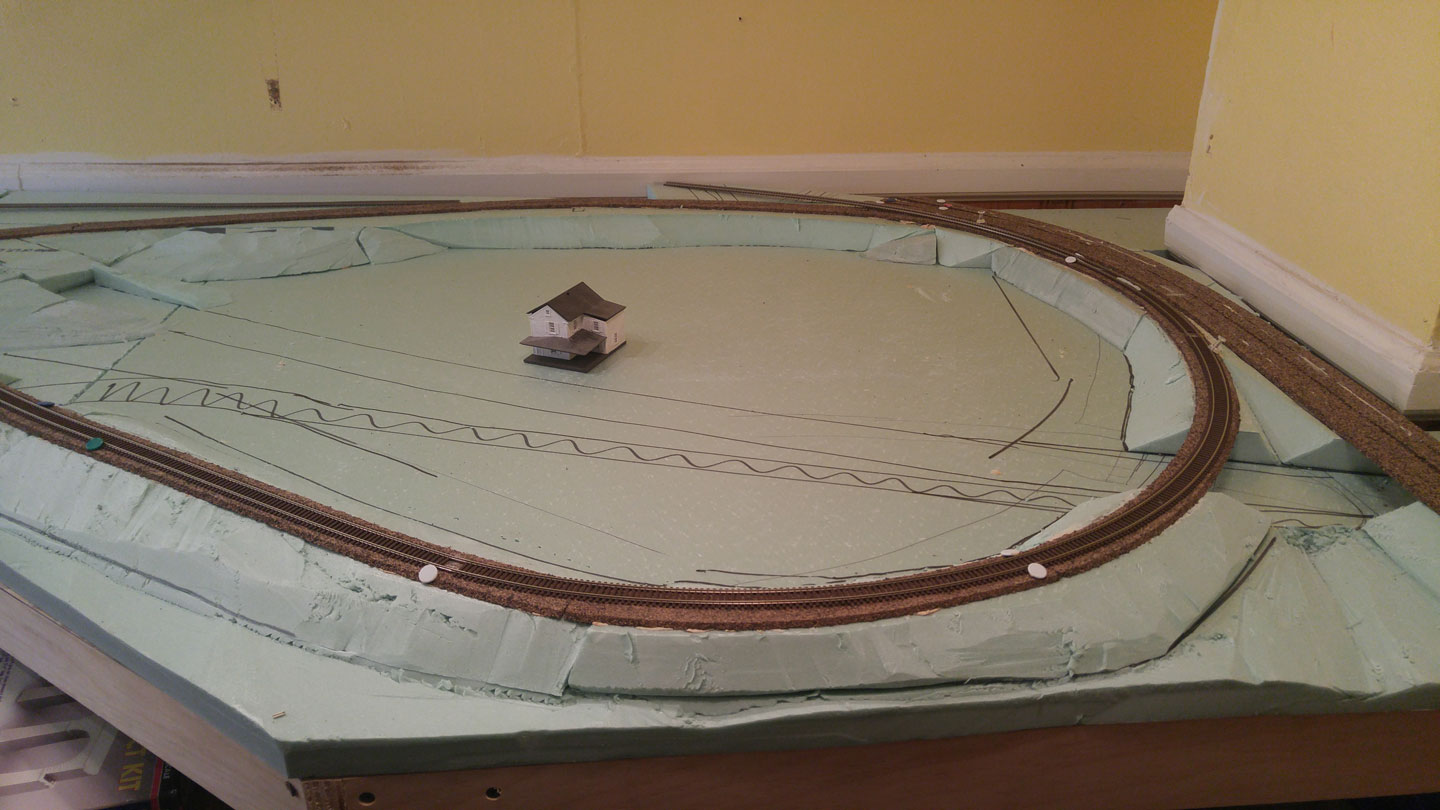
 With the joints made, track progressed further down the layout rather quickly.
Because the bridge is far from finished, I dedicated a length of track specifically to it, with NTRAK style removable joiners at each end. This will let me remove it from the layout to work on it. Additionally, because the deck of the bridge is acrylic, I used Walthers Goo (one of my favorite hobby adhesives) to secure the cork to the deck instead of Liquid Nails.
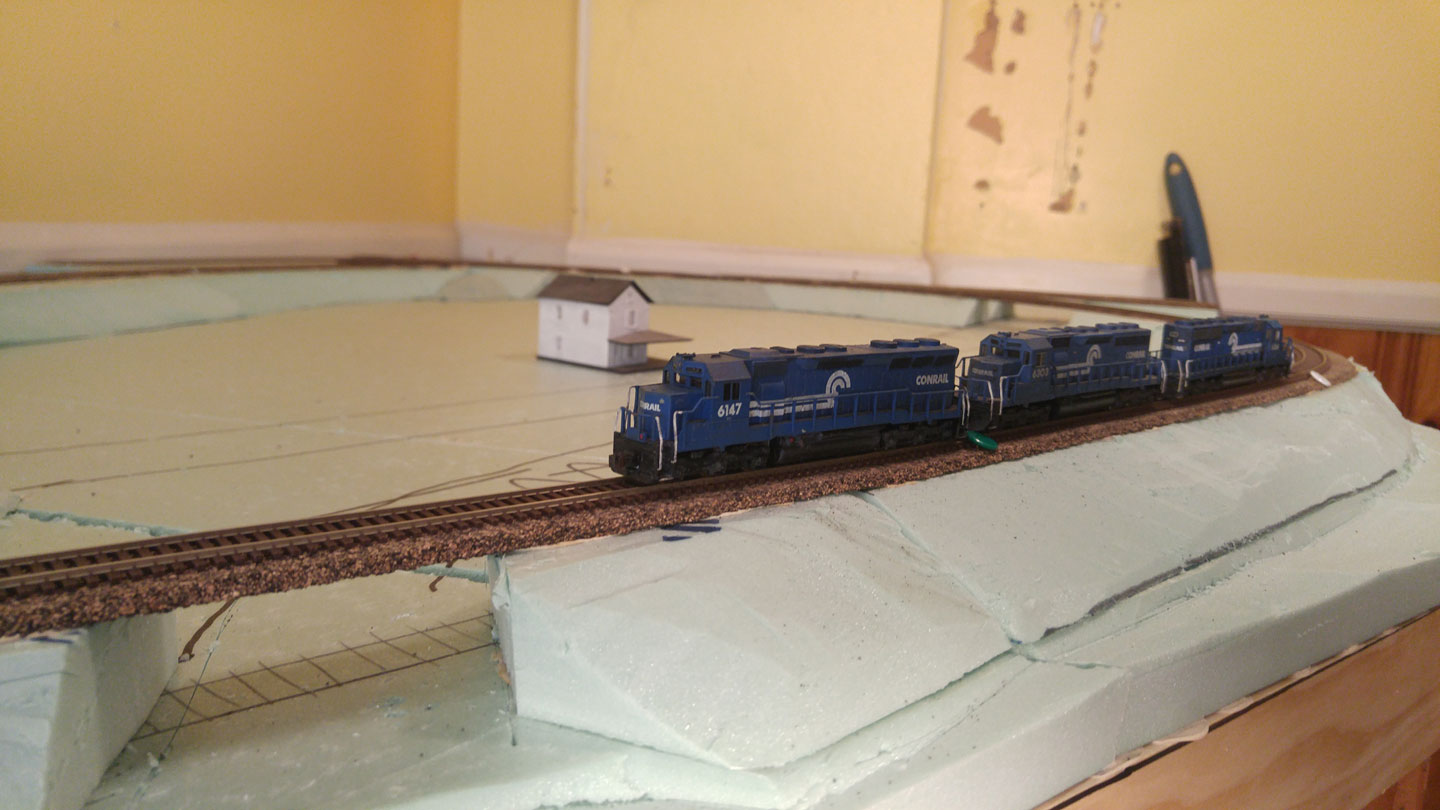
It’s exciting that, once the “golden spike” was driven at Hanover Junction, closing the loop, I was able to 0-5-0 a train of black diamonds around the whole thing with no problems.
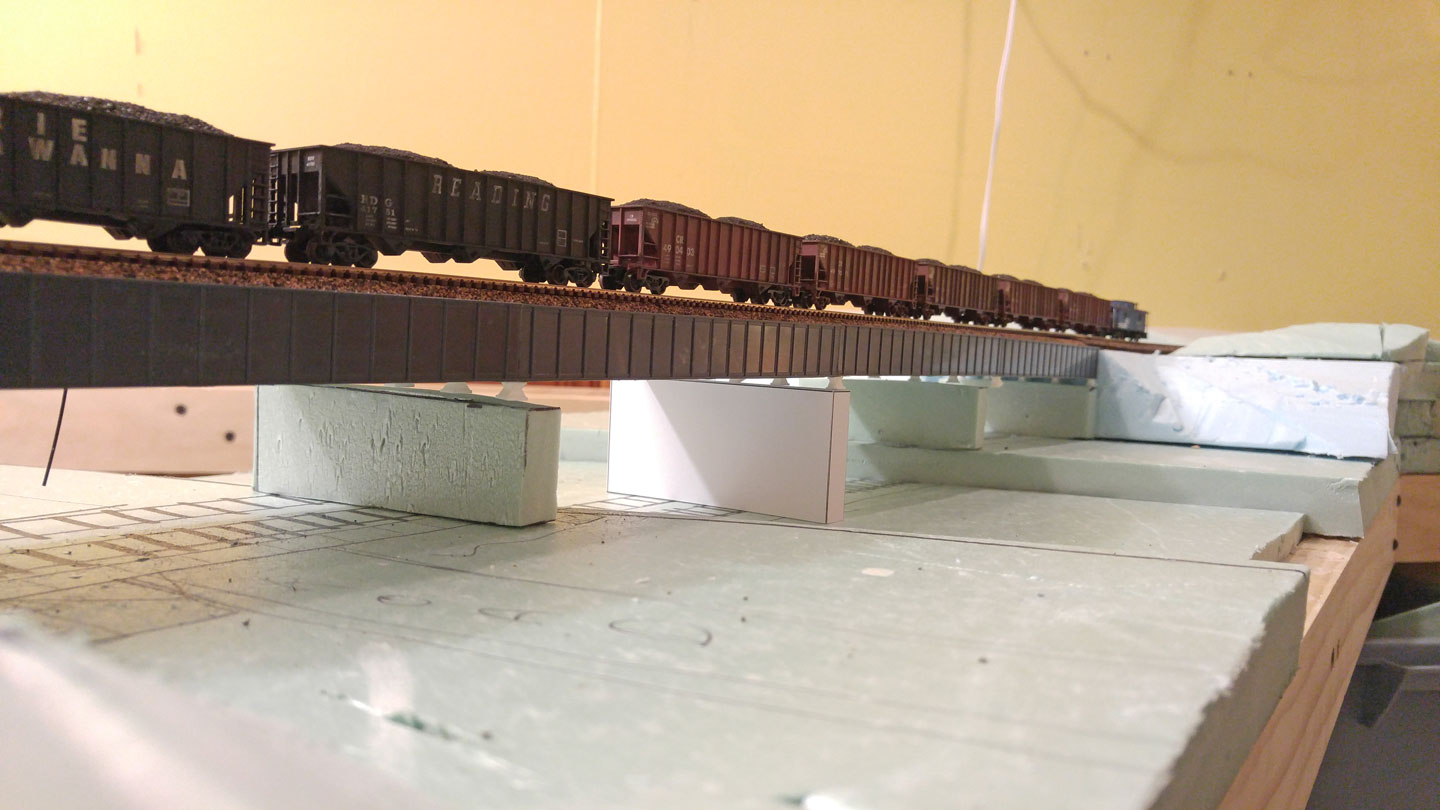
None of the track is currently fixed to the cork, however. This is intentional, since I still have some final tweaking to do to my turnouts, and want to make sure everything deals well with a few heating and cooling cycles before I lock it in.
But now, it’s just an issue of waiting for a Tony’s Train Exchange and Amazon order to arrive with the wiring supplies to get the whole thing powered.