Sometimes in my haste to make progress I create downstream problems for myself. Sometimes those problems go beyond the physical. And sometimes the only way to solve them is to just Eat the Frog and do it. I did both these things in my New NCR’s Windsor St Yard.
In my early haste to make progress on the layout I didn’t pay proper attention to track spacing and alignment when laying the track for Windsor St. I’m not exactly sure what I did, but I didn’t realize until I started actually switching cars in the yard that I had put a few yard tracks too close together and, worse, too close to the mainlines. This meant that I could not use the front most yard track fully, a real problem.
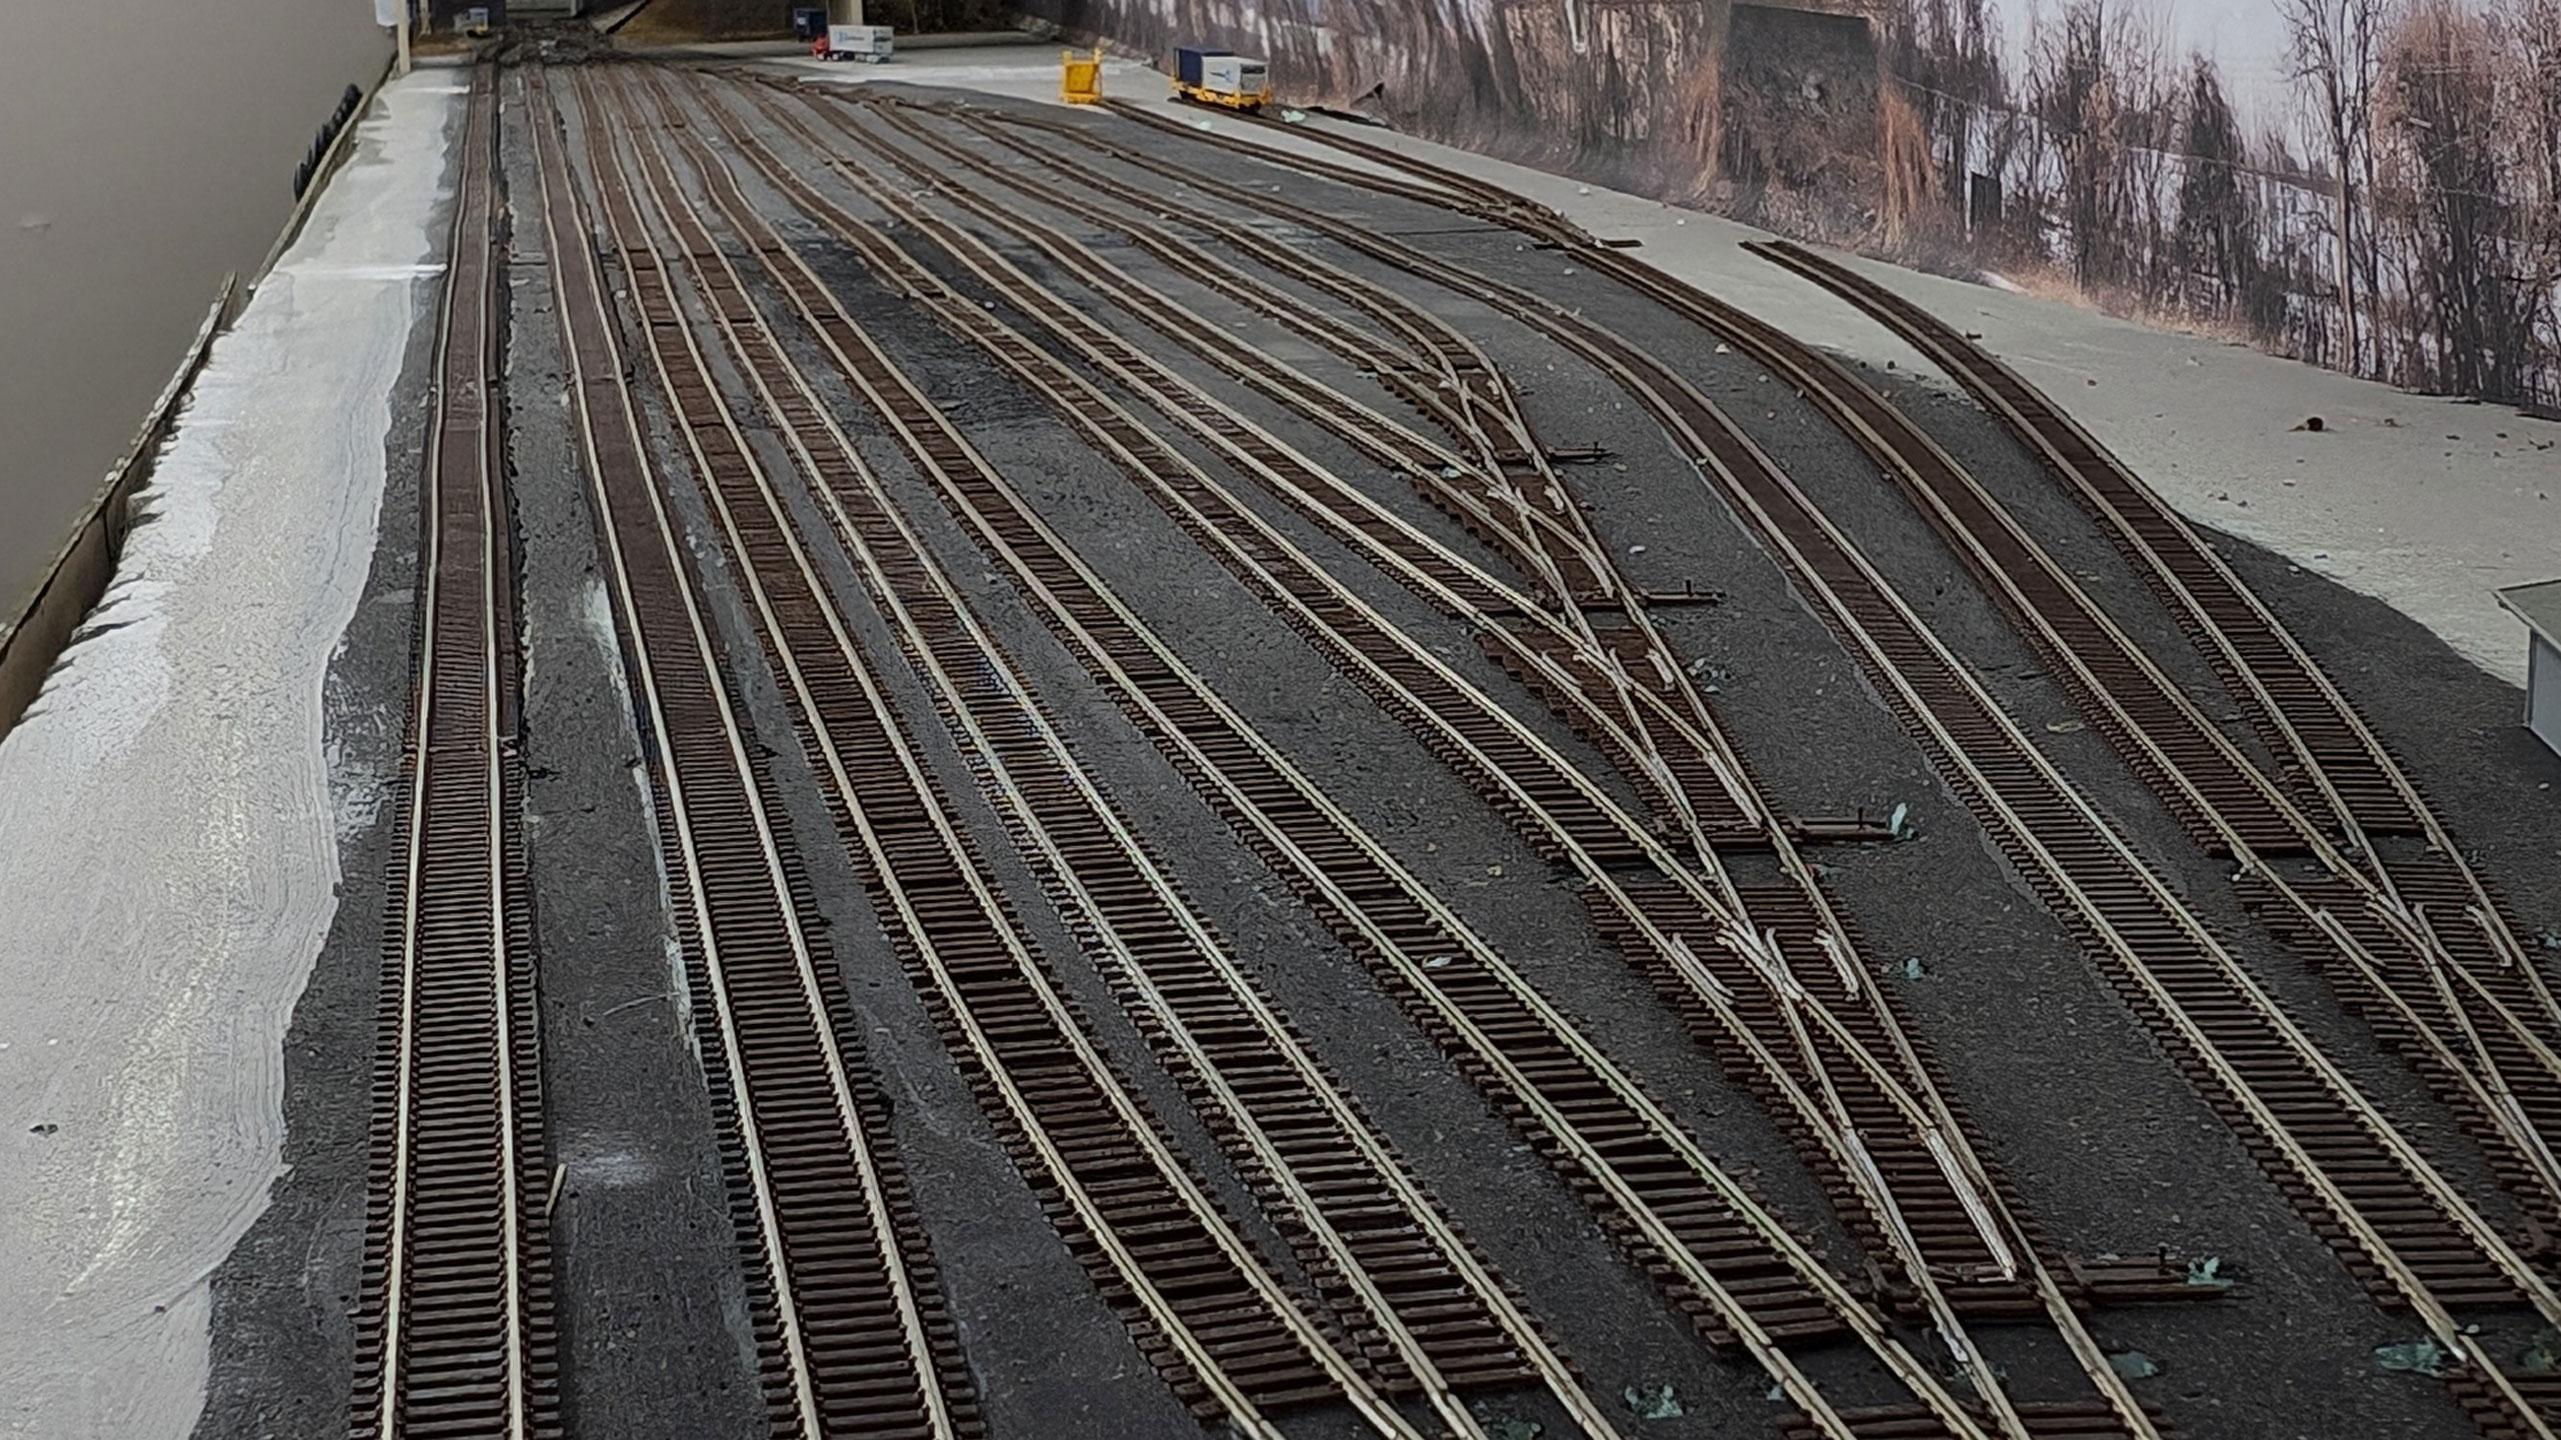
I was incredibly annoyed with myself when discovering this. I started thinking about a solution, but thinking about that solution held my progress on the yard itself back. I couldn’t decide if I was going to take the seemingly drastic steps required to fix it or just “live with it”. I was most afraid of having to relocate the switches which would be a huge pain in the ass to do. This limbo kept me in paralysis. Not exactly the classic model railroader analysis paralysis, but definitely a version of it.
I was finally inspired by my wife to “just fucking do it”: Eat the Frog.
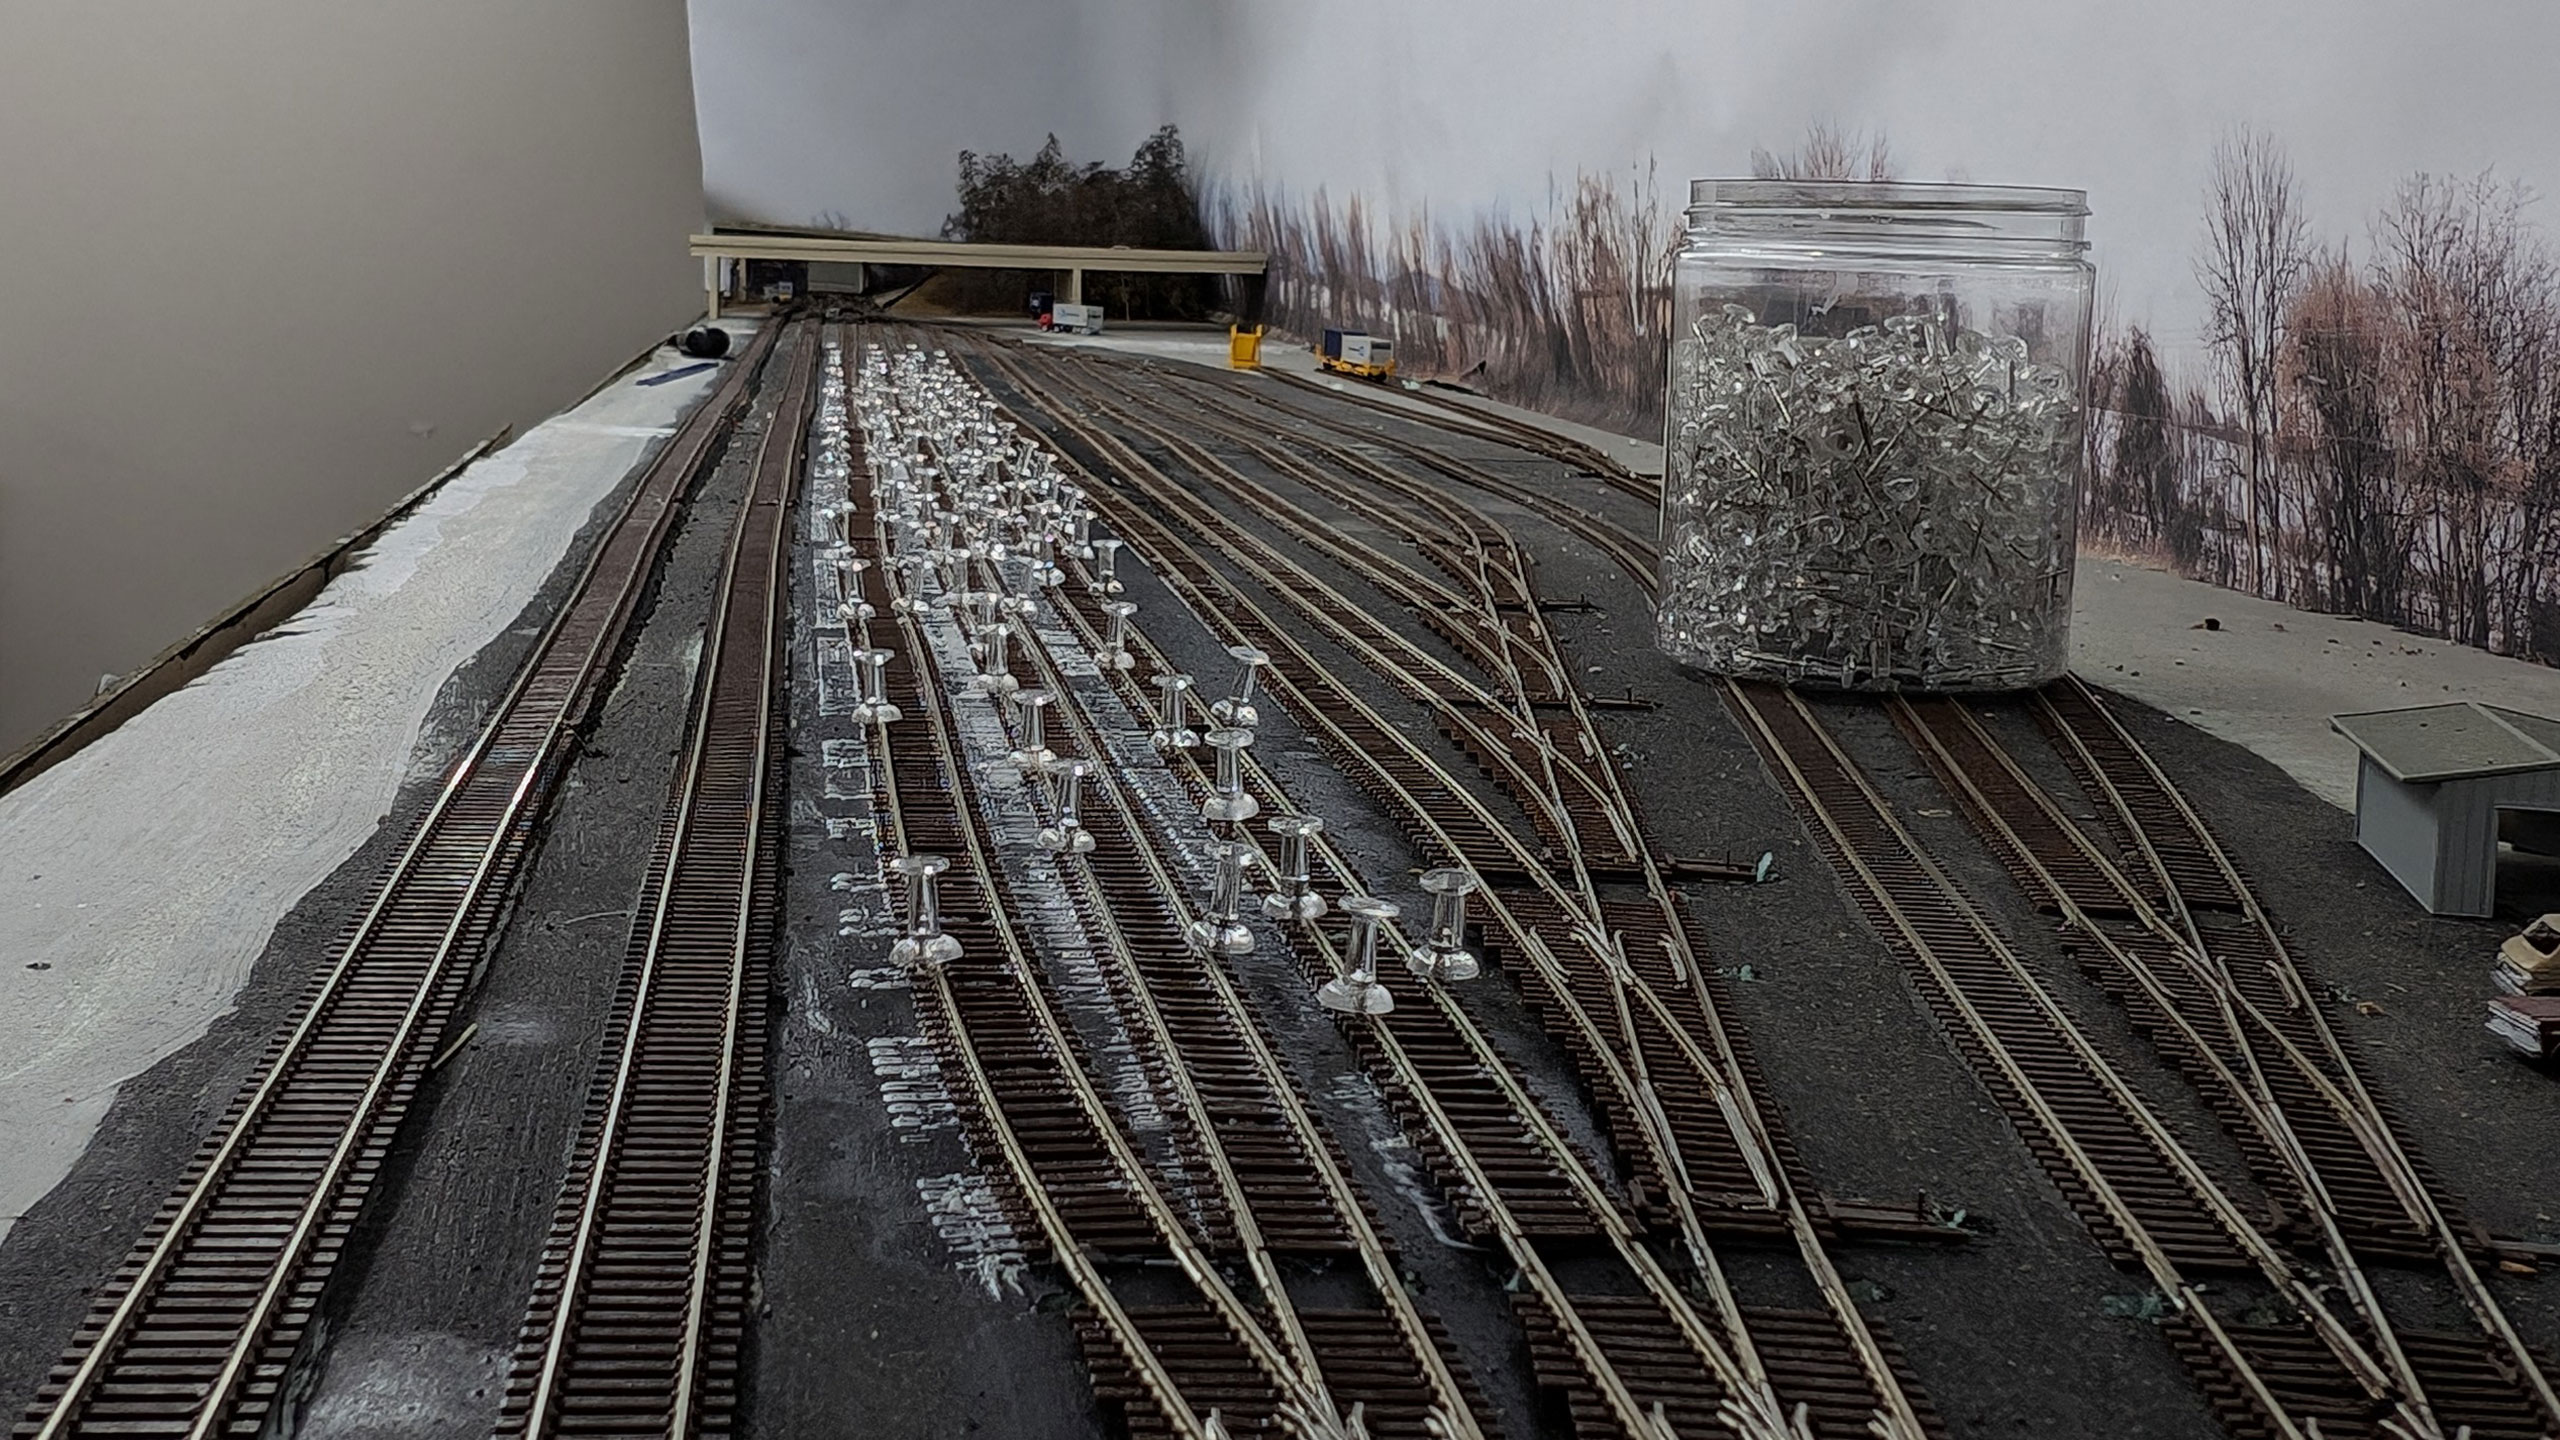
So I set about work. I use a somewhat unique track laying method: I pin the track down and use diluted white glue around it (similar to applying ground cover) to attach it. While this is not incredibly powerful, it is easy to “undo” or adjust. This allowed me to adjust my track spacing by simply soaking it with water and letting it do its thing on the white glue.
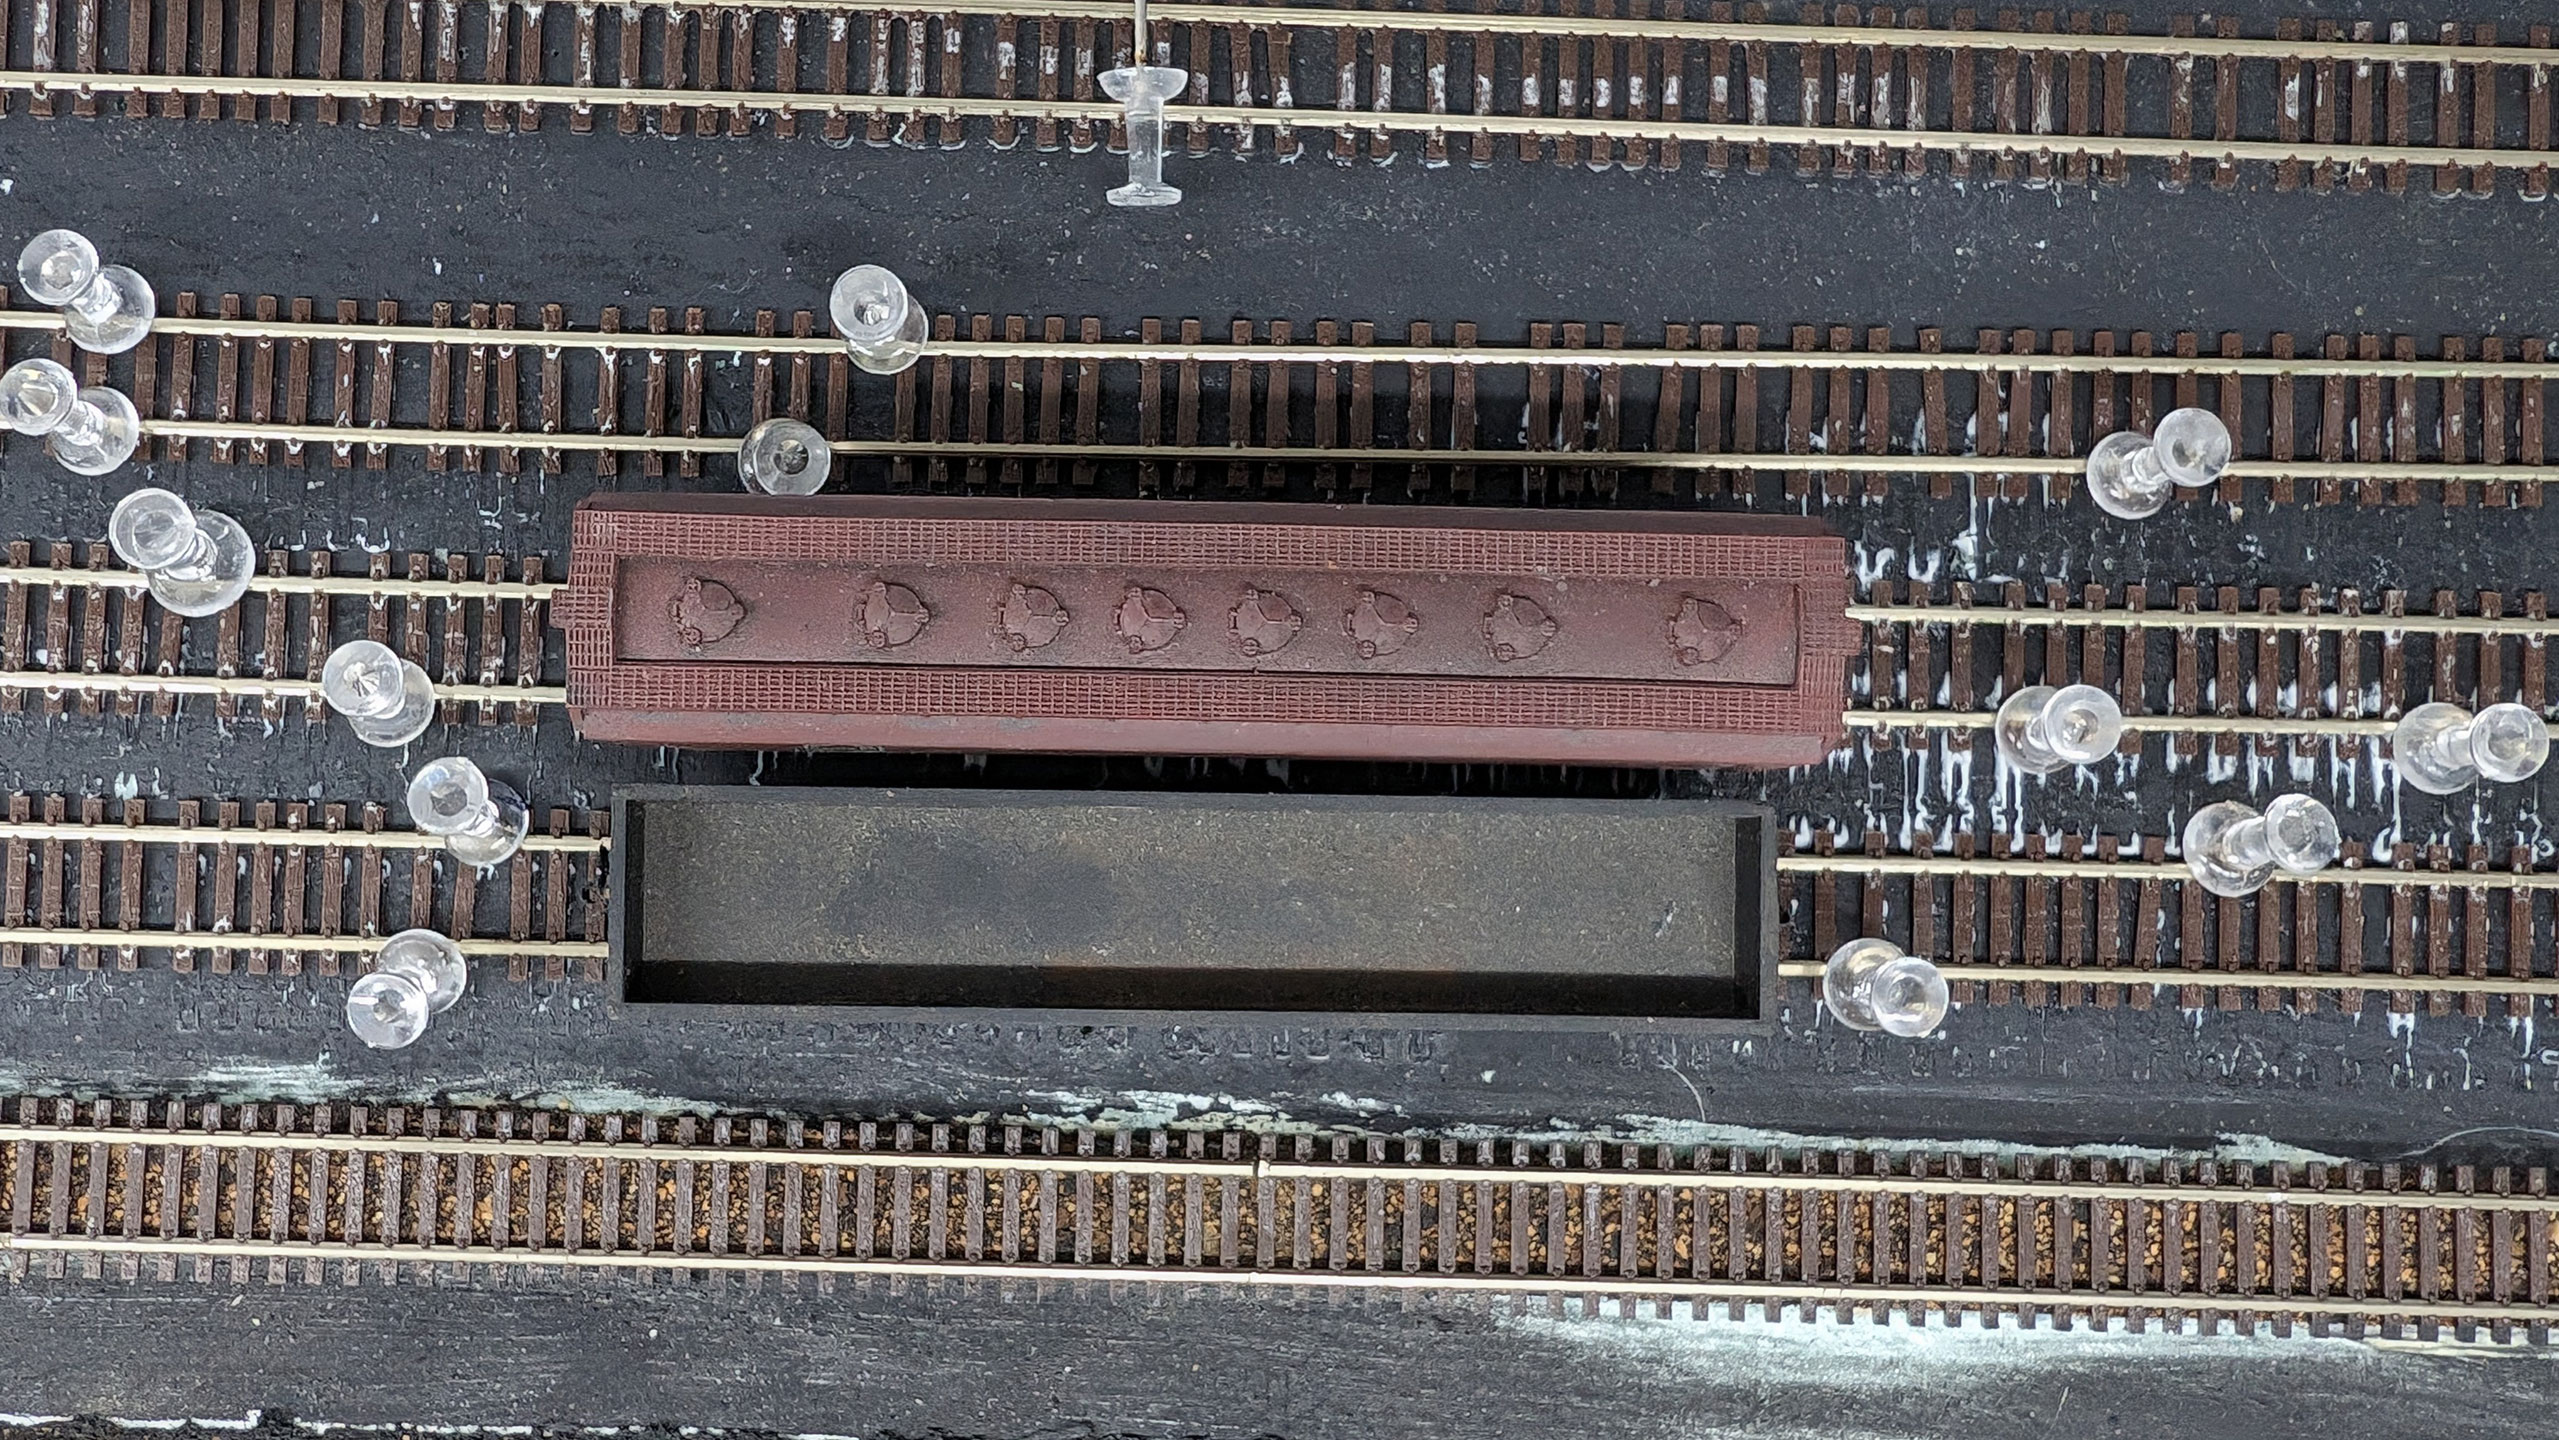
After a minute or two of soaking I was able to use a putty knife to gently pry up the poorly placed track. It looks far scarier than it is.
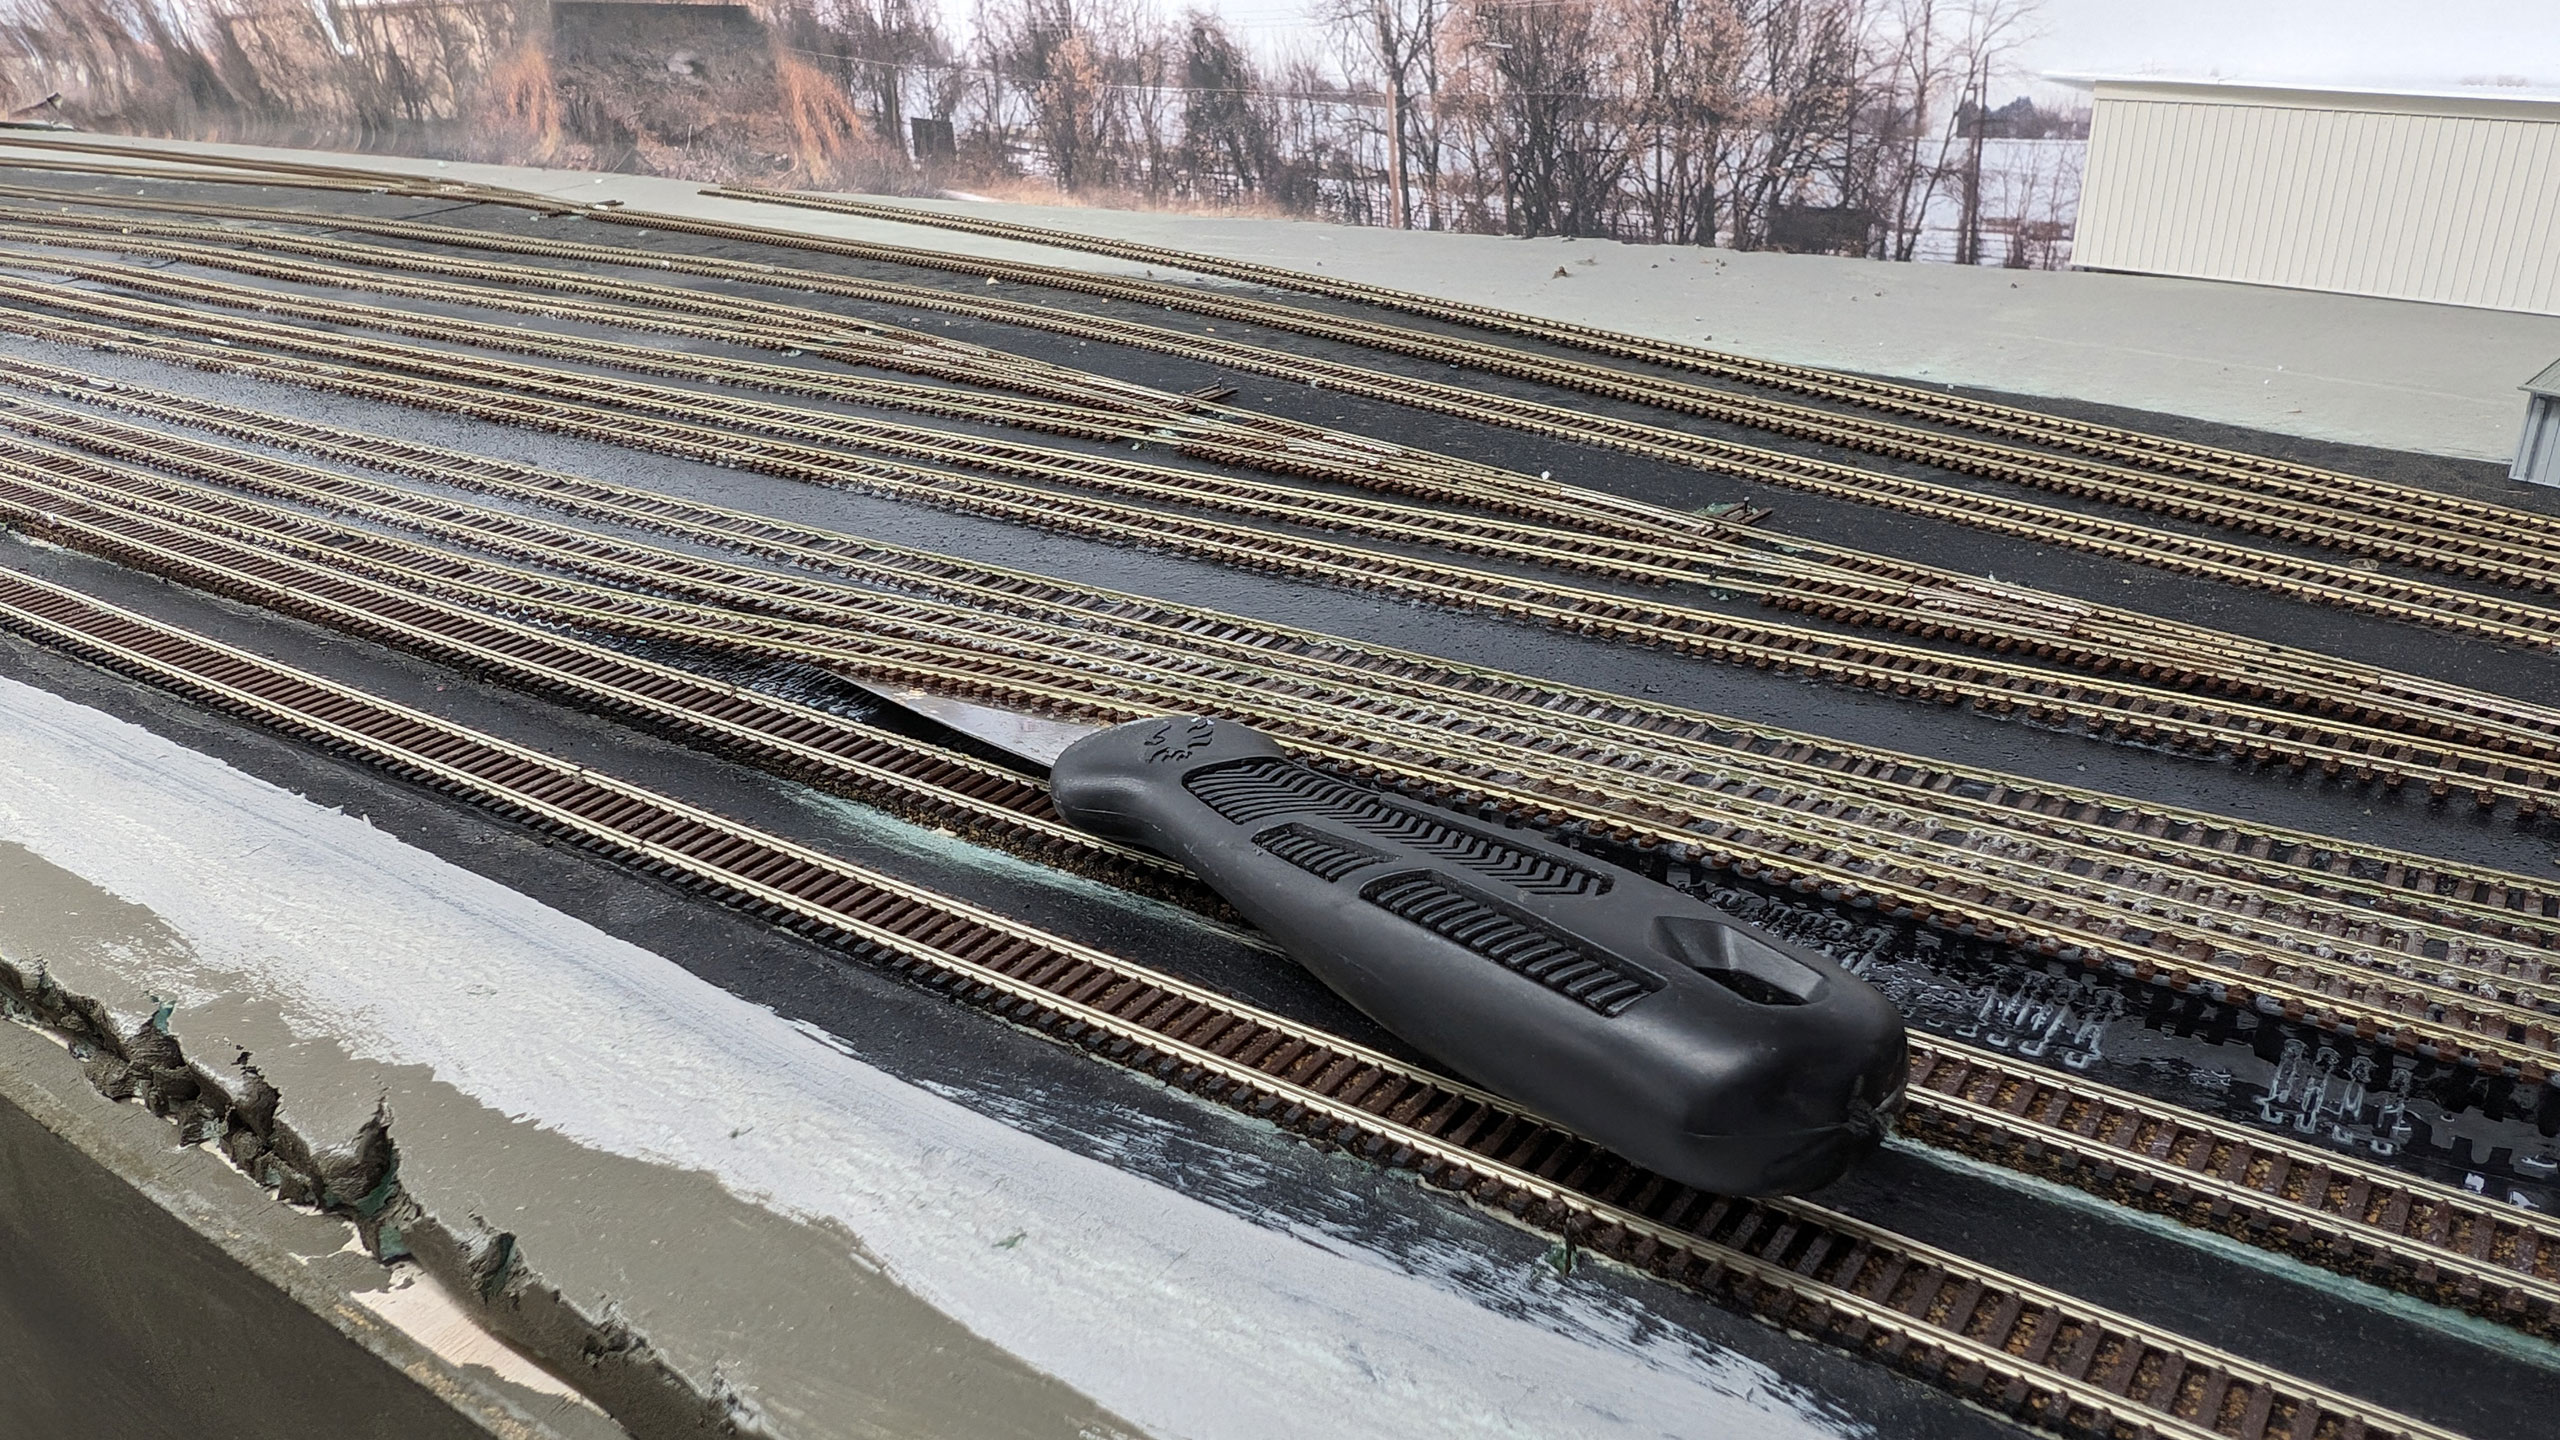
That allowed me to get things moved over and pinned back in place. This time I used some spacer jigs that I designed and 3D printed (that I also forgot to get a photo of).
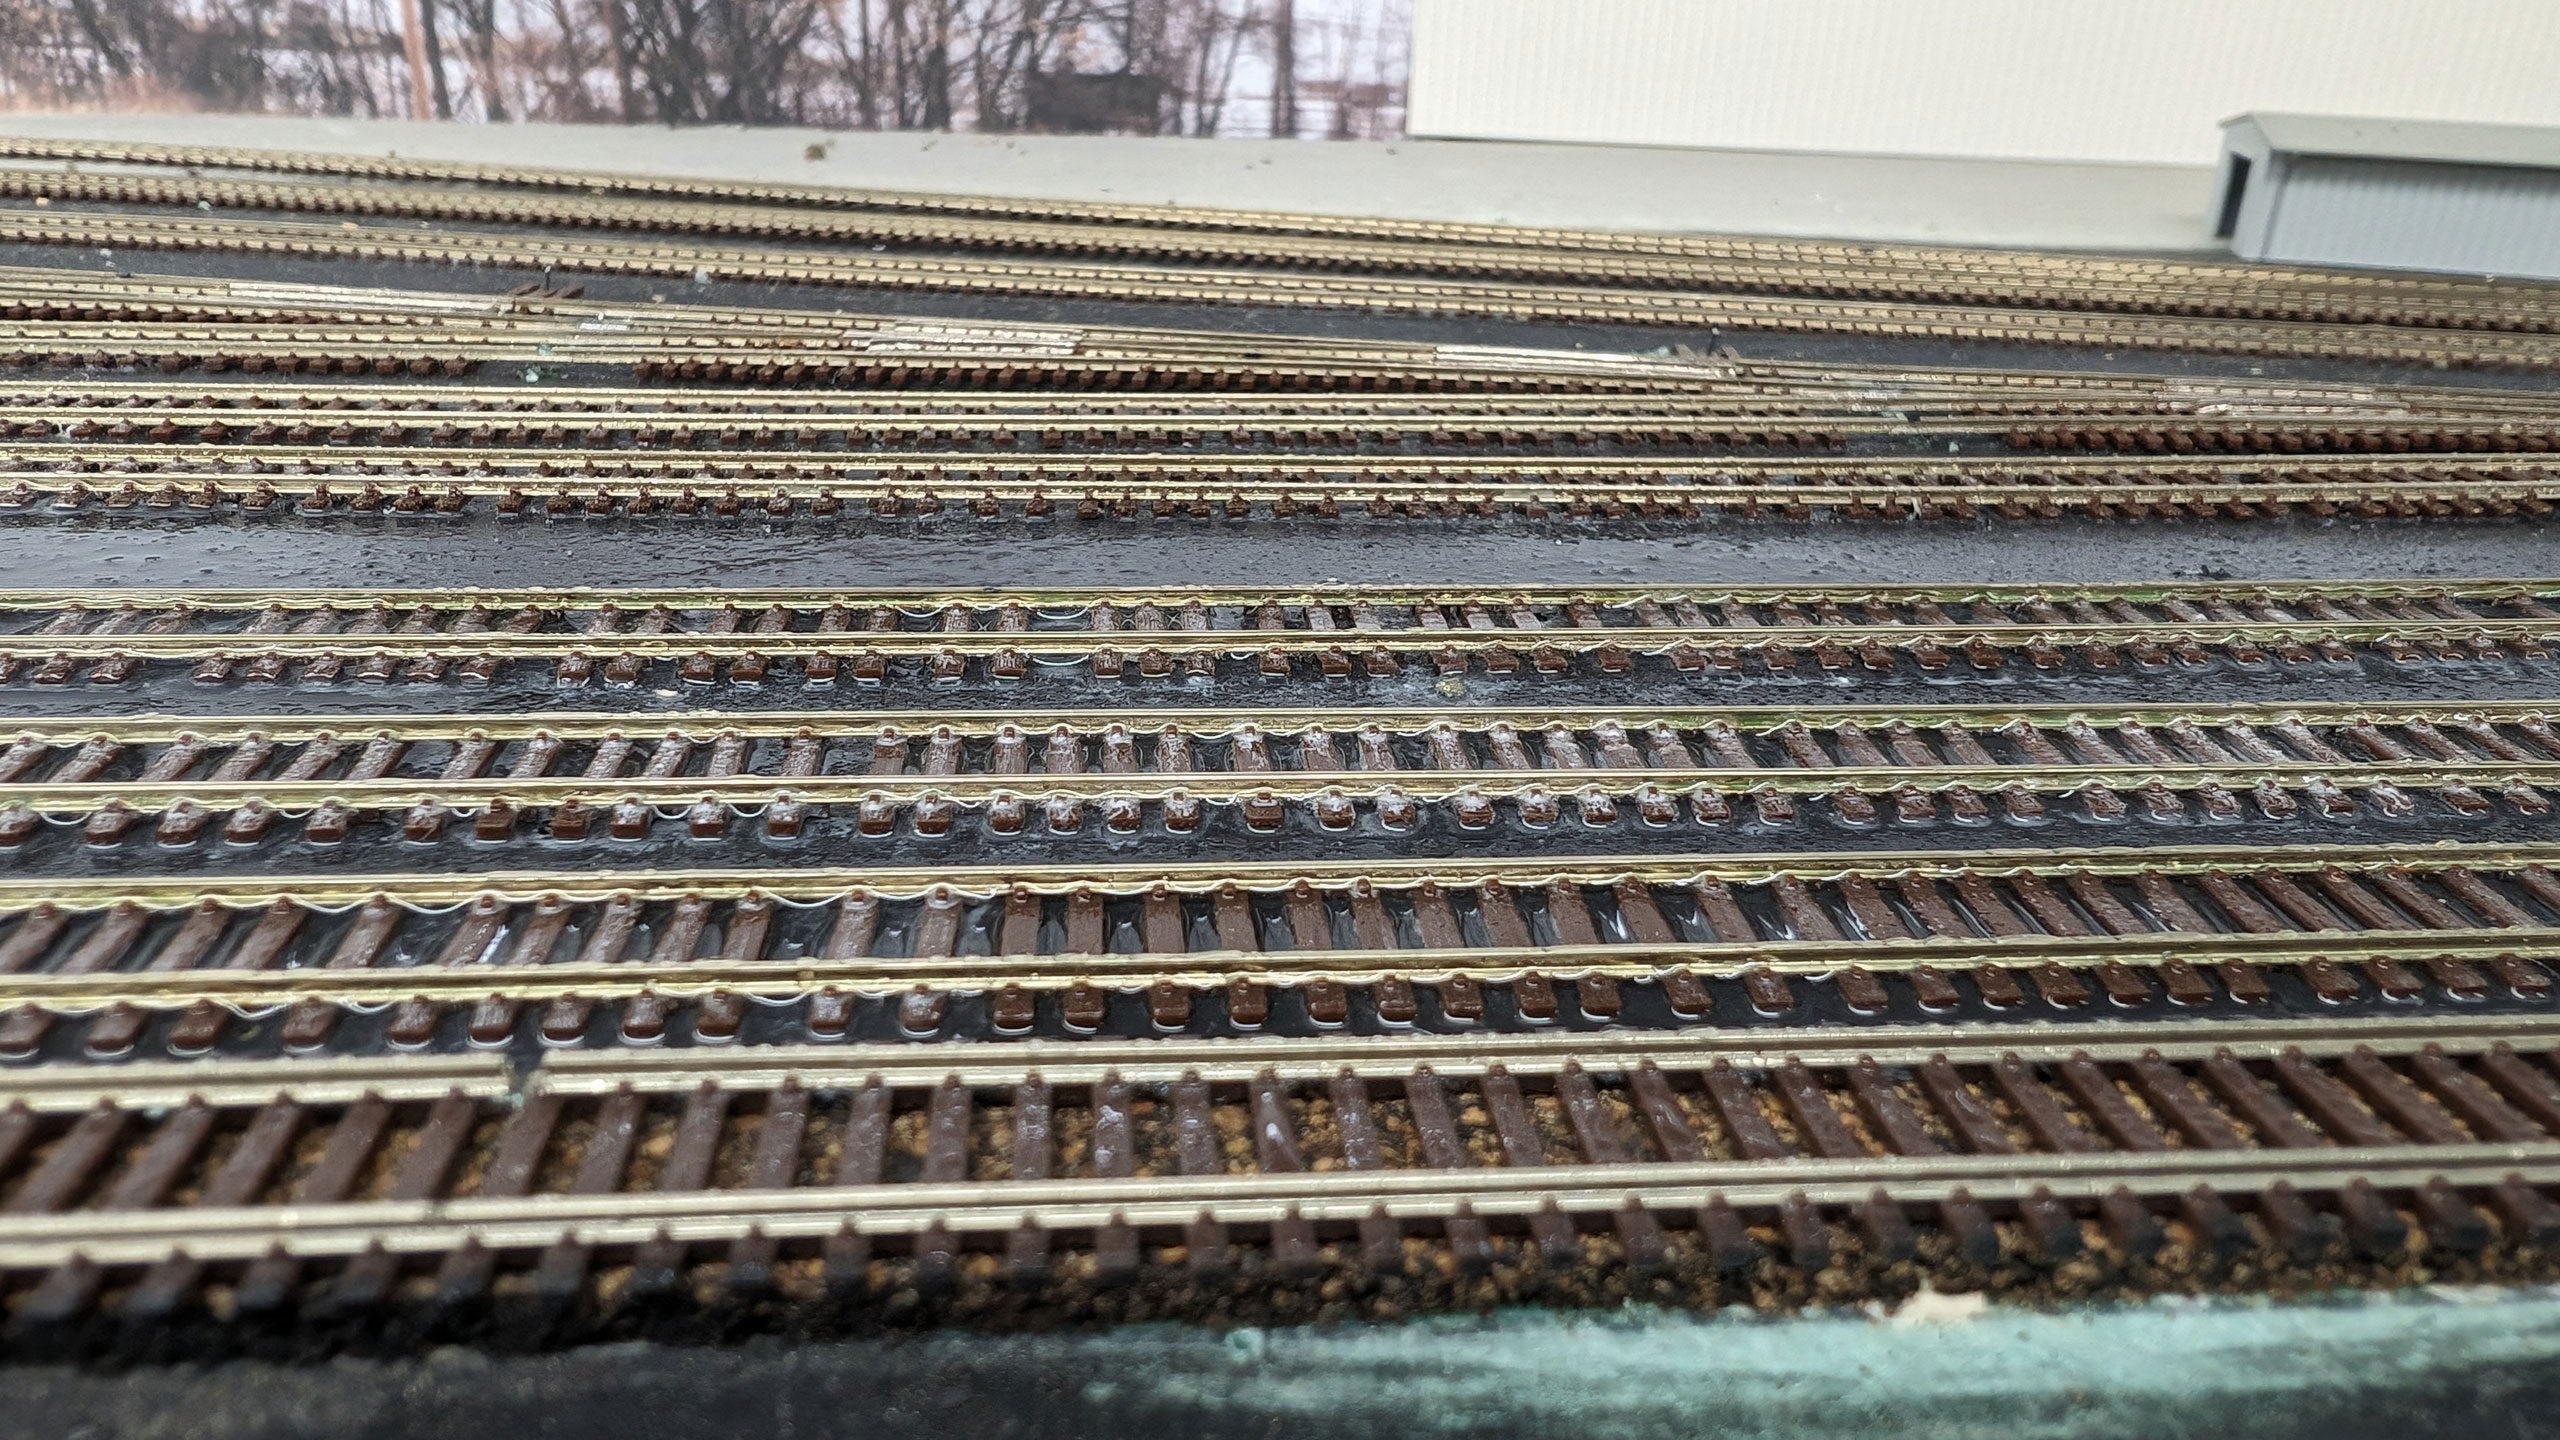
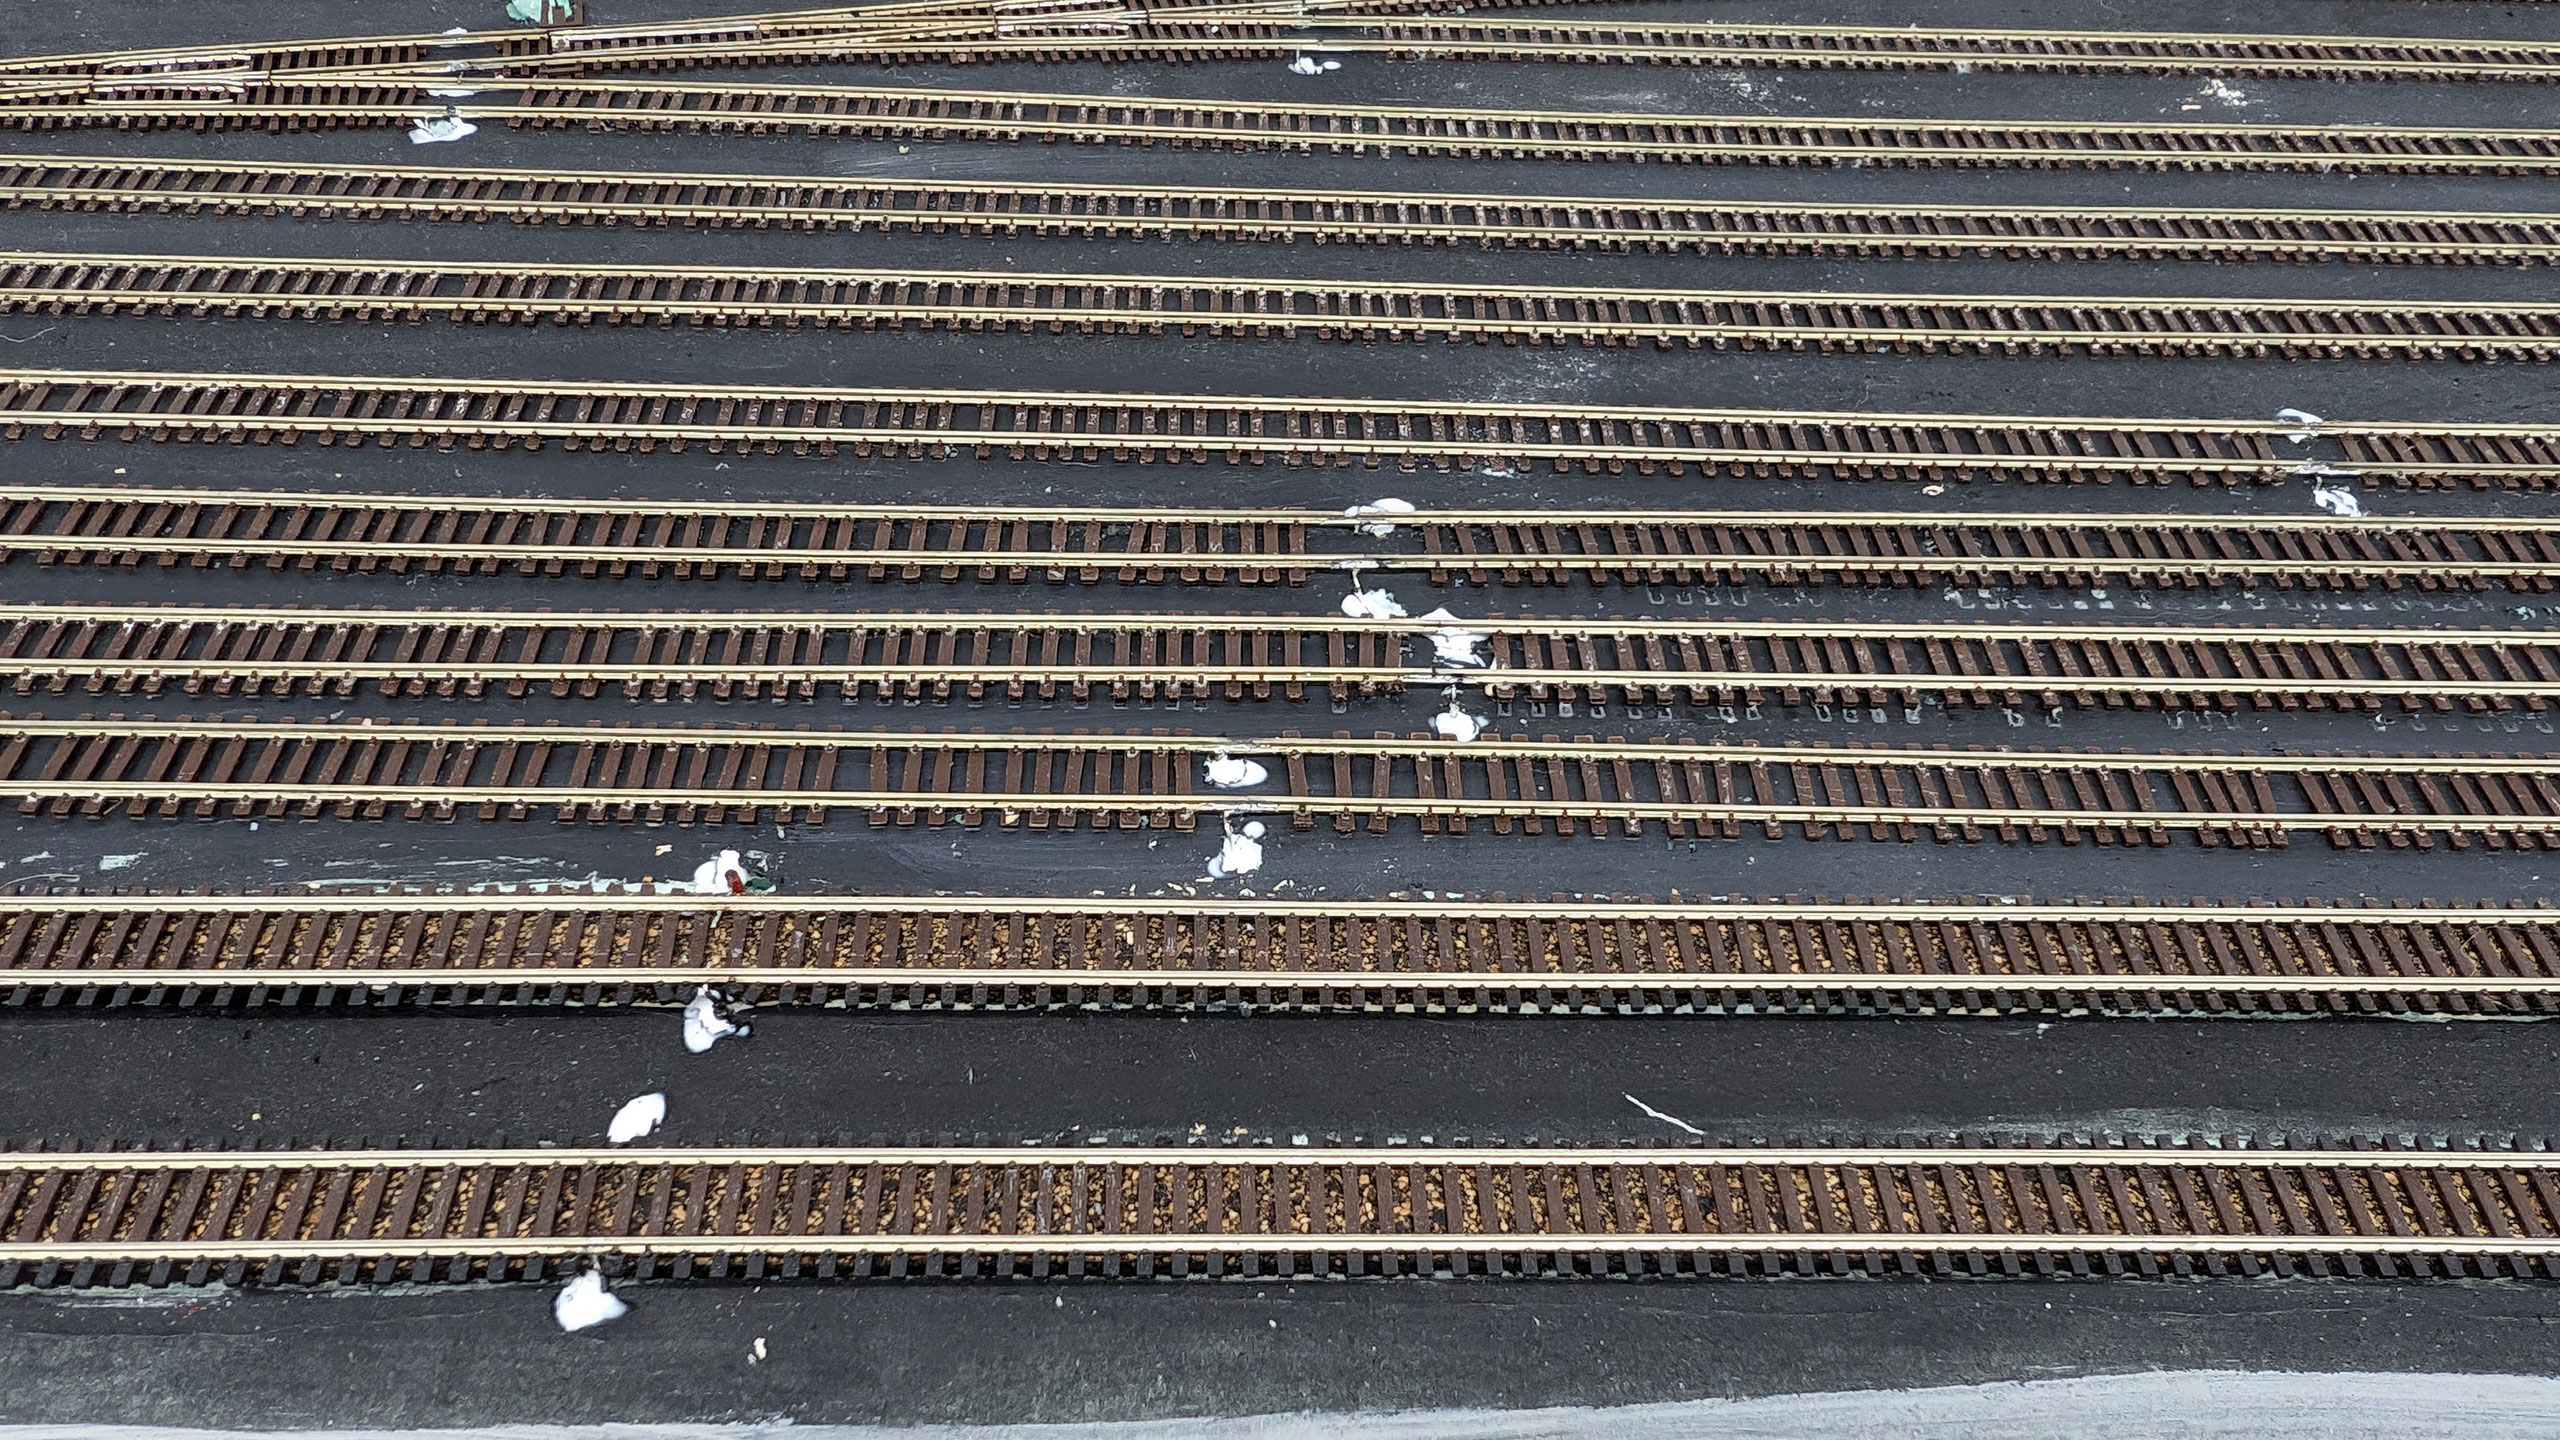
You can see the difference in alignment by the “ghosts” of where the track was previously. It’s a HUGE improvement. Even better, I didn’t even have to do anything with the switches. Everything still worked perfectly where it was. Just look at the improvement now.
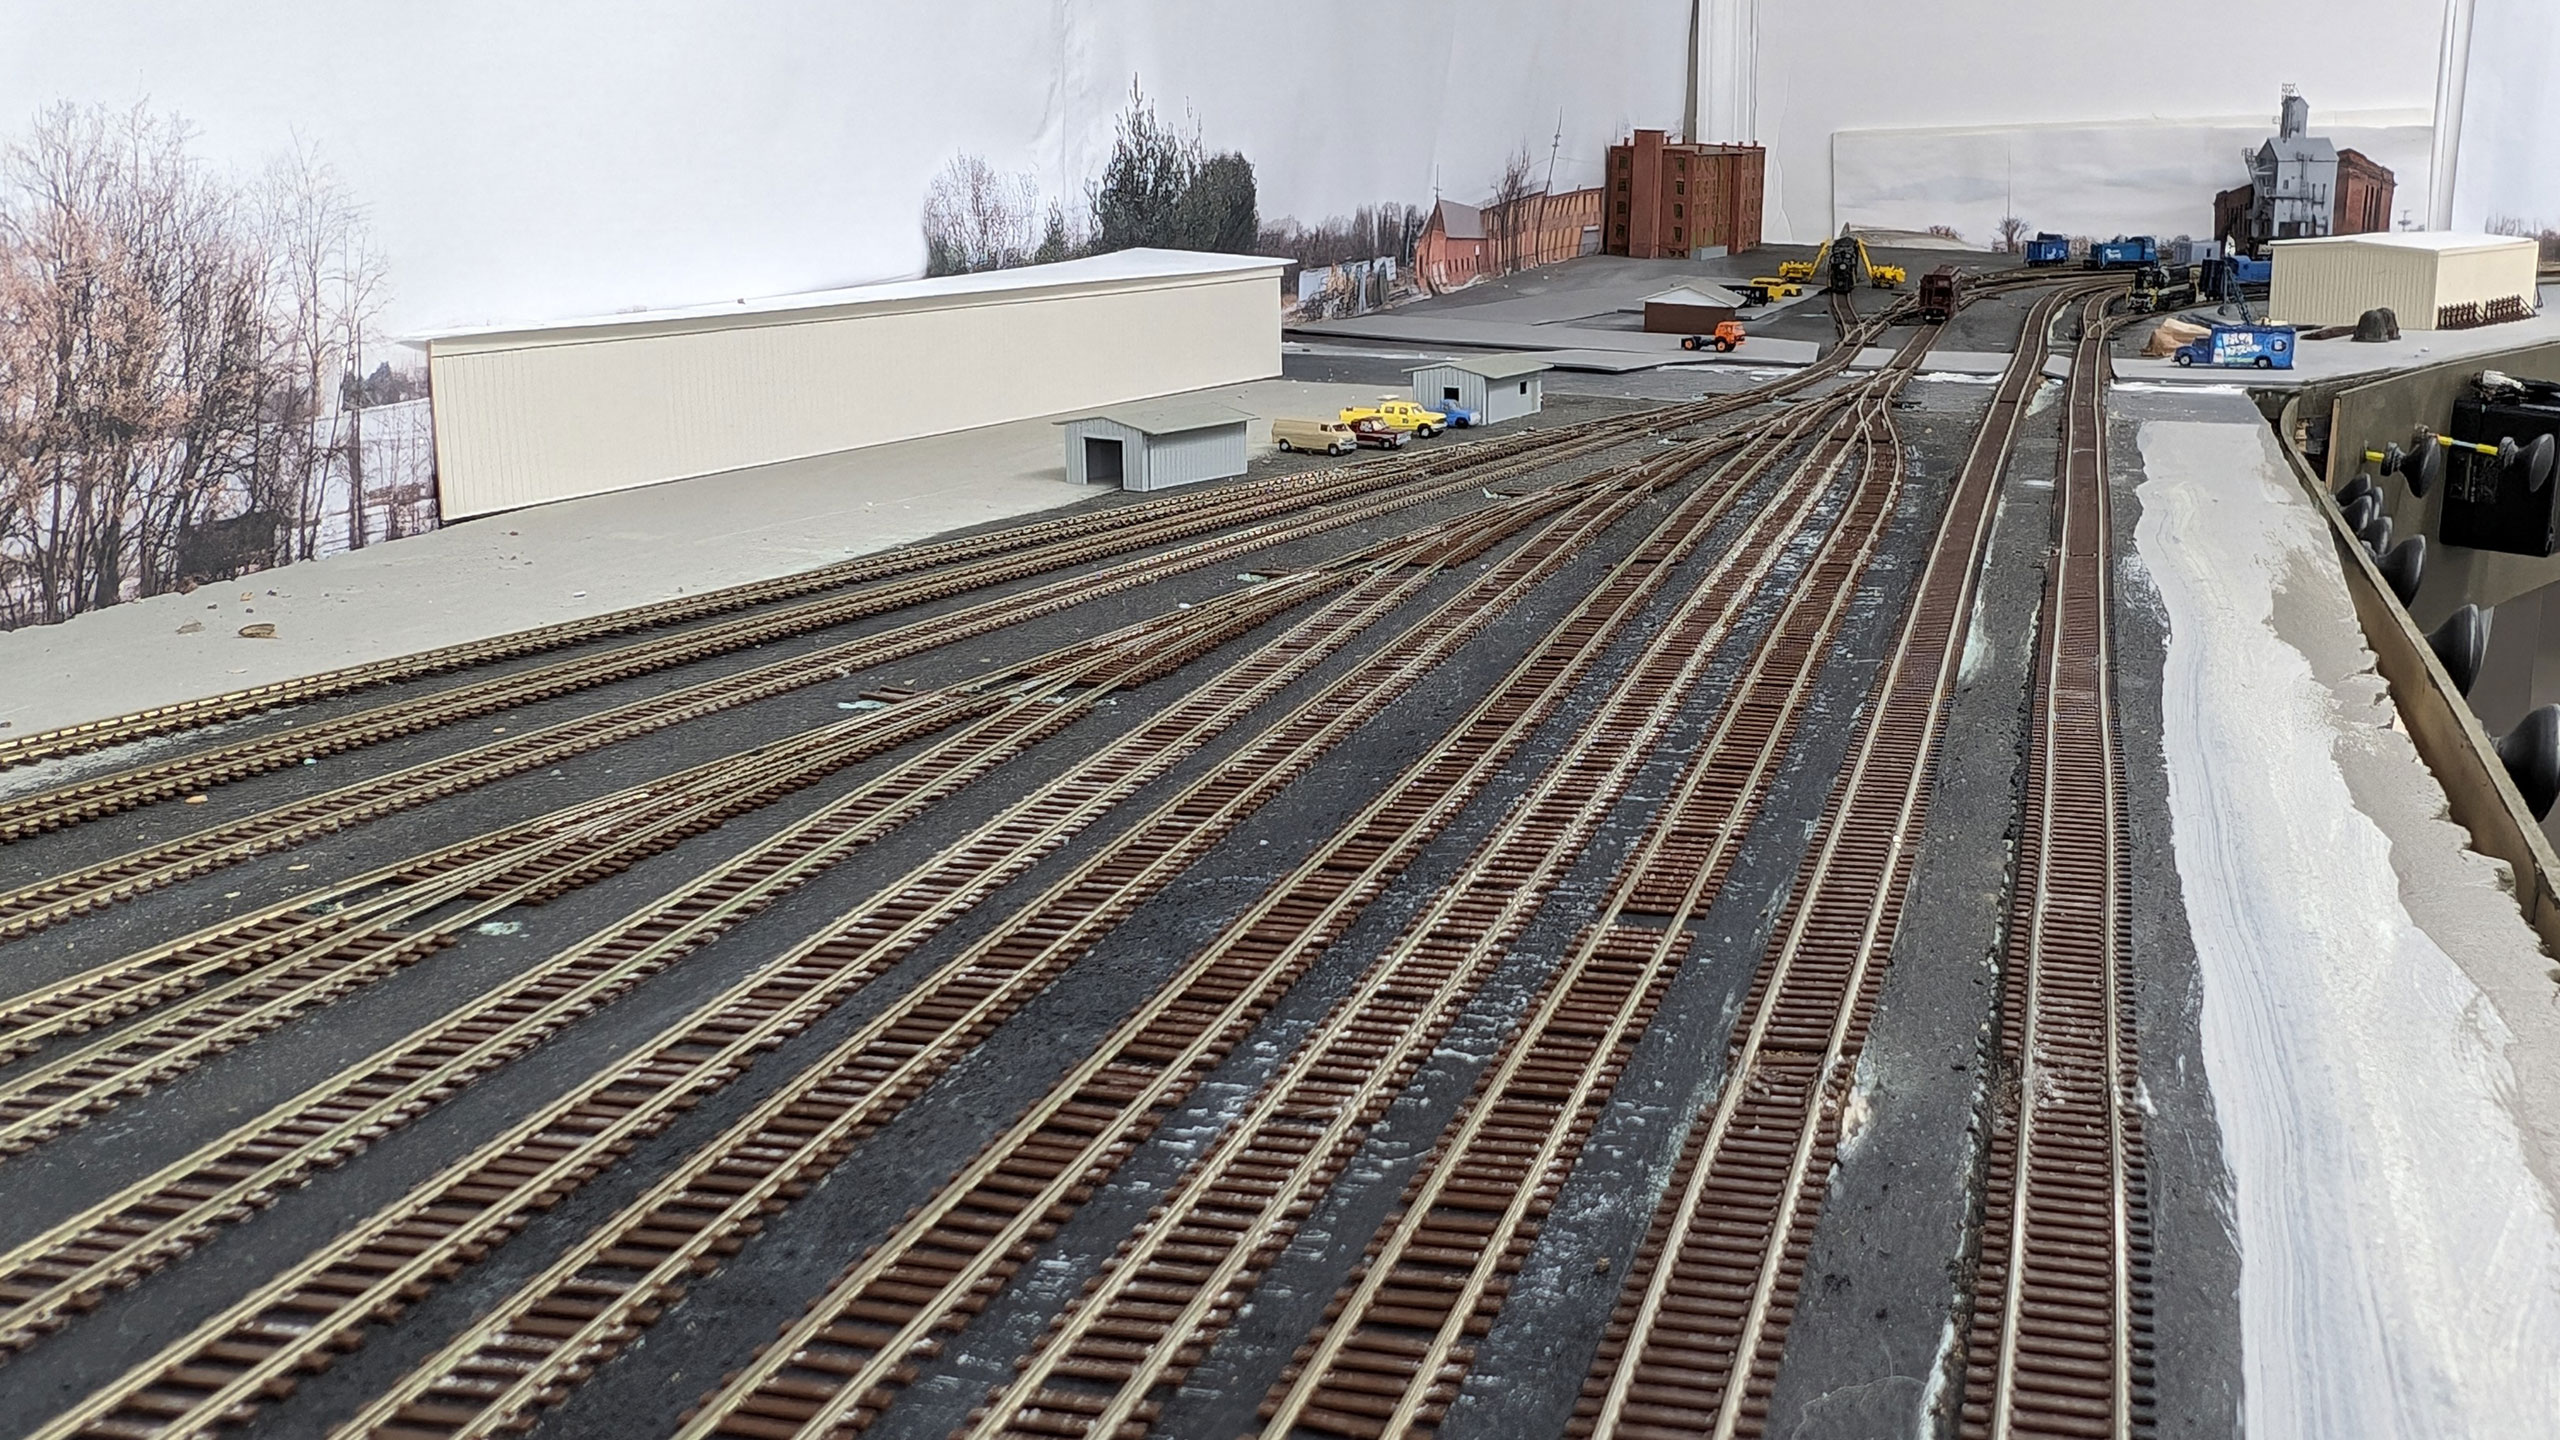
This work allowed me to break a real logjam screwing up forward progress on the layout. It even allowed me to move on to another annoying task: filling feeder holes to allow me to start ballasting.
I like to use Aileen’s Tacky Glue for this because it fills the holes well and doesn’t drip down them onto anything below the layout (mostly). The only problem I’ve had with this approach is that controlling the flow with the bottle isn’t easy. I found an easy solution to this though: cheap disposable syringes.
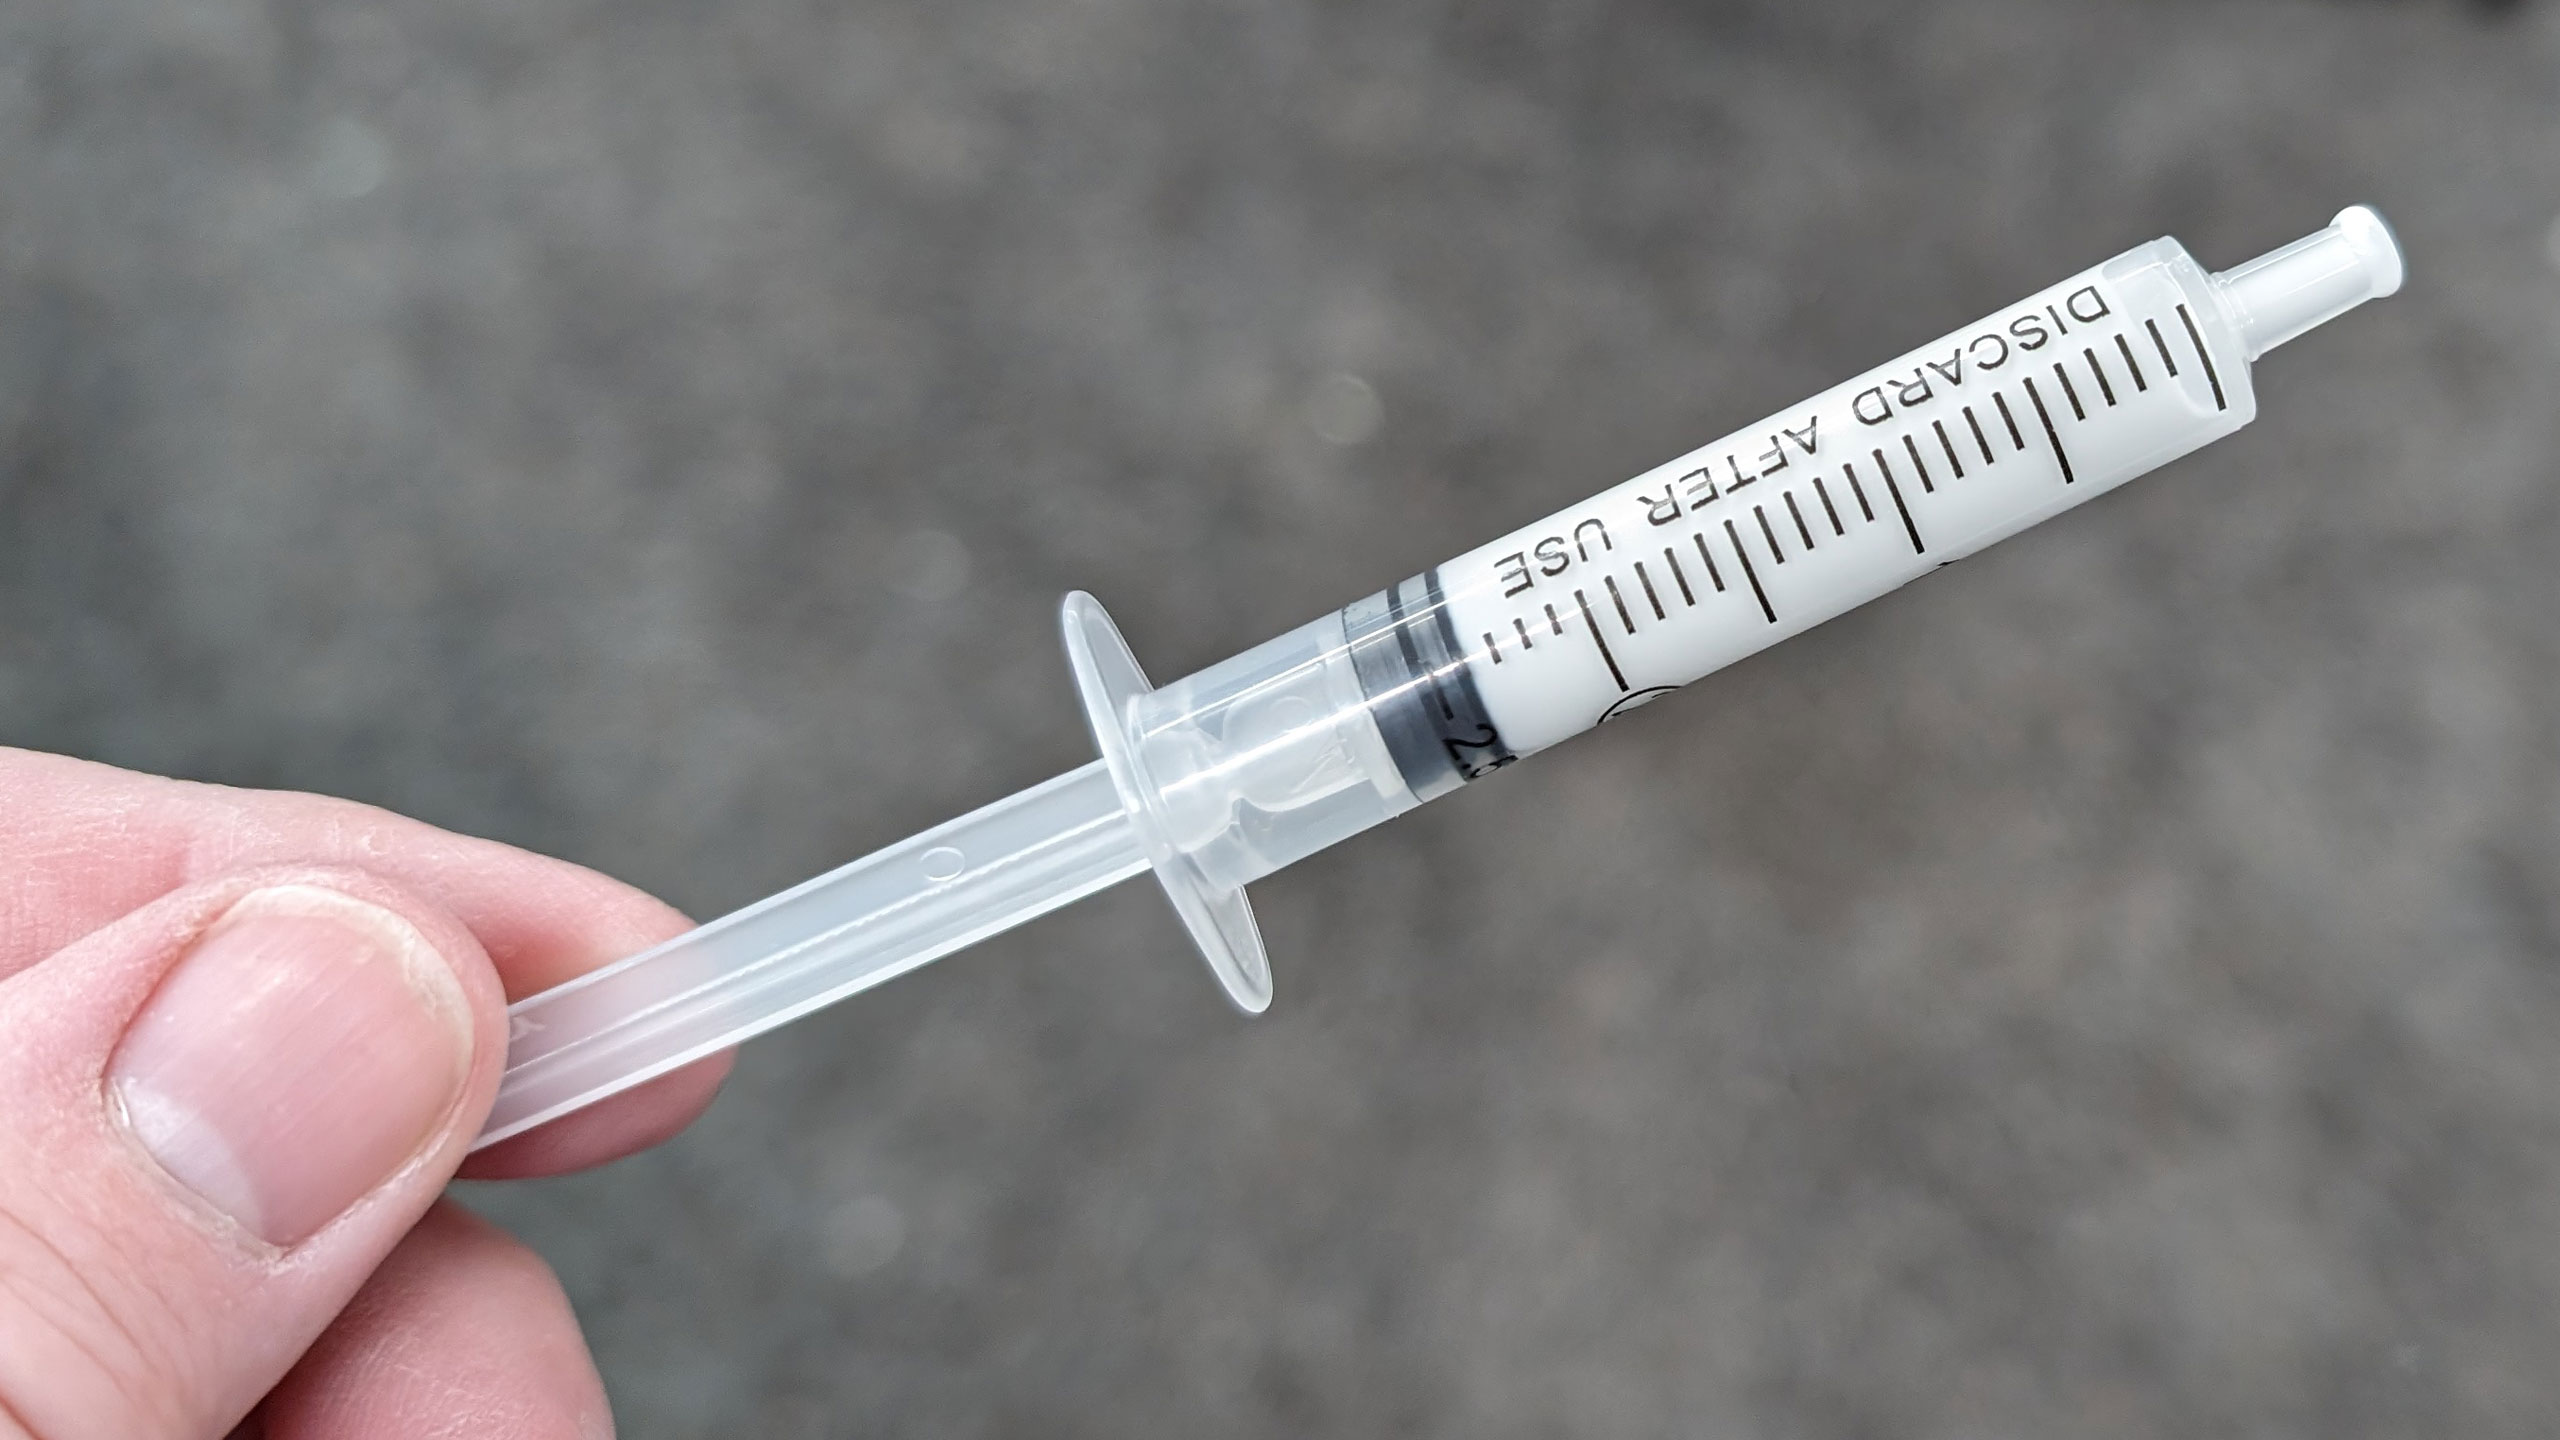
I use these to suck some glue out of the bottle and apply it where I need.
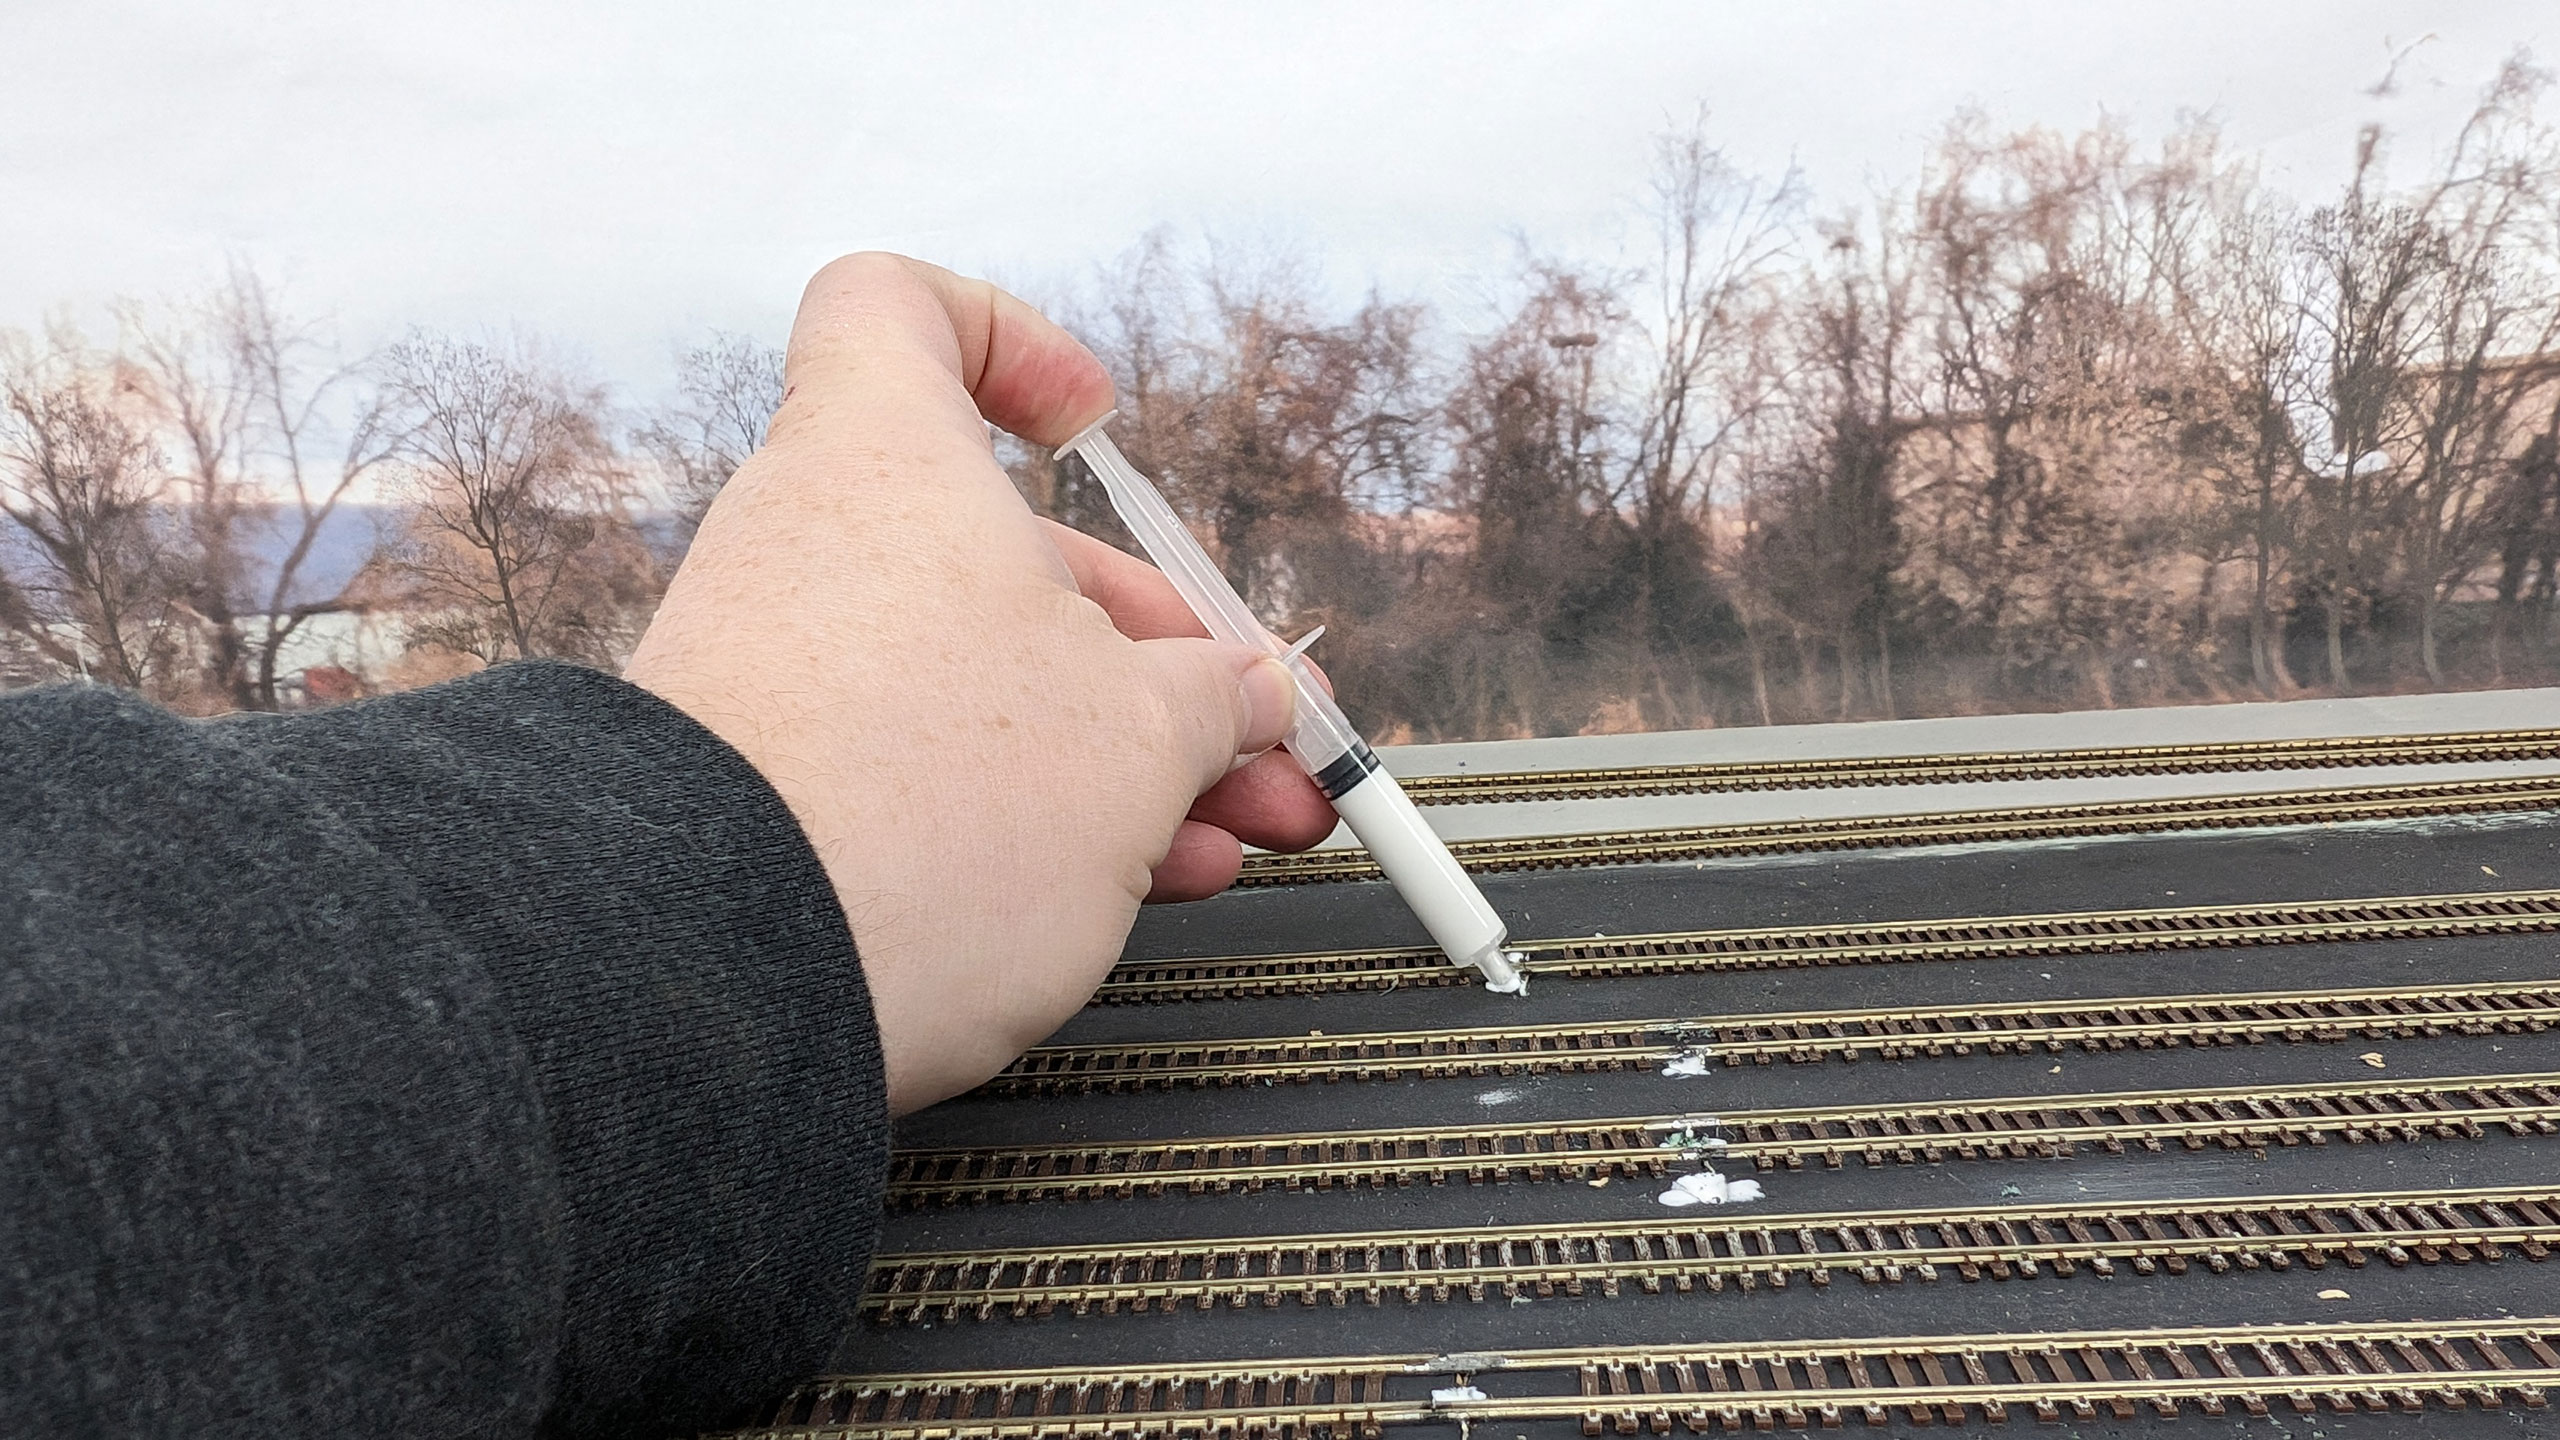
Leaving small dots that retreat into the hole and seal things up well enough to keep ballast from falling through.
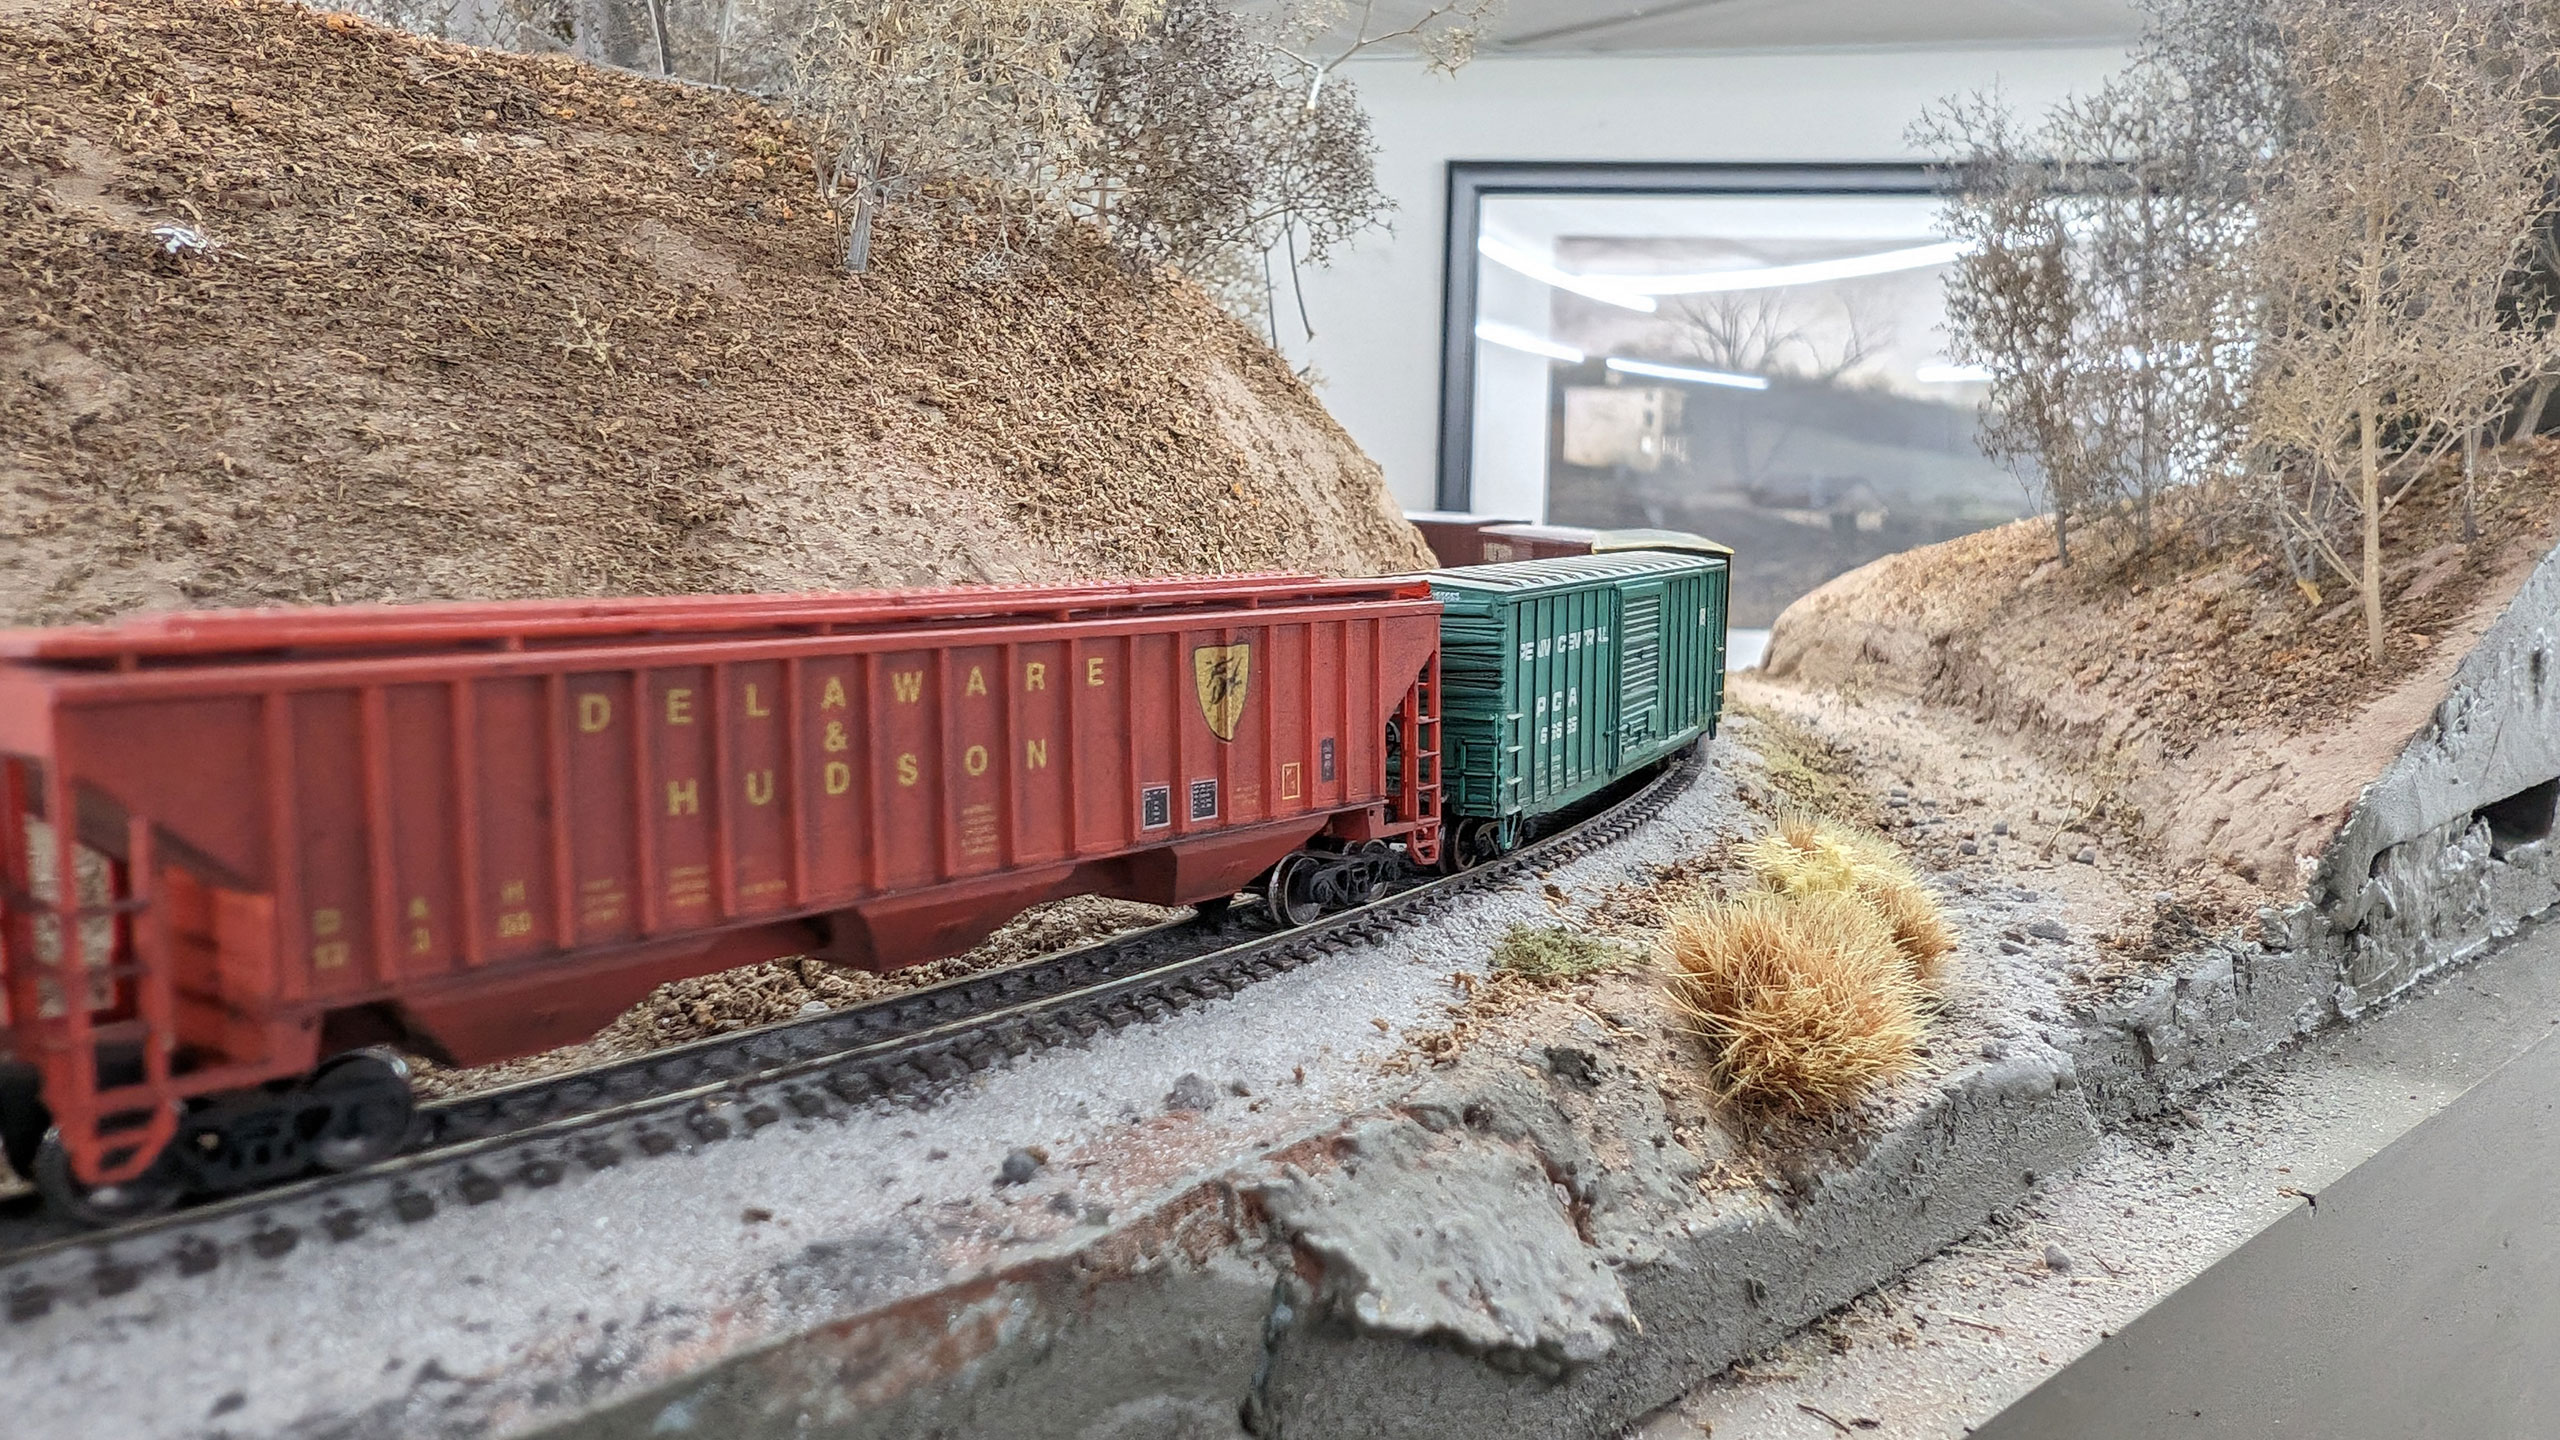
Now, I know this wouldn’t be nearly the problem if I was more precise when drilling holes, but… I’m much more an artist than a craftsman. I like to think it pays off though, especially when just casually walking around the layout room and catching glimpses of scenes like this.
One thought on “Eat the Frog – Yard Track Edition”
Comments are closed.