Micro Slide Switches are a great way to control N scale turnouts, but they’re tough to solidly mount when you’re using something soft as your scenery base. I’ve developed a trick to solve that problem.
Instead of mounting the slide switch to the scenery, and then linking it to the turnout, instead I mounted it directly to the turnout.
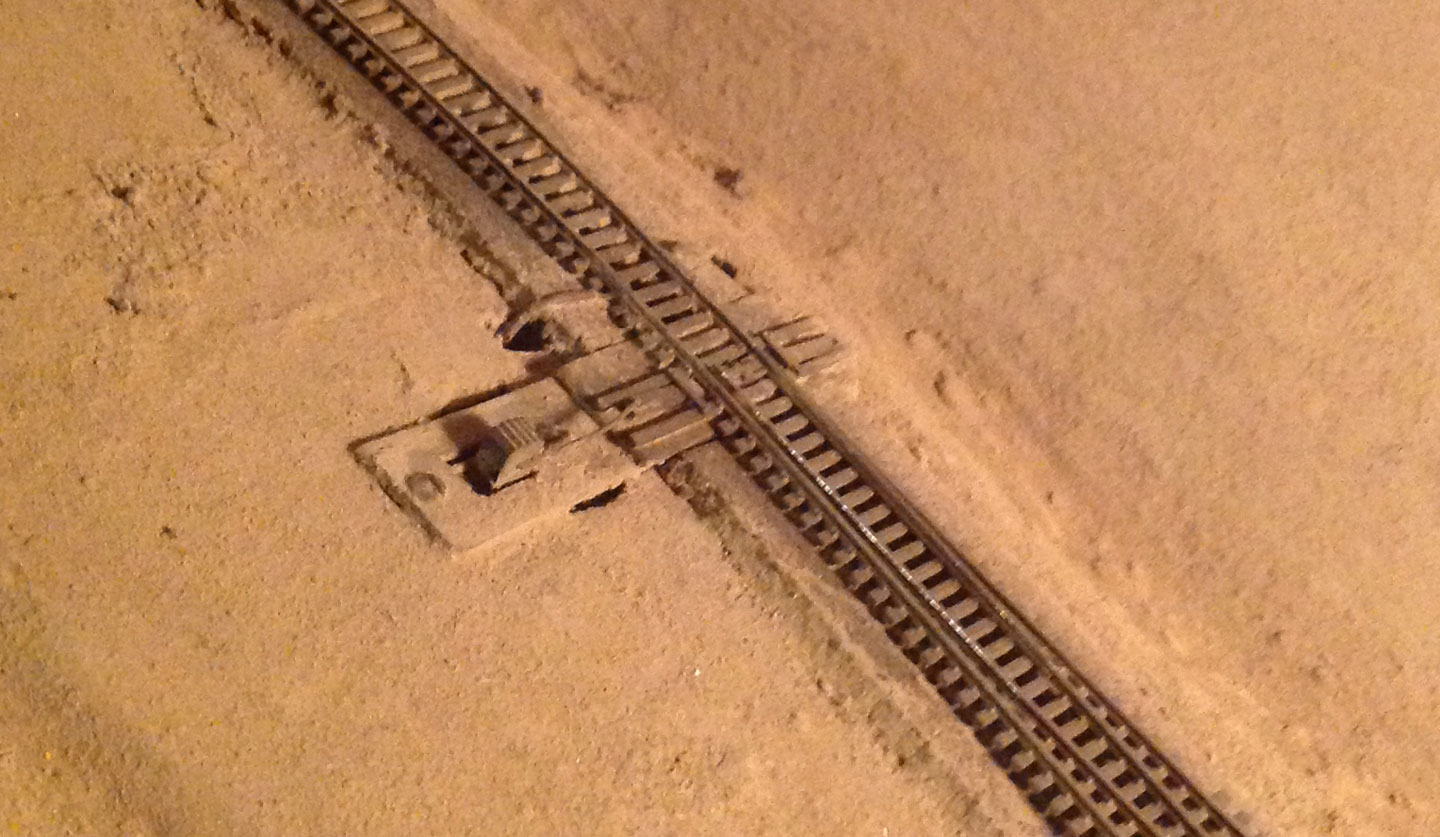
I built a mounting plate out of reasonably thick plastic (cut from an Atlas freight car box). I cut a hole in this plate to allow the switch part of the slide switch to fit through. This is somewhat tough to do, because the Atlas car boxes are pretty tough. A drill and some files are your friend here. With the drill out, you can also drill two holes to screw the slide switch to this base plate. You can also use glue, but I like the screws because they allow for some adjustment or removal later.
In order to provide enough vertical separation between the switch and the turnout, I cut another smaller piece of plastic and glued it between the “base” plate and the turnout.
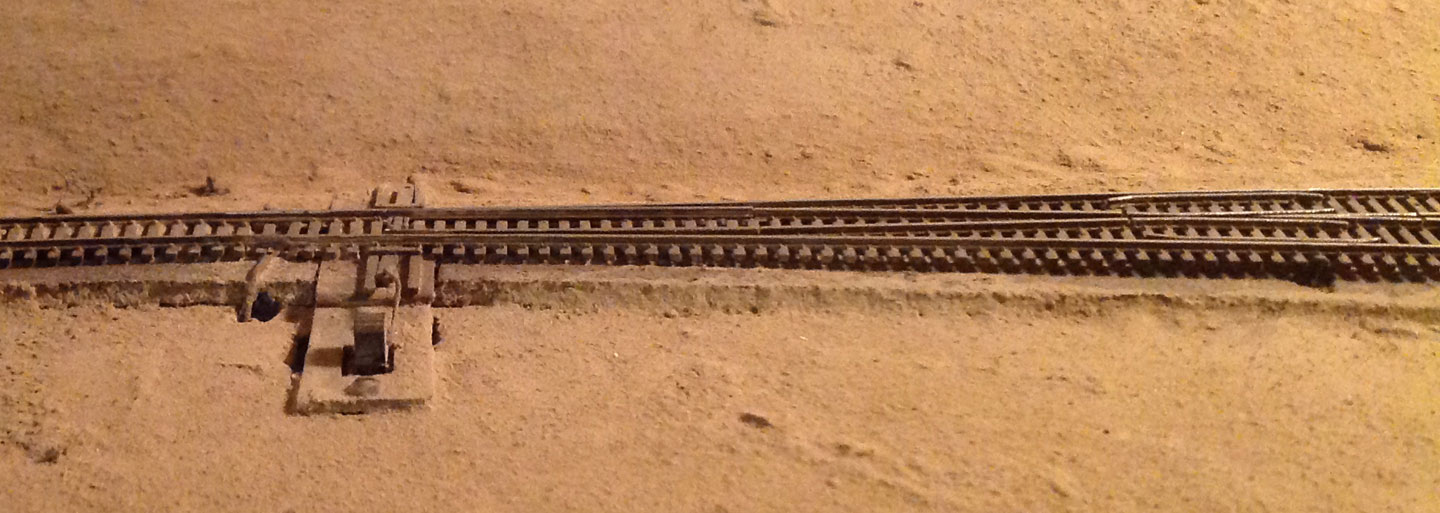
I assemble everything prior to mounting the turnout to the layout. Stack the pieces of plastic together, attach the slide switch, and use a piece of wire (I used brass, because it’s easy to cut and bend) as a throw bar between the switch and the turnout. You’ll have to drill a hole in the slide switch to mount this.
Mounting to the layout is easy. Cut out the roadbed for the base plate and glue your entire turnout assembly in place.
The major benefit of this approach is that, by attaching the switch directly to the track, it didn’t matter what it was sitting on. This means you don’t have to rely on getting a perfectly sized hole in styrofoam, or other potential problems with mounting. I’m able to build everything on the work bench, and then just do the install.