I realized that, while I’ve been very busy on the layout, I haven’t posted many updates on it lately, so here’s a big cumulative update on where things sit at the beginning of October 2016.
Operations
I’ve had the ability to “operate” the layout a number of times over the past few months. This has involved manually staging cars at locations and trains in staging, then using the documentation discussed elsewhere to drive a small ops session where we run a few trains, switch a few cars, and have a good time. This has worked out great. My only complaint is the amount of manual work involved in doing the assignments of destinations for cars. I’m working on that, but it’ll likely be a while until I have a good solution.
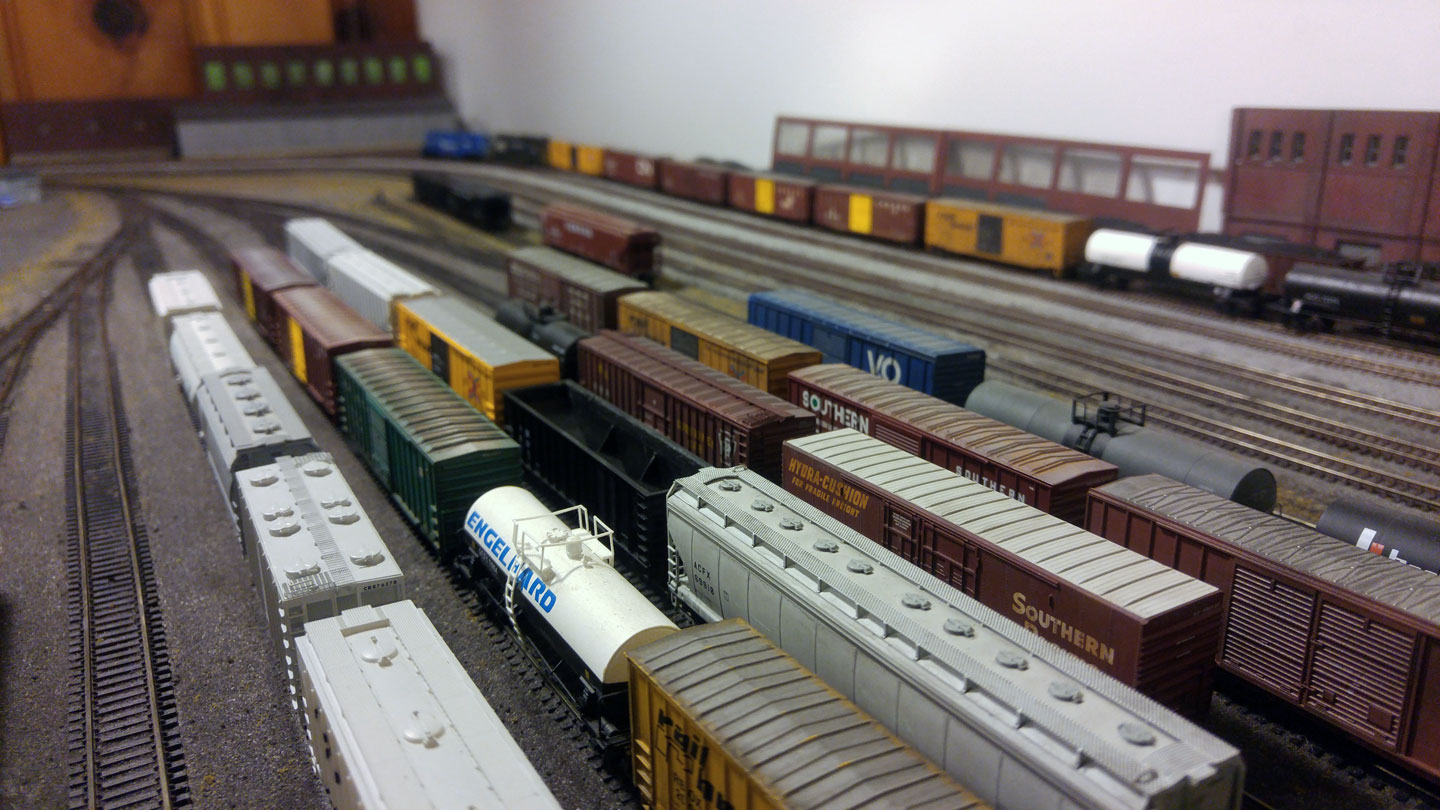
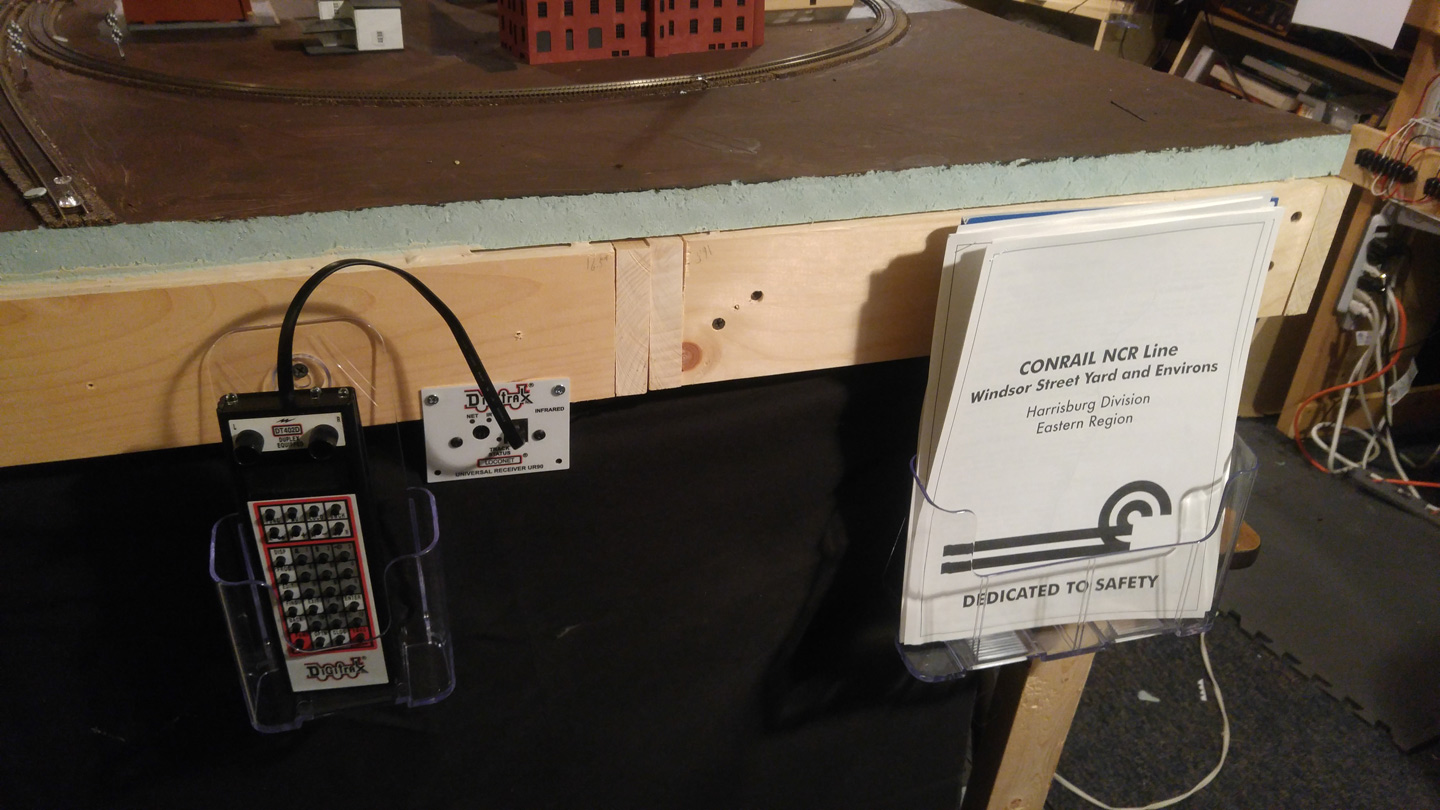
I’ve spent some time prepping the layout to allow visitors to more easily run on it. A big part of this was the documentation I’ve mentioned, but I’ve also added some helpful signage. Additionally, I found a great way to hold Digitrax throttles on the front of the layout: brochure holders from Staples. They’re cheap, and provide a better “drop zone” than some of the purpose made products. Additionally, since they have backs, they can be hung below the fascia of the layout.

Scenery
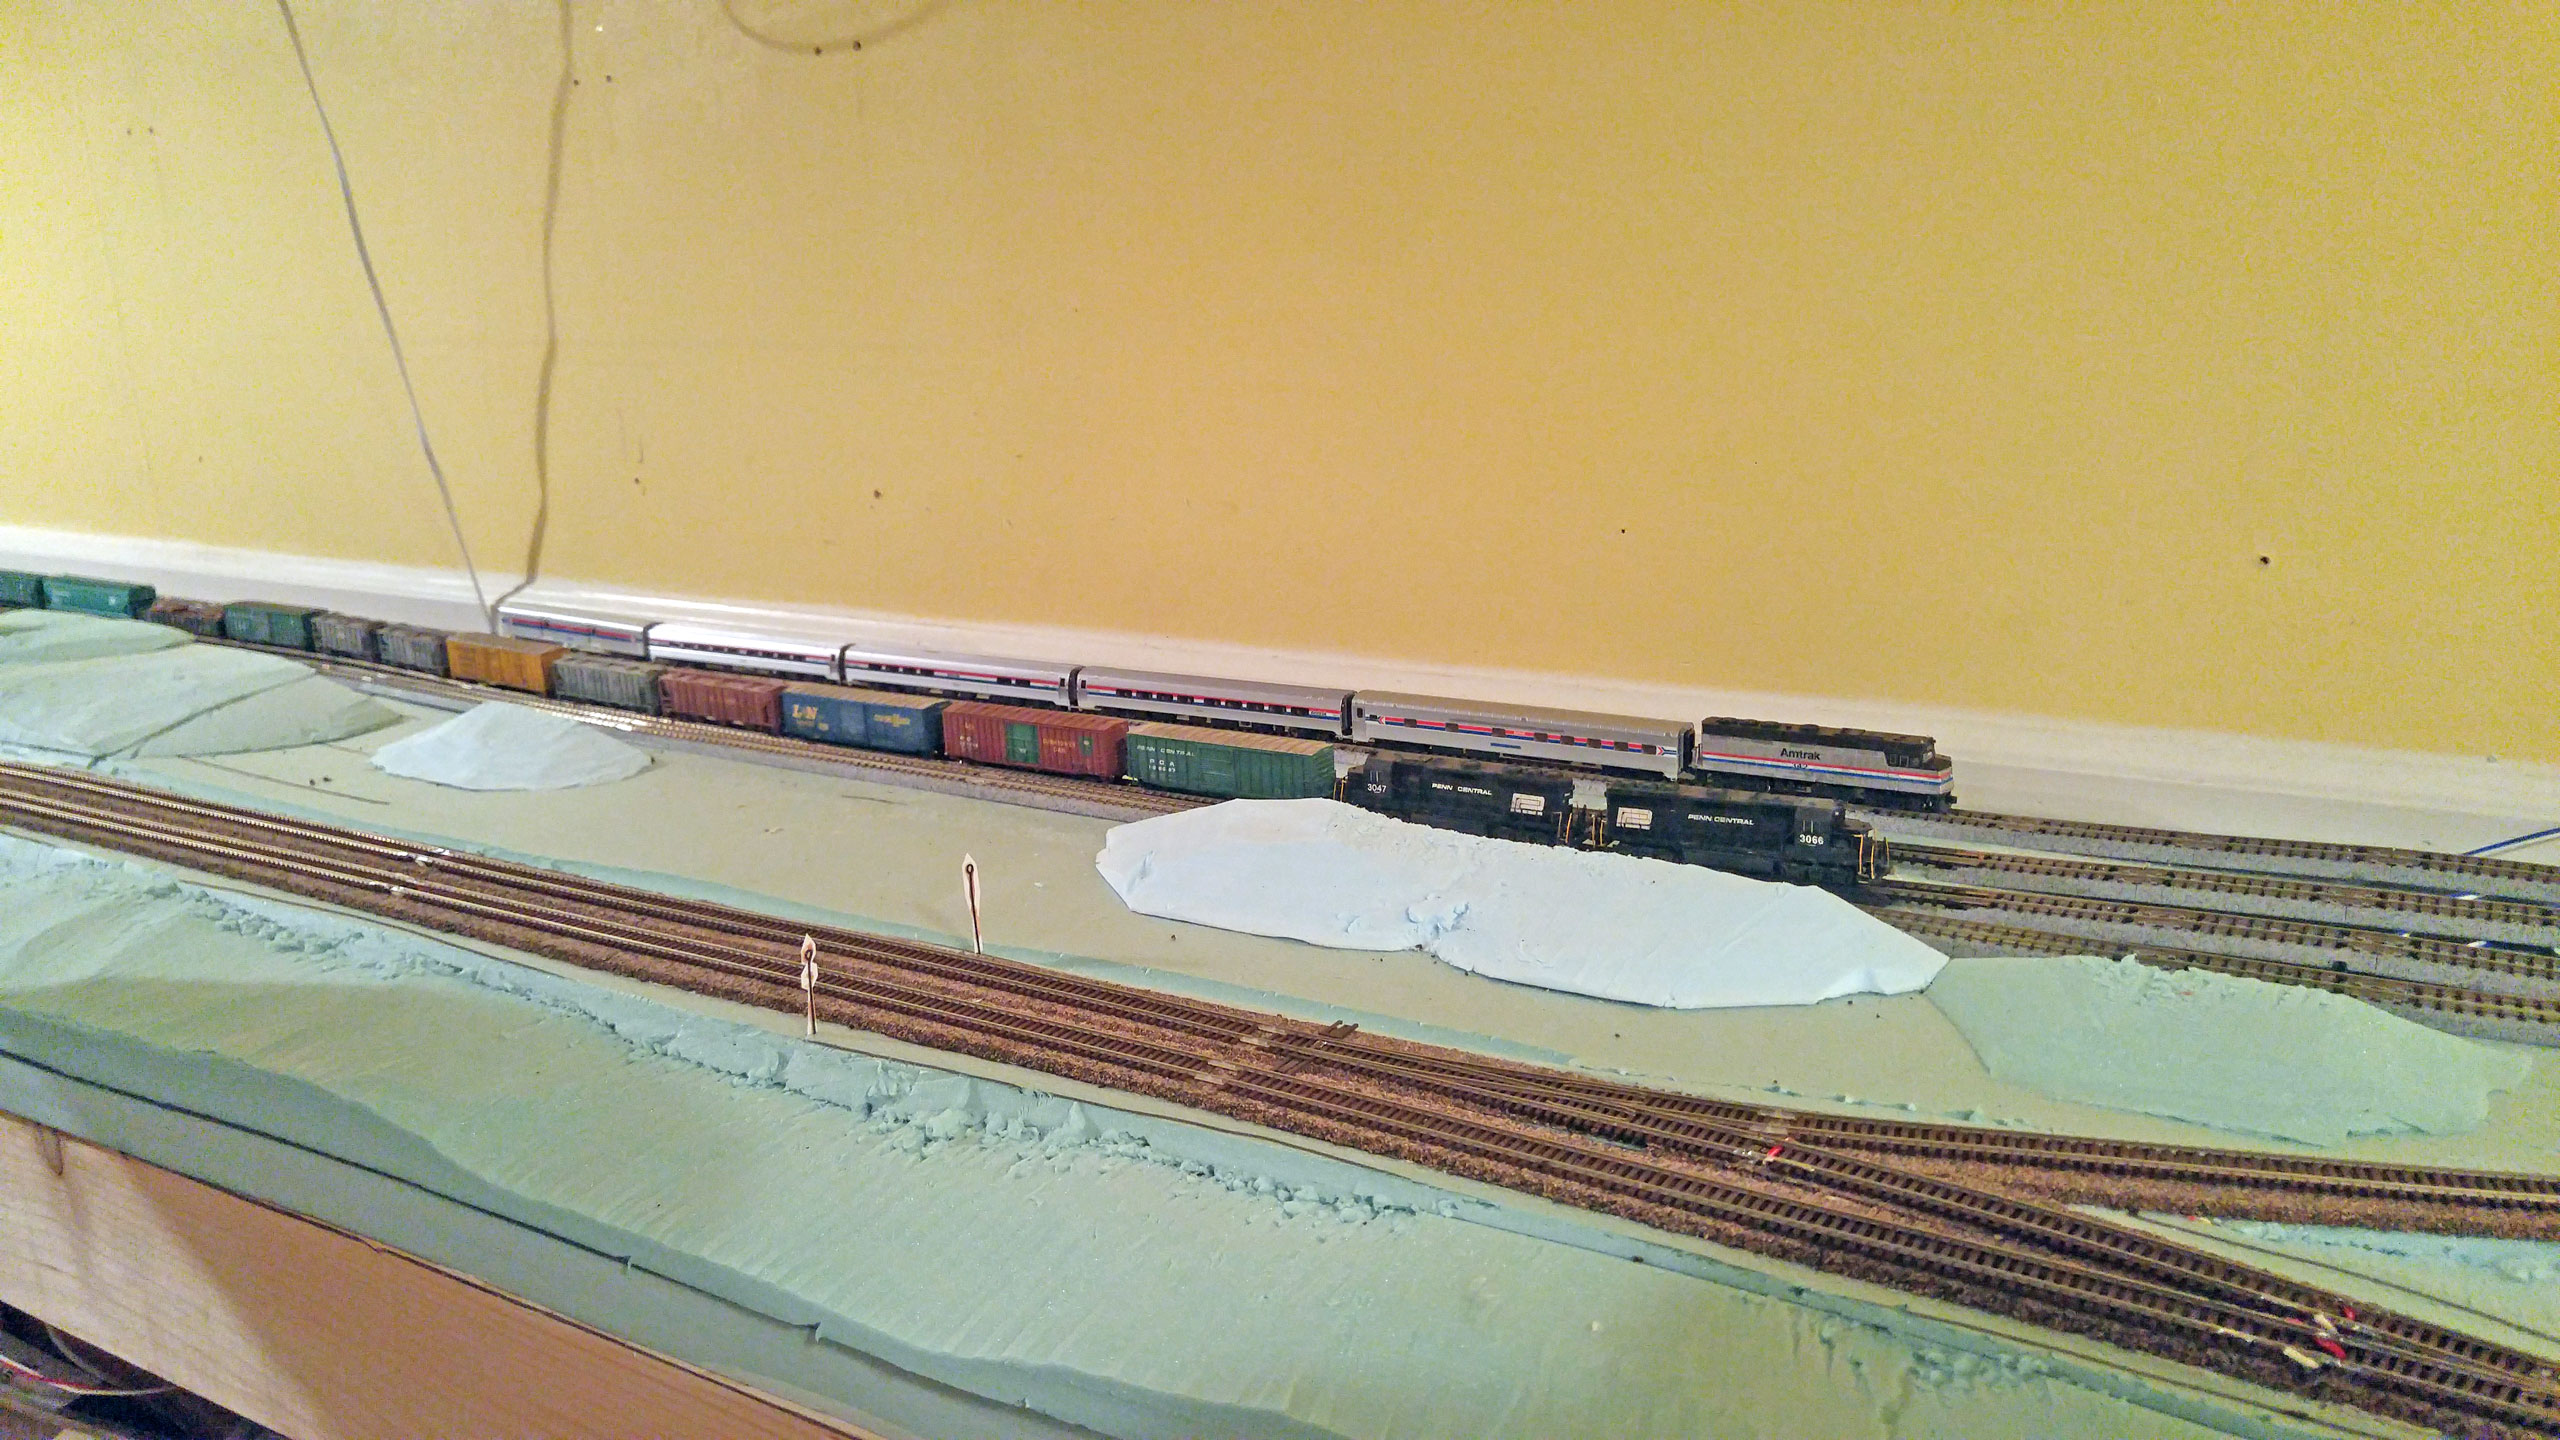
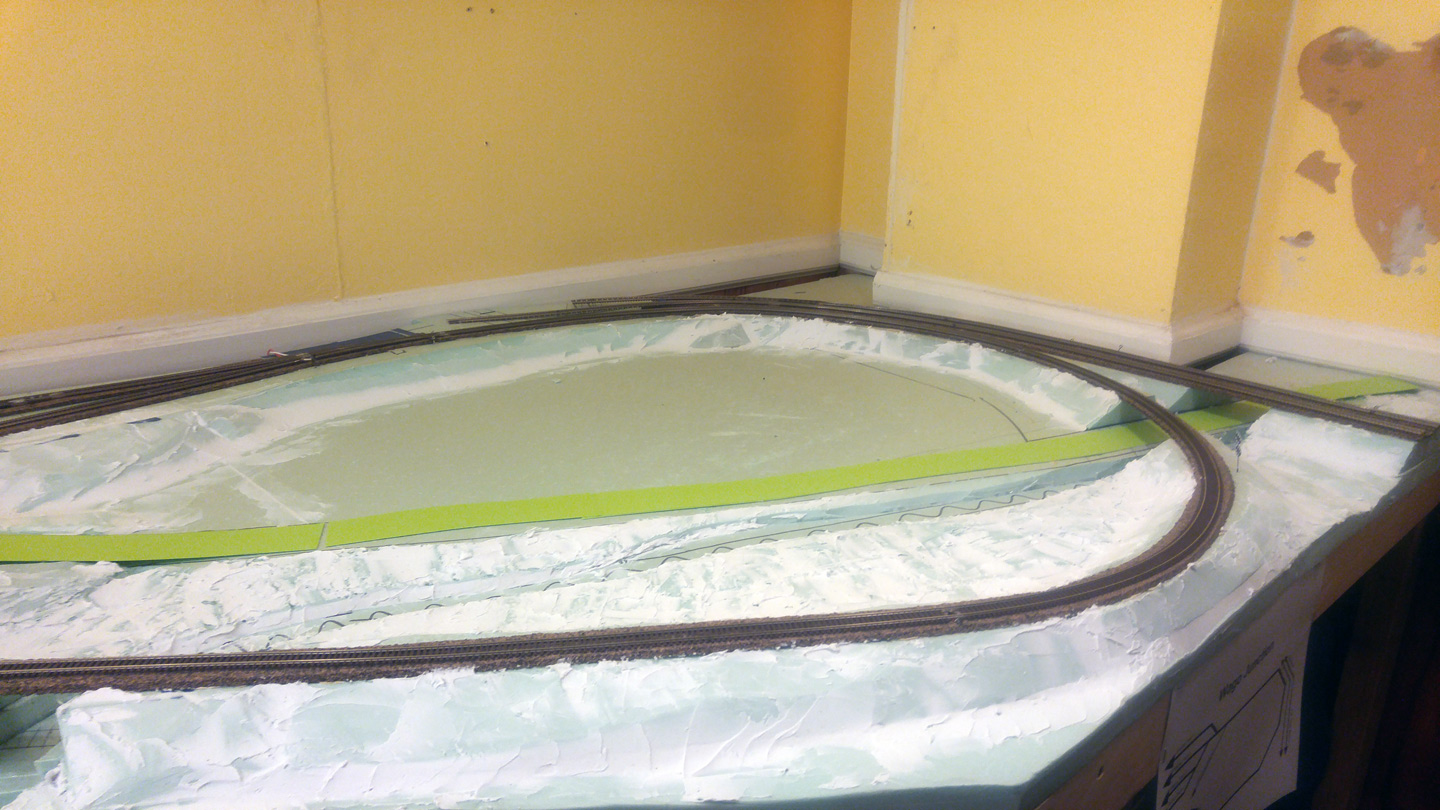
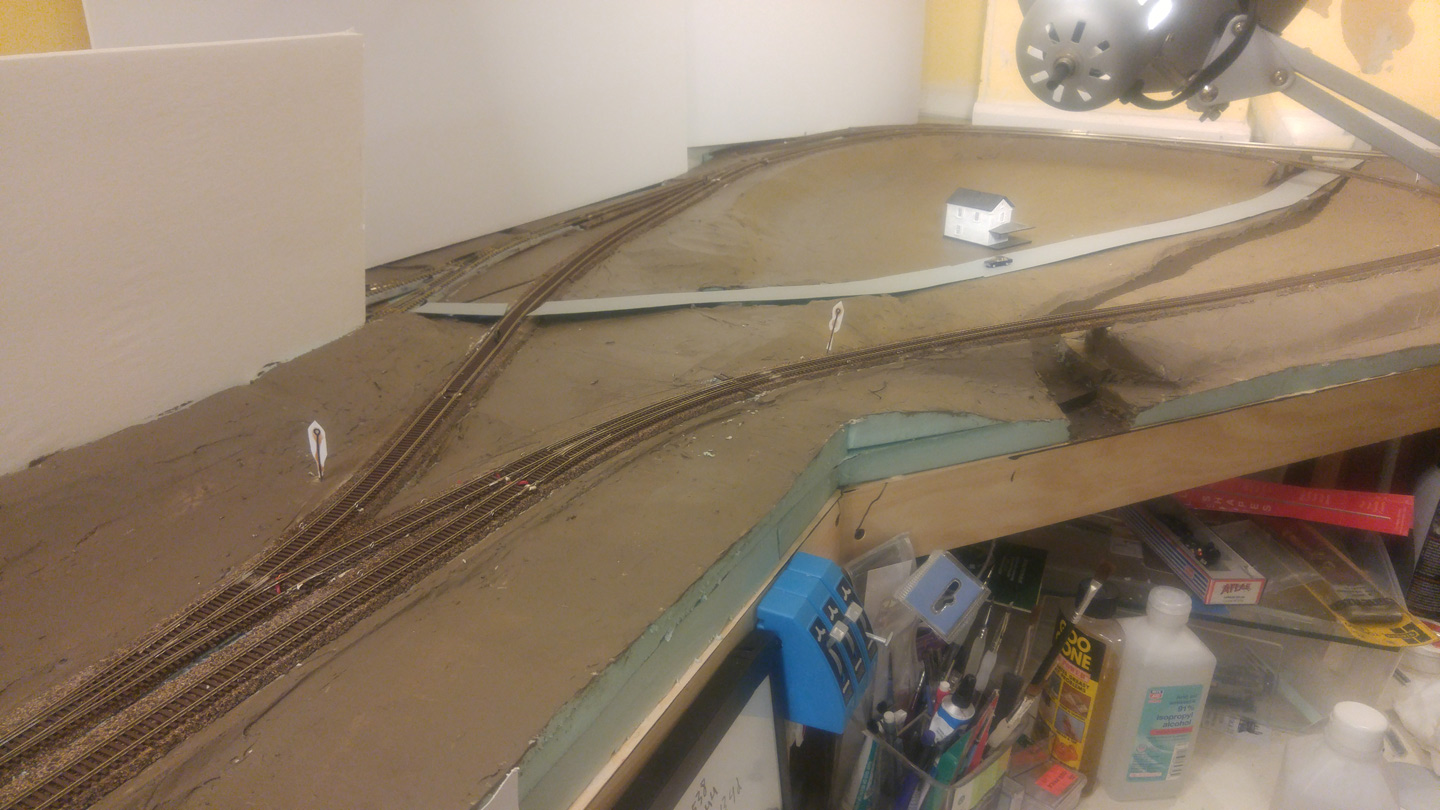
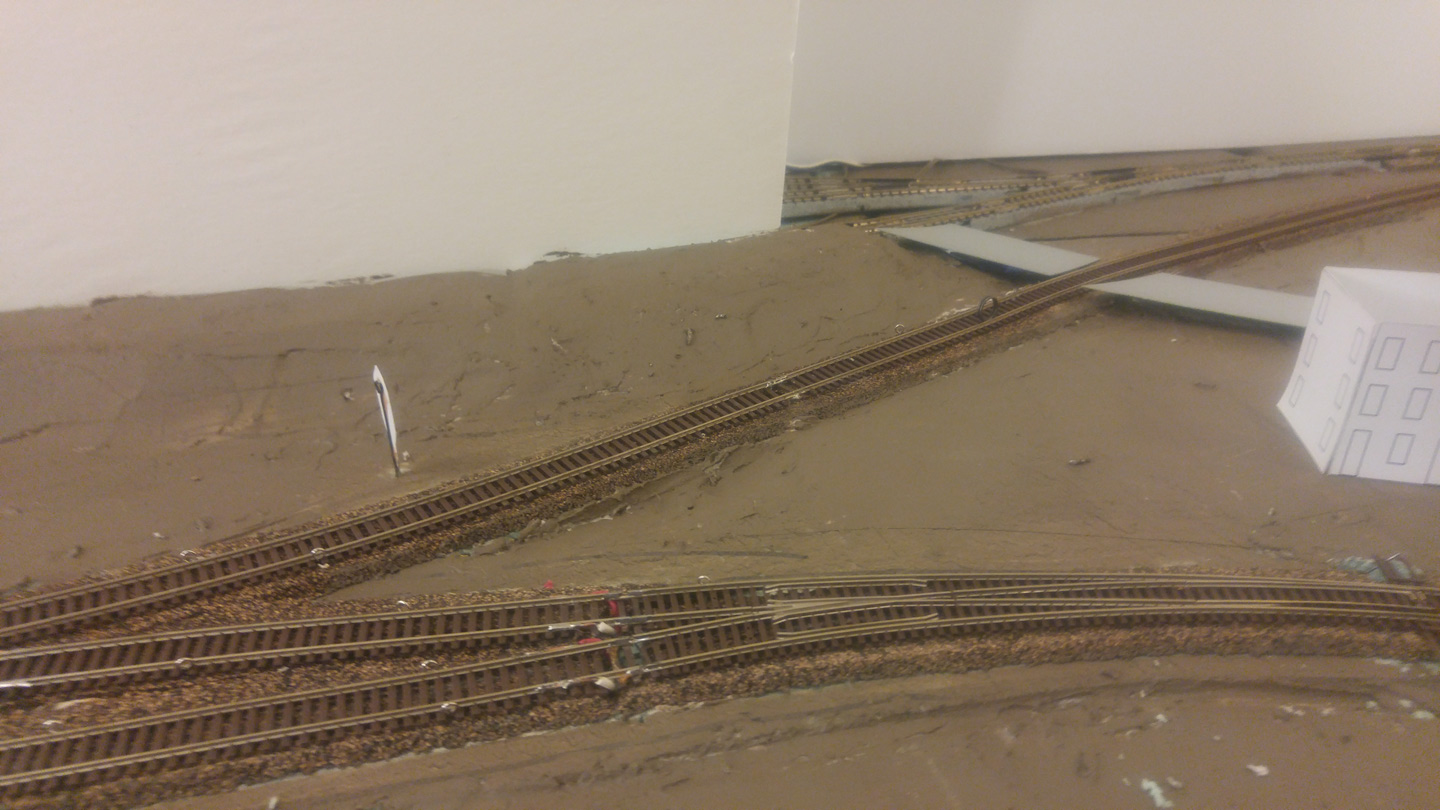
I’ve also been making progress on scenery, specifically on the “north of the yard” section. This started with roughing in the land forms, which was largely done before track was laid down, but has continued with more terrain work and painting.
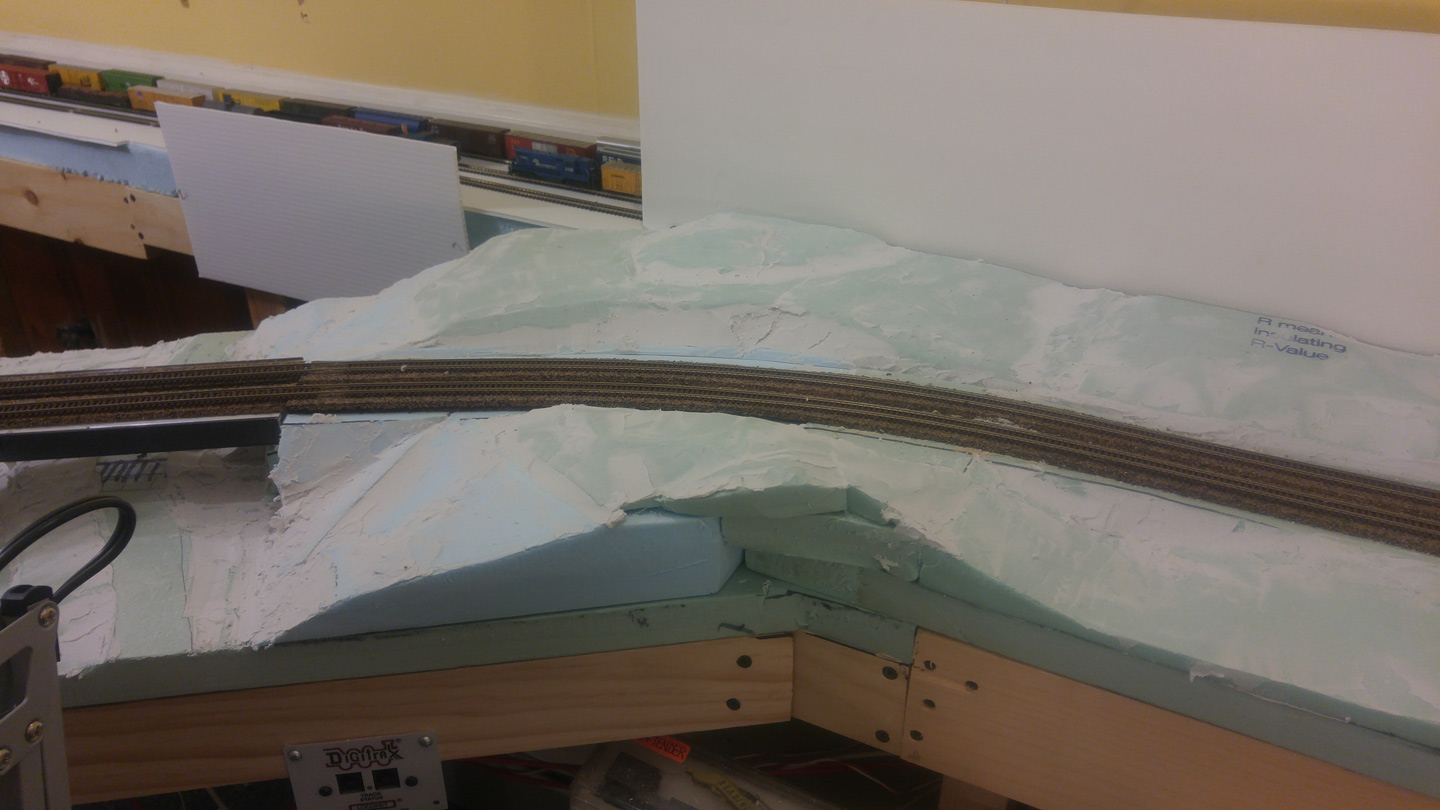
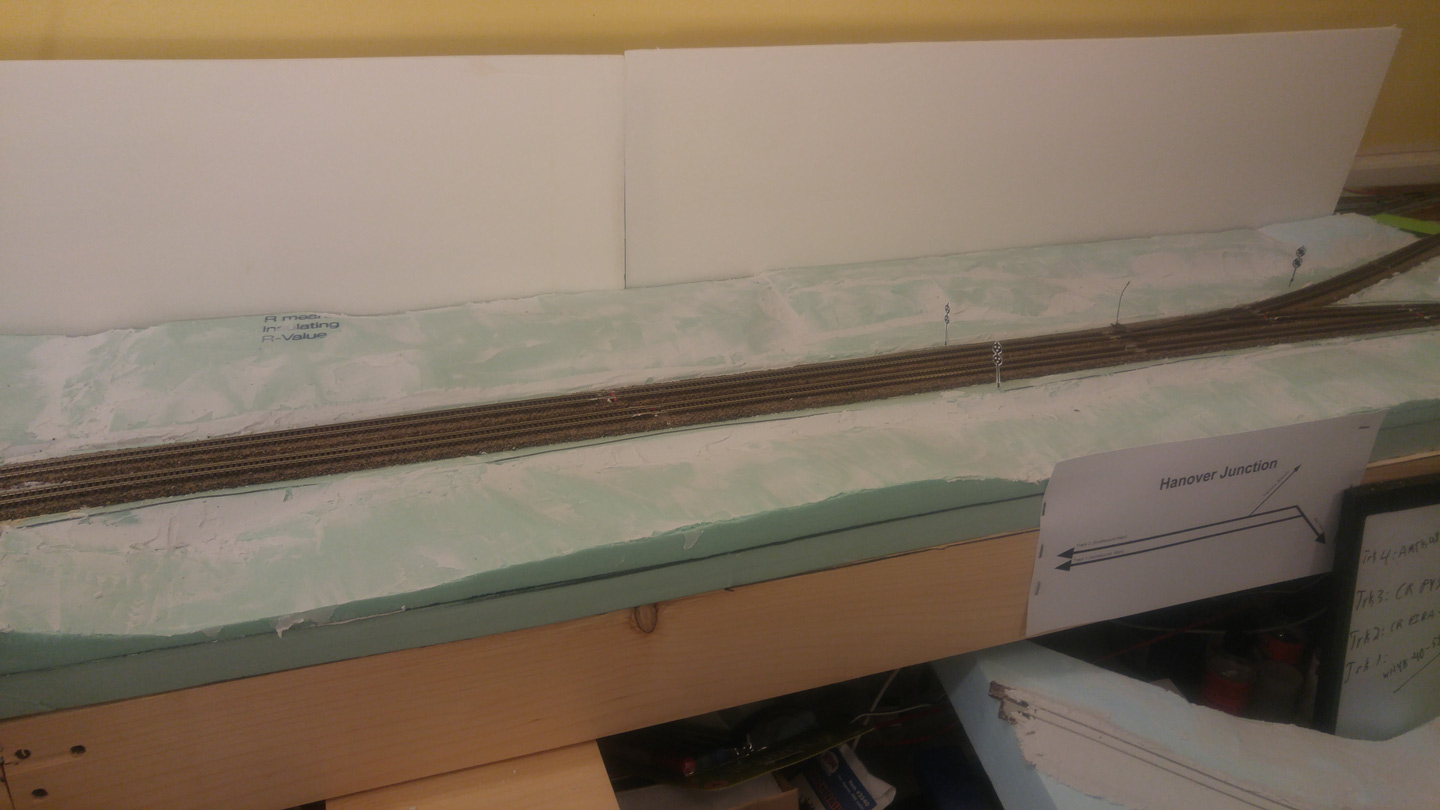
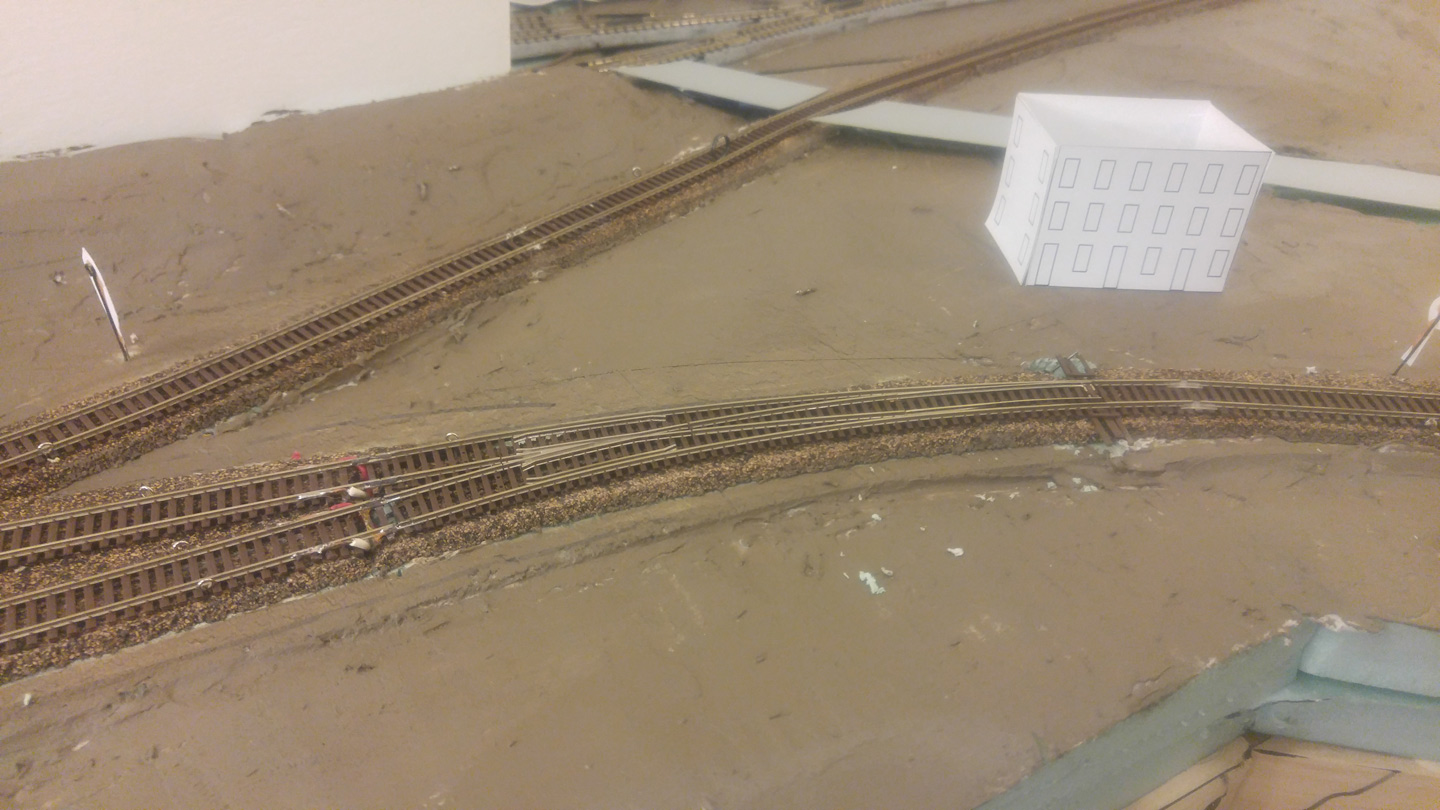
I had initially planned on just a few lower hills at Hanover Junction, but after reviewing more photos of the real location, decided to redo the hillside there to make it higher and longer. You can see the original arrangement, and the improved area below.


After that was settled, it was time to apply some lightweight spackle, and paint. I usually try to get this much smoother than I have, and so I’m trying to decide if I need another layer and more sanding. This is because I believe that good scenery begins with good landforms, and trying to get rid of anything that either isn’t realistic or isn’t to scale. Spots that don’t look good can often be covered over with ground cover, so I’m trying to find the “sweet spot” between how smooth things need to be and how much effort needs to go into it.
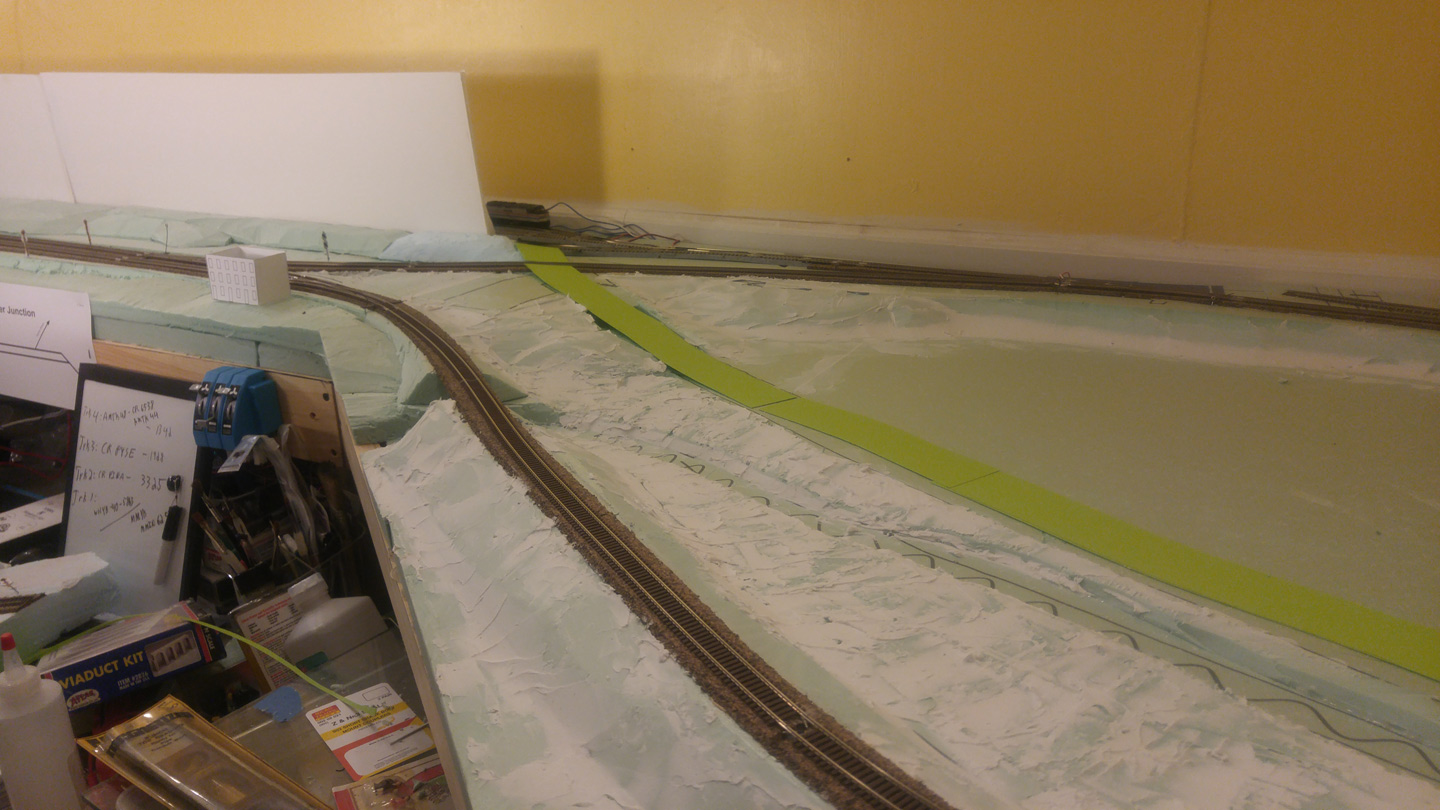
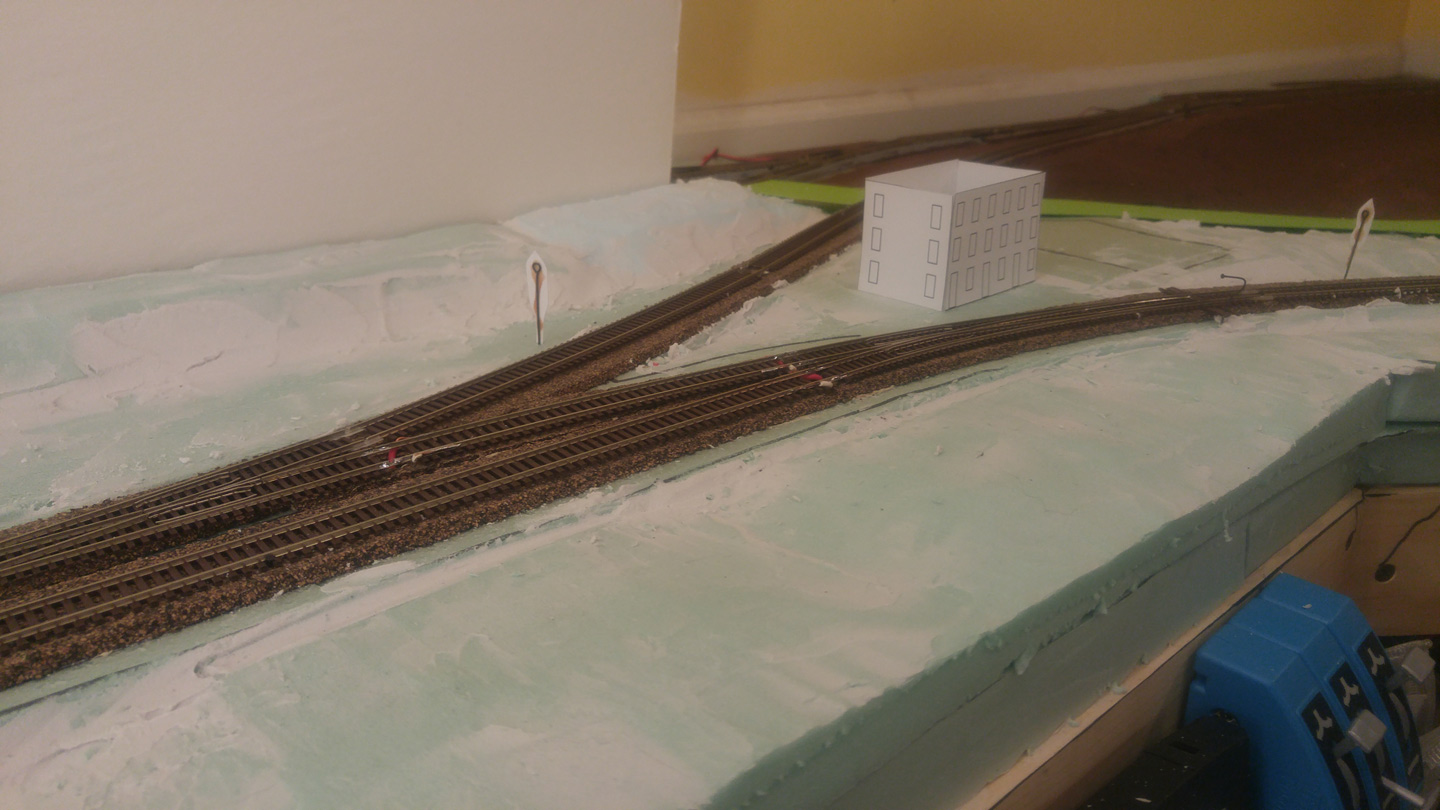
I originally used cheap craft paint to do my base coloring, but while at Lowes discovered that house paint samples are actually cheaper, and can be done in many, many more colors. I splurged on some “Treetrunk“. I think it makes a great dirty color. The first two photos below show the craft paint, and the rest show Treetrunk.

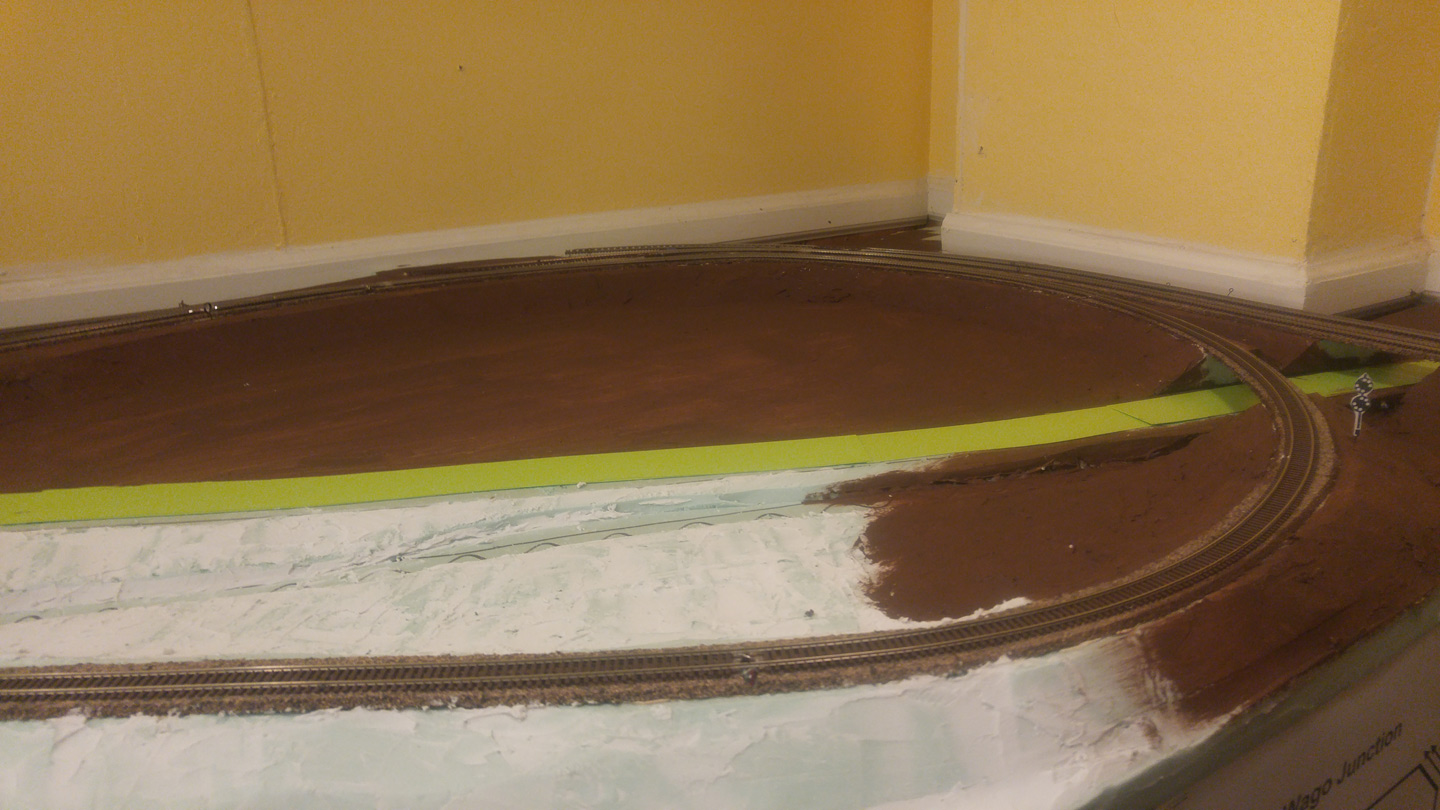
I’ve also been working on roads. Before I applied roads to the layout itself, I did a small “study” piece to see how the same lightweight spackle worked for building roads. I wasn’t impressed, so I decided to do what many friends recommend and use styrene. I found a great cheap source at Lowes: “Make your own sign” material. This stuff is cheap and cuts easily with scissors. So far, I’ve cut out the pieces I need, and have quickly sprayed it with some gray primer. The next steps will be joining it all together, getting it painted with a bit more detail, and securing it down.

Tortoises and Track Work
One of the things that’s been annoying while operating has been that most of the switches on the layout are manually controlled, either through ghetto pin controls (move the pin to throw the switch) or Tortoise switch machines that weren’t wired up. This had to change, so I ordered up a six pack of Tortoises, six Accu-Lite “SNAPS”, and got to work.
Some switches were ready to go, and just needed to be connected to a decoder. Others required machines and wiring. The wiring was made so much easier by the SNAPs, allowing me to do the majority on the work bench, and then just sliding them on. They’re well worth the $6 to avoid having to make all those annoying solder connections. They ALSO let me easily reverse the position of the switch when I need to.
I’ve wired all of the switches on the north section through a Team Digital SMD8 which a friend graciously gave me after it found no home on his layout. In doing this, I discovered that phone wire, while handy, is a pain in the ass to install in screw terminals. The individual wires are so small.
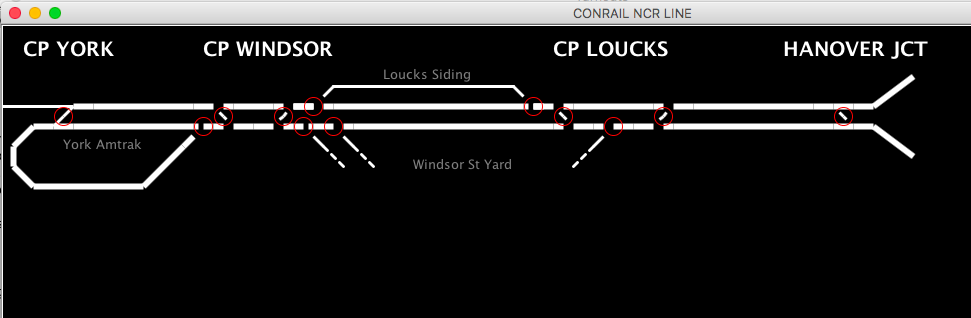
The switch decoders are then added into my JMRI layout plan setup in Panel Pro. Panel Pro is great, but definitely is software designed by developers! It’s been a struggle to get things looking good, but they’re at least functional.
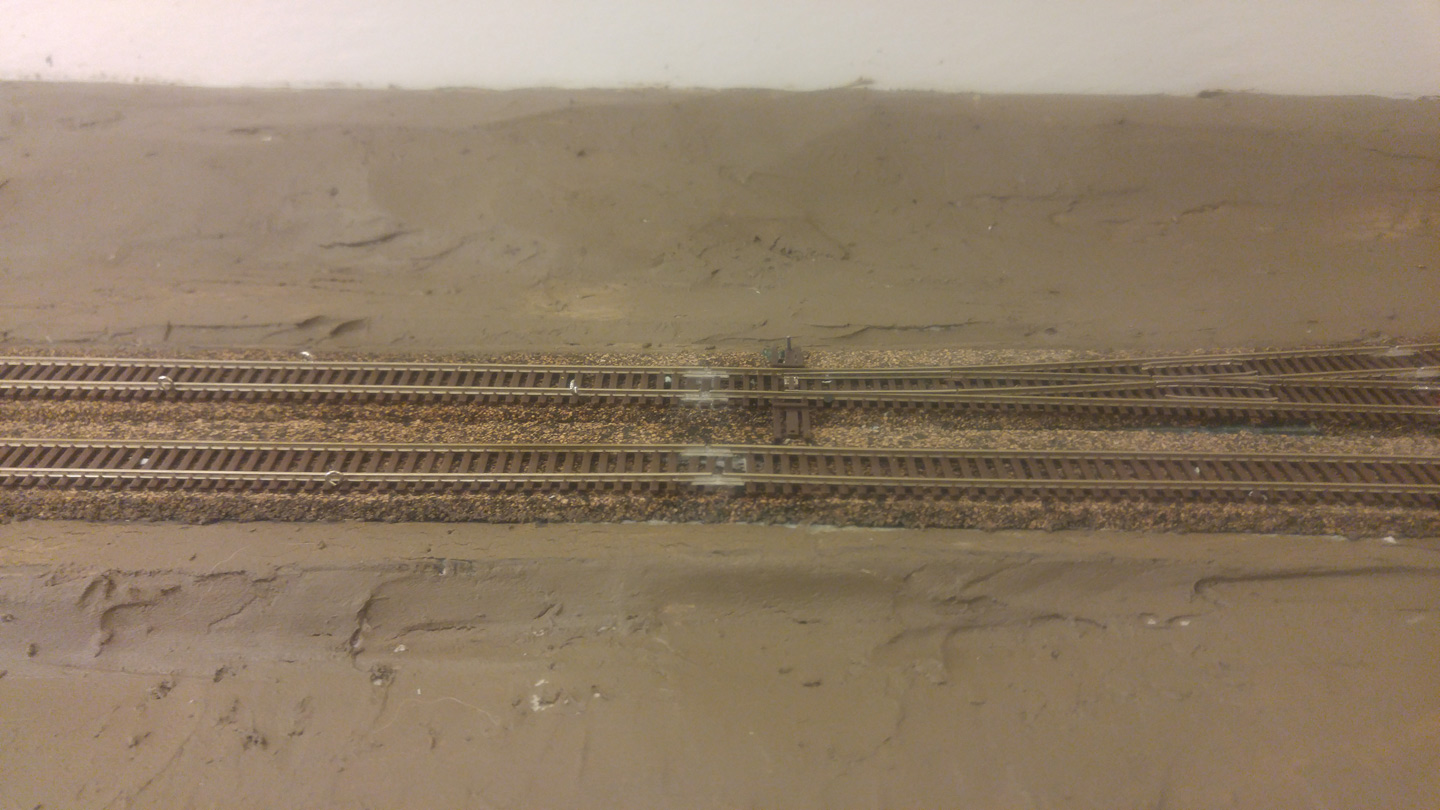
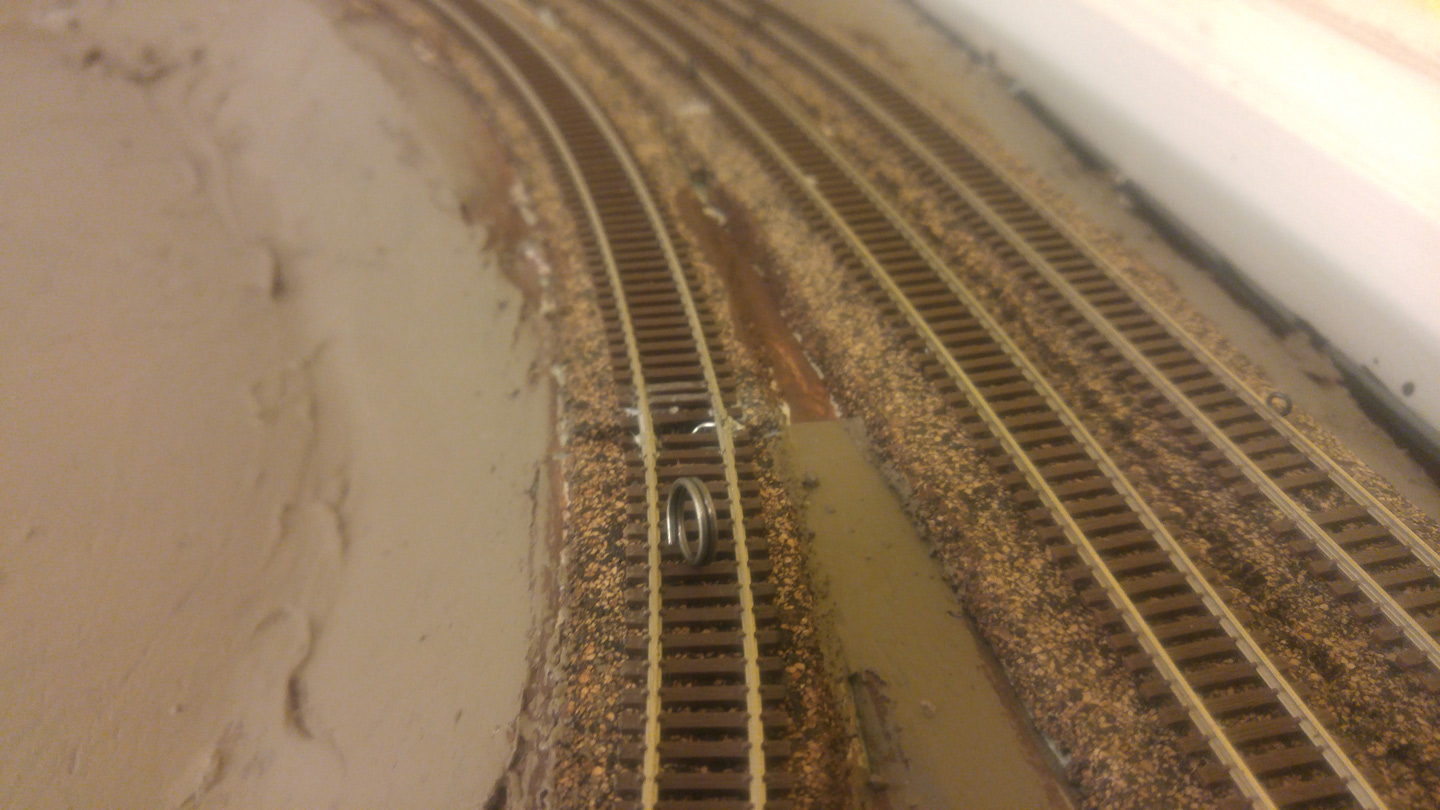
With the switches in place, I now feel comfortable actual gluing down my track, so that’s happened recently as well. I’ve also just added ties in at the joints, so the track is now pretty much ready for painting.
So that’s about where things sit now. Progress is continuing, which is great, and hopefully I’ll be posting smaller updates soon.