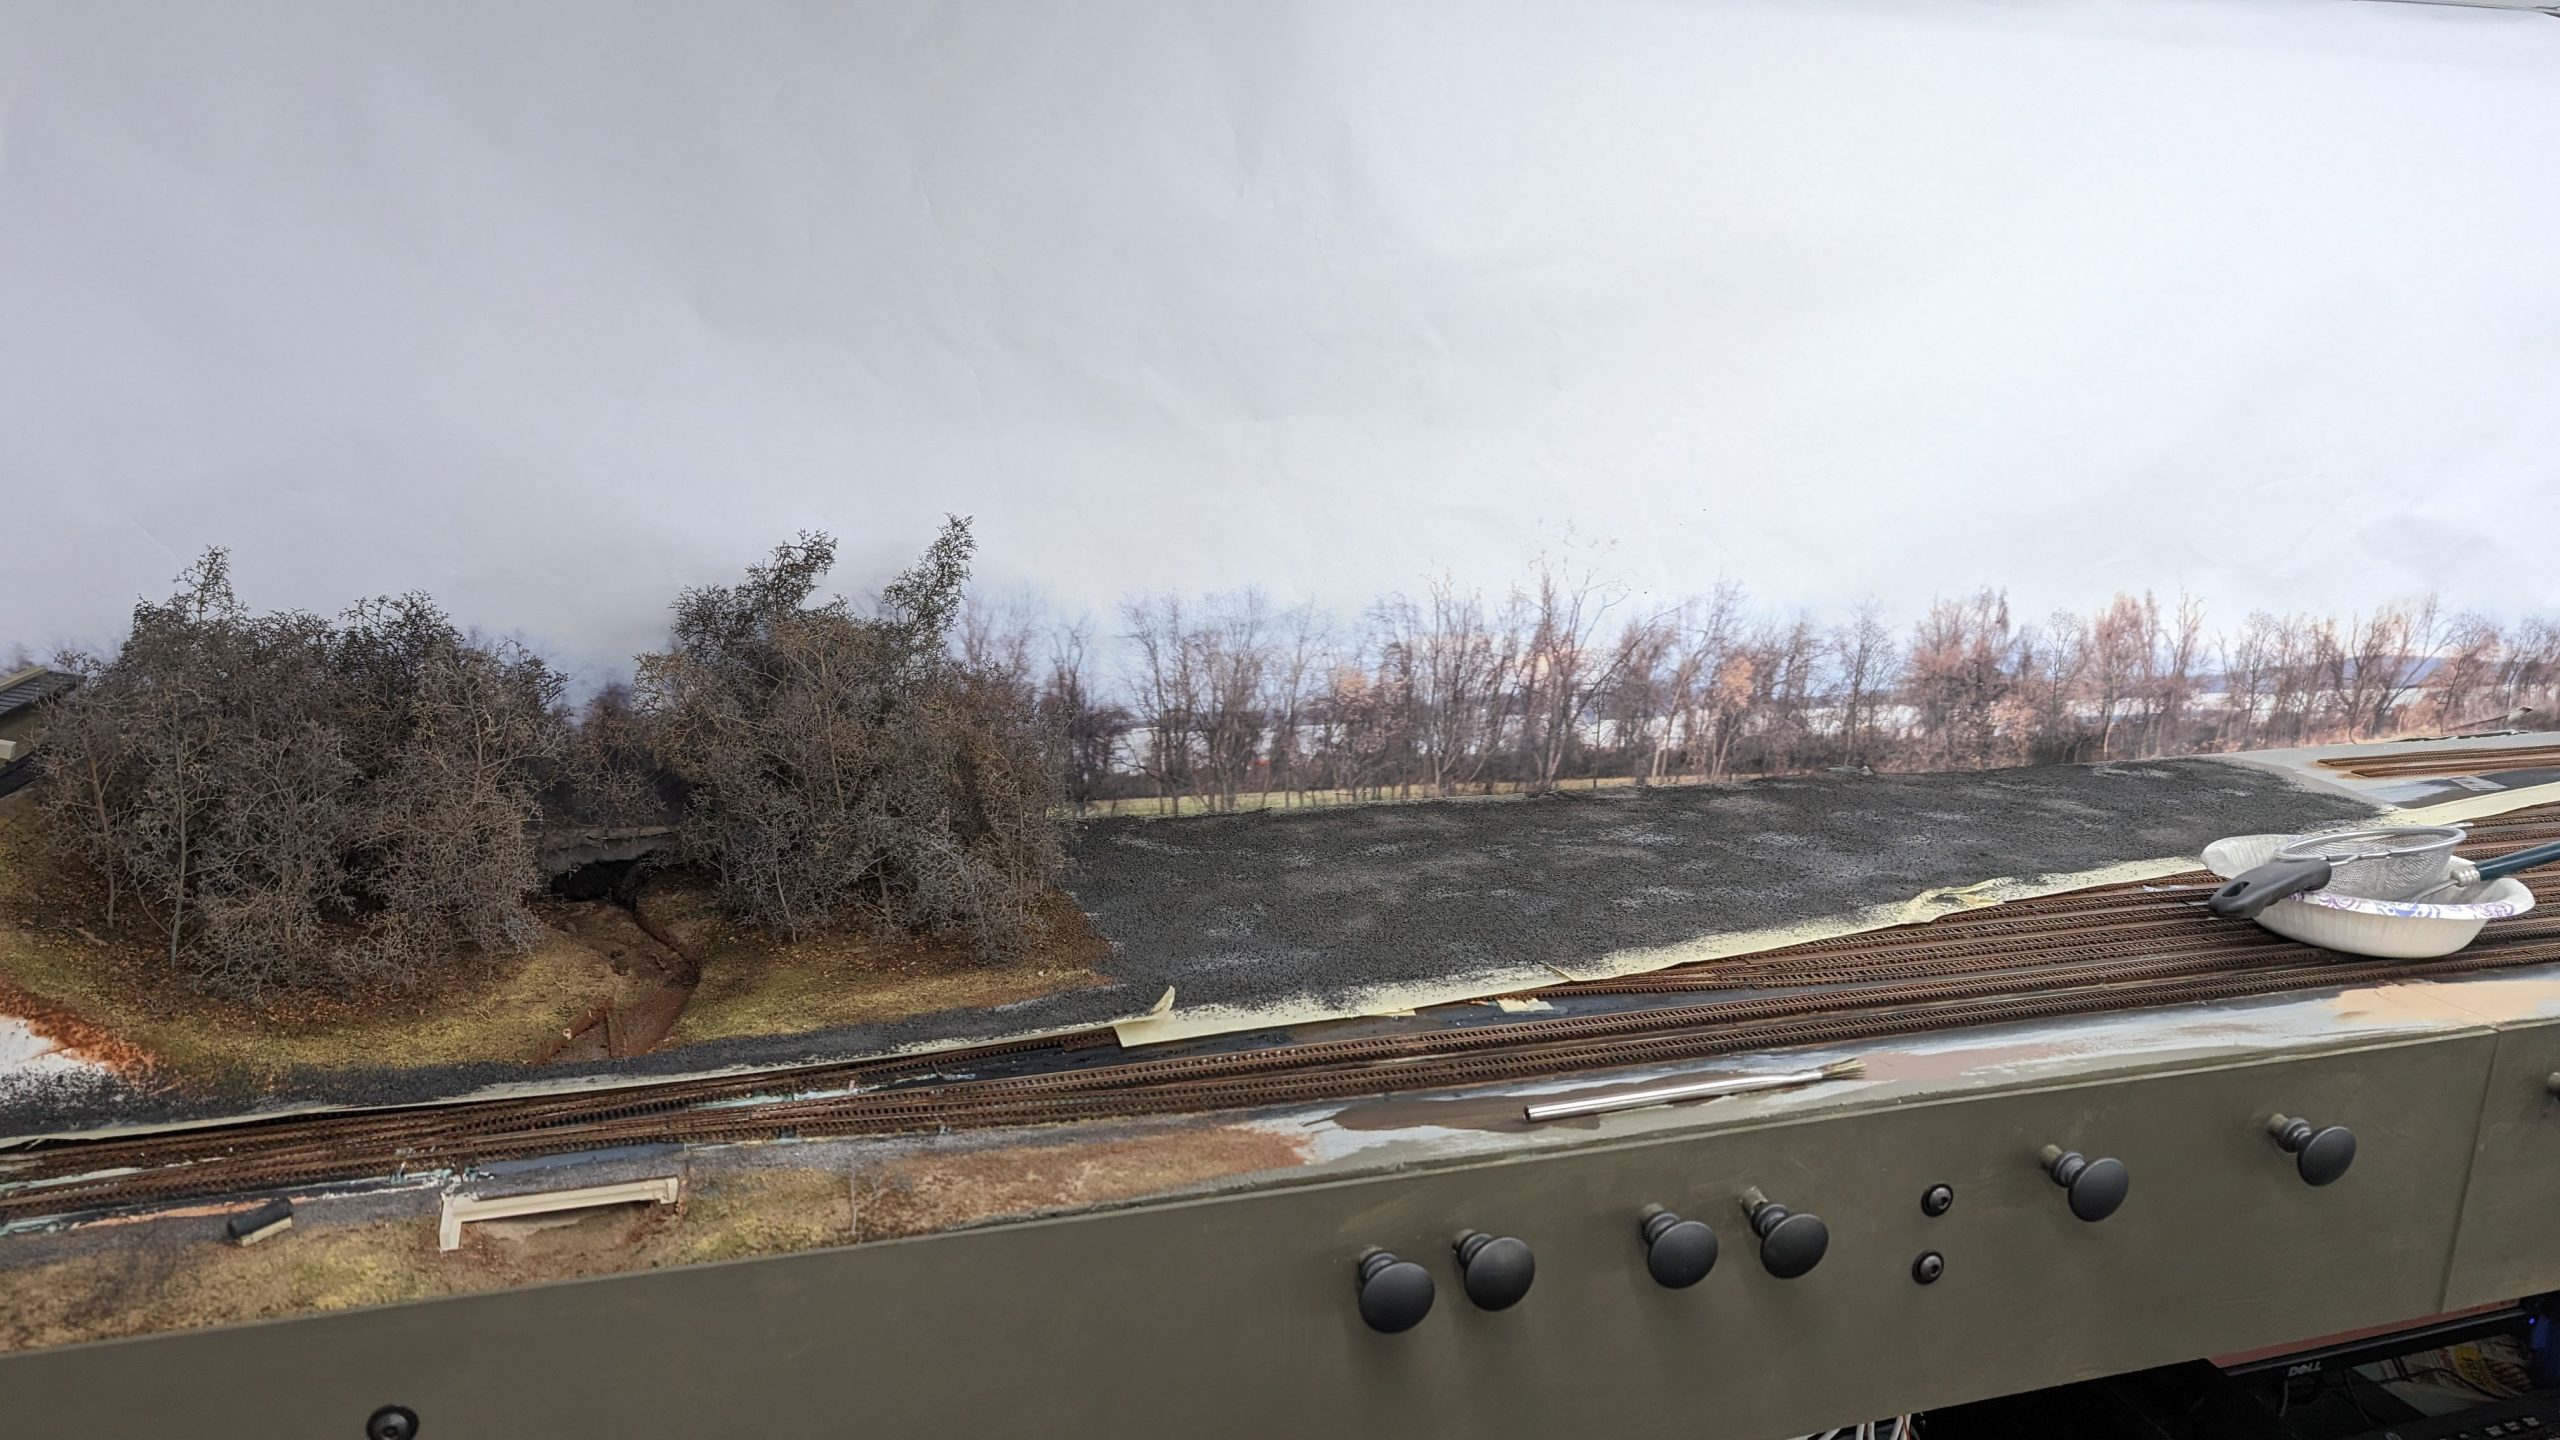
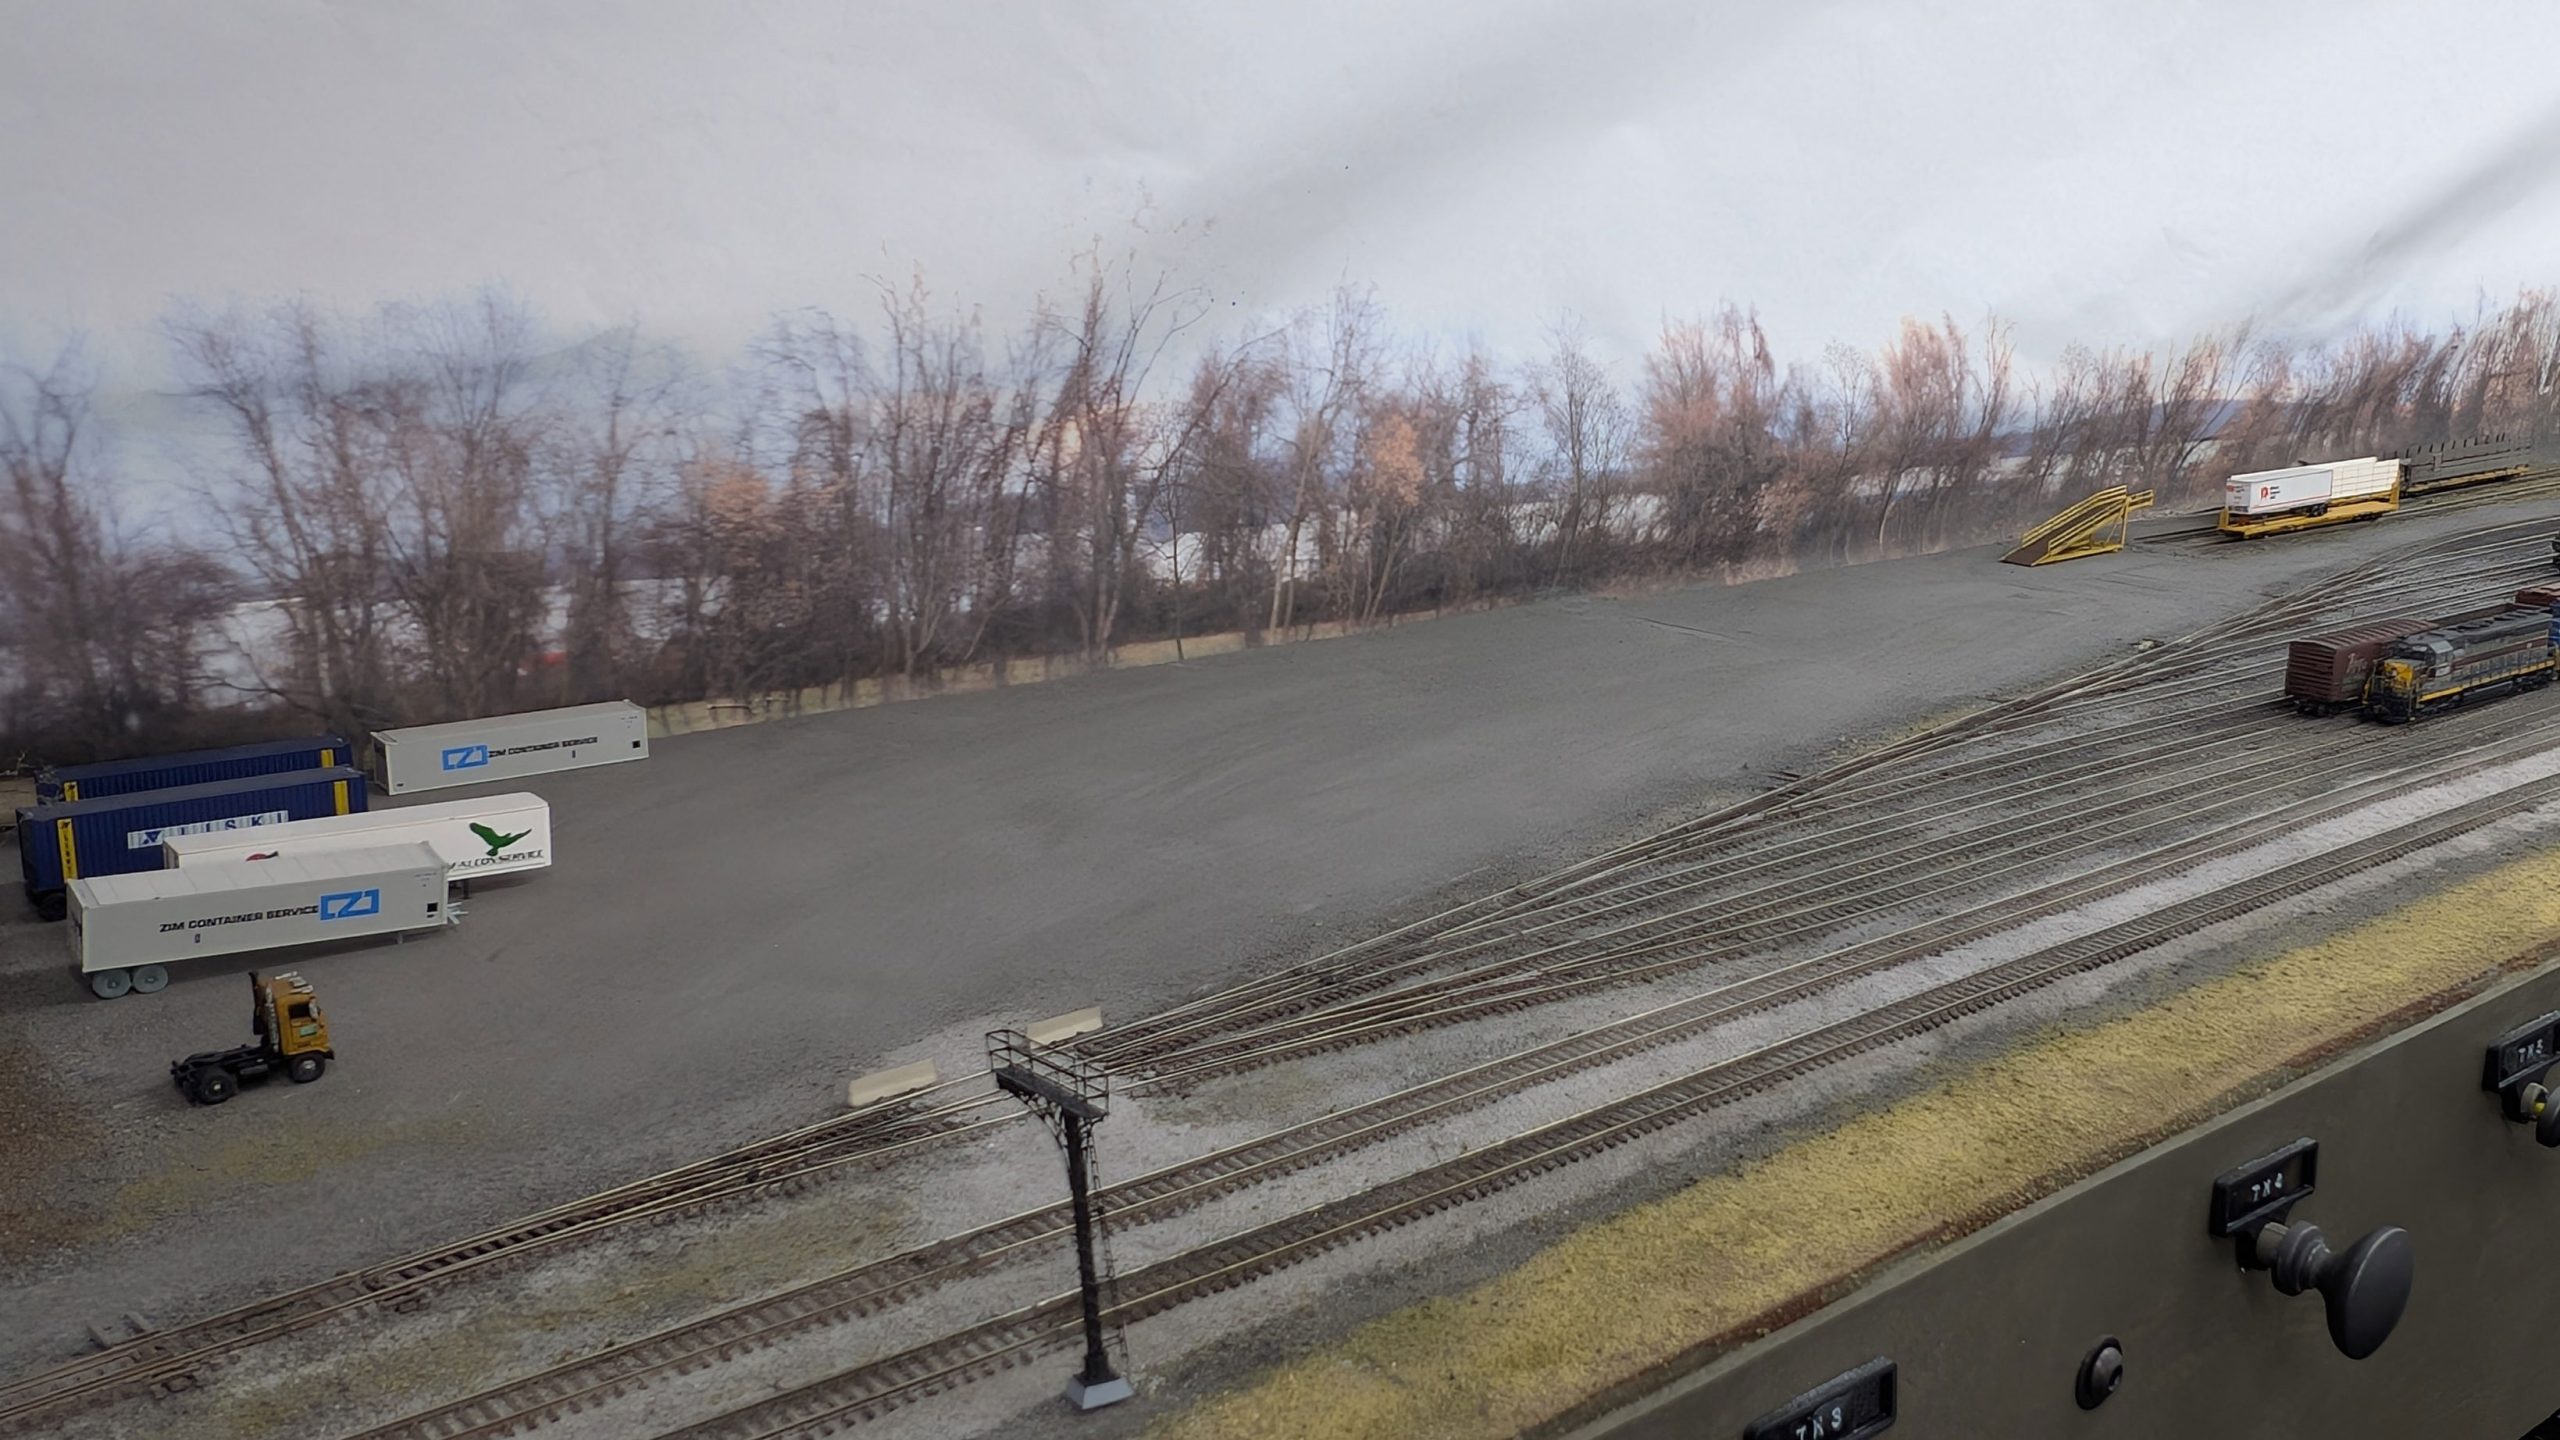
A thread on The Railwire provoked me to write up my technique for how I apply unsanded grout as my scenery base layer.
I have settled on using unsanded grout blends as dirt, as oppposed to “real dirt” because in almost all situations the grain size of real dirt is far too large for N scale. The grain size means that what should look like dirt actually looks more like gravel. Nothing ruins close up model photograph than a road paved with boulders, so grout it is for me. For this reason I also use blends of sanded and unsanded grout for almost all applications of gravel as well. Most crushed “real stone” products are of sizes that are only suitable, at best, for representing the larger chunks of rock used as ballast. Many people advocate for using real dirt sources from the location you’re modeling but I would argue that it is as easy to get a close enough color match with a blend of grouts that will yield a far better texture in the end. Amusingly, this argument is one of my longest running areas of discord between my father and I (talk about living a charmed life, I know).
After many years of doing this I have a technique that I’m pretty happy with. The photos you’ll see here are from my application of the technique over the past 20 years so I apologize for their lack of consistency. Hopefully they illustrate the ideas well enough.
I’ll start with the equipment I use:
- At least two cheap “chip brushes”
- Cheap strainers
- Paper
- Masking tape
And the ingredients:
- Dirt colored paint – Mis-mixed house paint or cheap craft paint matching your dirt color
- White glue
- Unsanded grout in your desired dirt color
A note about dirt colors: Just like my realization 20+ years ago that “trees aren’t brown”, there is a lot of nuance to dirt color for our model railroads. There are two factors to think of when choosing your colors. First, it’s like a primer on a model: It affects the layers above it. The color you choose affects how the layers above it appear. Second, like anything else, color choice should follow your prototype, which means working from photos. Here’s a good example: close your eyes and picture the color of dirt near Altoona PA. Now open them and look at this photo. Interesting, eh? It gets more interesting though. Take a look at this photo. This is why I like visiting my chosen modeling subject at the time of year when I’m modeling it and taking photos of EVERYTHING. Here’s are some of my own reference photo albums.
- General NCR Trail
- NCRY Research: Baltimore County – Sparks Rd
- NCRY Research : Baltimore County – Monkton
- Winter Scenery Reference – Twin Arch Rd
- Winter Scenery Reference – Glatfelters Station
- Winter Scenery Reference – Hanover Jct
- Winter Scenery Reference – Glenrock
- Winter Scenery Reference – Seitzland
- Winter Scenery Reference – Oakland
- Winter Scenery Reference – Parkton
- Winter Scenery Reference – North of Parkton
- Winter Scenery Reference – Walker Rd
- Winter Scenery Reference – Bentley Springs
- Winter Scenery Reference – Freeland
- Winter Scenery Reference Photos
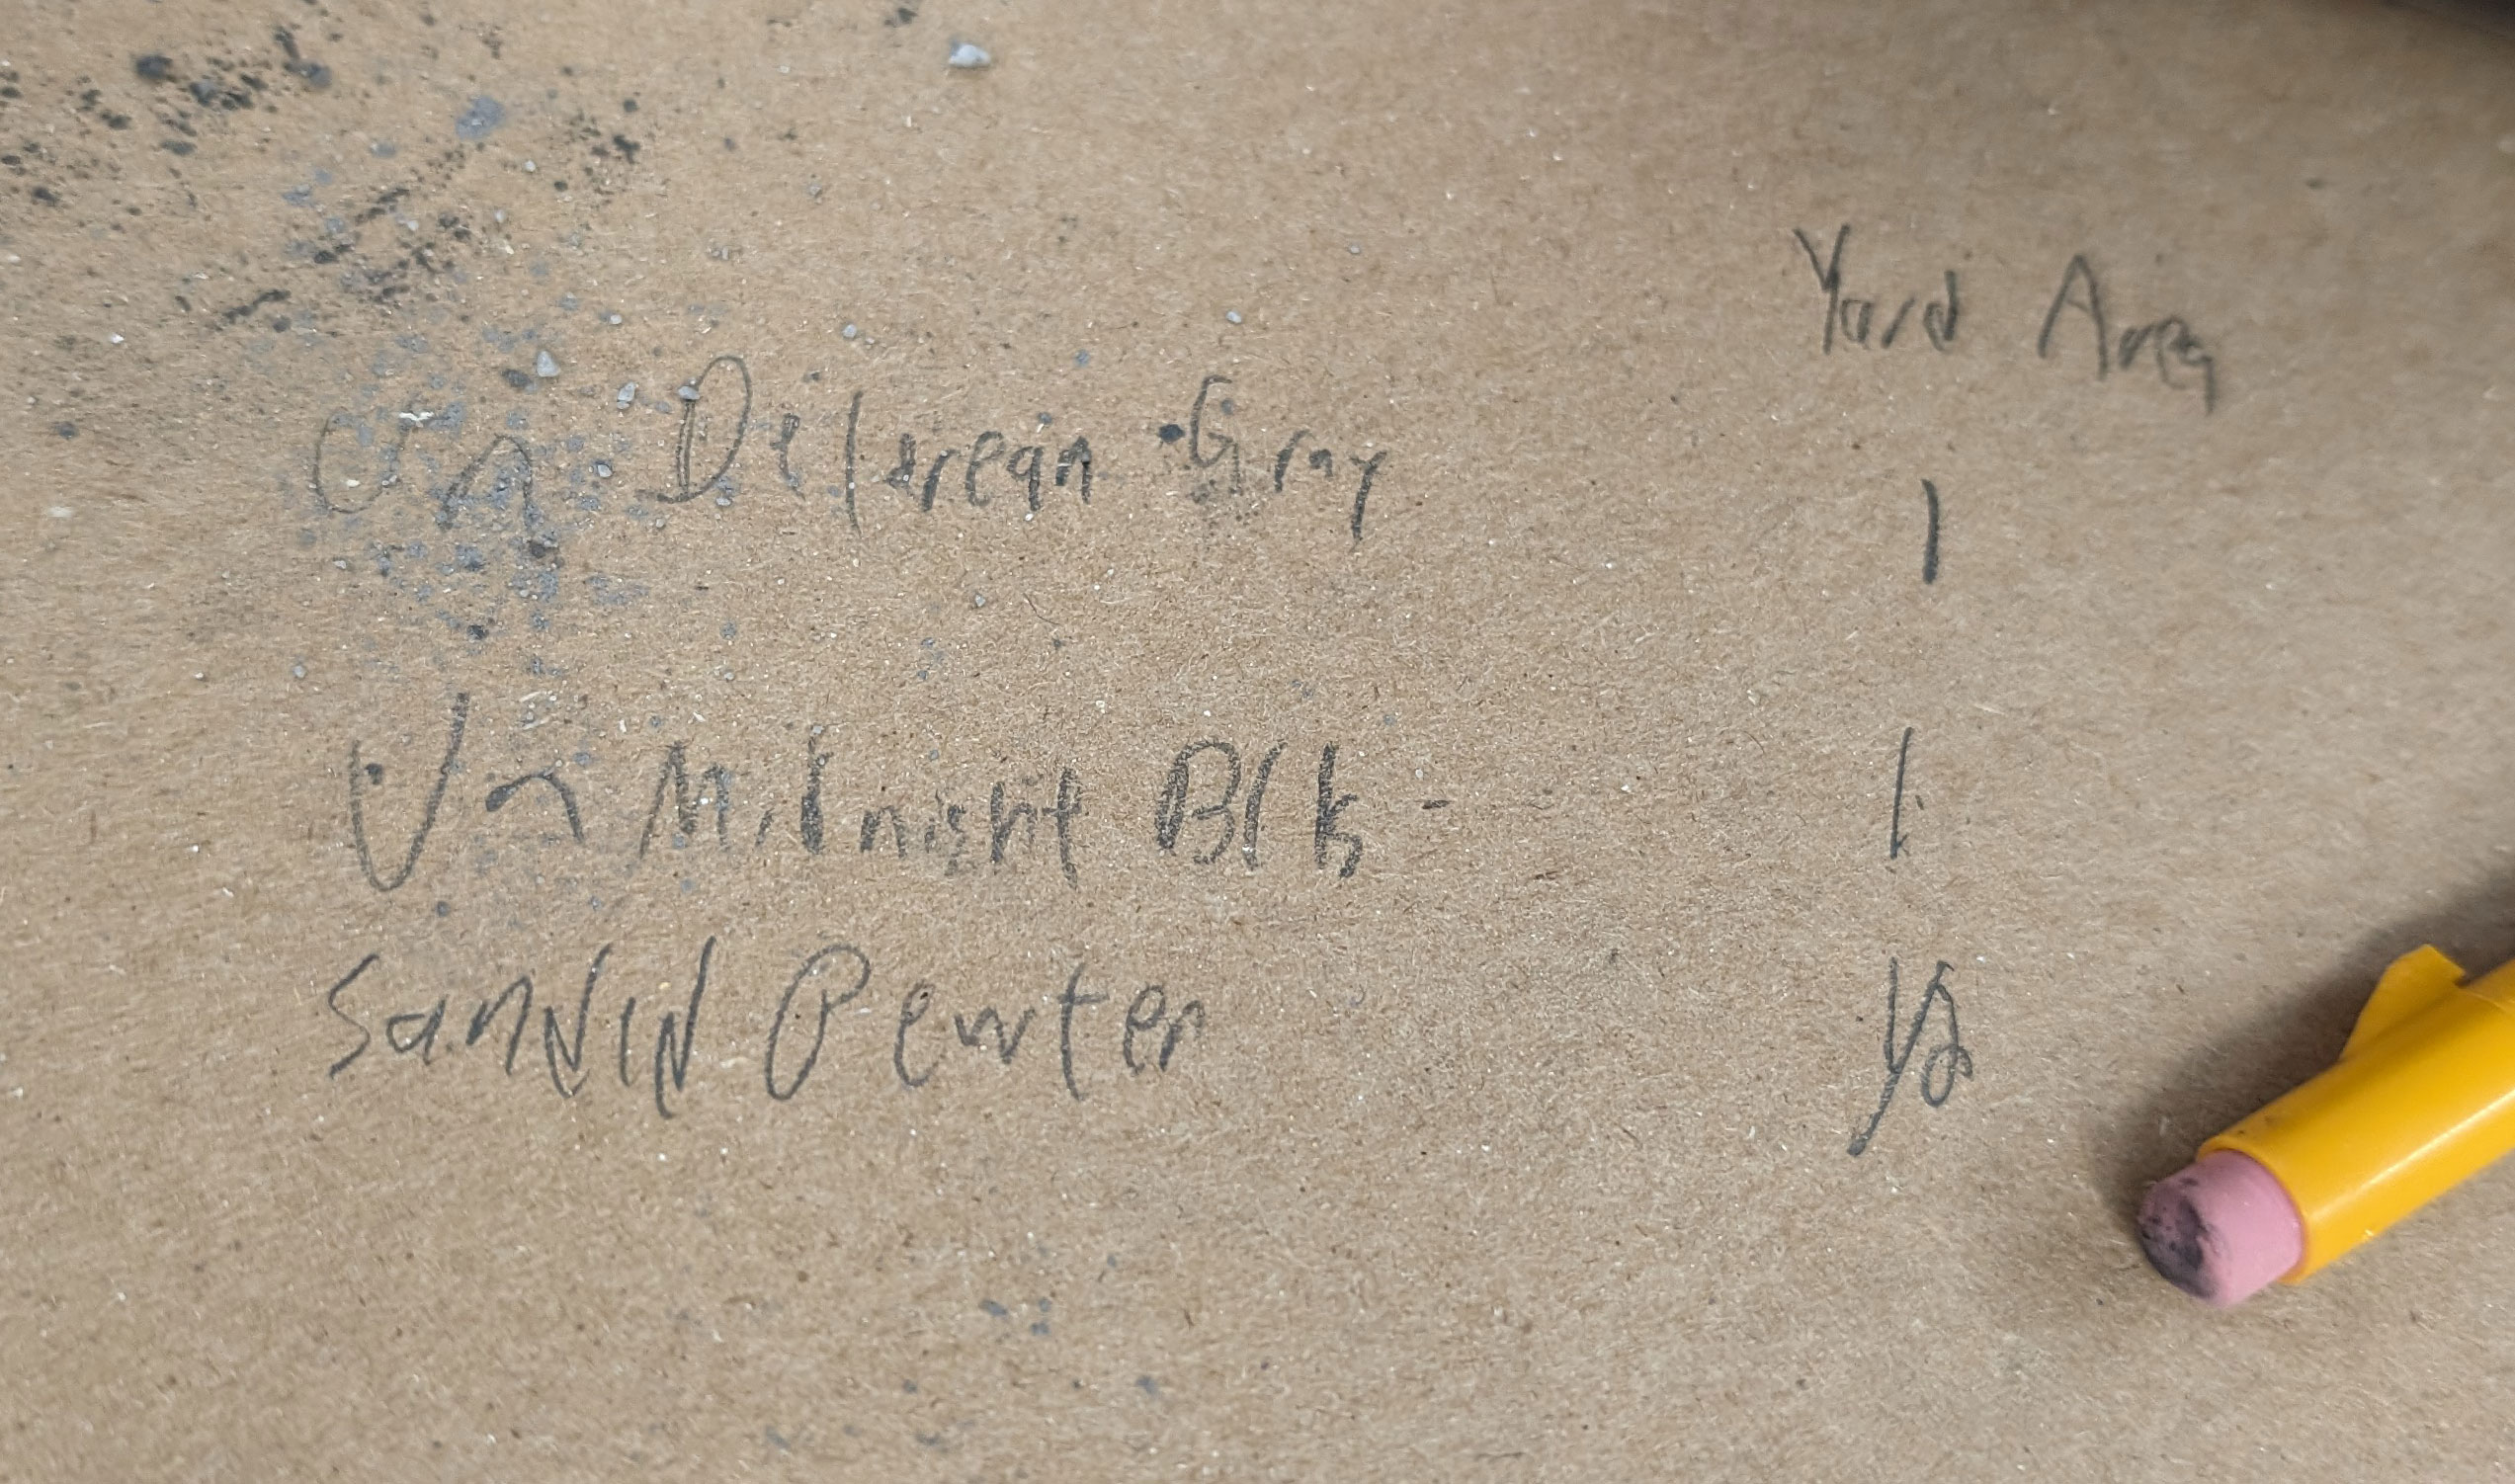
Purchase and blend grout accordingly. If you make a custom mix it’s handy to record it. I use “parts” as my standard of measurement so I can easily recreate the mix in whatever volume I need.
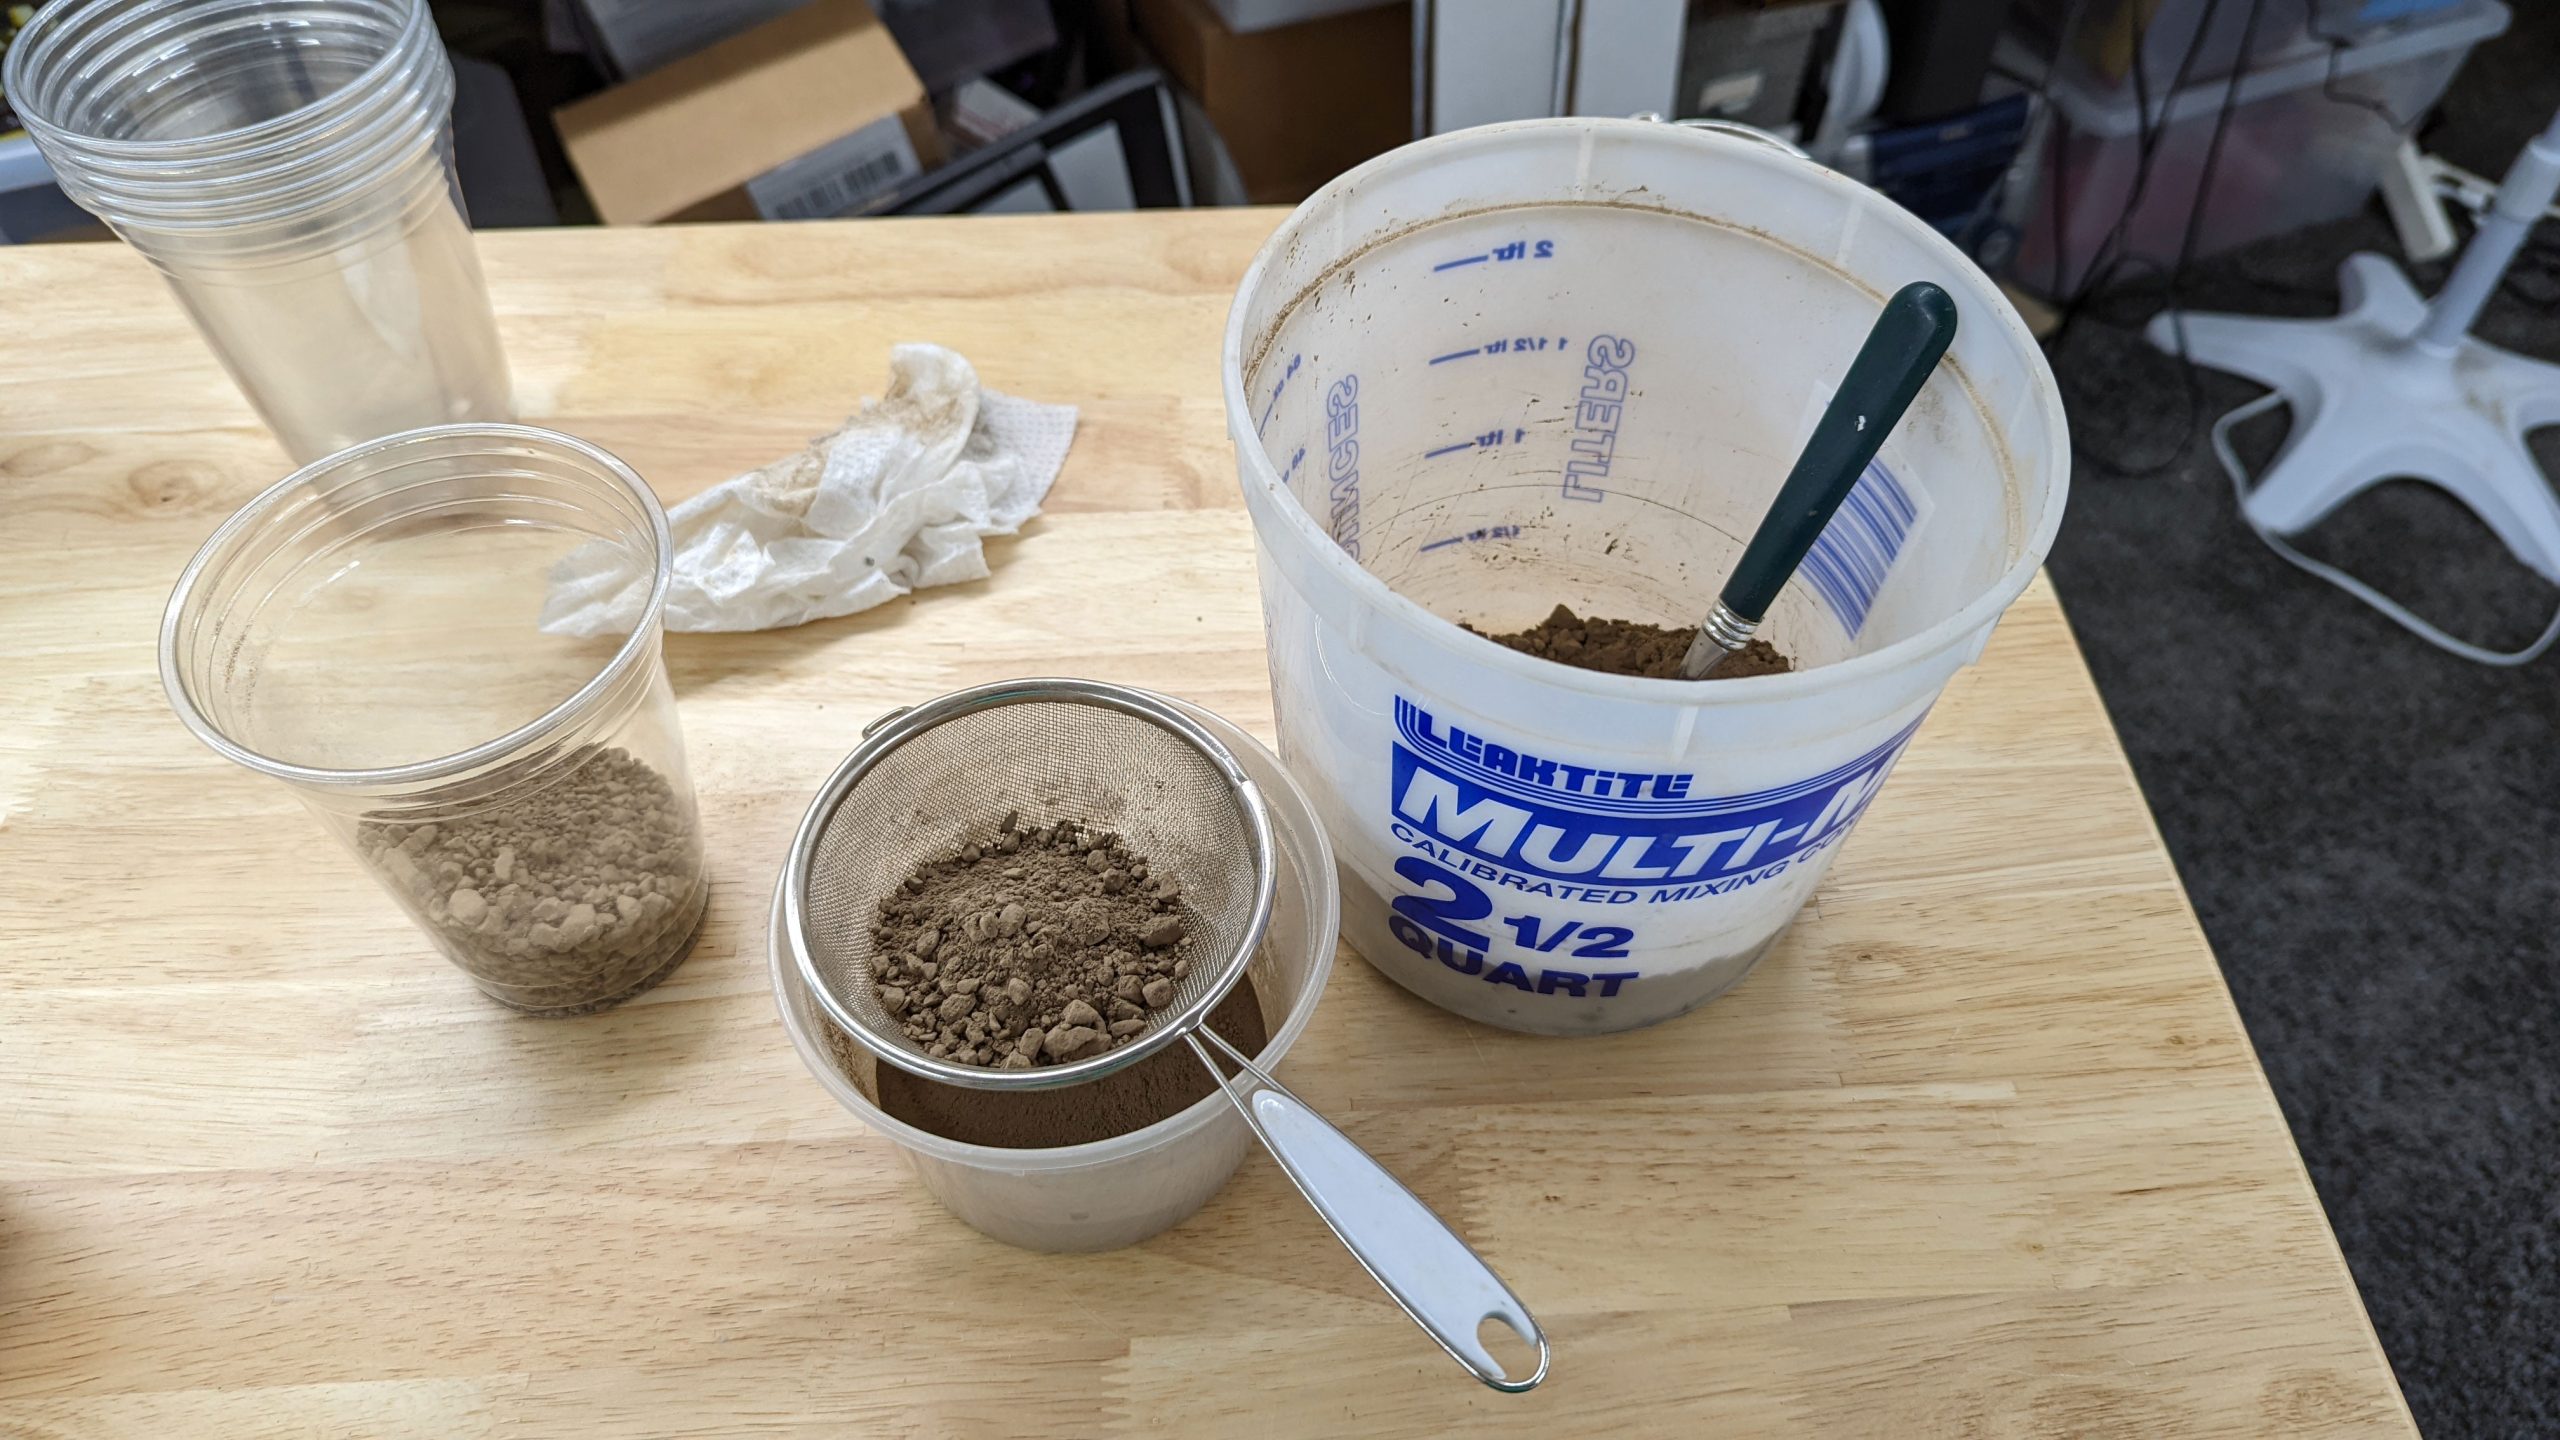
If it’s been sitting for a while in a place with some humidity it’s possible that it might have developed some lumps. These lumps do not easily disappear through application so it’s a good idea to deal with them before you go any further. I do this using a spoon and one of my cheap sifters.
I start on the layout by making sure I’ve got a smooth enough surface. This technique means that lots of underlying imperfections can show through, so you want to make sure your lightweight spackle (or whatever you use) has been smoothed and sanded.
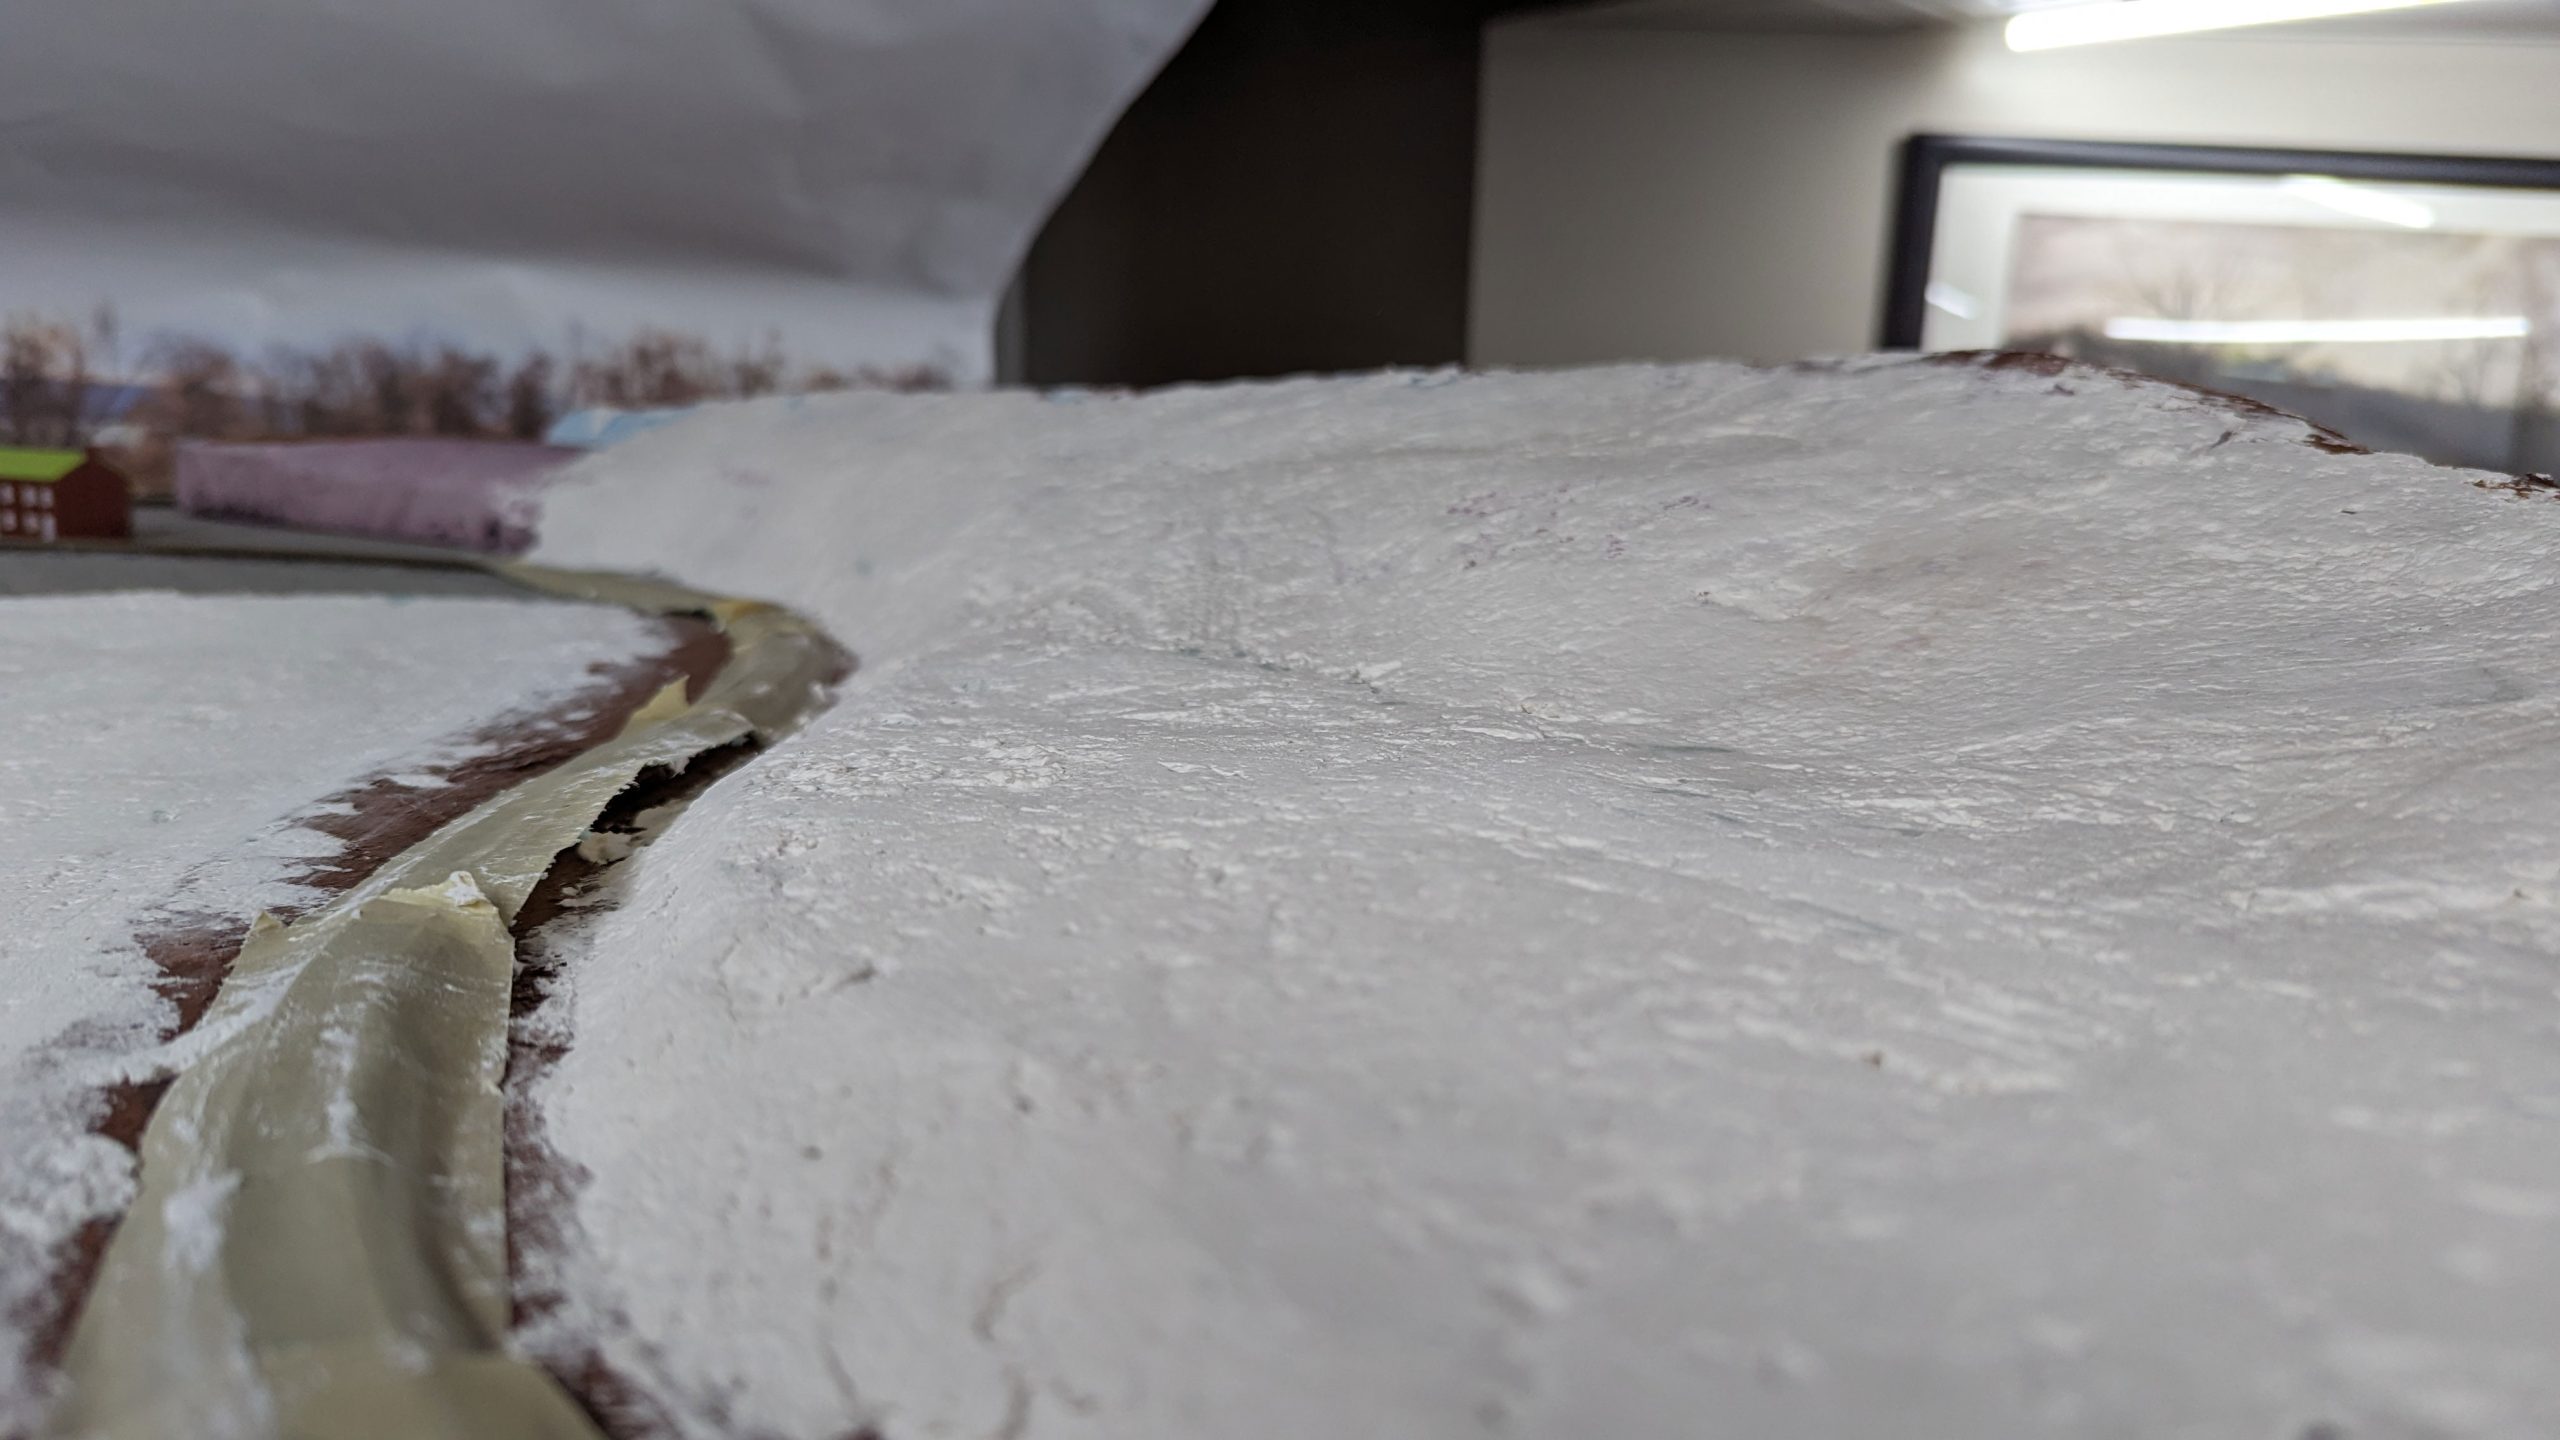
The above photo shows an example of what I’d consider just on the edge of acceptability. If it wasn’t a temporary part of the layout I’d have probably given it another coat.
You’ll also notice that I masked off the track with tape. This is a good idea when you’re working with messy stuff, but especially when dealing with grout.
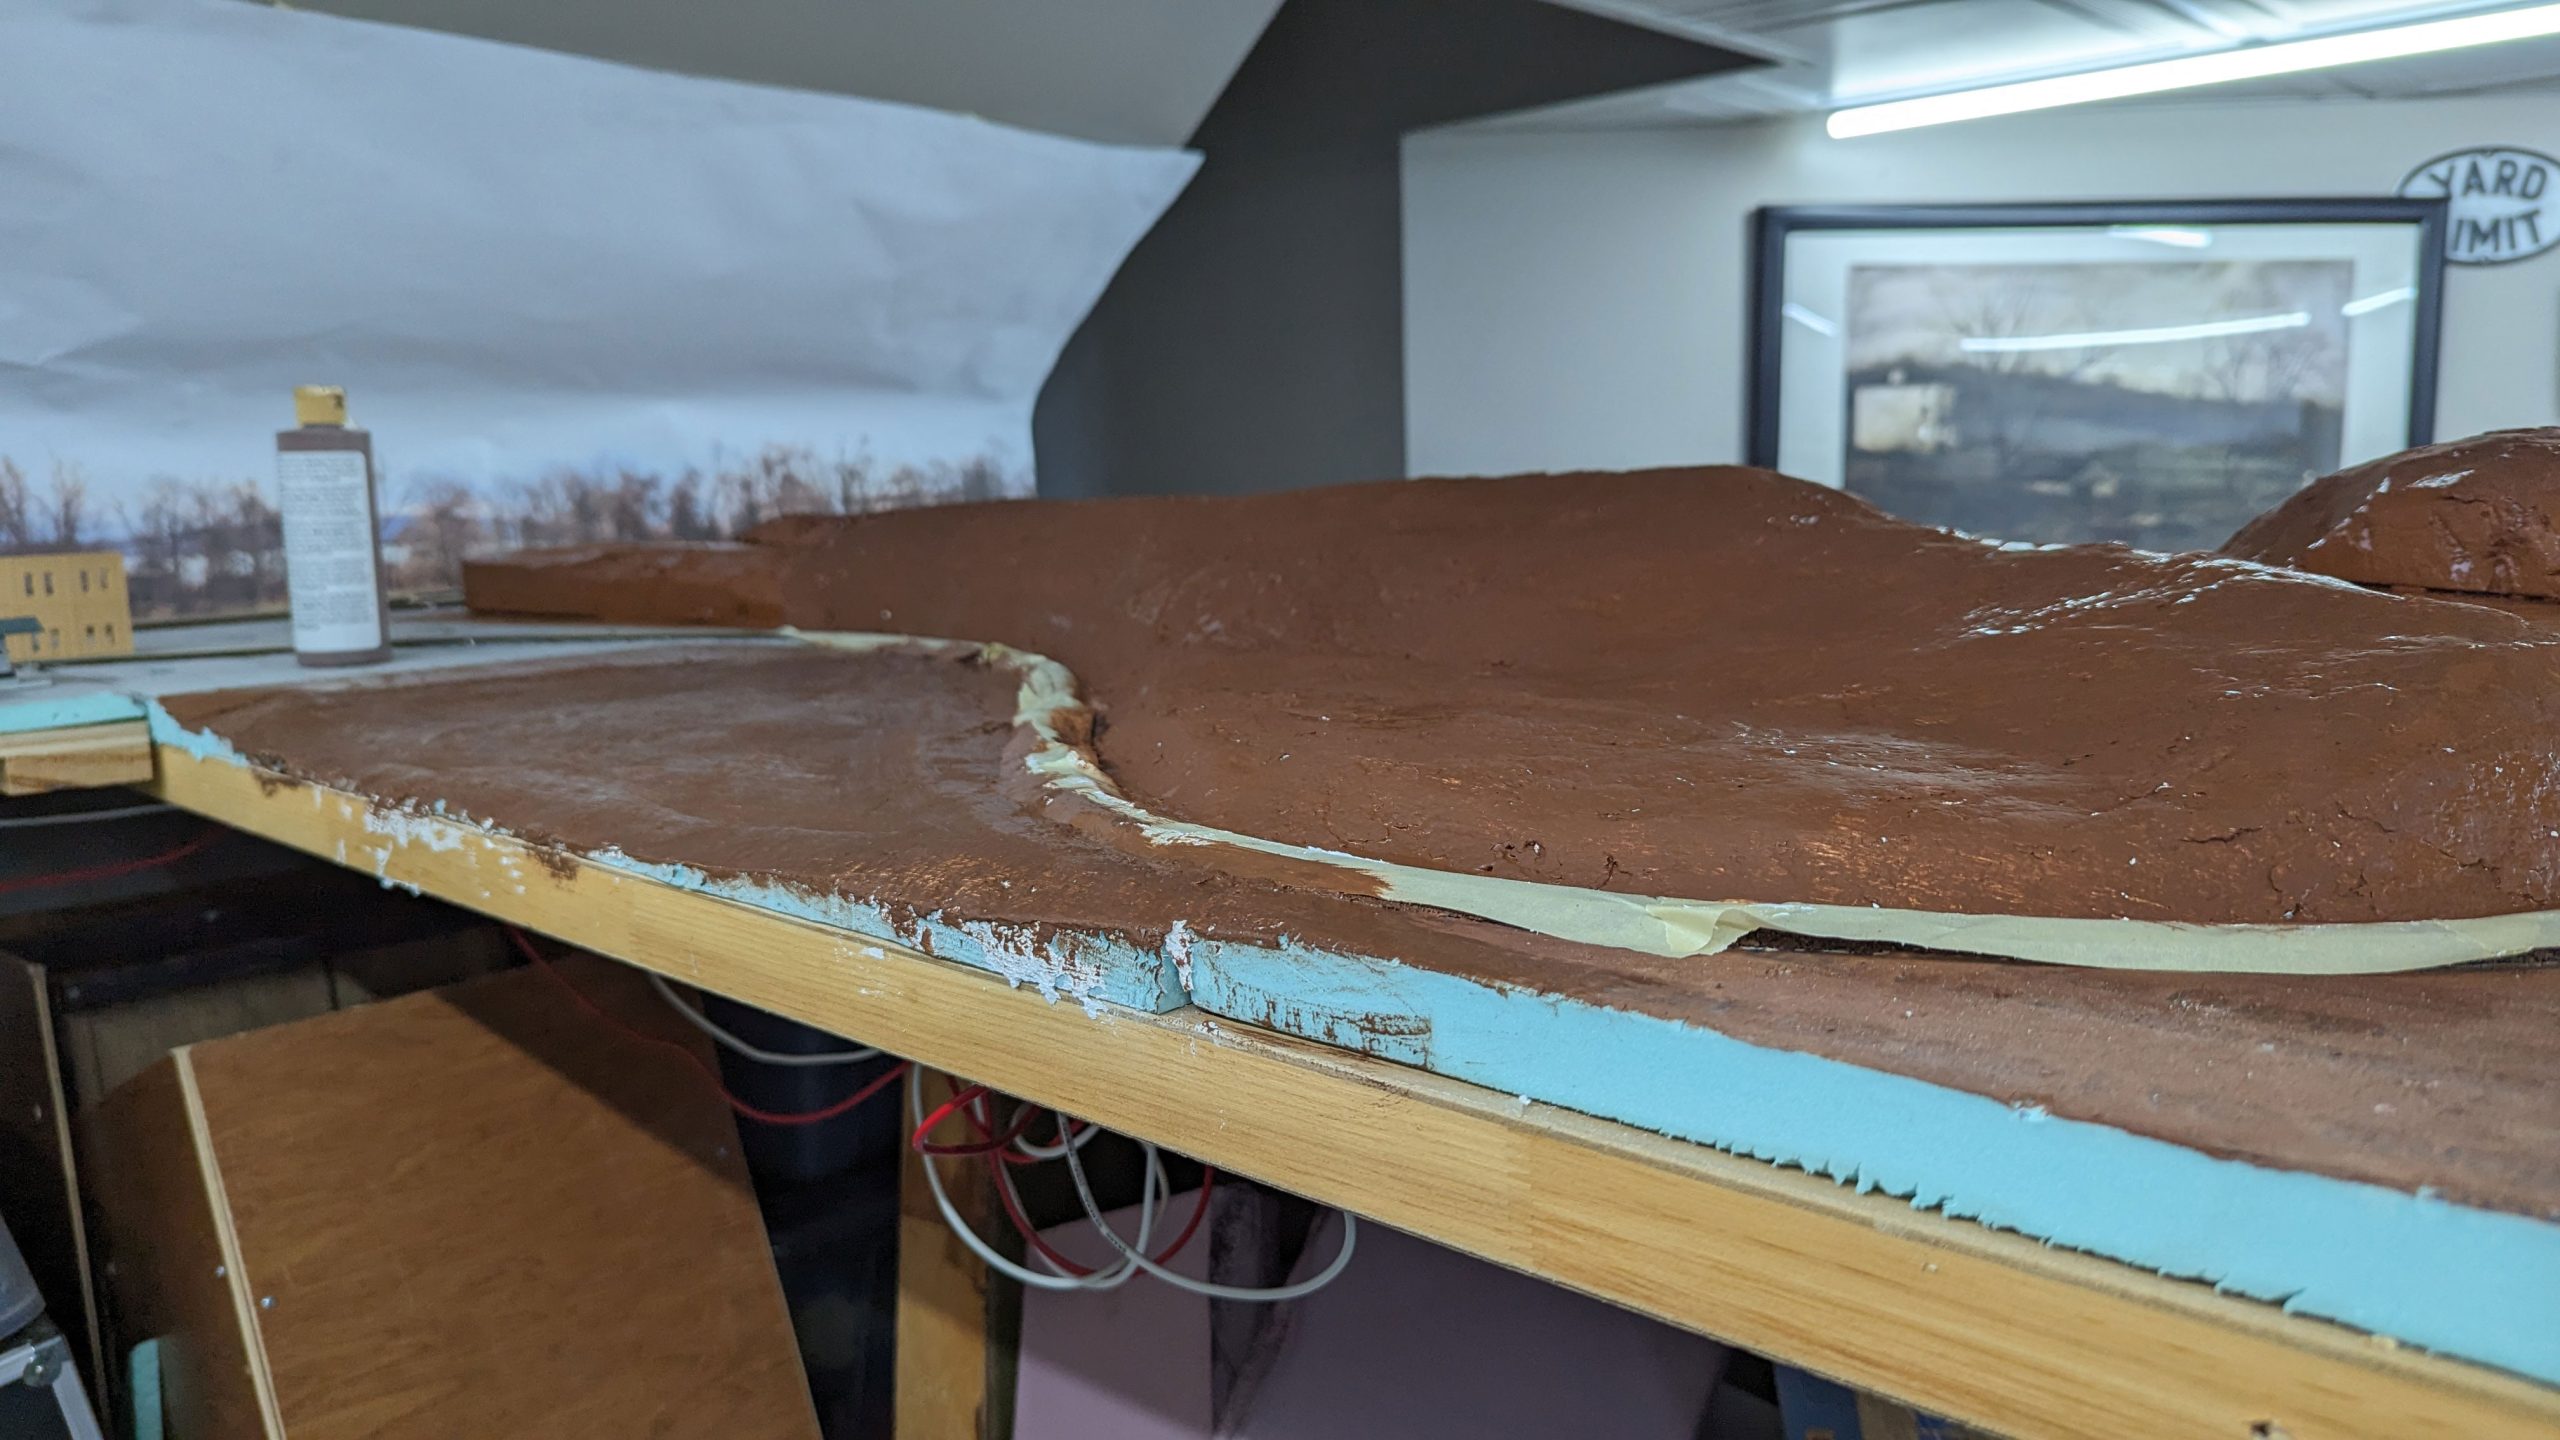
The next steps are to apply something sticky to the surface. I like to use a mix of craft paint and white glue for this purpose. You don’t have to be precious with it, usually I squirt on some of both and use the paint brush to get a nice layer on. If you’re working with a large area it might make sense to do it in sections, just leave an area of ungrouted but painted surface at the border. You don’t really want to pick up grout in your paint as you’re applying more although it’s not a huge problem if you do.
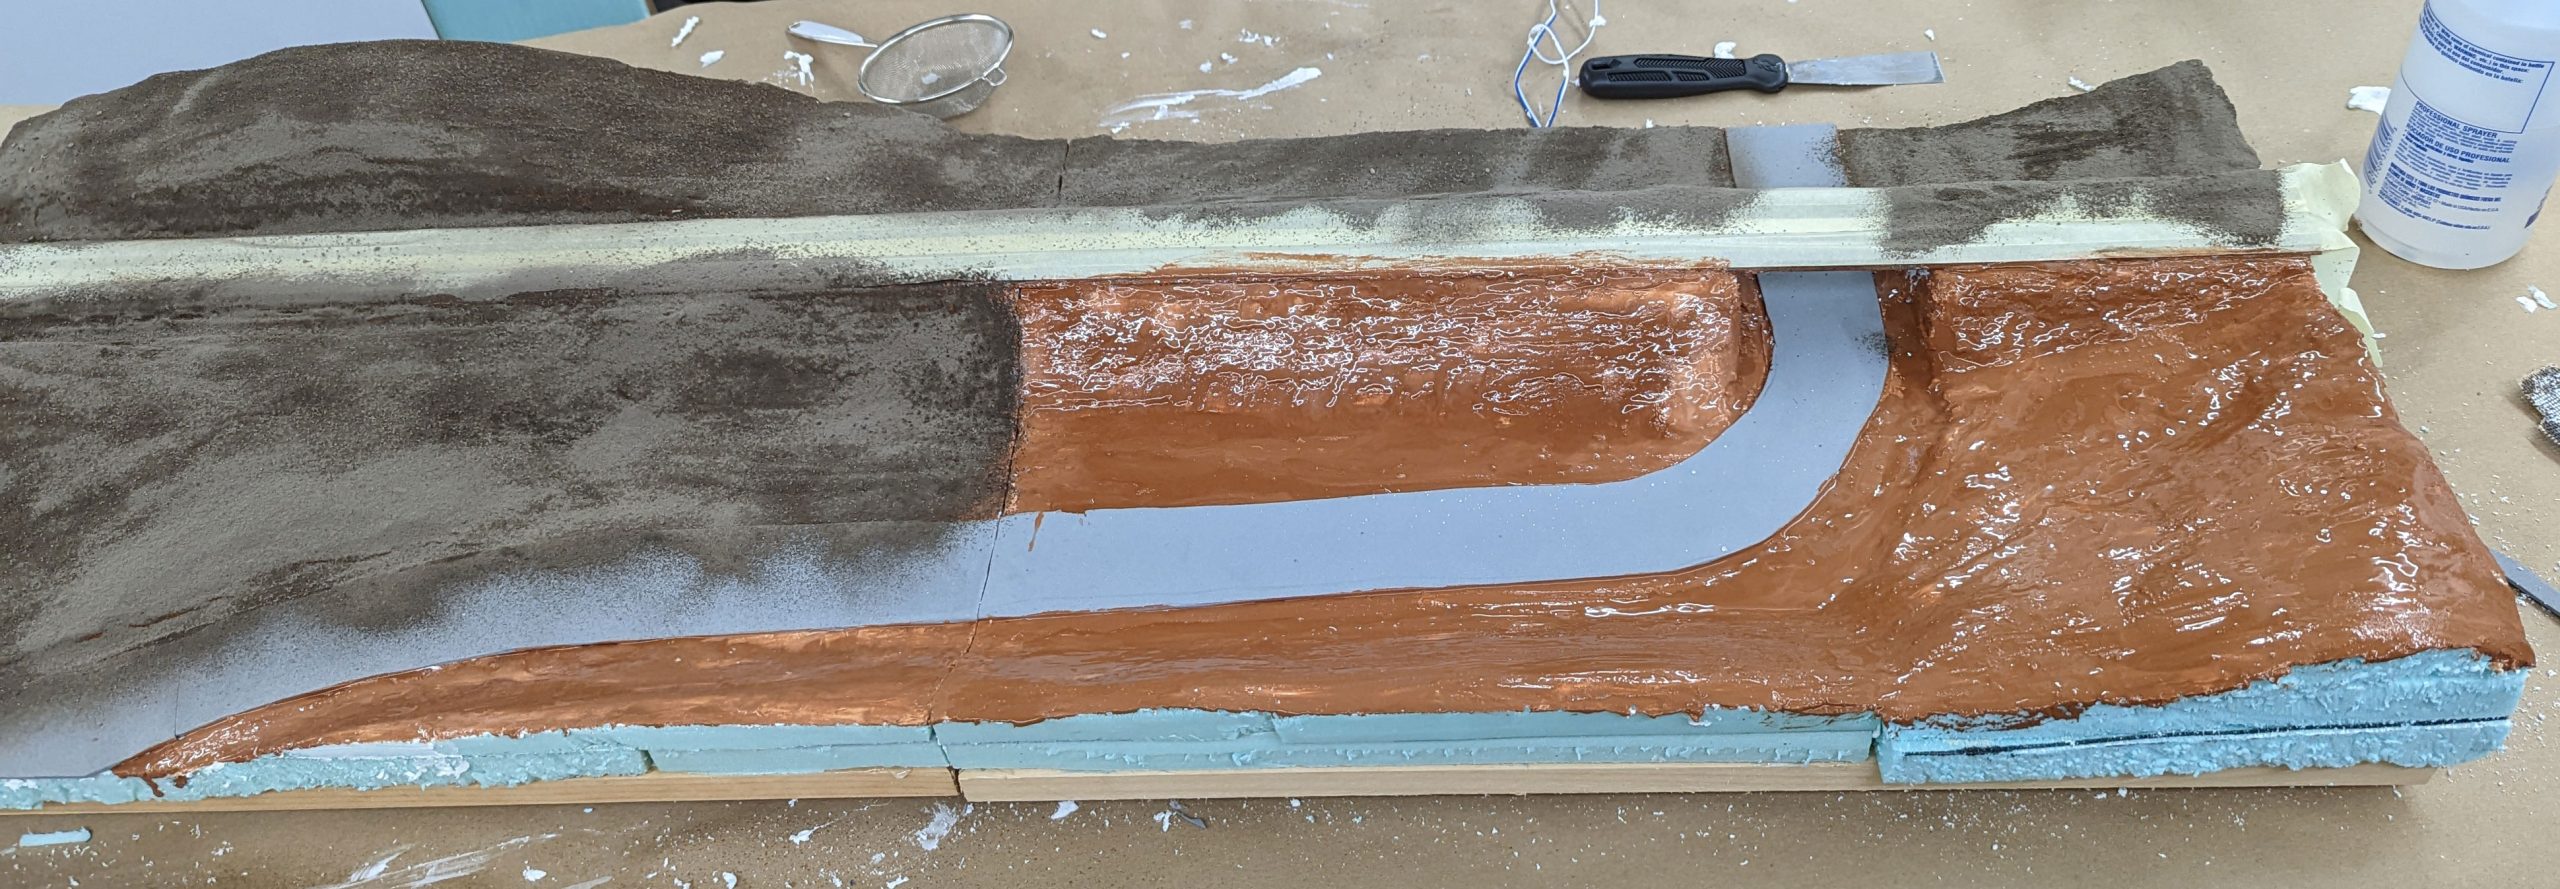
Once you’ve got a nice tacky layer for the grout to stick to down, it’s time to sift it on. I use a combination of an ancient spoon (one of the ones I took to college with me, amusingly) and a sifter. I hold the sifter over my grout container, fill it with some grout, then gently sift it onto the layout from about 6″-12″ above it, depending on the size of the area I’m working on. In the photo below you can see some already grouted areas and an area that has just had a layer of paint and glue applied.
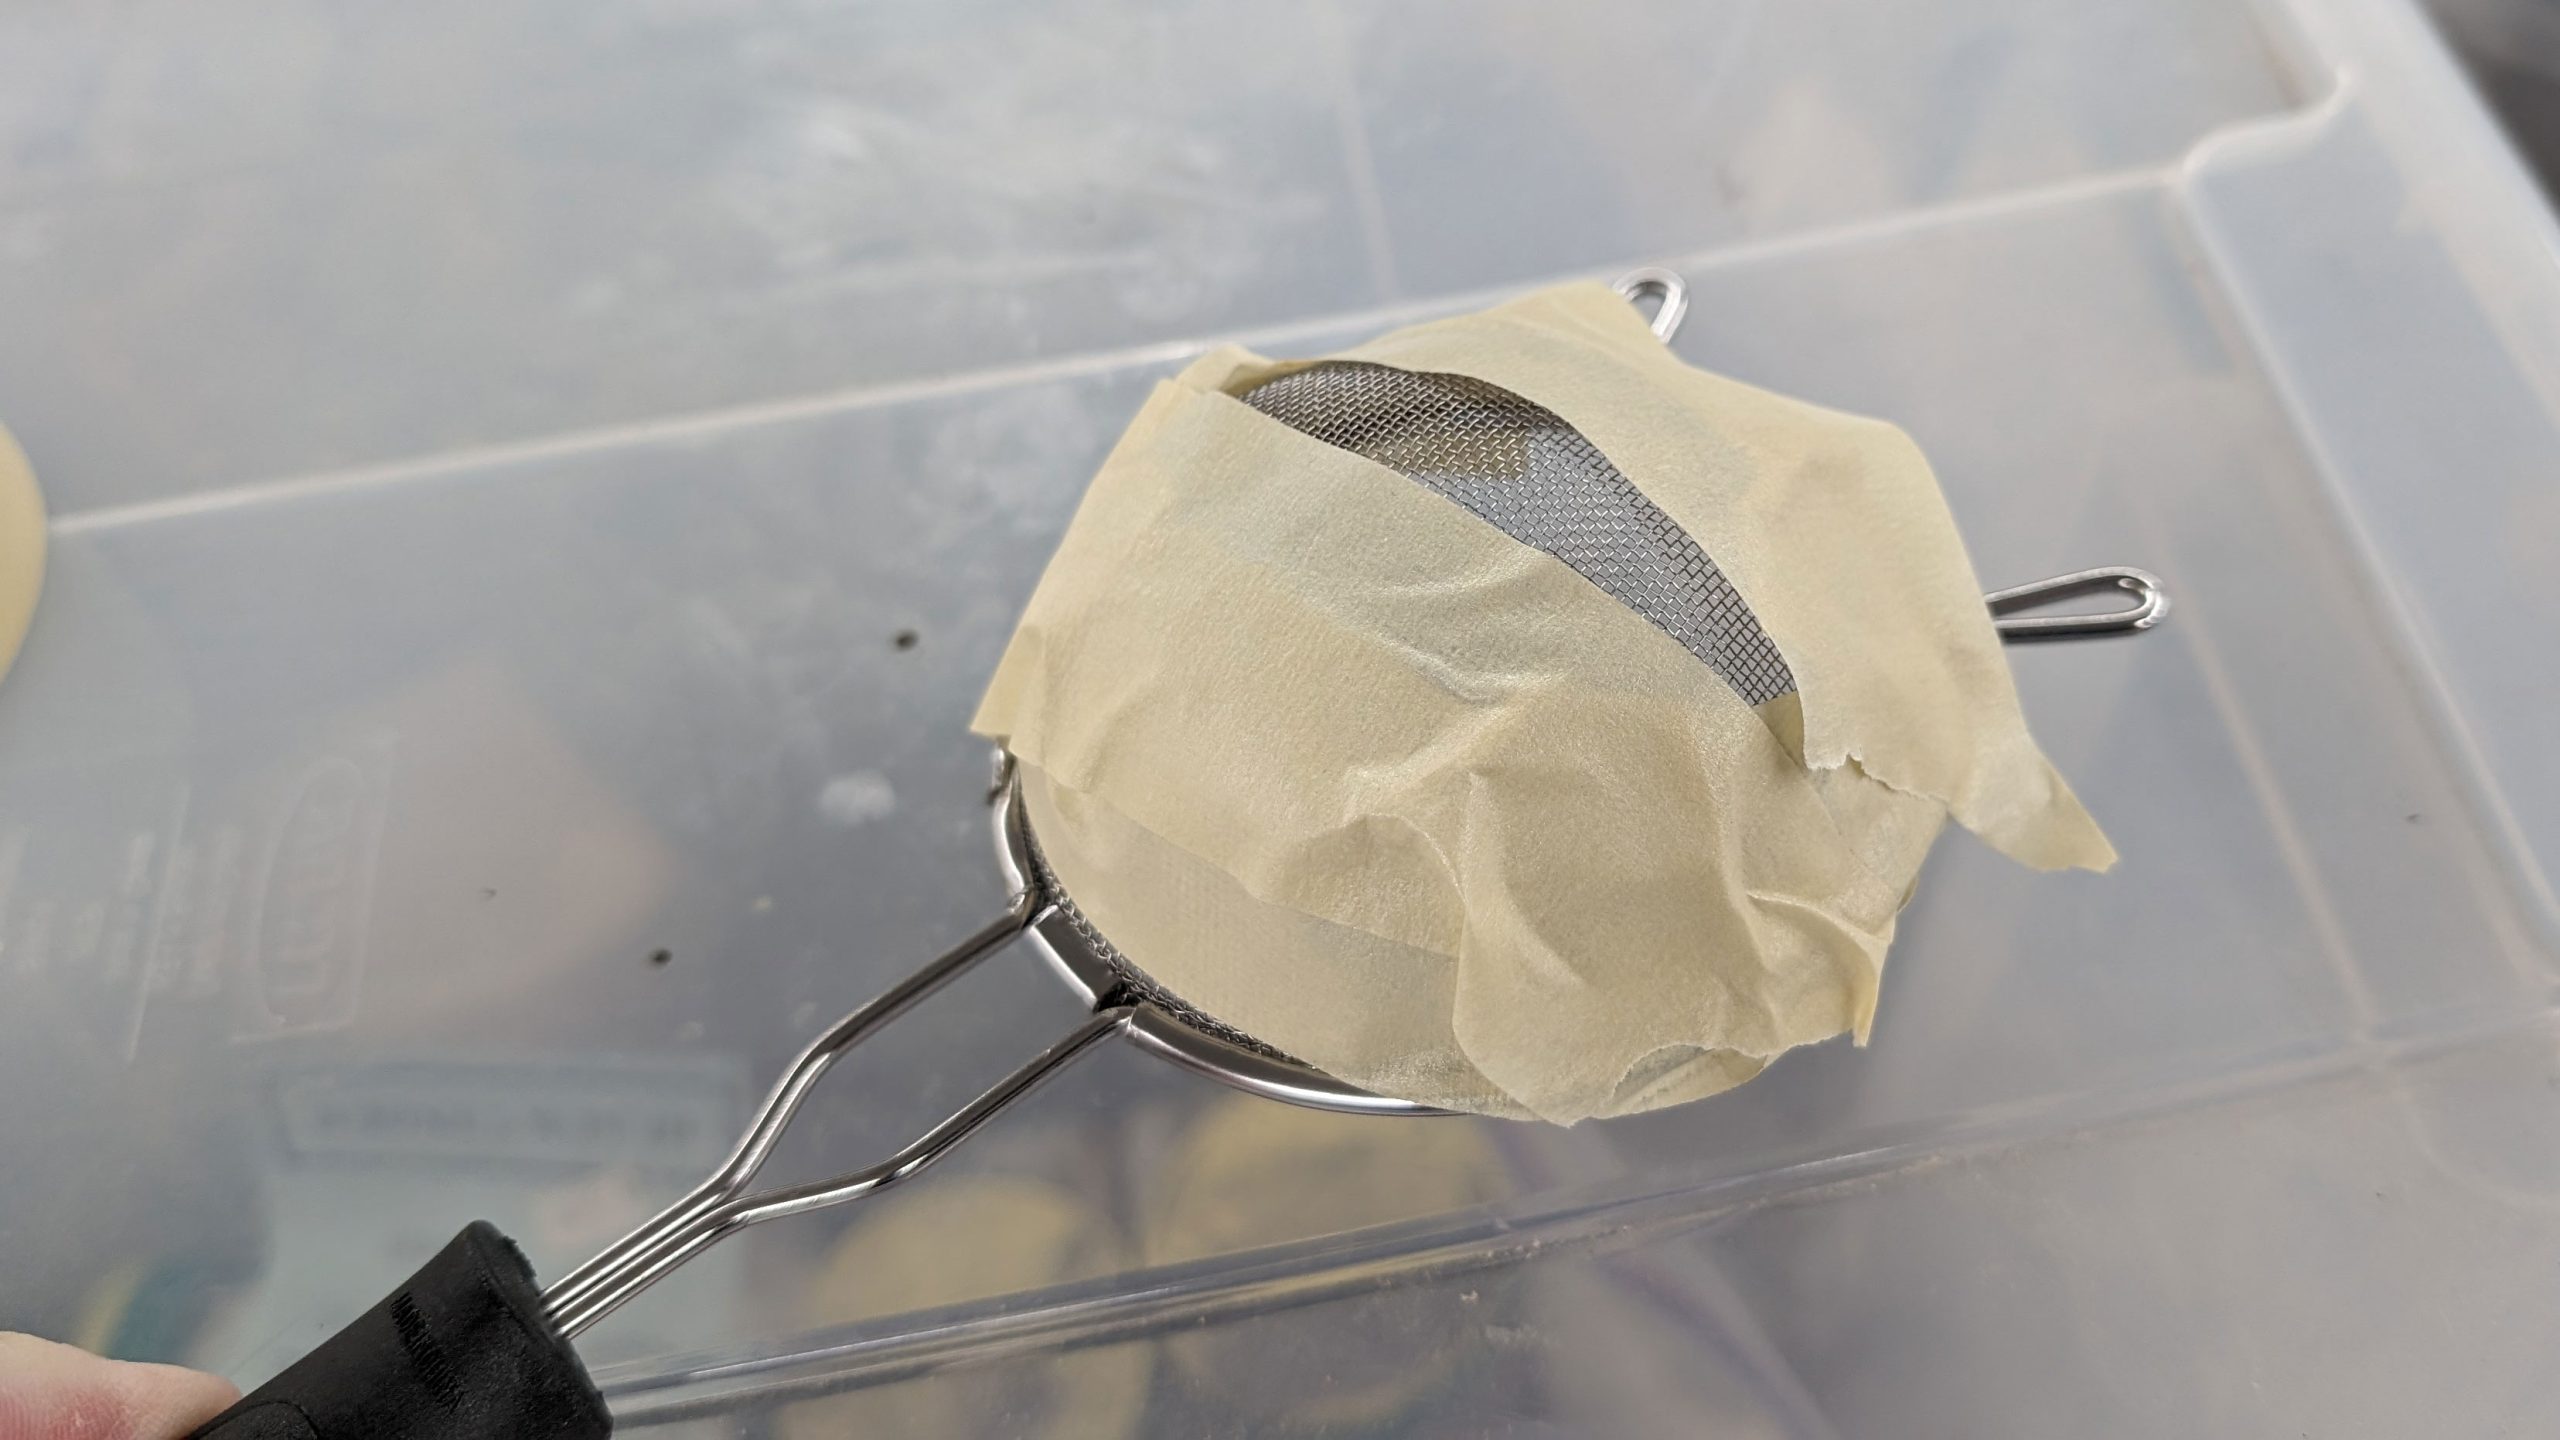
I have a regular strainer for large areas and a specially modified one for areas where I need better control. It may look somewhat sketchy but it does a surprisingly good job.
While sprinkling, also think about catching any “overspray” for reuse. Grout may be cheap but it isn’t free.
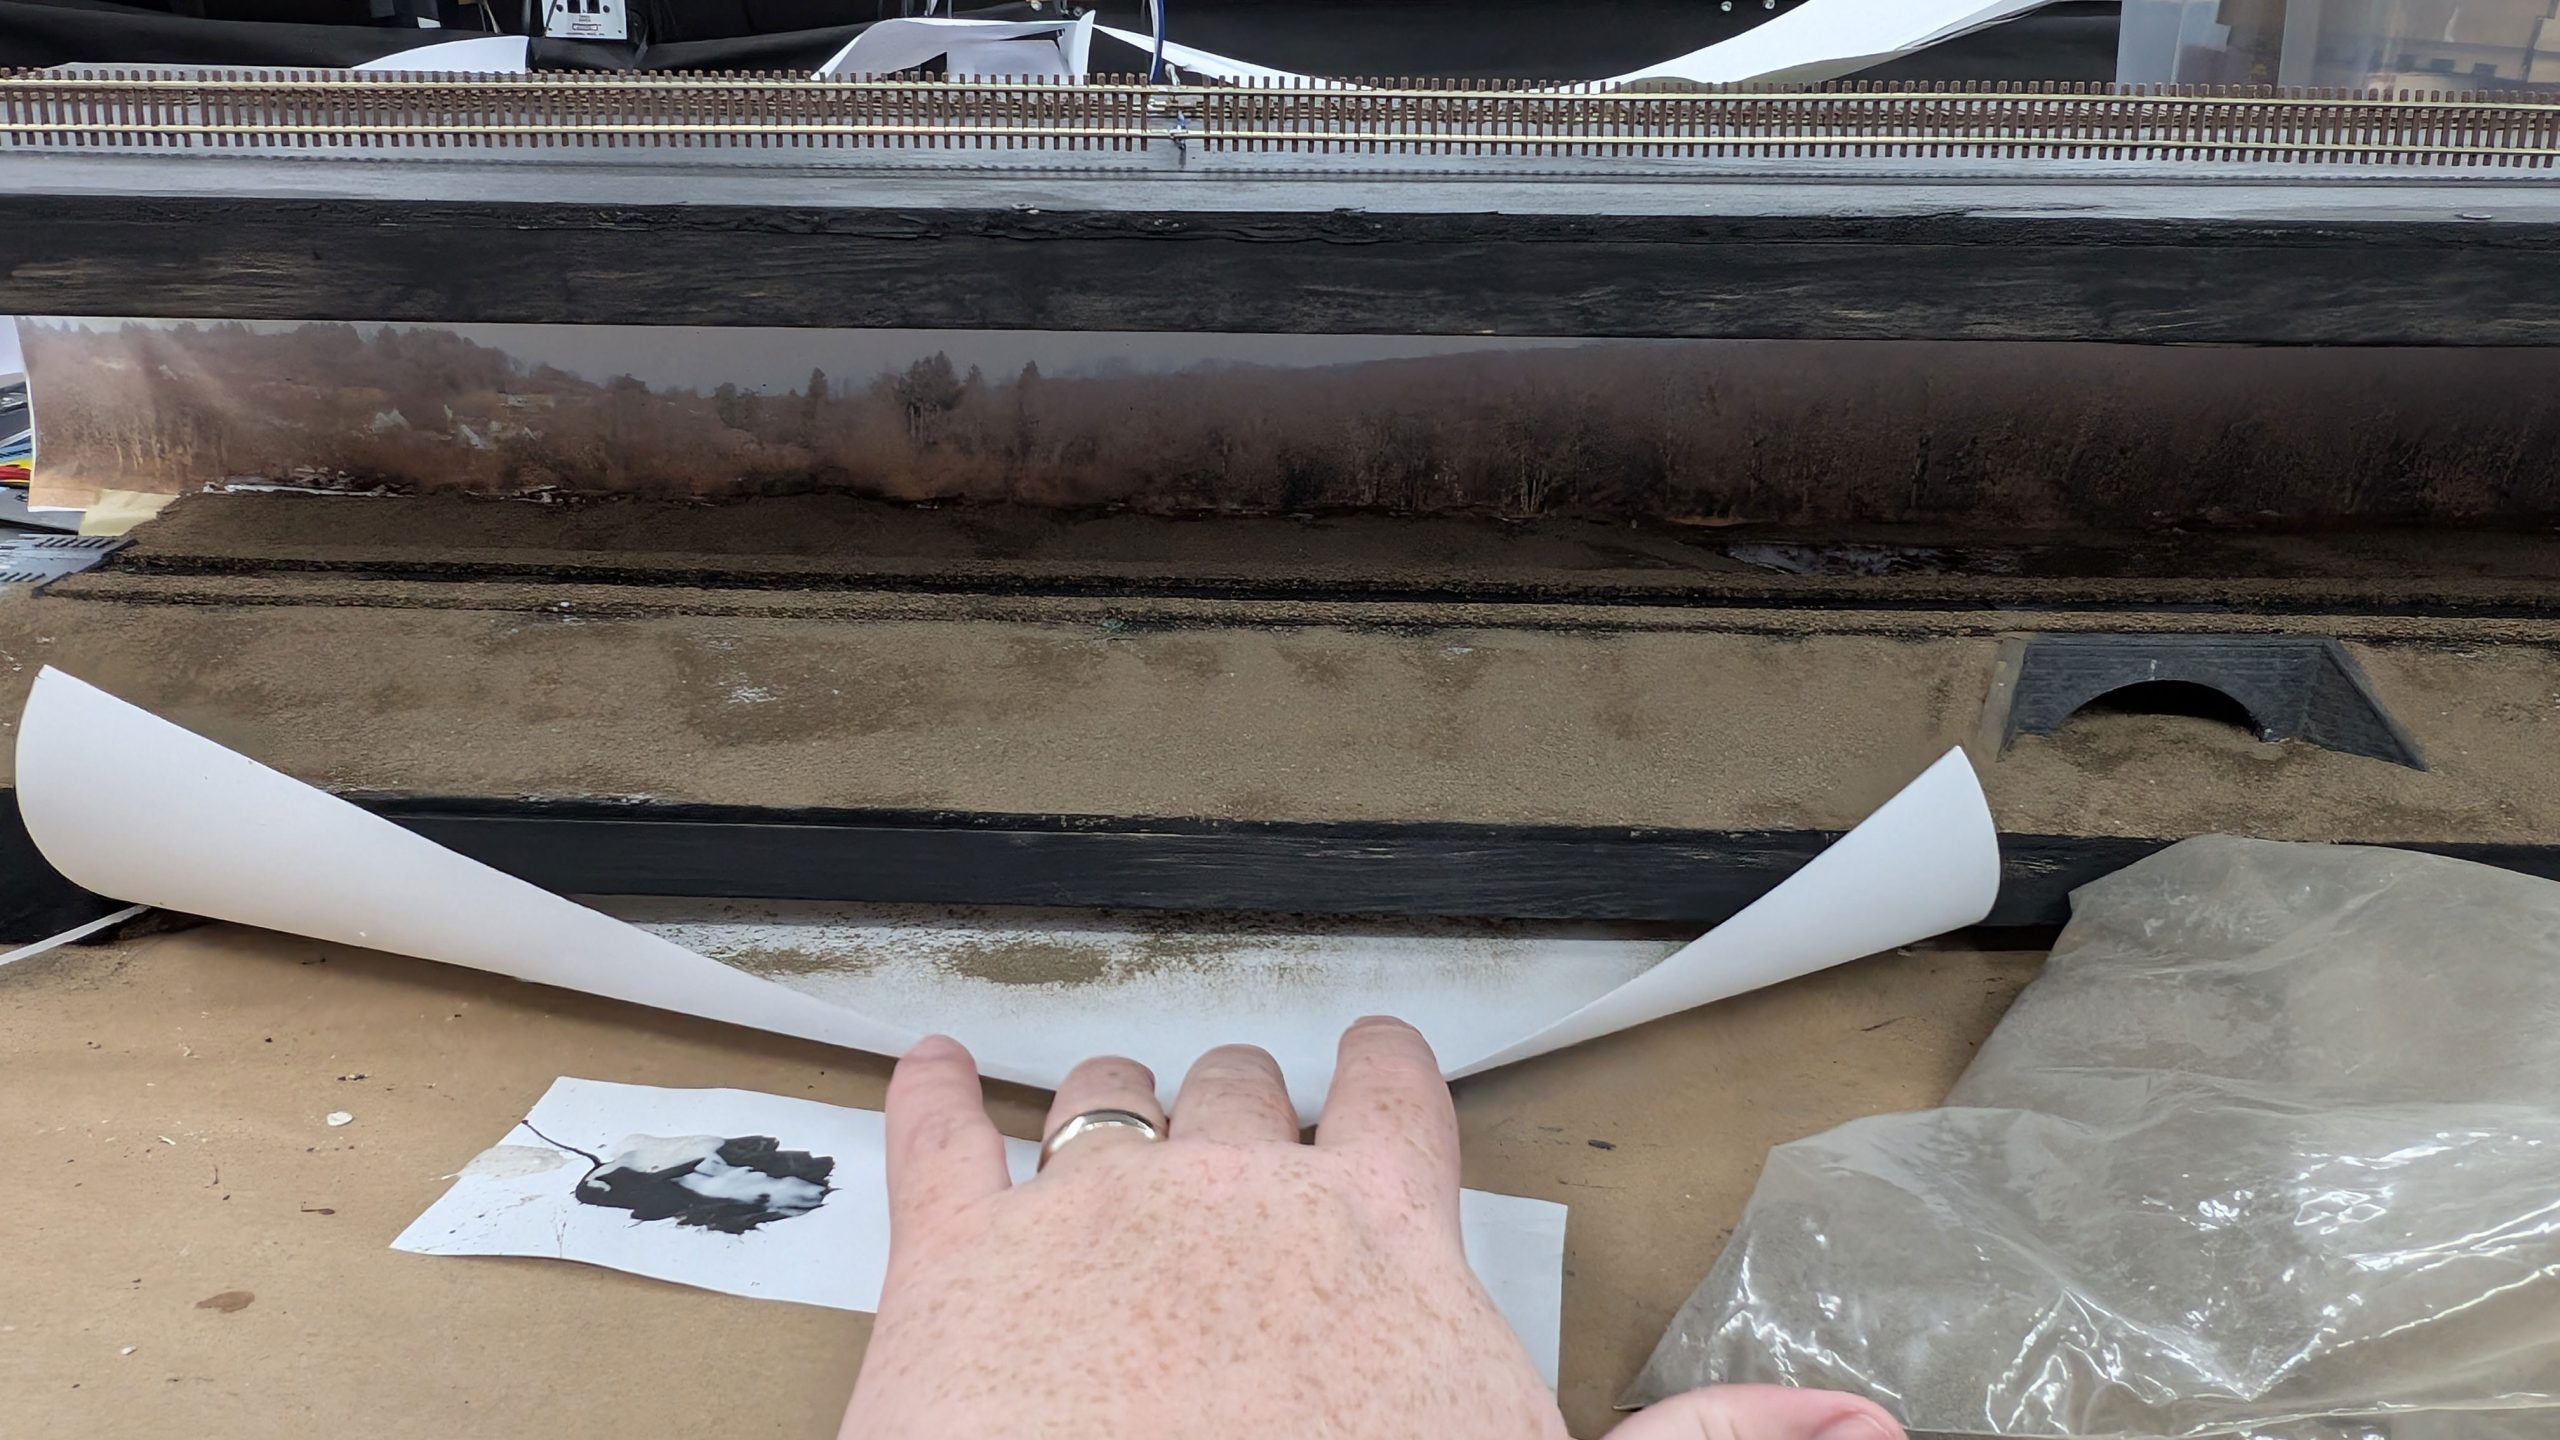
After you’ve sprinkled on a coat of grout you should let it dry. You’ll likely see some areas where the underlying color has soaked through but plenty of areas where it hasn’t. In those situations, while it’s still wet, sift some more on to the bled through areas.
After everything is dried thoroughly you want to perform the real secret to getting a properly thin layer and prototypical scale texture: brushing off what’s not glued down. Use a dry chip brush and brush everything that’s not stuck down into some sort of catch bin for future reuse. Note, in the photo below I didn’t wait long enough. Don’t be like me in my 20s that photo.
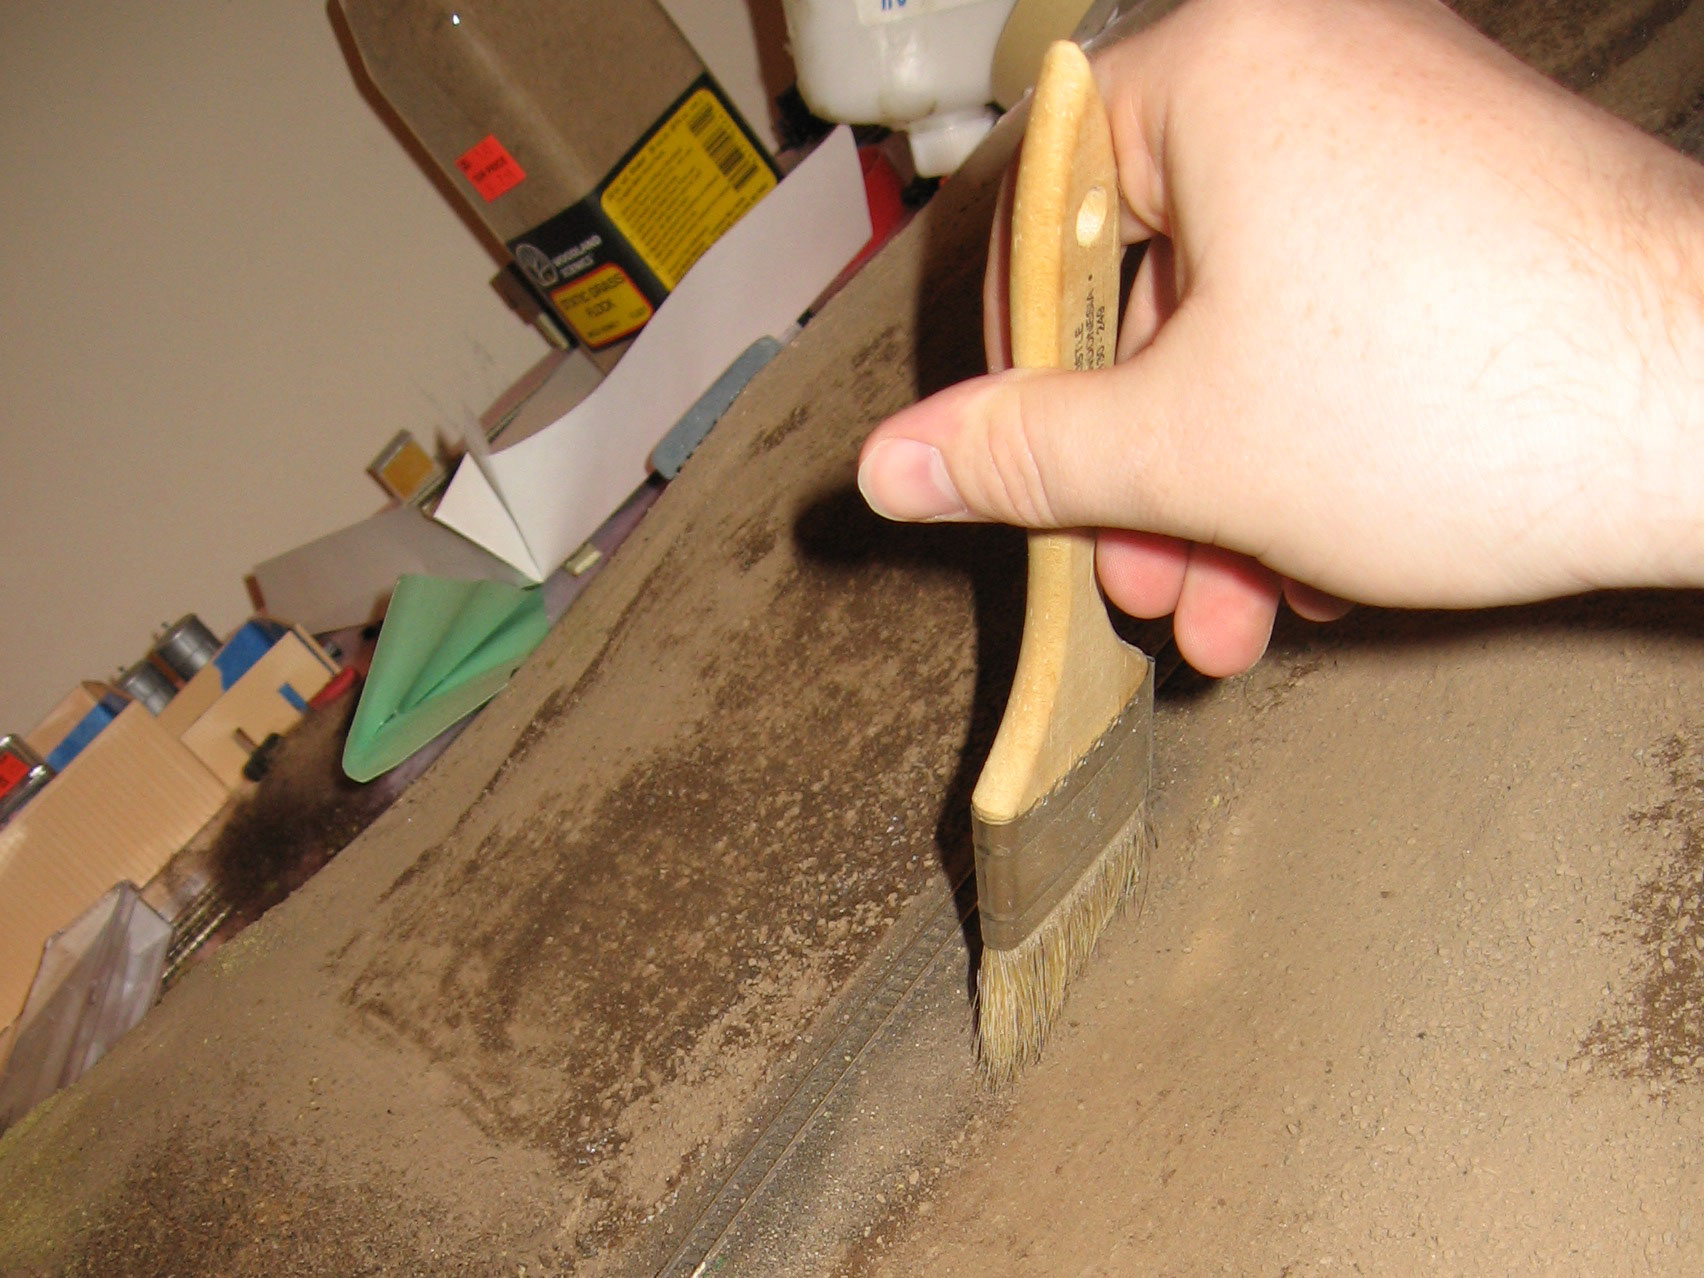
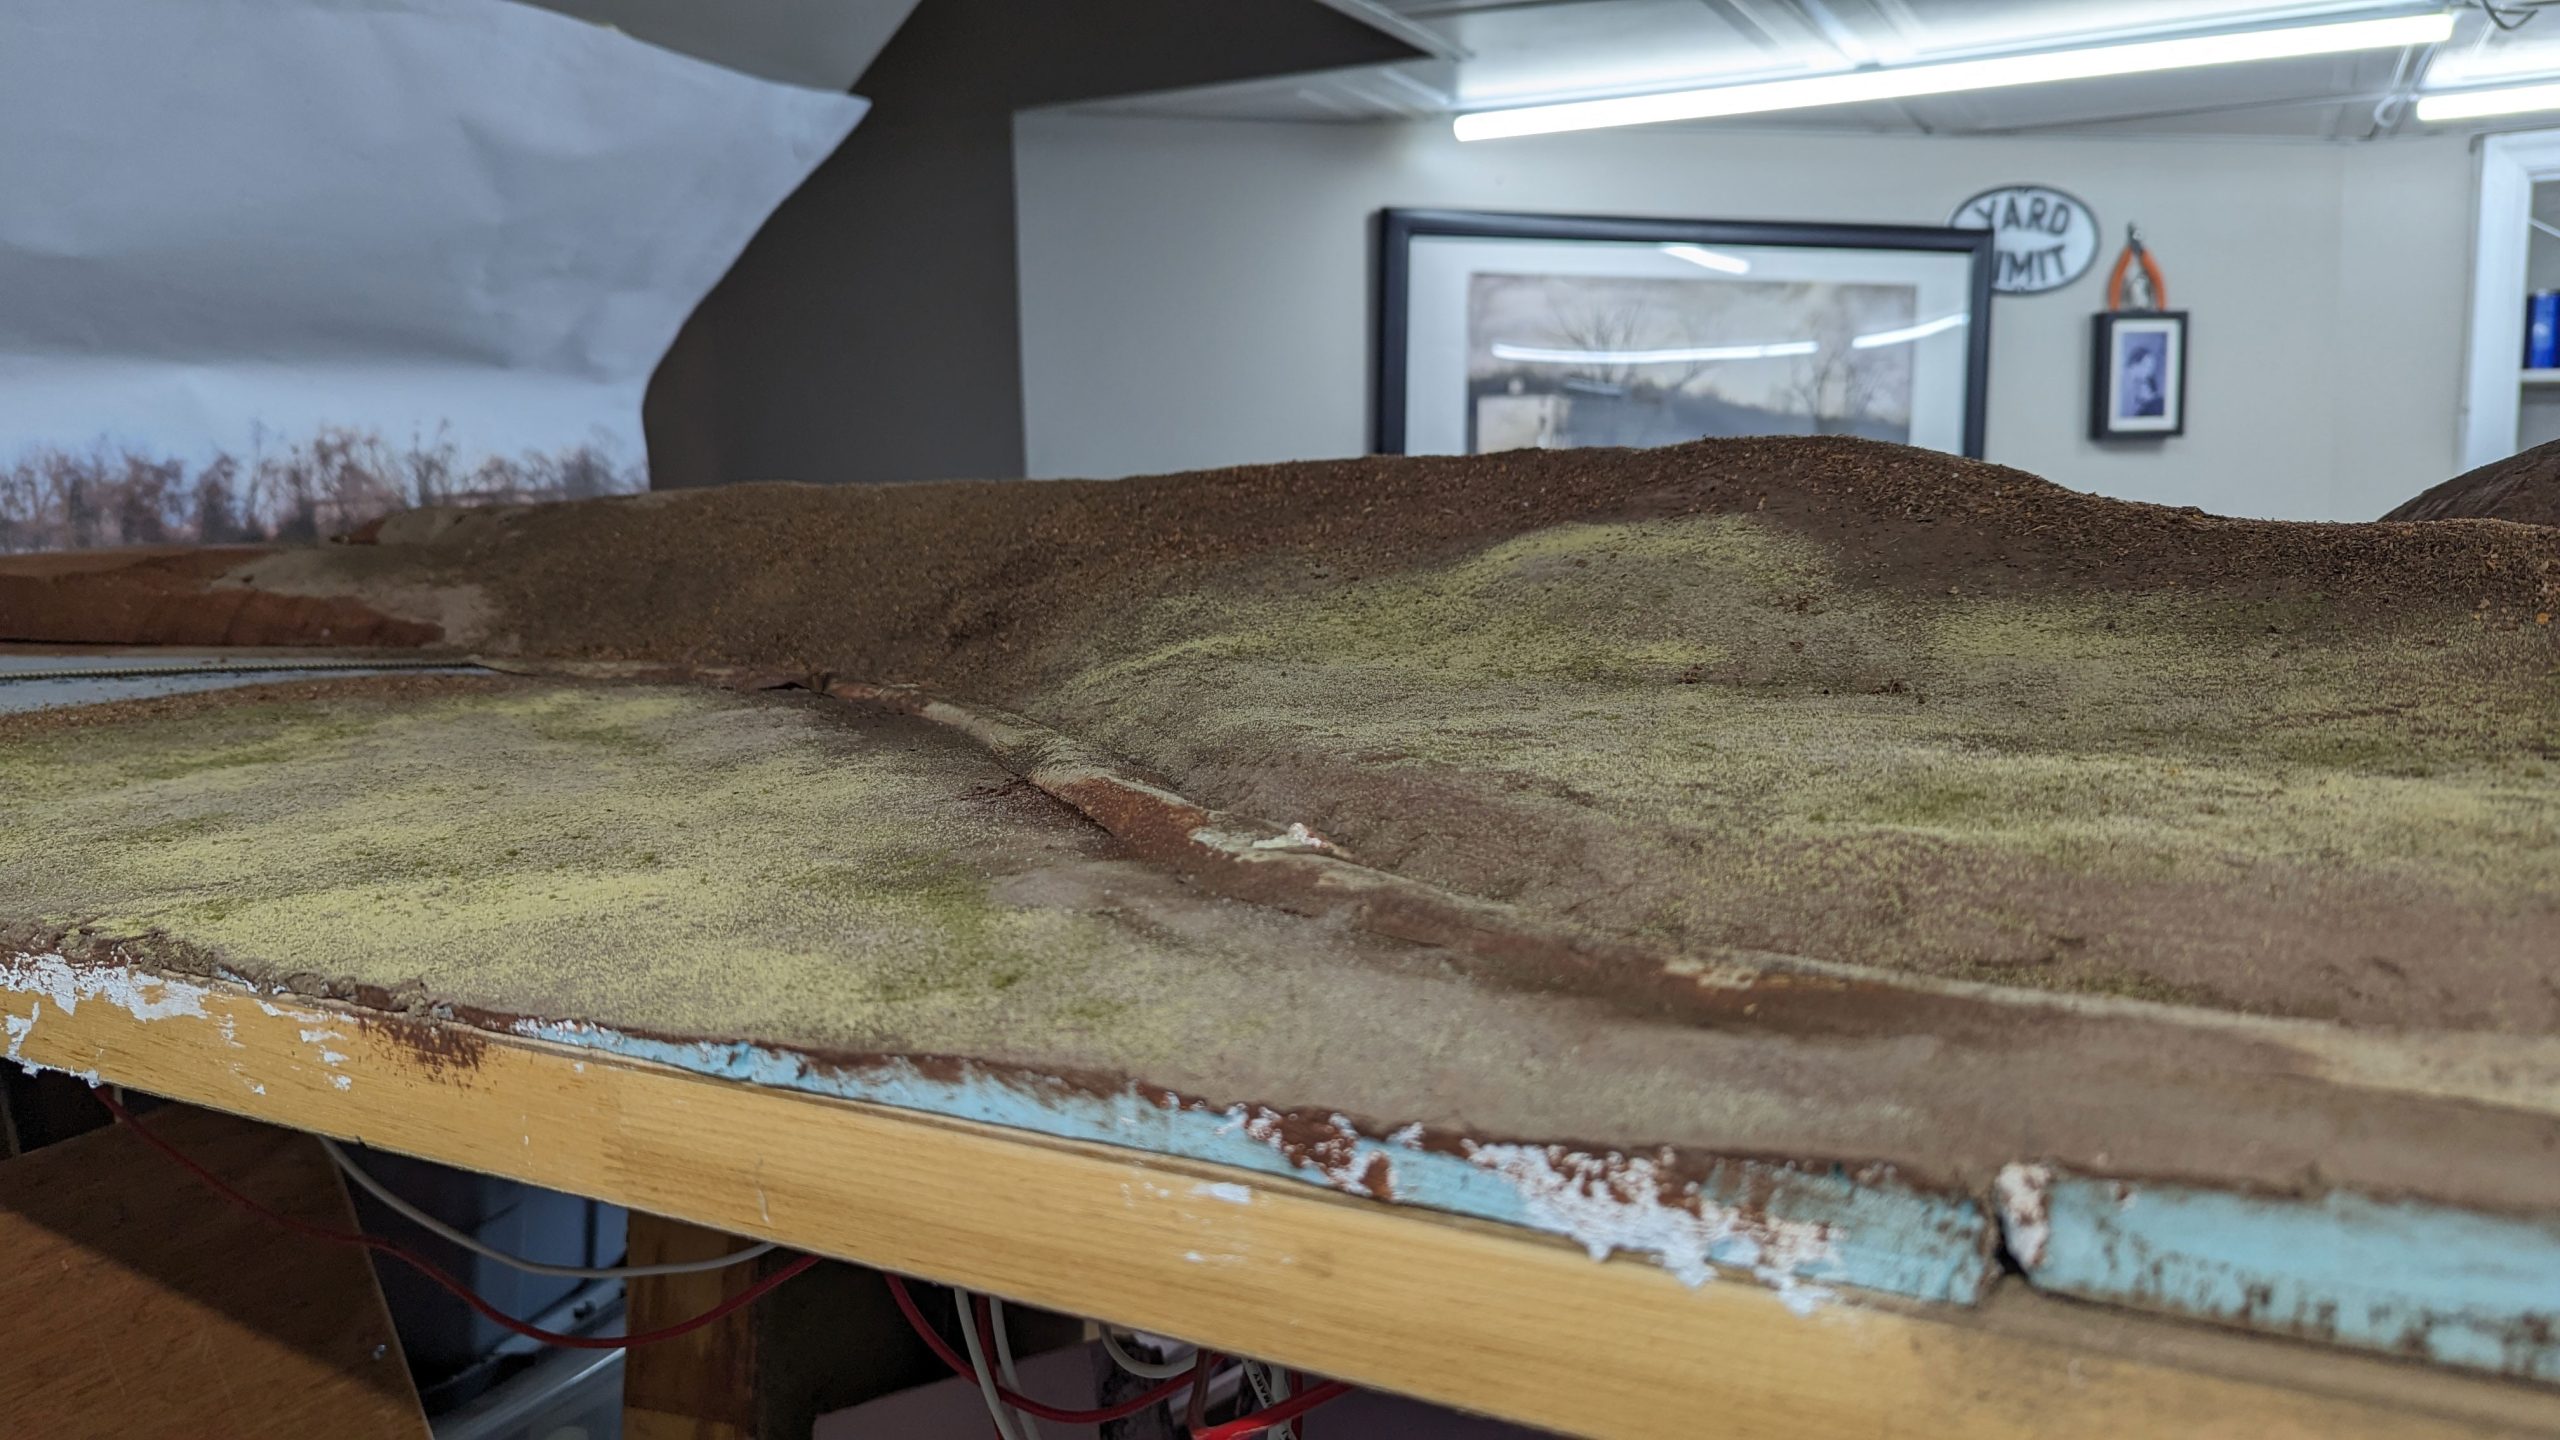
This is what it should look like when you’re done. You might notice some areas where it still looks somewhat “swept”. That can be fine, or you can keep brushing until it goes away. The goal is to get your dirt looking dry and dirty but NOT in unnatural patterns.
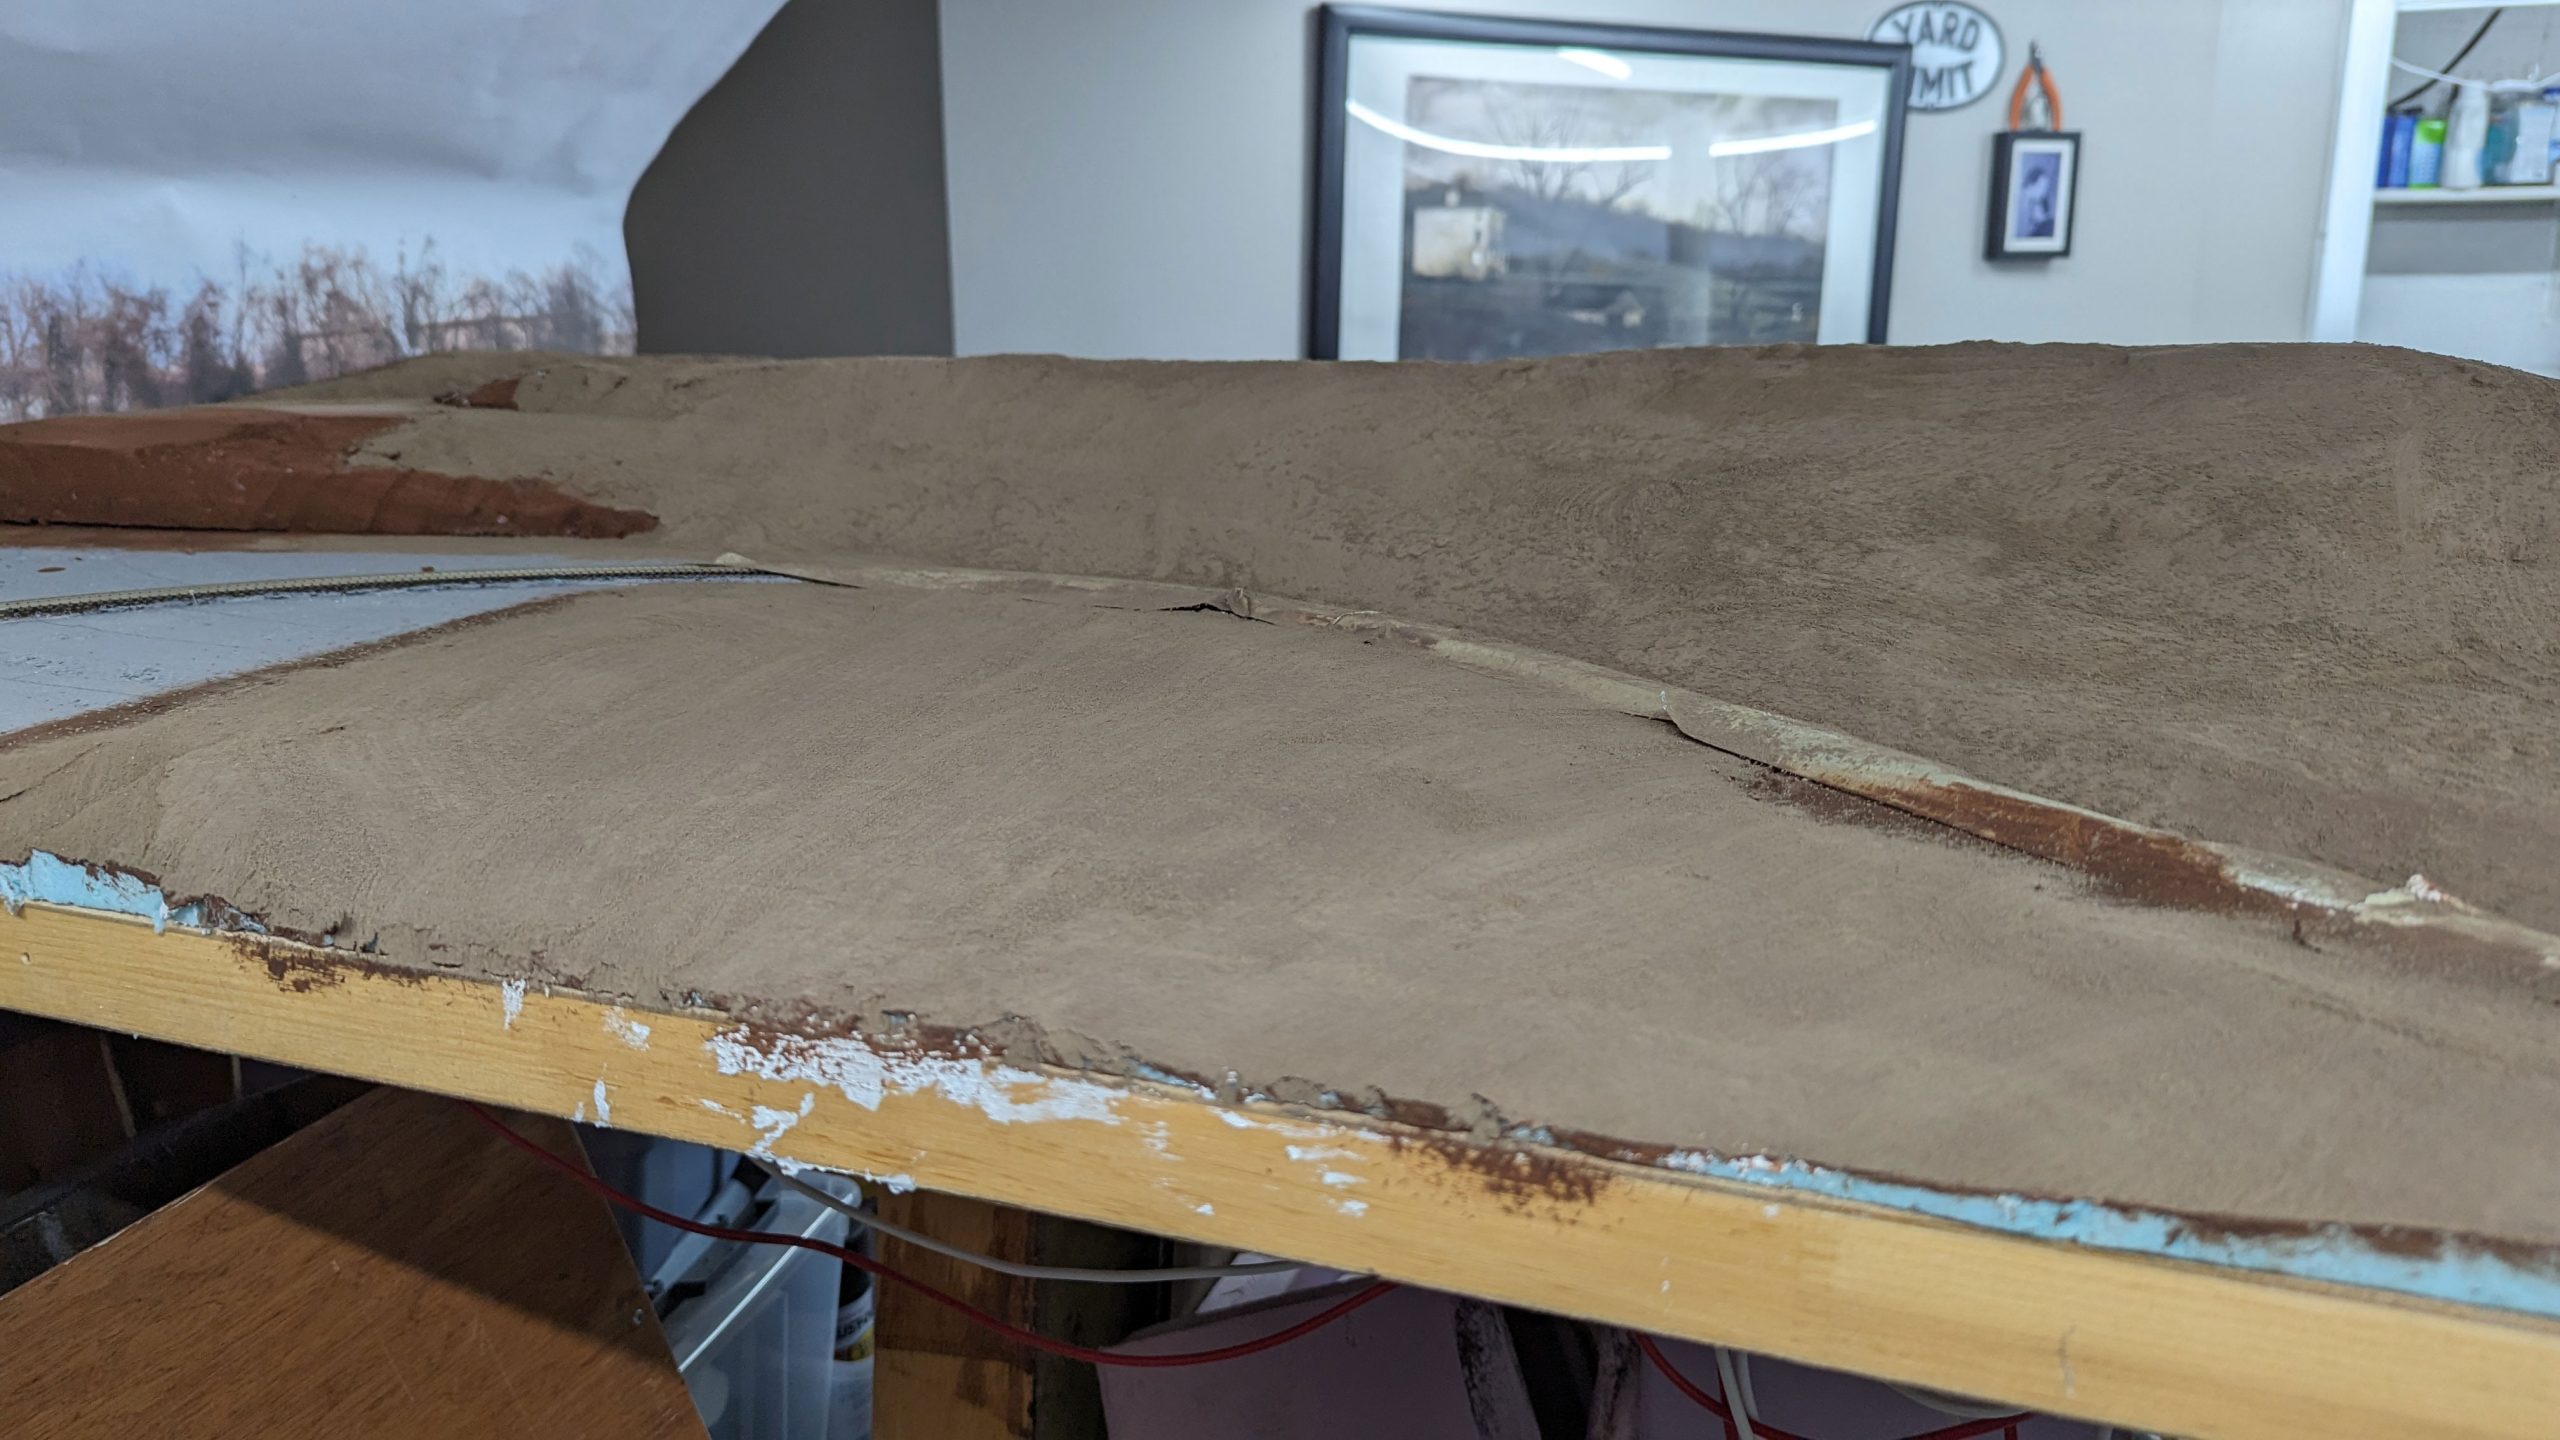
You might have to get creative with your sweeping and recovery depending on the scene you’re working in. This is where masking the track and anything that shouldn’t be dirt comes in handy.
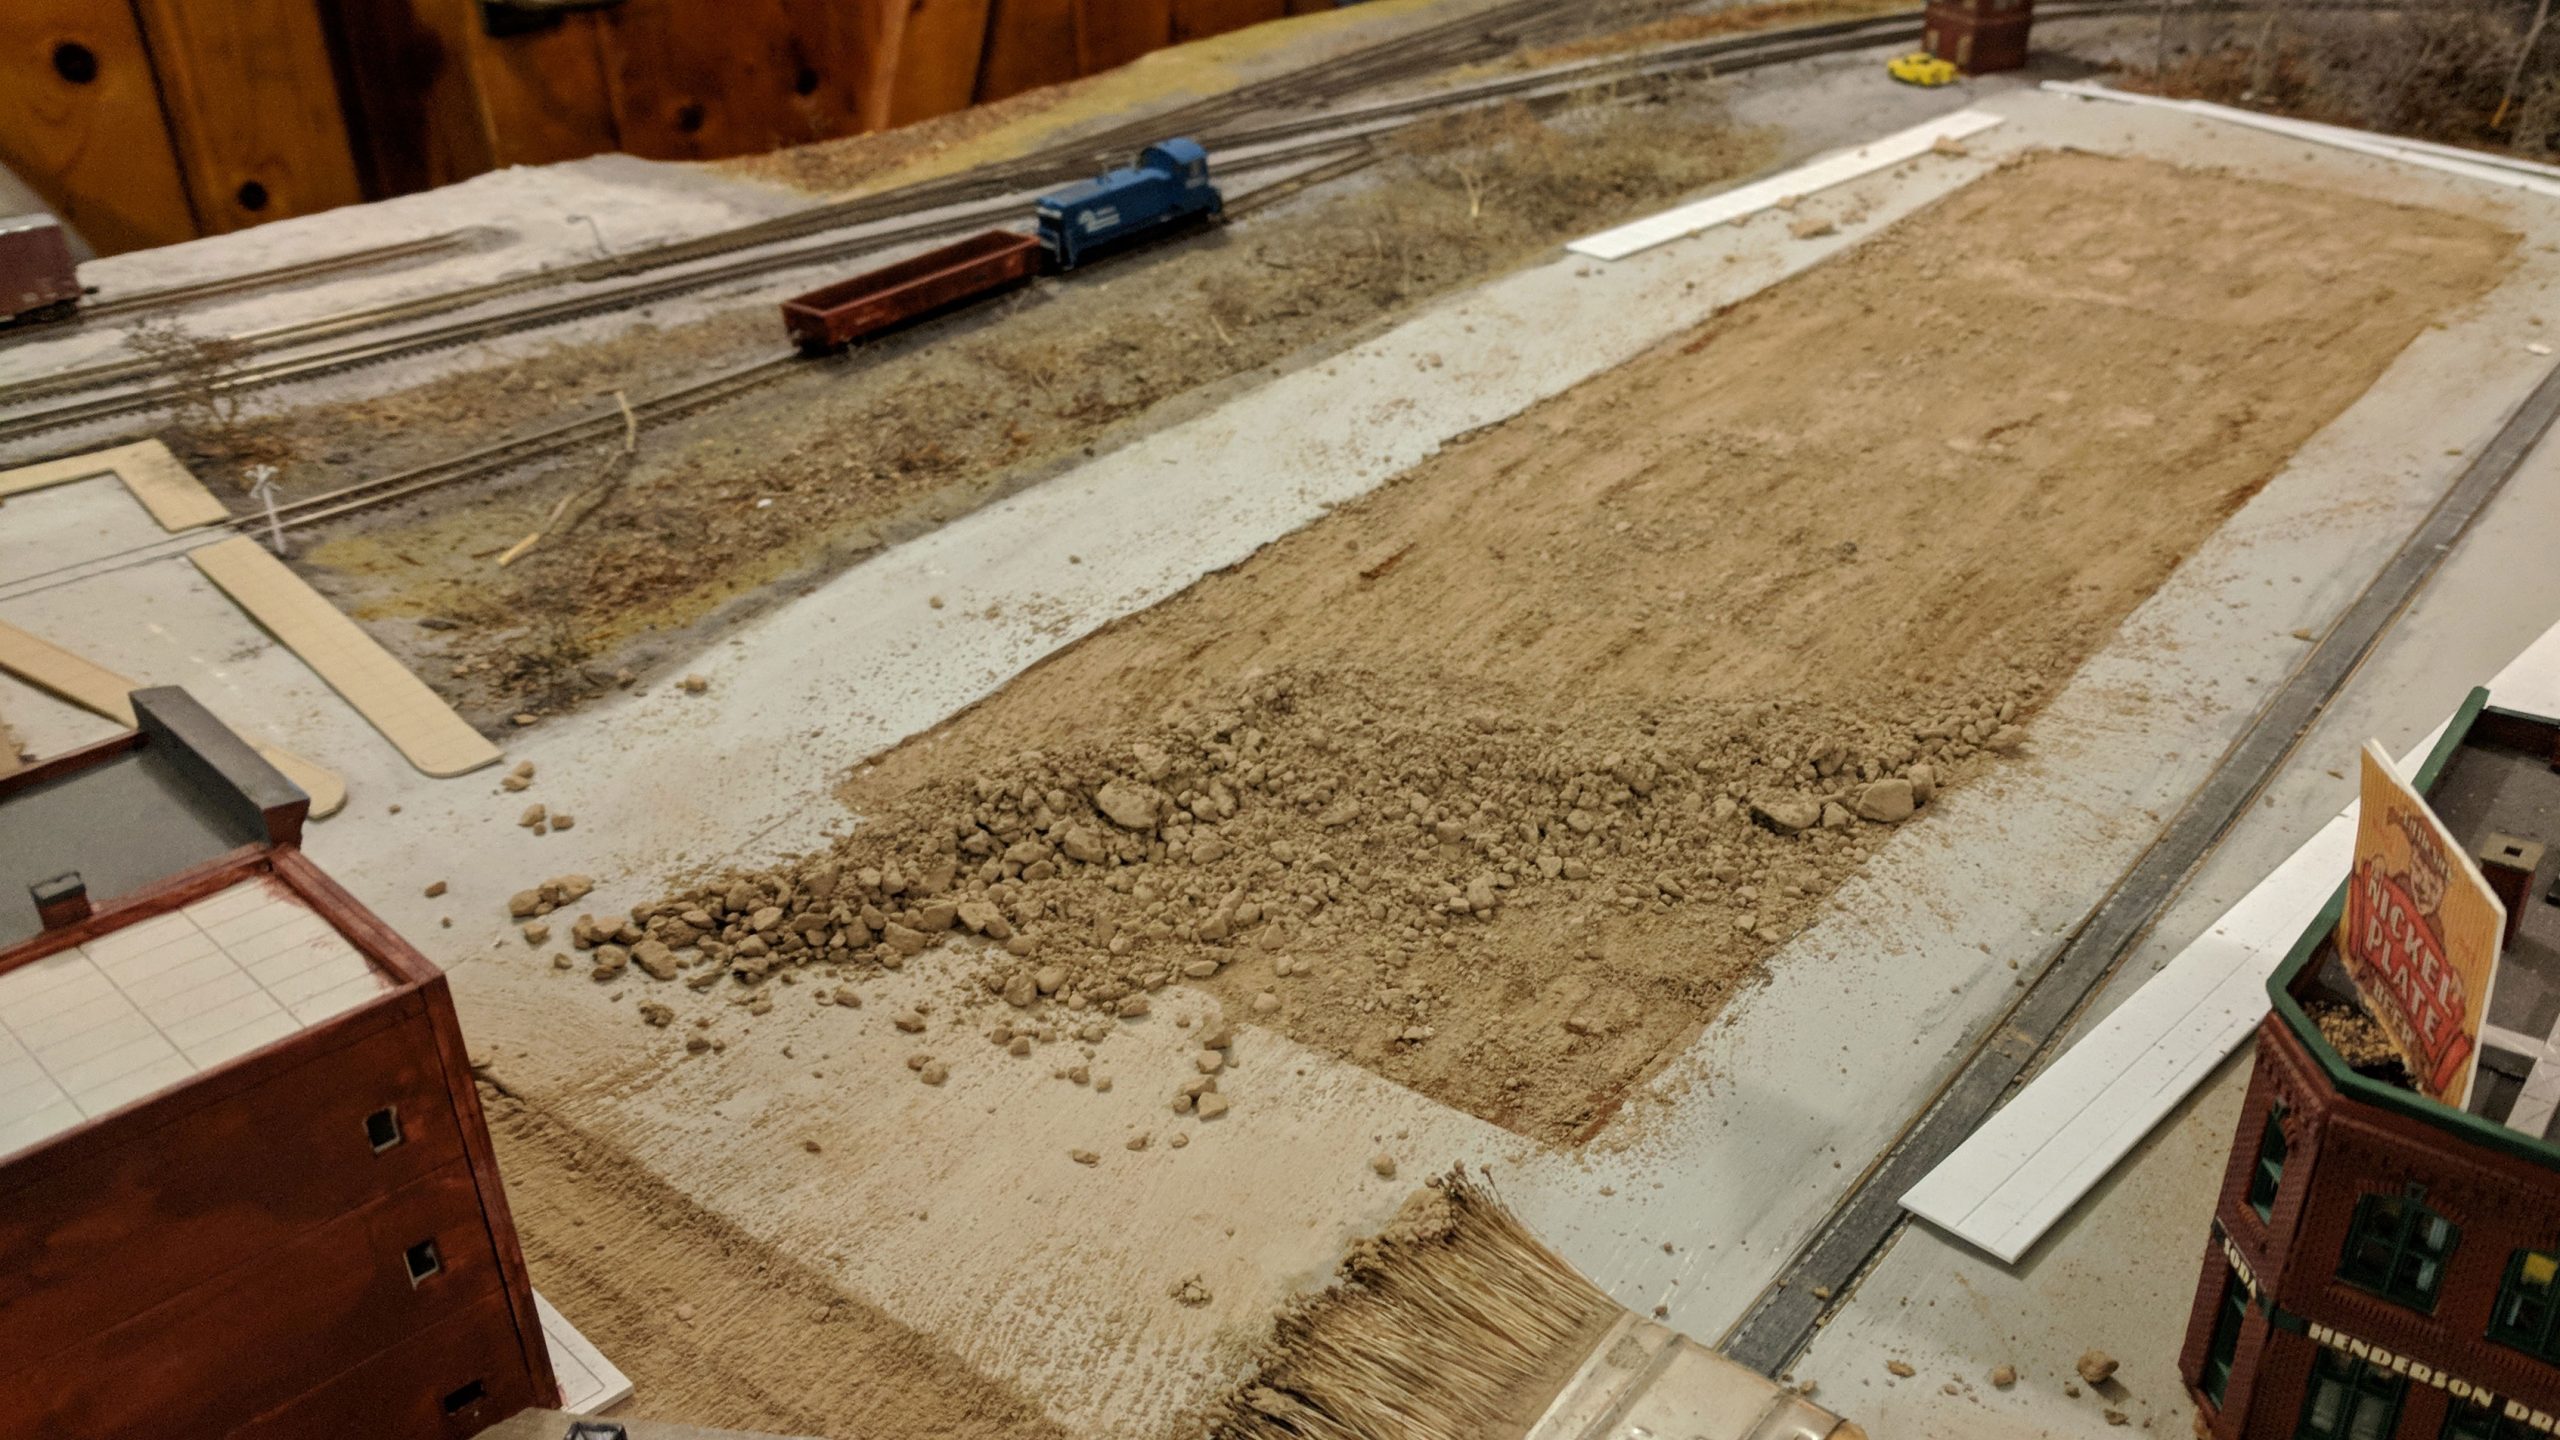
I like using grout because its fine consistency makes it the perfect base layer for adding more “3D painting” on top.
It’s also worth mentioning that while this is largely the same approach I use for gravel lots, there is a slight difference. I will often use a chunk of foam to compact the gravel instead of just brushing it off. This gives it that nice proper “compacted gravel” look. You can see it at work here on my new Windsor Street Yard TOFC area.