It’s been a while since I posted an updated on my Coal Country layout and so I figured it was time.
Progress has been occuring, but there’s nothing terribly exciting to see yet.
I am lucky enough to be close enough to the area I’m modeling to visit. Even better, a friend of mine works for the Reading and Northern over the very area I’m modeling. While many things have changed since the 80s in Coal Country (and as far as railroading goes, usually for the better), there was plenty to get inspiration from. His first hand experience has also helped influence many of my design choices as well, especially when it comes to incorporating the shipment of powdered anthracite.
One of the major challenges I have been facing is my planned scene at the Old St Nick Breaker. The real facility was huge. By the time I was modeling the breaker itself was shut down but still present. As you can see in this Rich Frey photo on the CRHS’s site, it was still being served by Conrail. In this case, cars were being loaded with coal reclaimed from the giant refuse piles. From photos, it appears this all was happening on tracks that were not actually under the breaker but that formerly served different uses (like being the bypass track for spotting empty cars). Luckily this means the breaker itself does not need to be functional in my rendition, but even fitting the building in as a backdrop is going to be difficult. I think I have a plan I like though, so we’ll see how it works out.


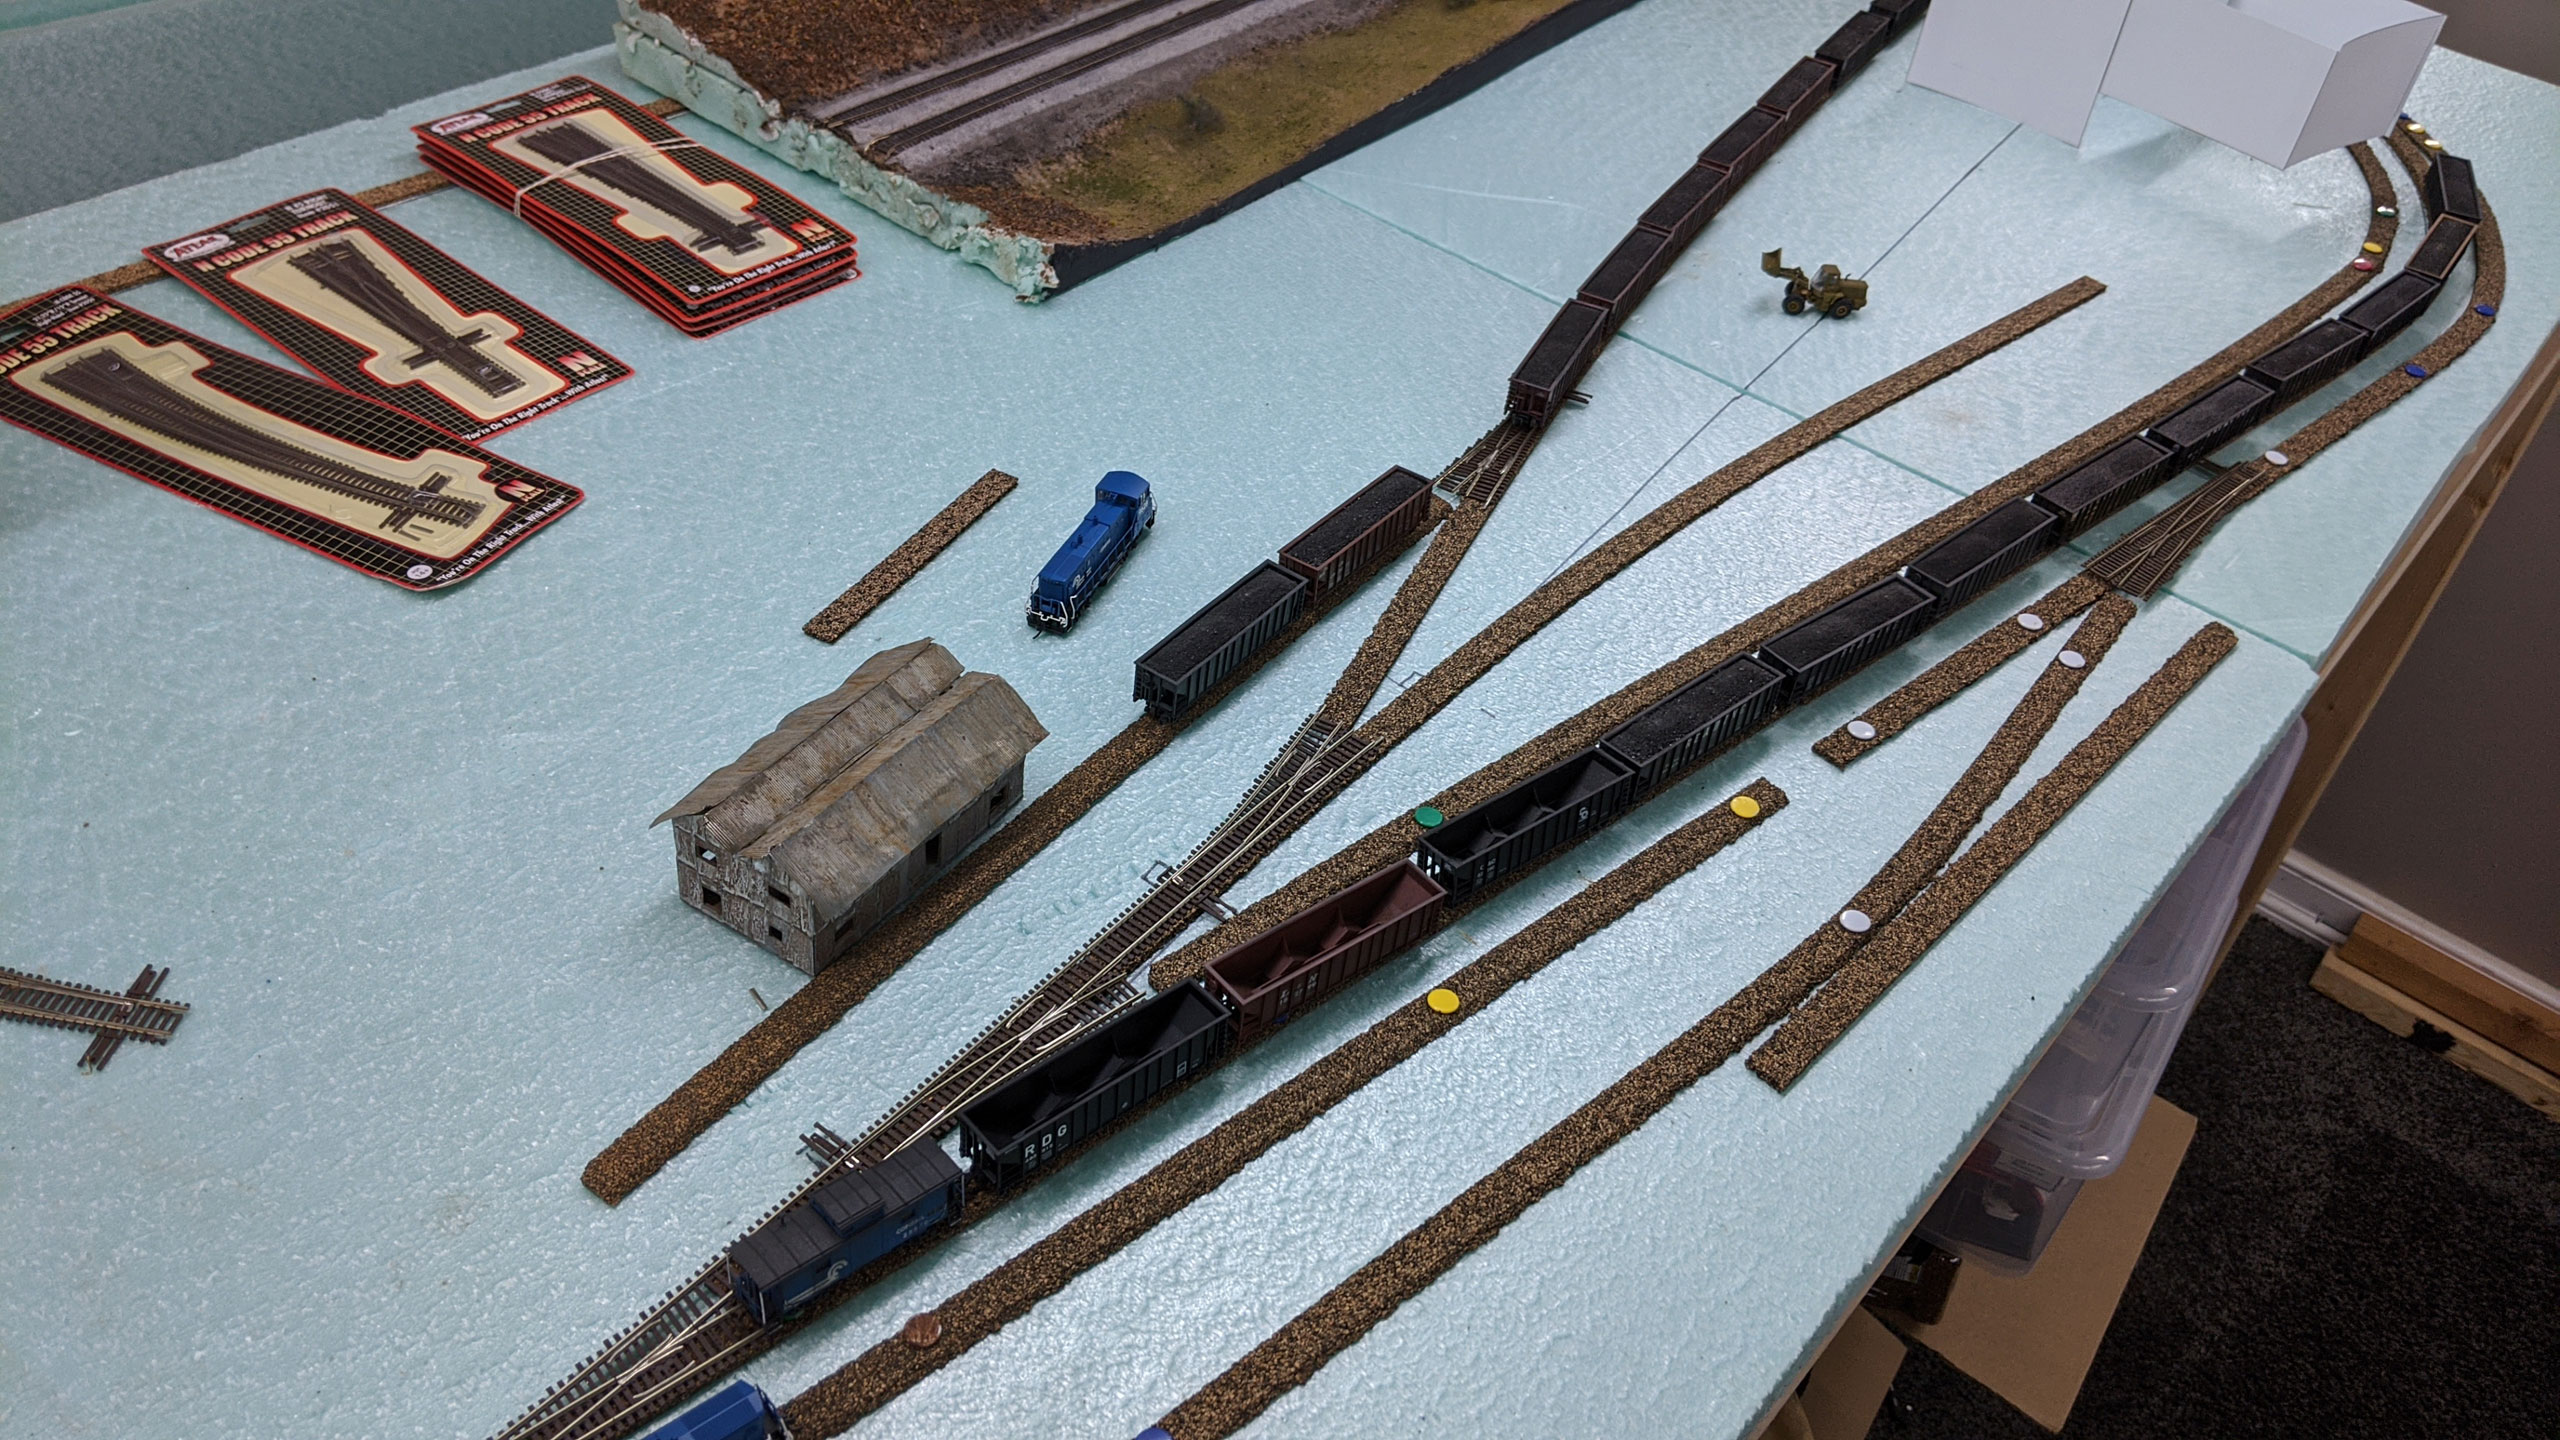
With that, the track plan has more or less been been confirmed and the cork is all glued down.
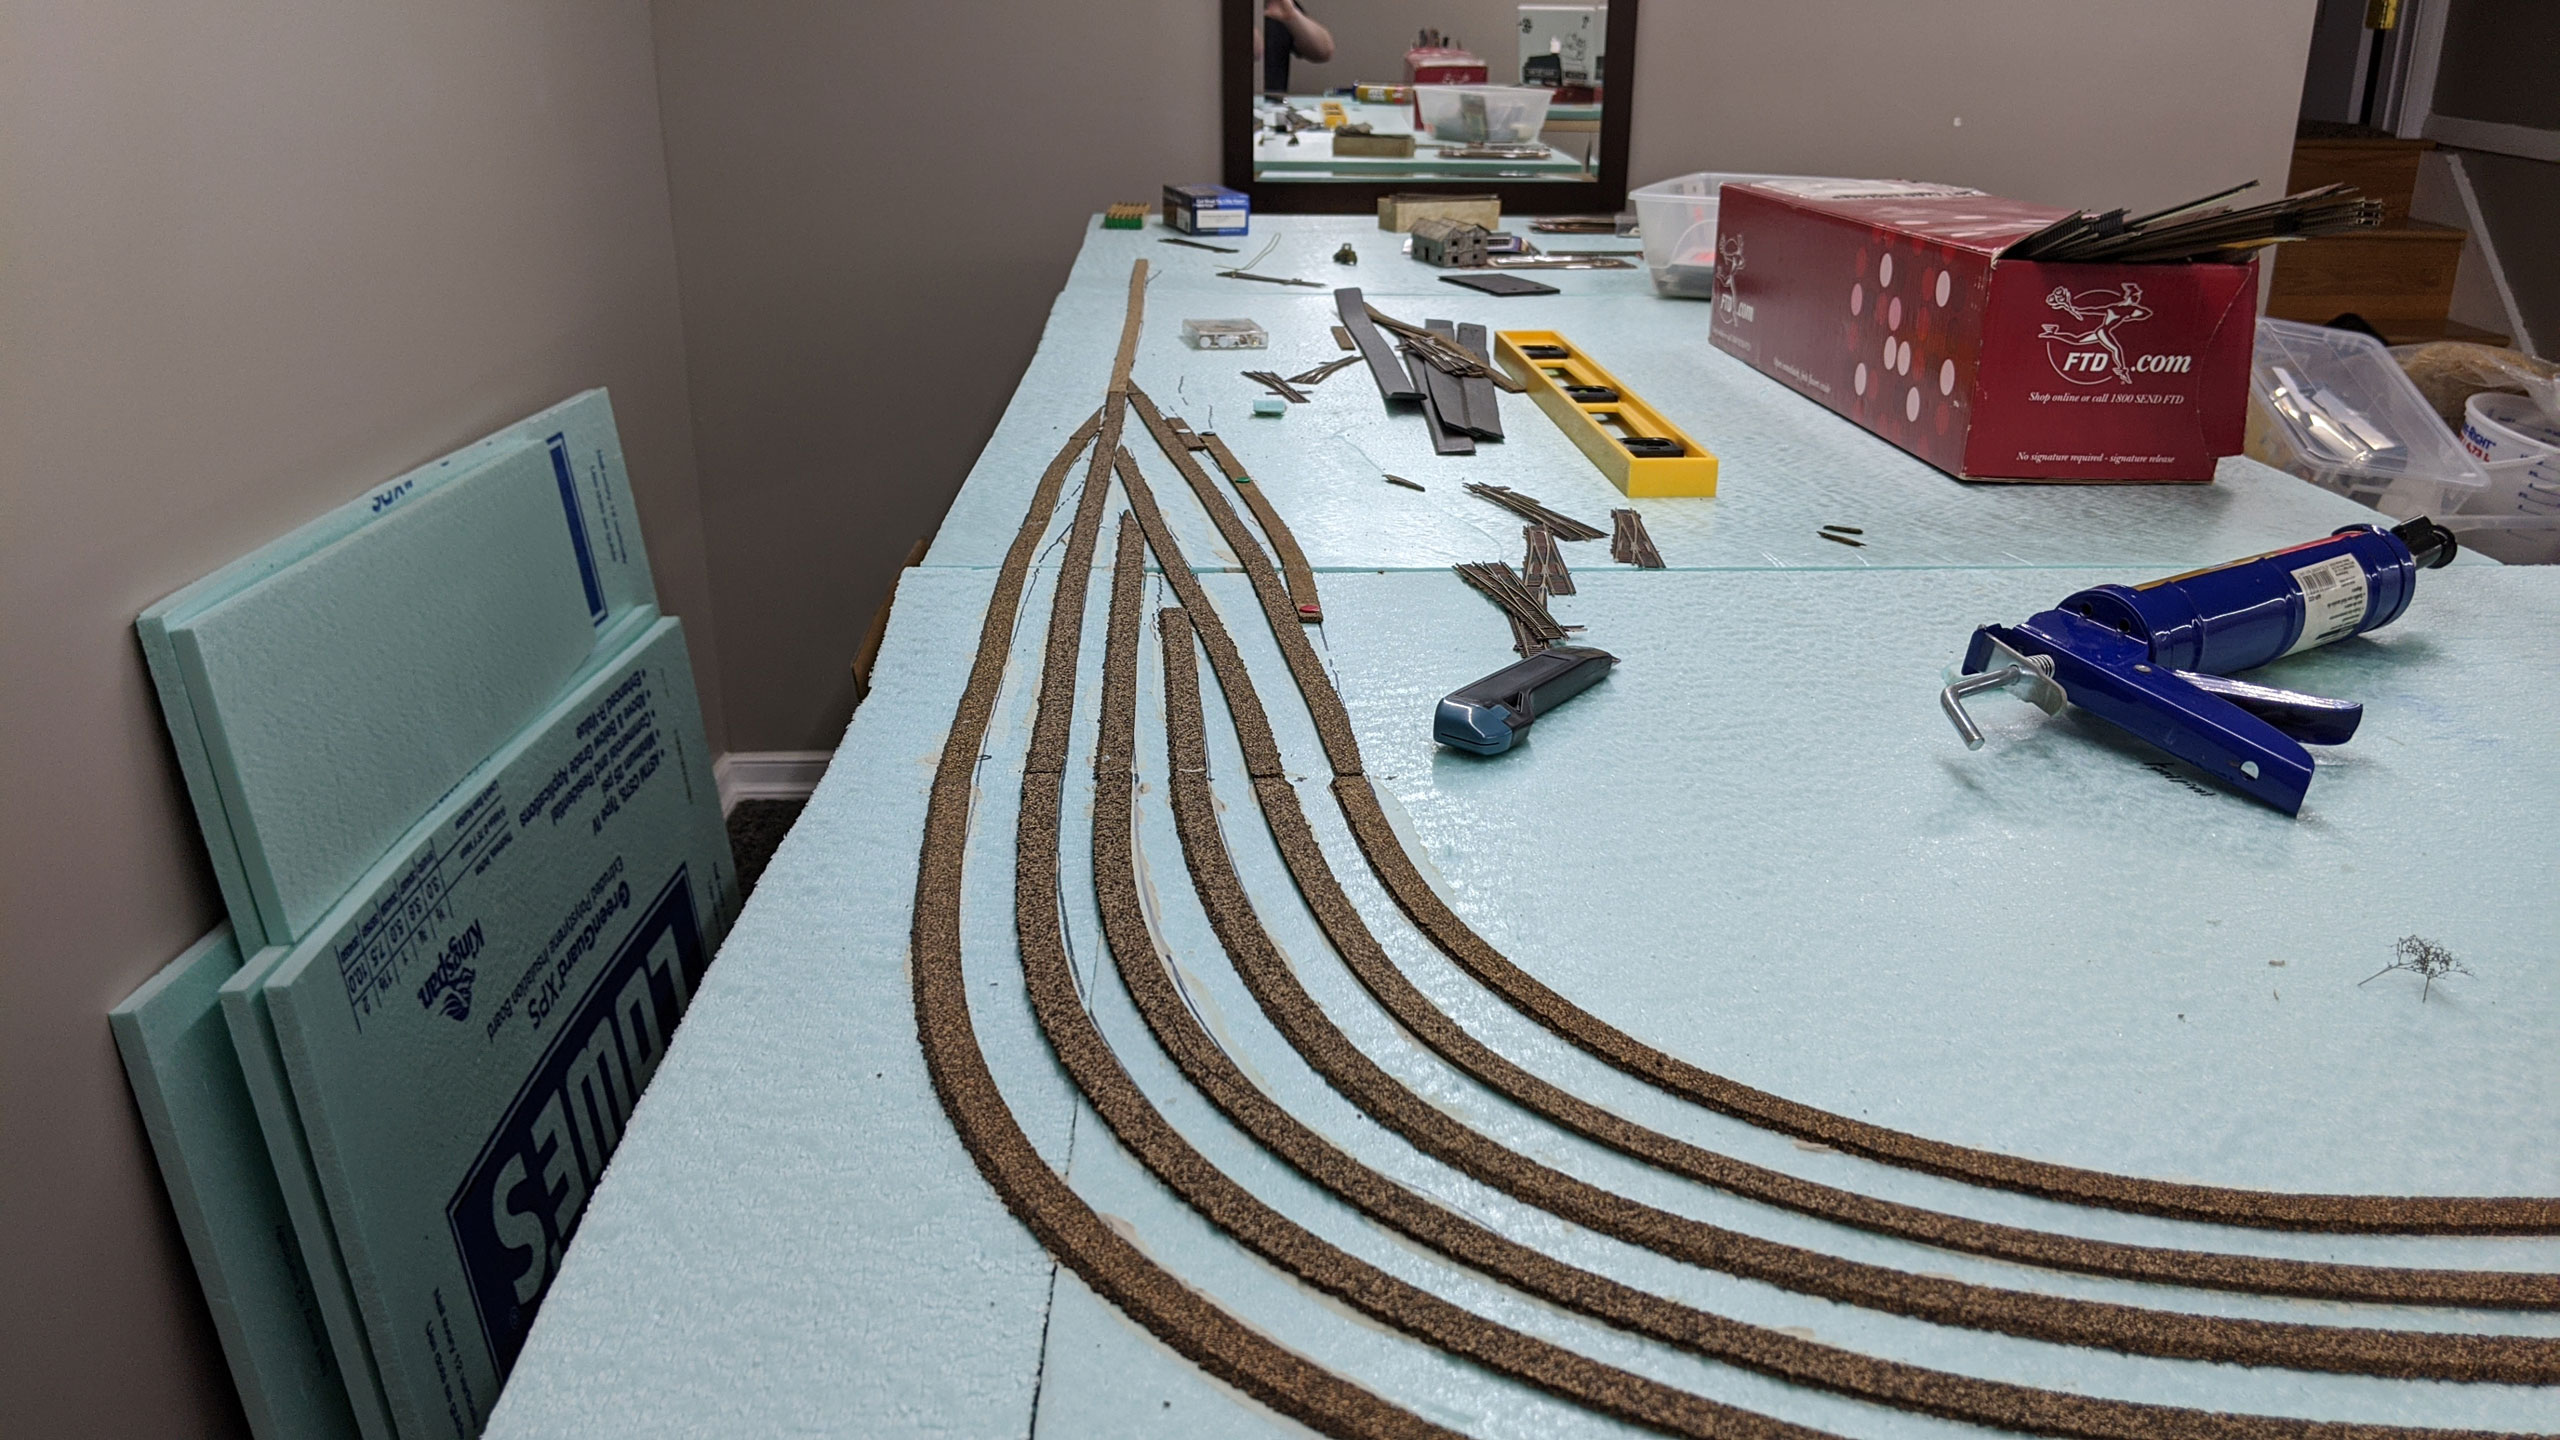
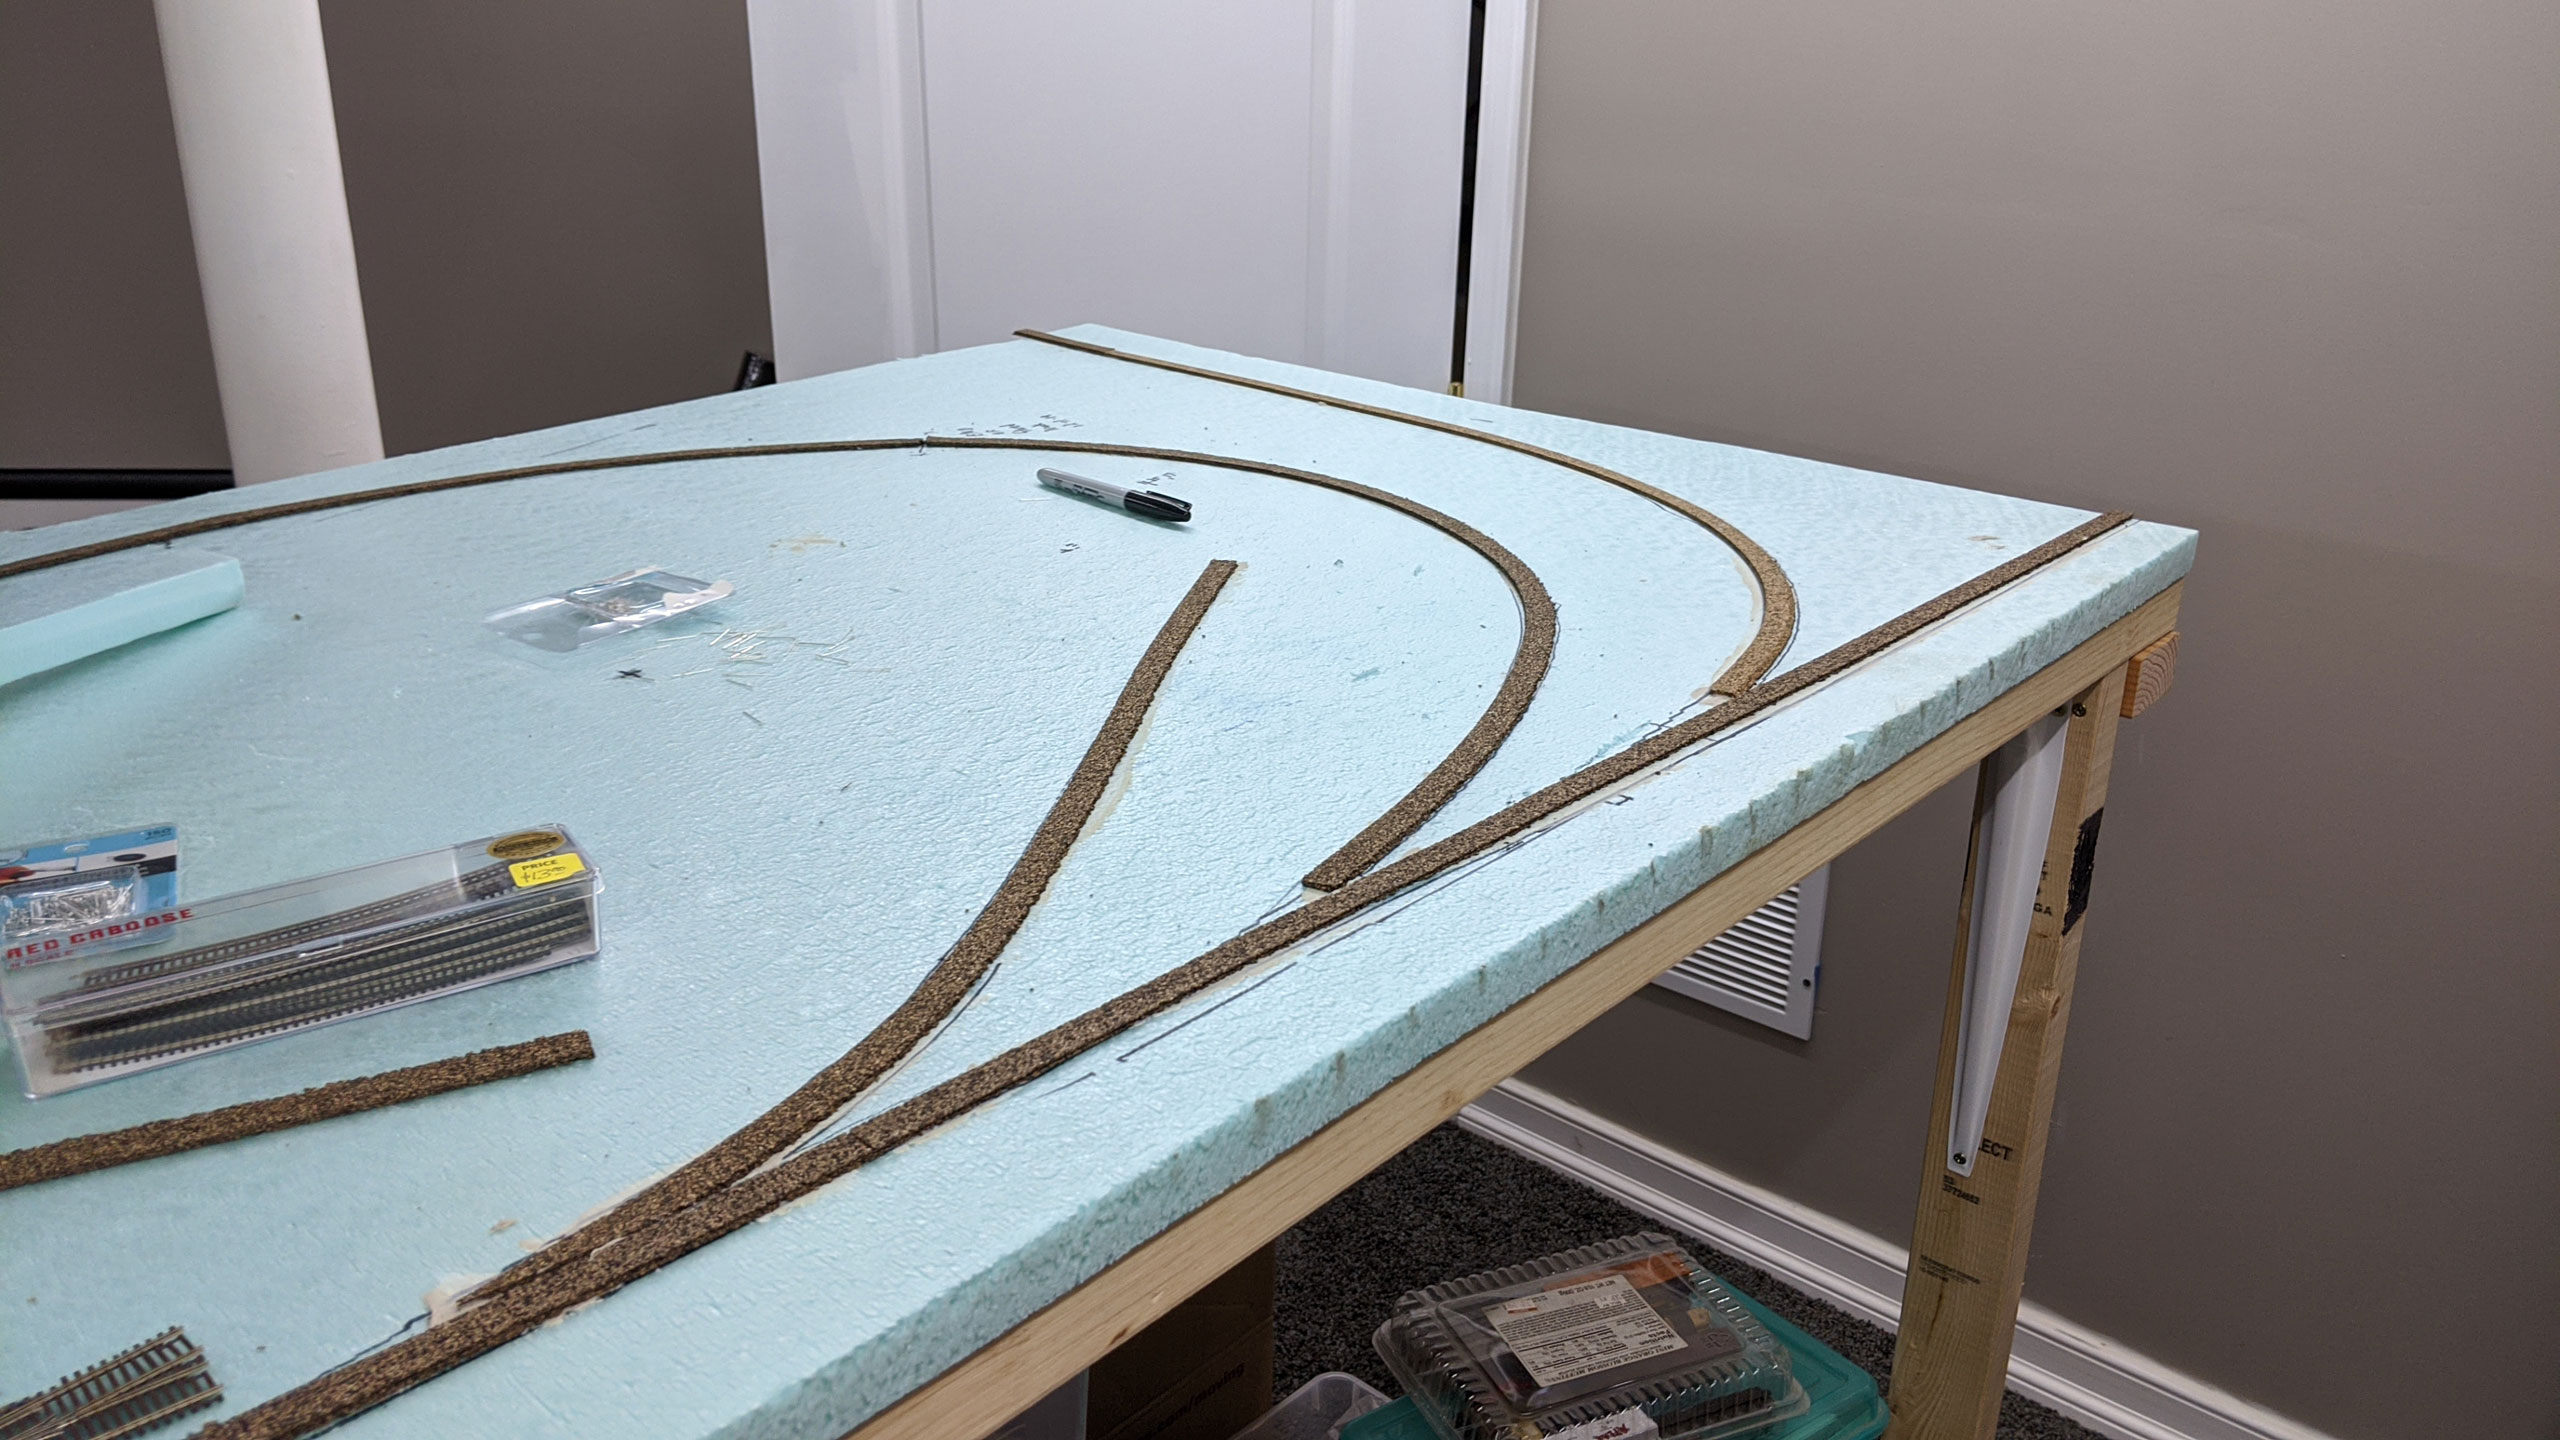
On my last layout I realized, too late, of course, that a full width “double wide” strip of the cork roadbed was just too wide to give me the freedom with ballasting that I wanted. With that in mind, on this project I went with a single strip. As an added bonus, the single strip allows me to get twice as much cork out of the same box. It never hurts to save on material costs, after all.
I started by laying the cork where it should be and pinning it in place with push pins. In places where this needed to be calculated from switches I could easily lay them on top as I worked. I then traced one edge of the cork with a sharpie so I knew the appropriate location to attach it. I then ran a light bead of Liquid Nails for projects (my favorite layout construction adhesive) inside its future footprint and spread that out to a thin film with a scrap of styrofoam. I set the cork back down on top and used the push pins to hold it in place while drying.
After the glue dried I popped the pins out and set about sanding it. The ability to sand it down was one of the major reasons I used it in the first place on this project. Sanding allowed me to improve the “flatness” of the whole thing, which is important, because the foam under it is not perfectly flat. With small engines planned for this thing, solid trackwork is going to be important (even if it looks prototypically terrible when finished).


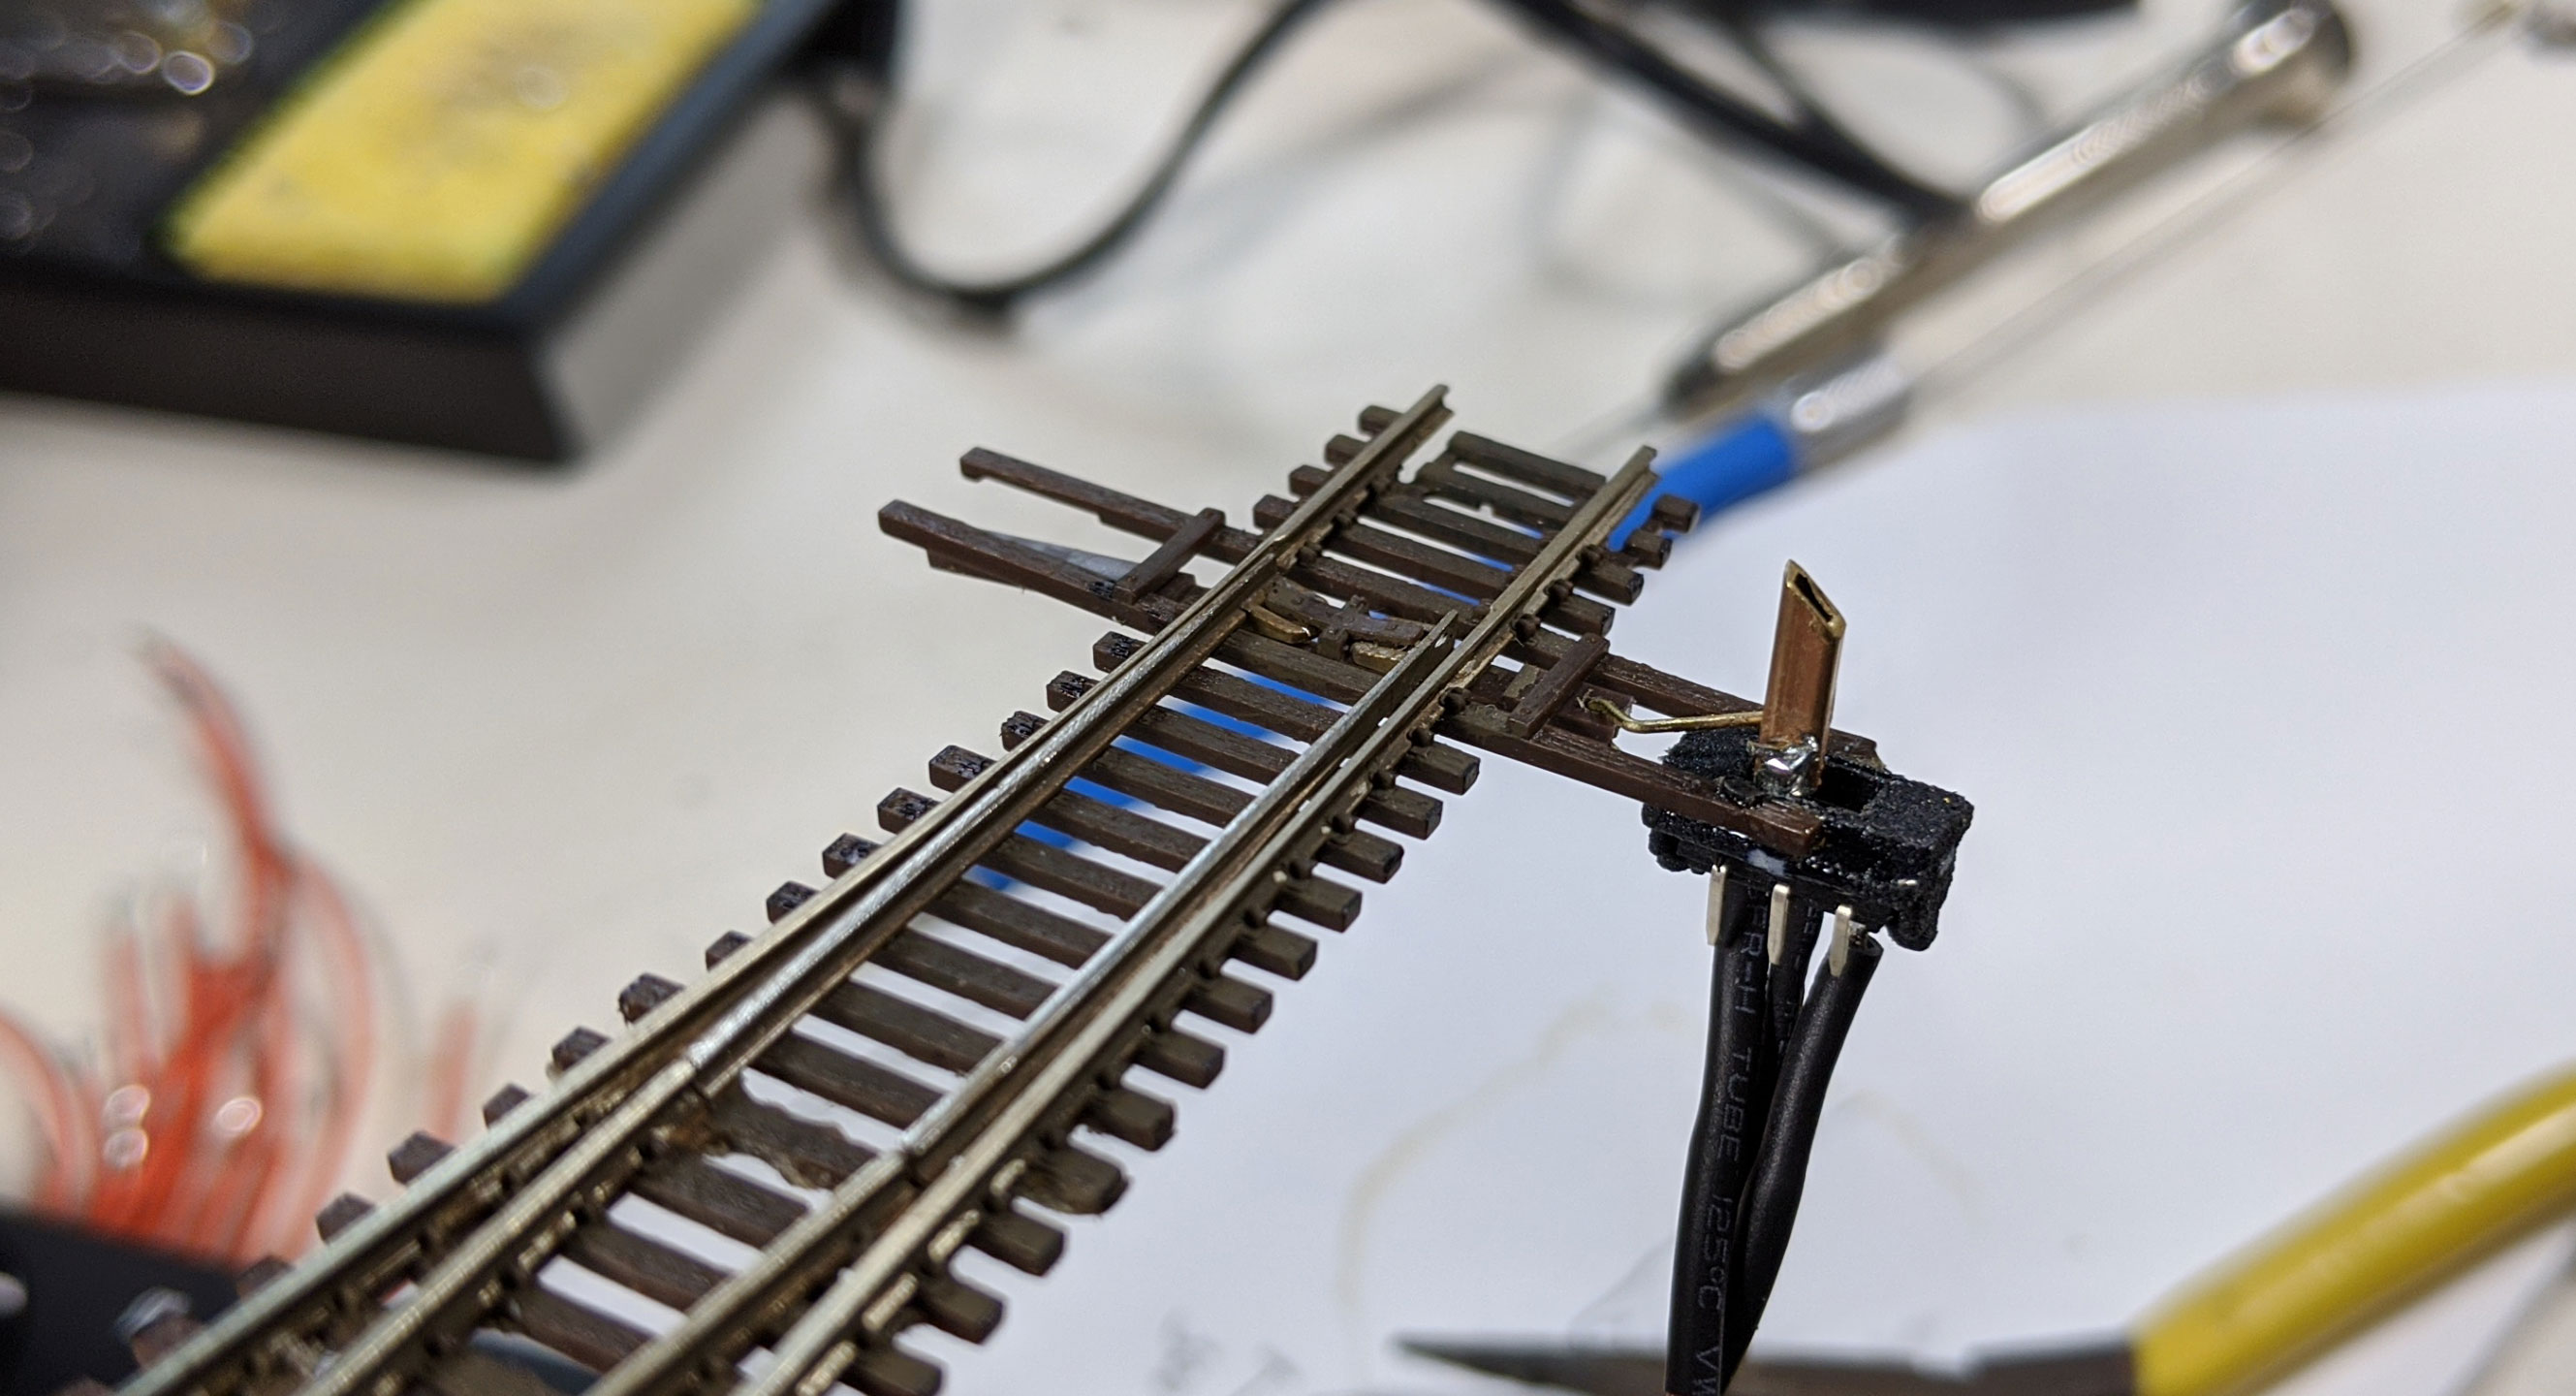
With the track plan finished I was able to start with track as well. I’m phasing my track laying in a couple of phases, starting with one for the full mainline so I can JFRTM. When I added it up this “simple” plan somehow has almost 30 switches, and since Atlas Code 55 switches are currently not available in stores, this approach means I can “progressively enhance” the layout as I get my hands on them.
The track plan also made me realize why real railroads avoid switches when possible. I am planning on using slide switches attached directly to the switch headblock ties via handy clips from Keystone Details. Even though these clips speed up some of the process, there are still quite a few operations that need to be done for each switch. I’ll document those steps in another post though.
As of this writing I’ve got three switches ready for installation which I’ll hopefully be able to do this coming weekend. Then it’s just a dozen more before, as the guys in DARN used to say, “time for trolley terror”.