I was recently discussing my foray into TTRAK and was asked for a quick how-to on how I build my modules. Here it is.
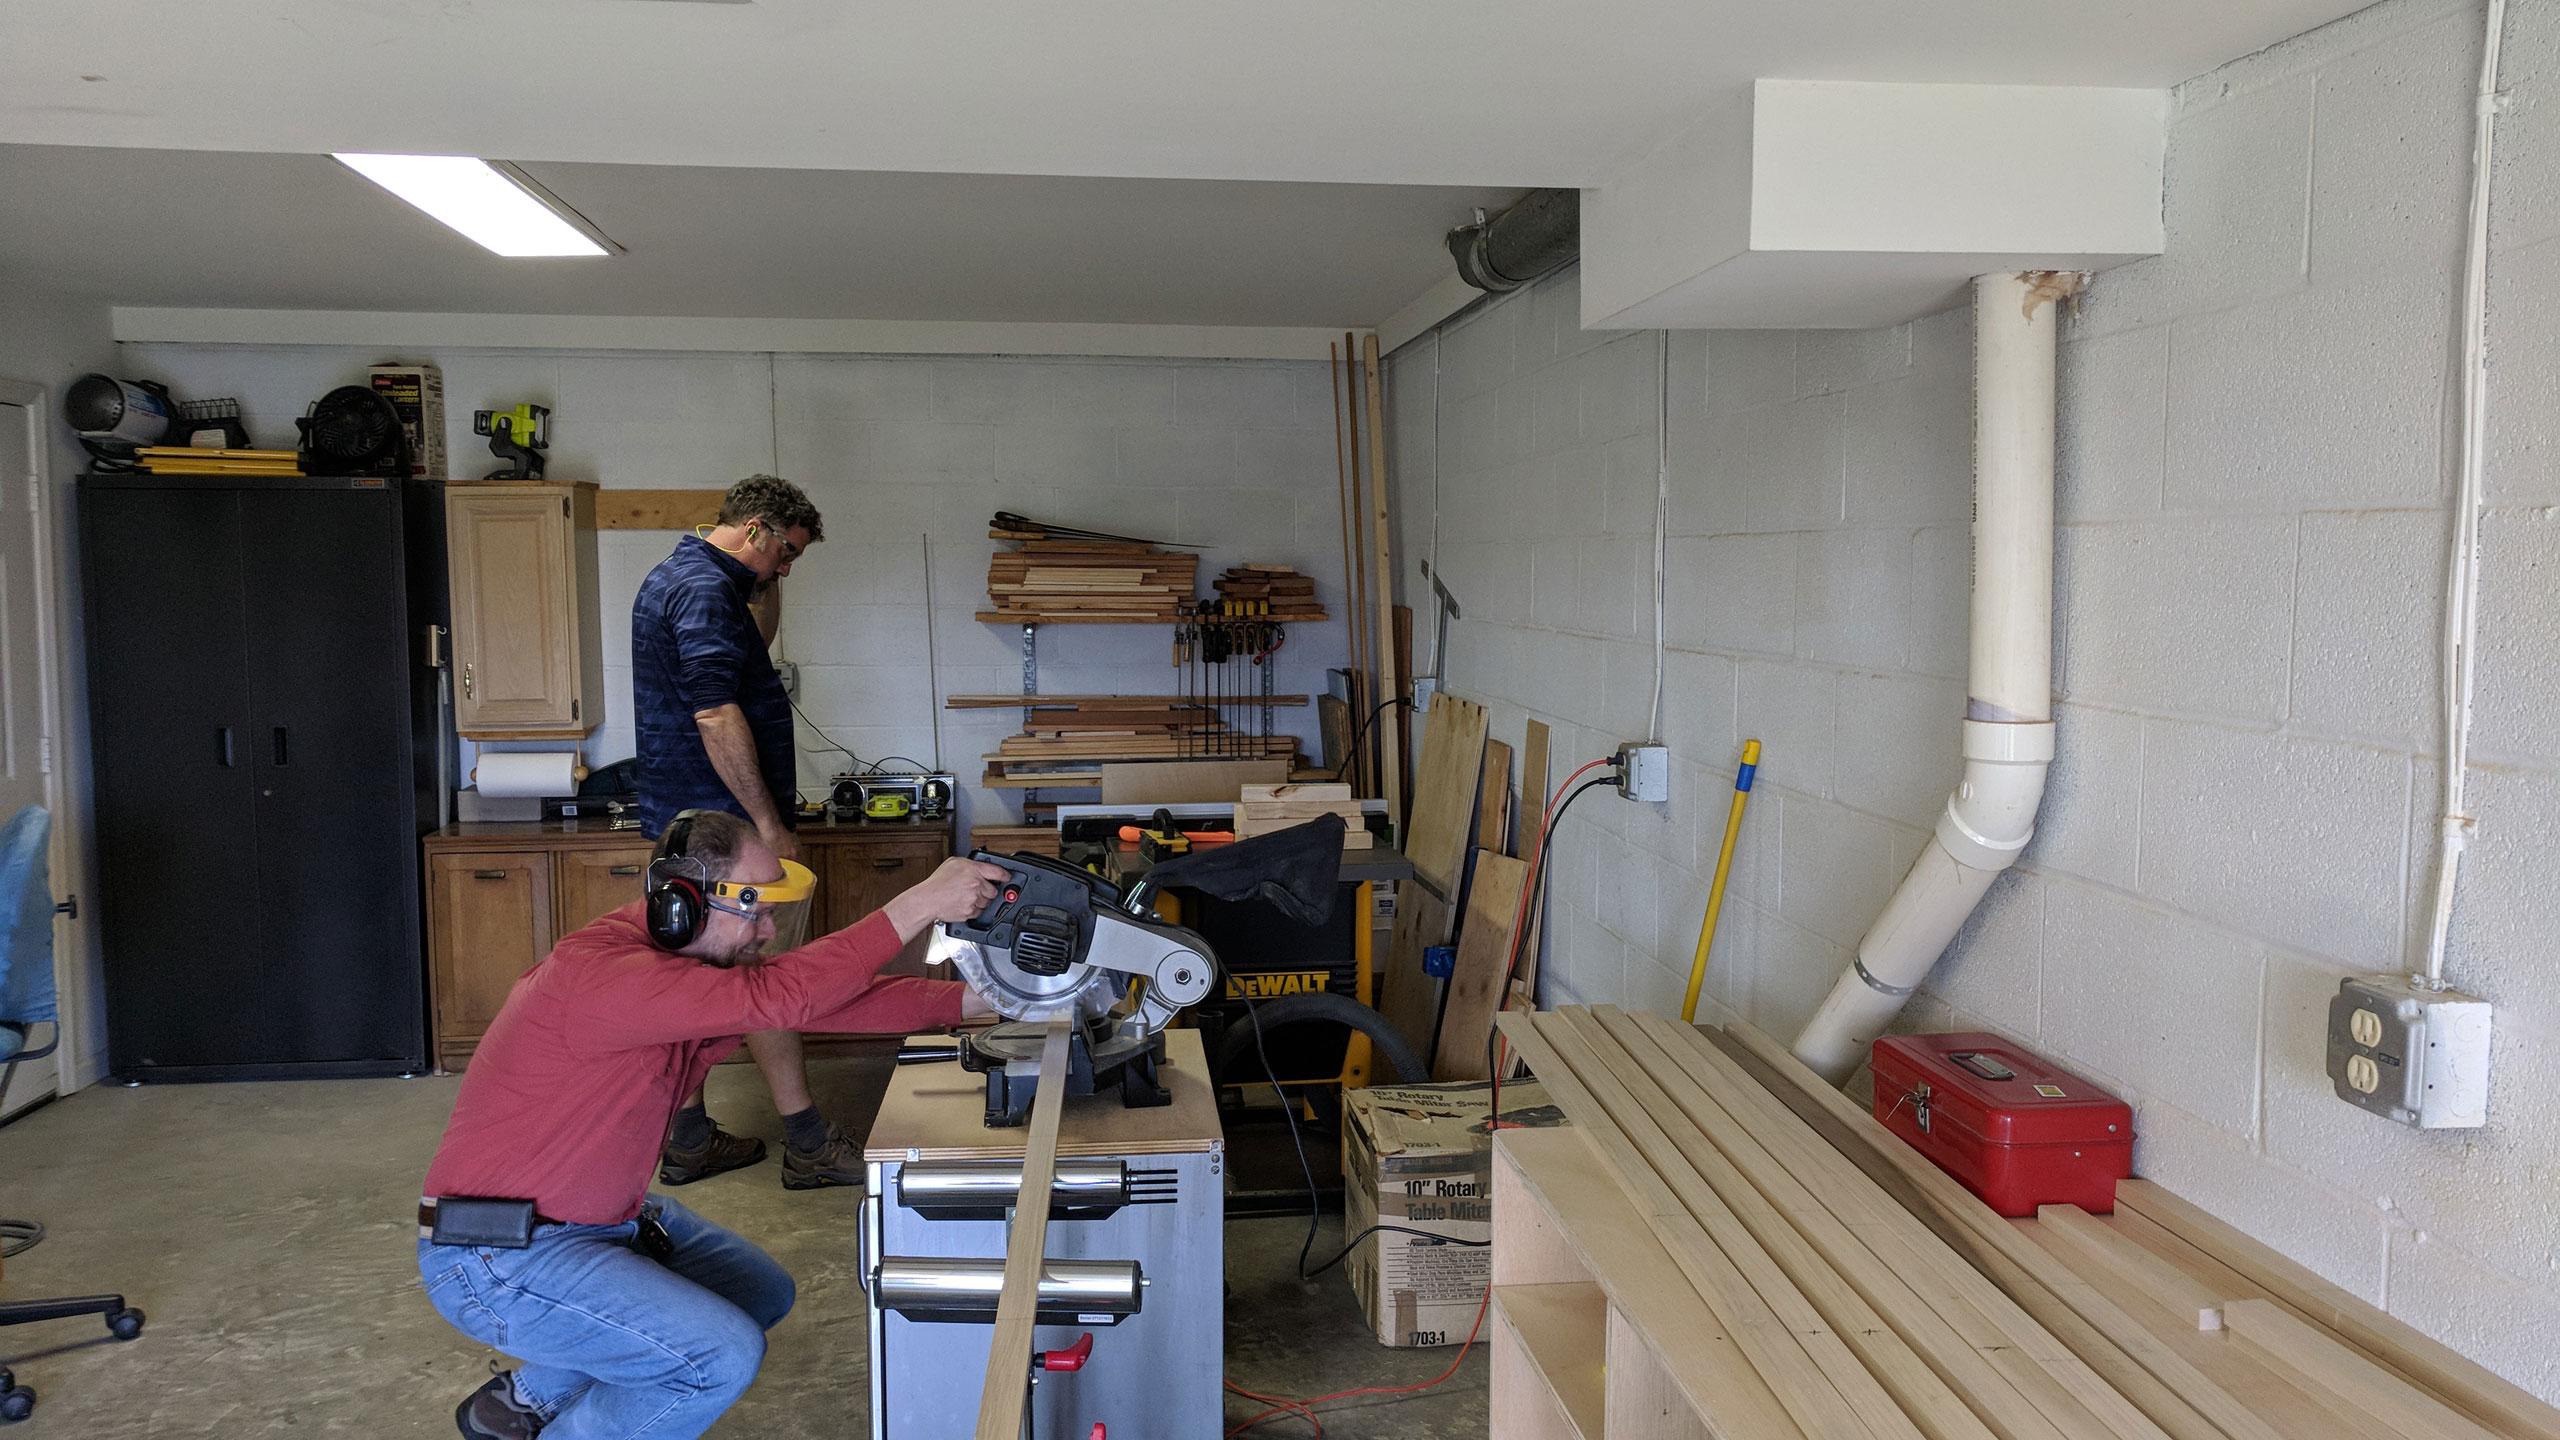
First I start by building the frames from 1×2 dimensional lumber with 2×2 corner inserts. You can use pine but I use poplar (because I think I’m allergic to pine and when you’re building 10 at a time you make a bunch of sawdust).
I keep it simple and only have ONE critical dimension I worry about: the length.
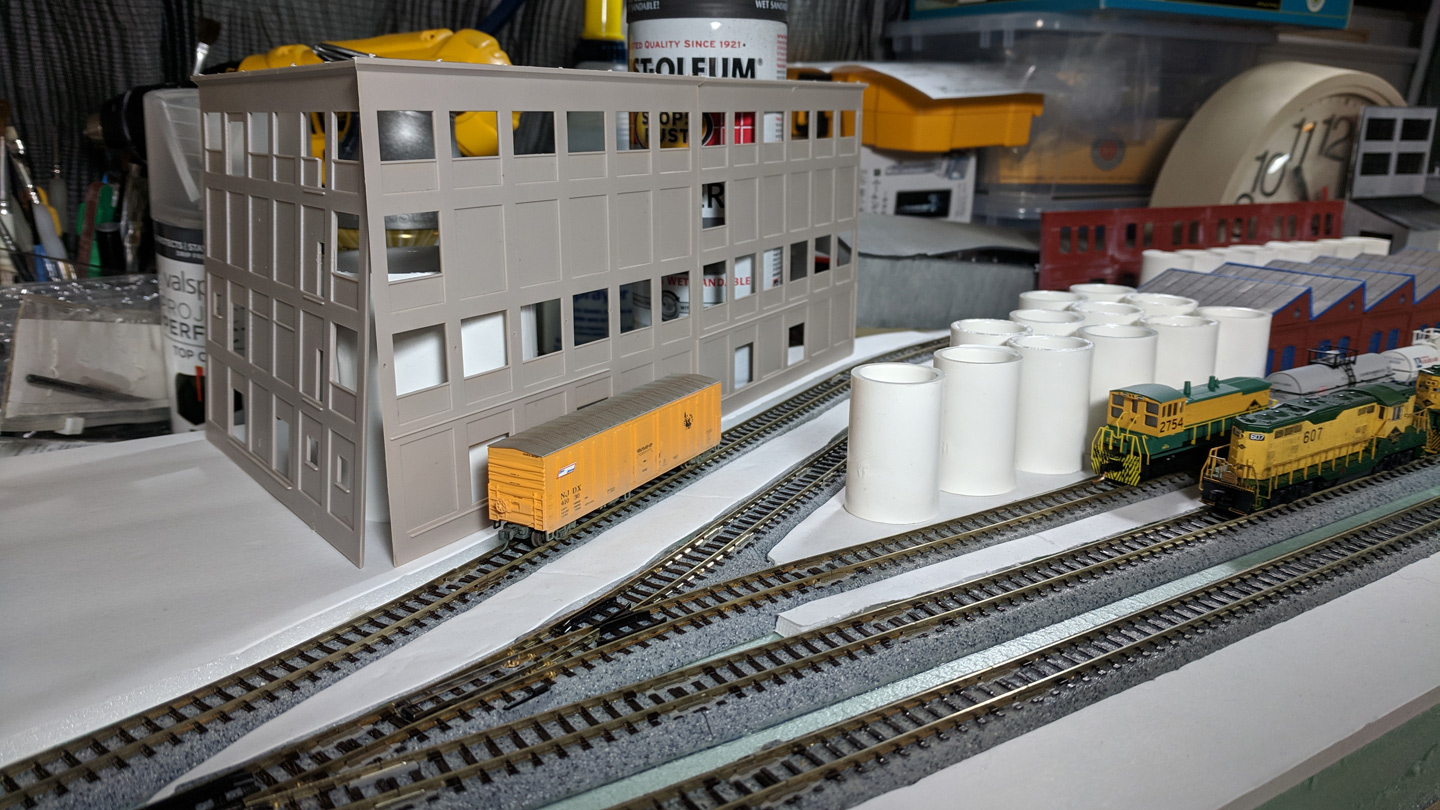
This is because TTRAK modules are NOT particularly dimensionally critical as long as you use Unitrack. Unitrack is, potentially, the most amazingly engineered model railroad product. It may not look like much (out of the box) but it is designed as a system. If you follow the “Unitrack way” while planning you’ll find that more often than not, things just “work”. TTRAK takes advantage of the incredible engineering of Unitrack by leveraging it not only as track, but also as the module connection system.
In this way, as long as the Unitrack sticks out far enough from the module to connect to its neighbor, you’re good to go. This means there are only two real things you need to think about when it comes to TTRAK dimensions: is the length a multiple of 310mm (-minus a few for clearance) and that they’re not too deep to cause a problem if placed back to back on a 30″ wide standard banquet table.
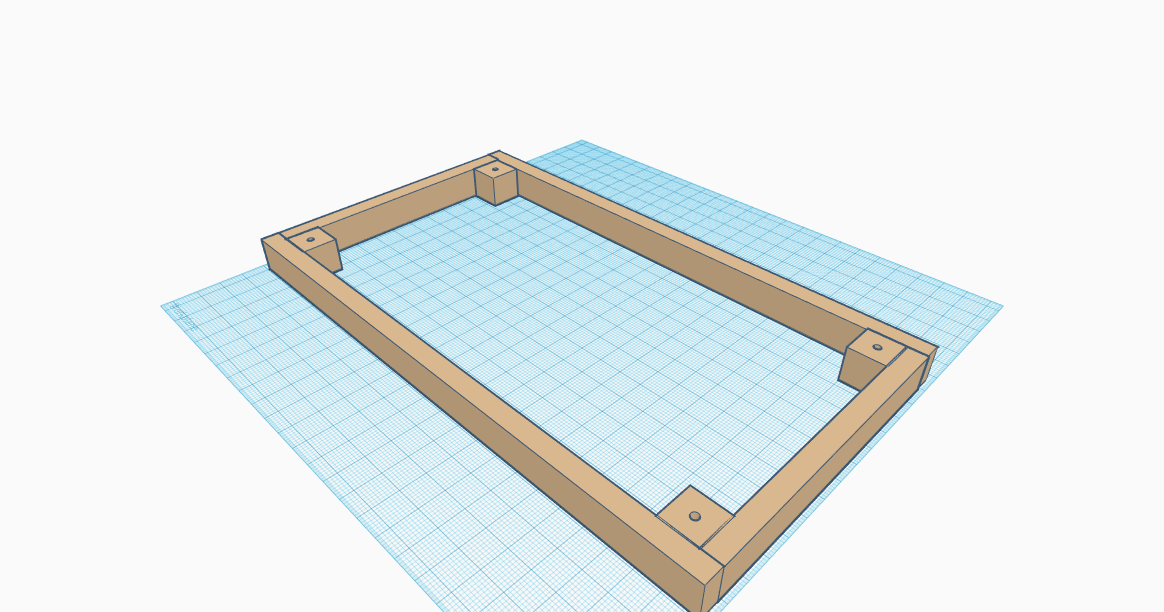
I generally prefer to make “double wide” modules since a single square foot is tough to do much with. That means that my long pieces are 24 1/4″. I then make my cross pieces 12″ to keep things simple. If you want a single wide, make your long pieces 12.125″. Because I like looking at TTRAK modules as “modeling snacks” and the wood is generally far cheaper than setup time is I like to build frames in batches and store them for future use. I recommend using a cut list generator to figure out how to get the best use out of your lumber for however many modules you want to build. I usually use this one for its old school charm.
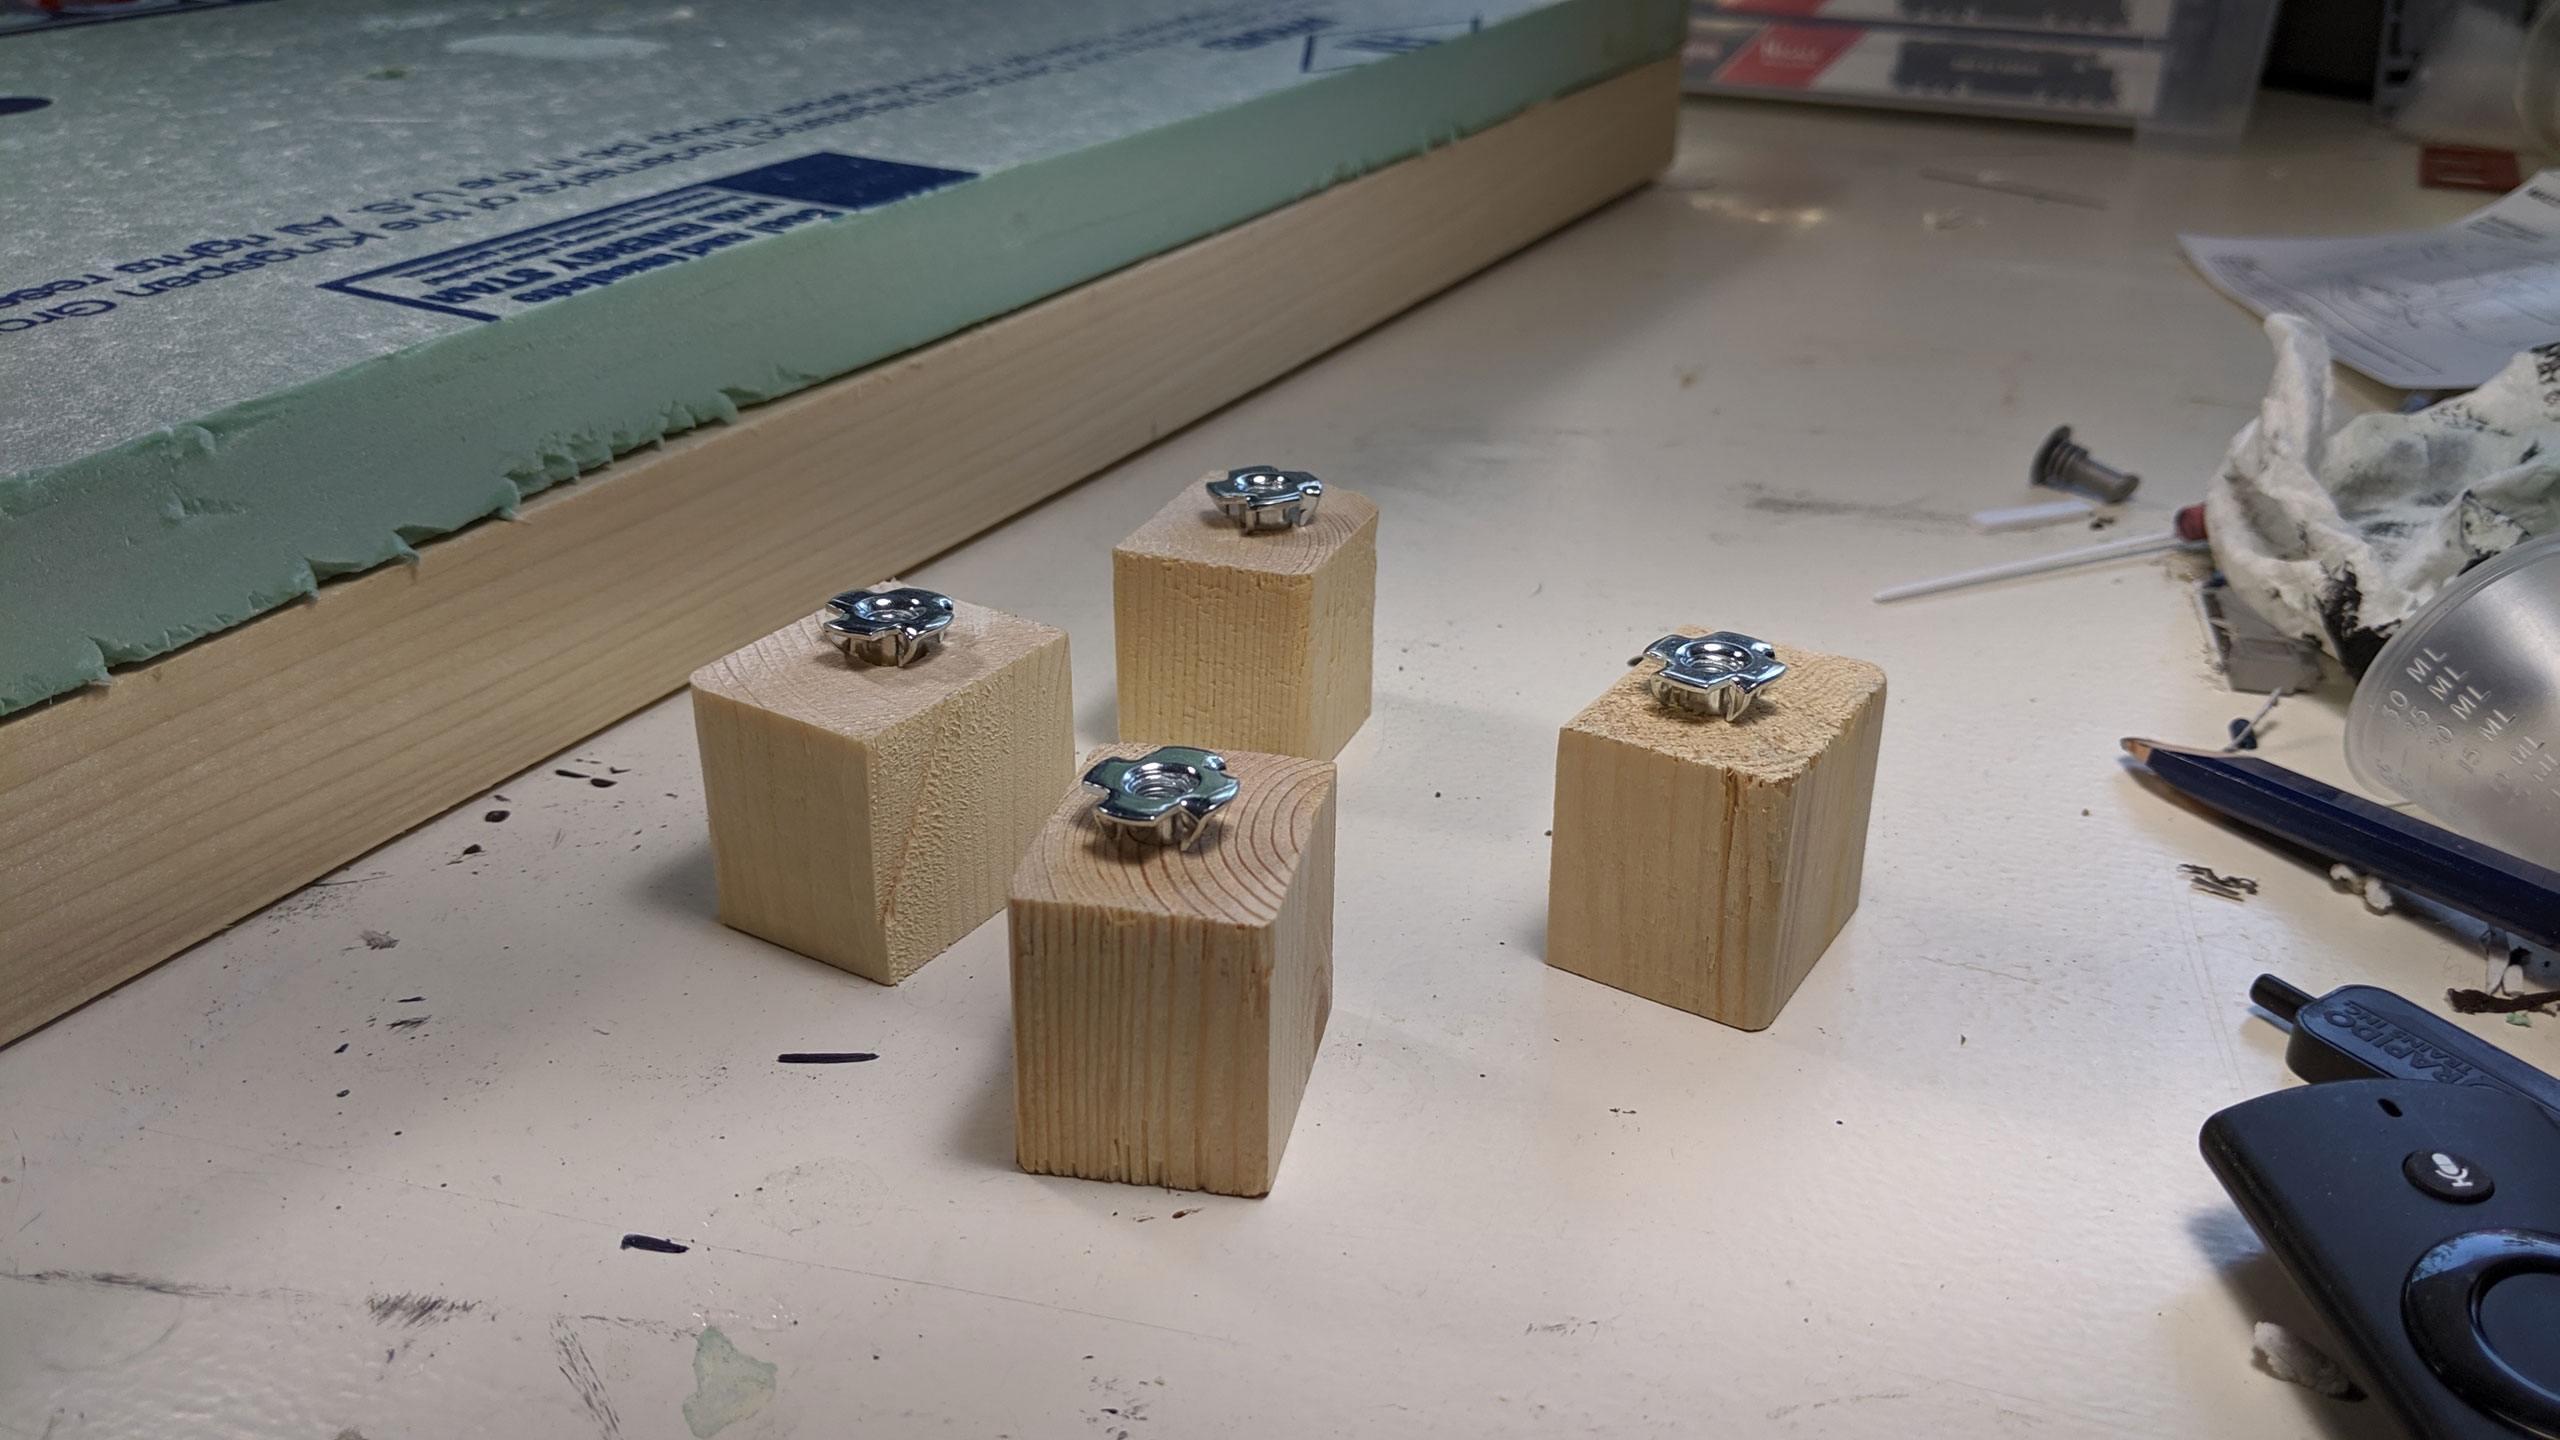
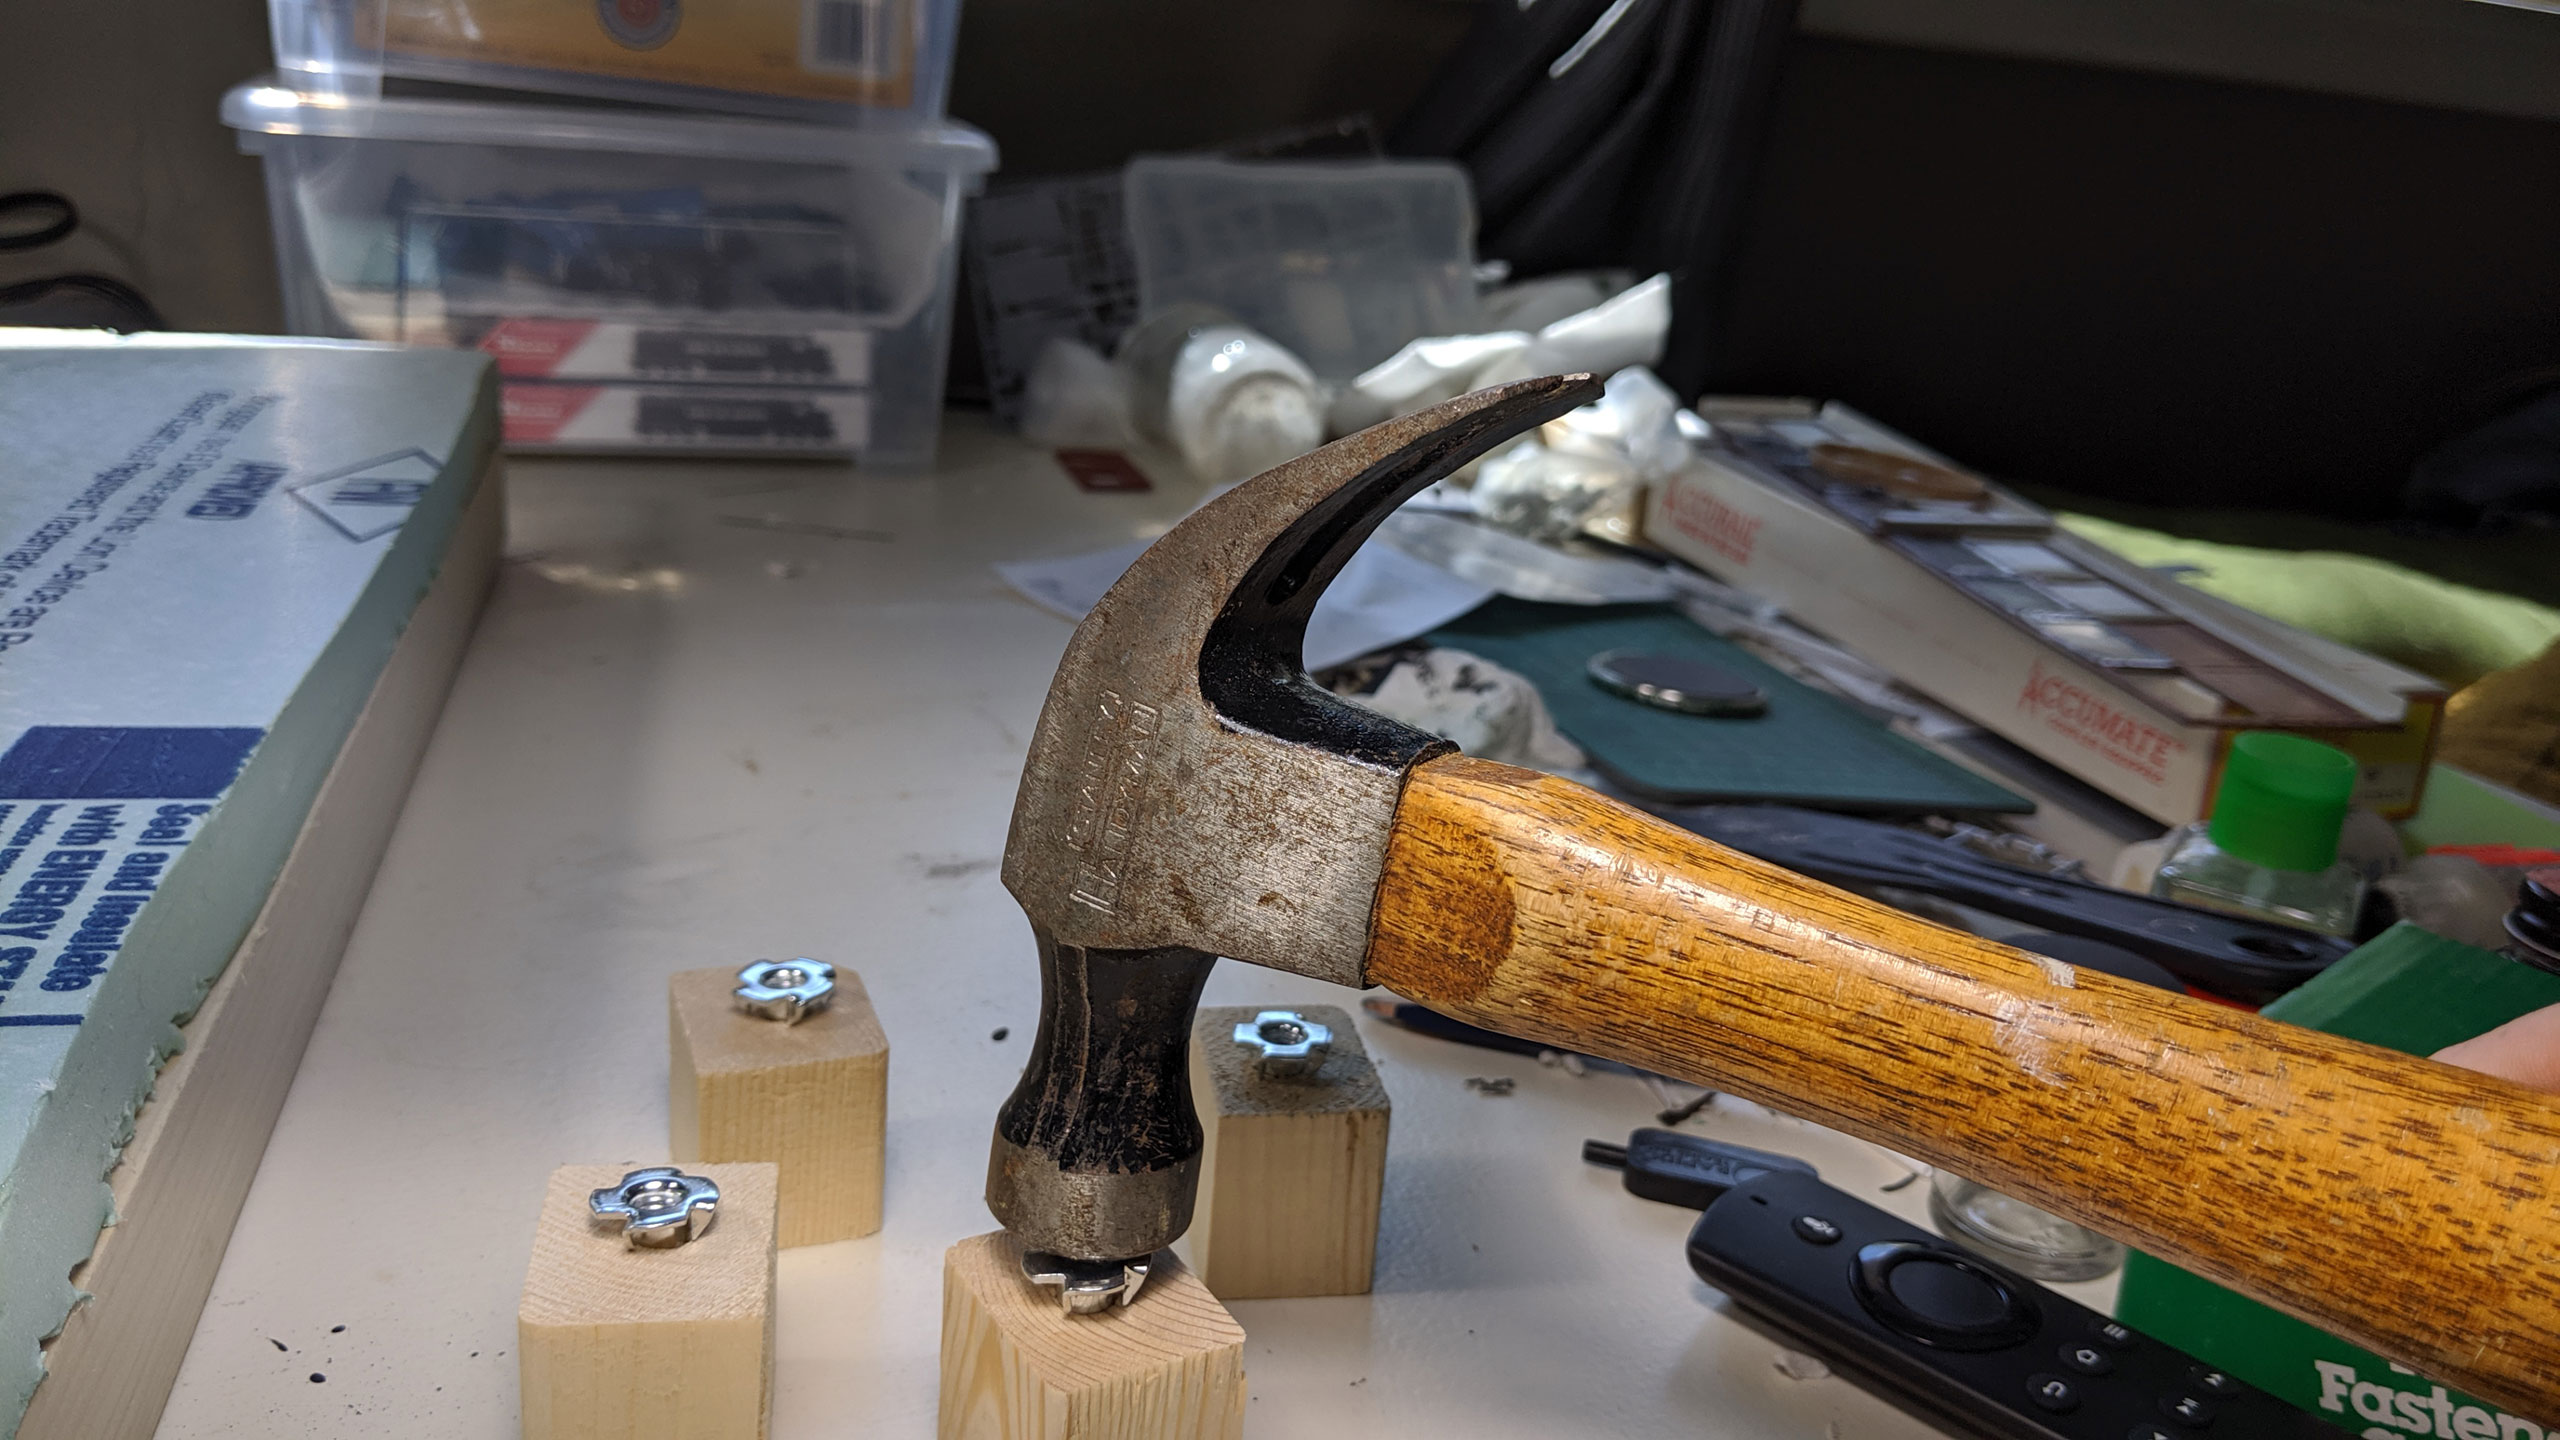
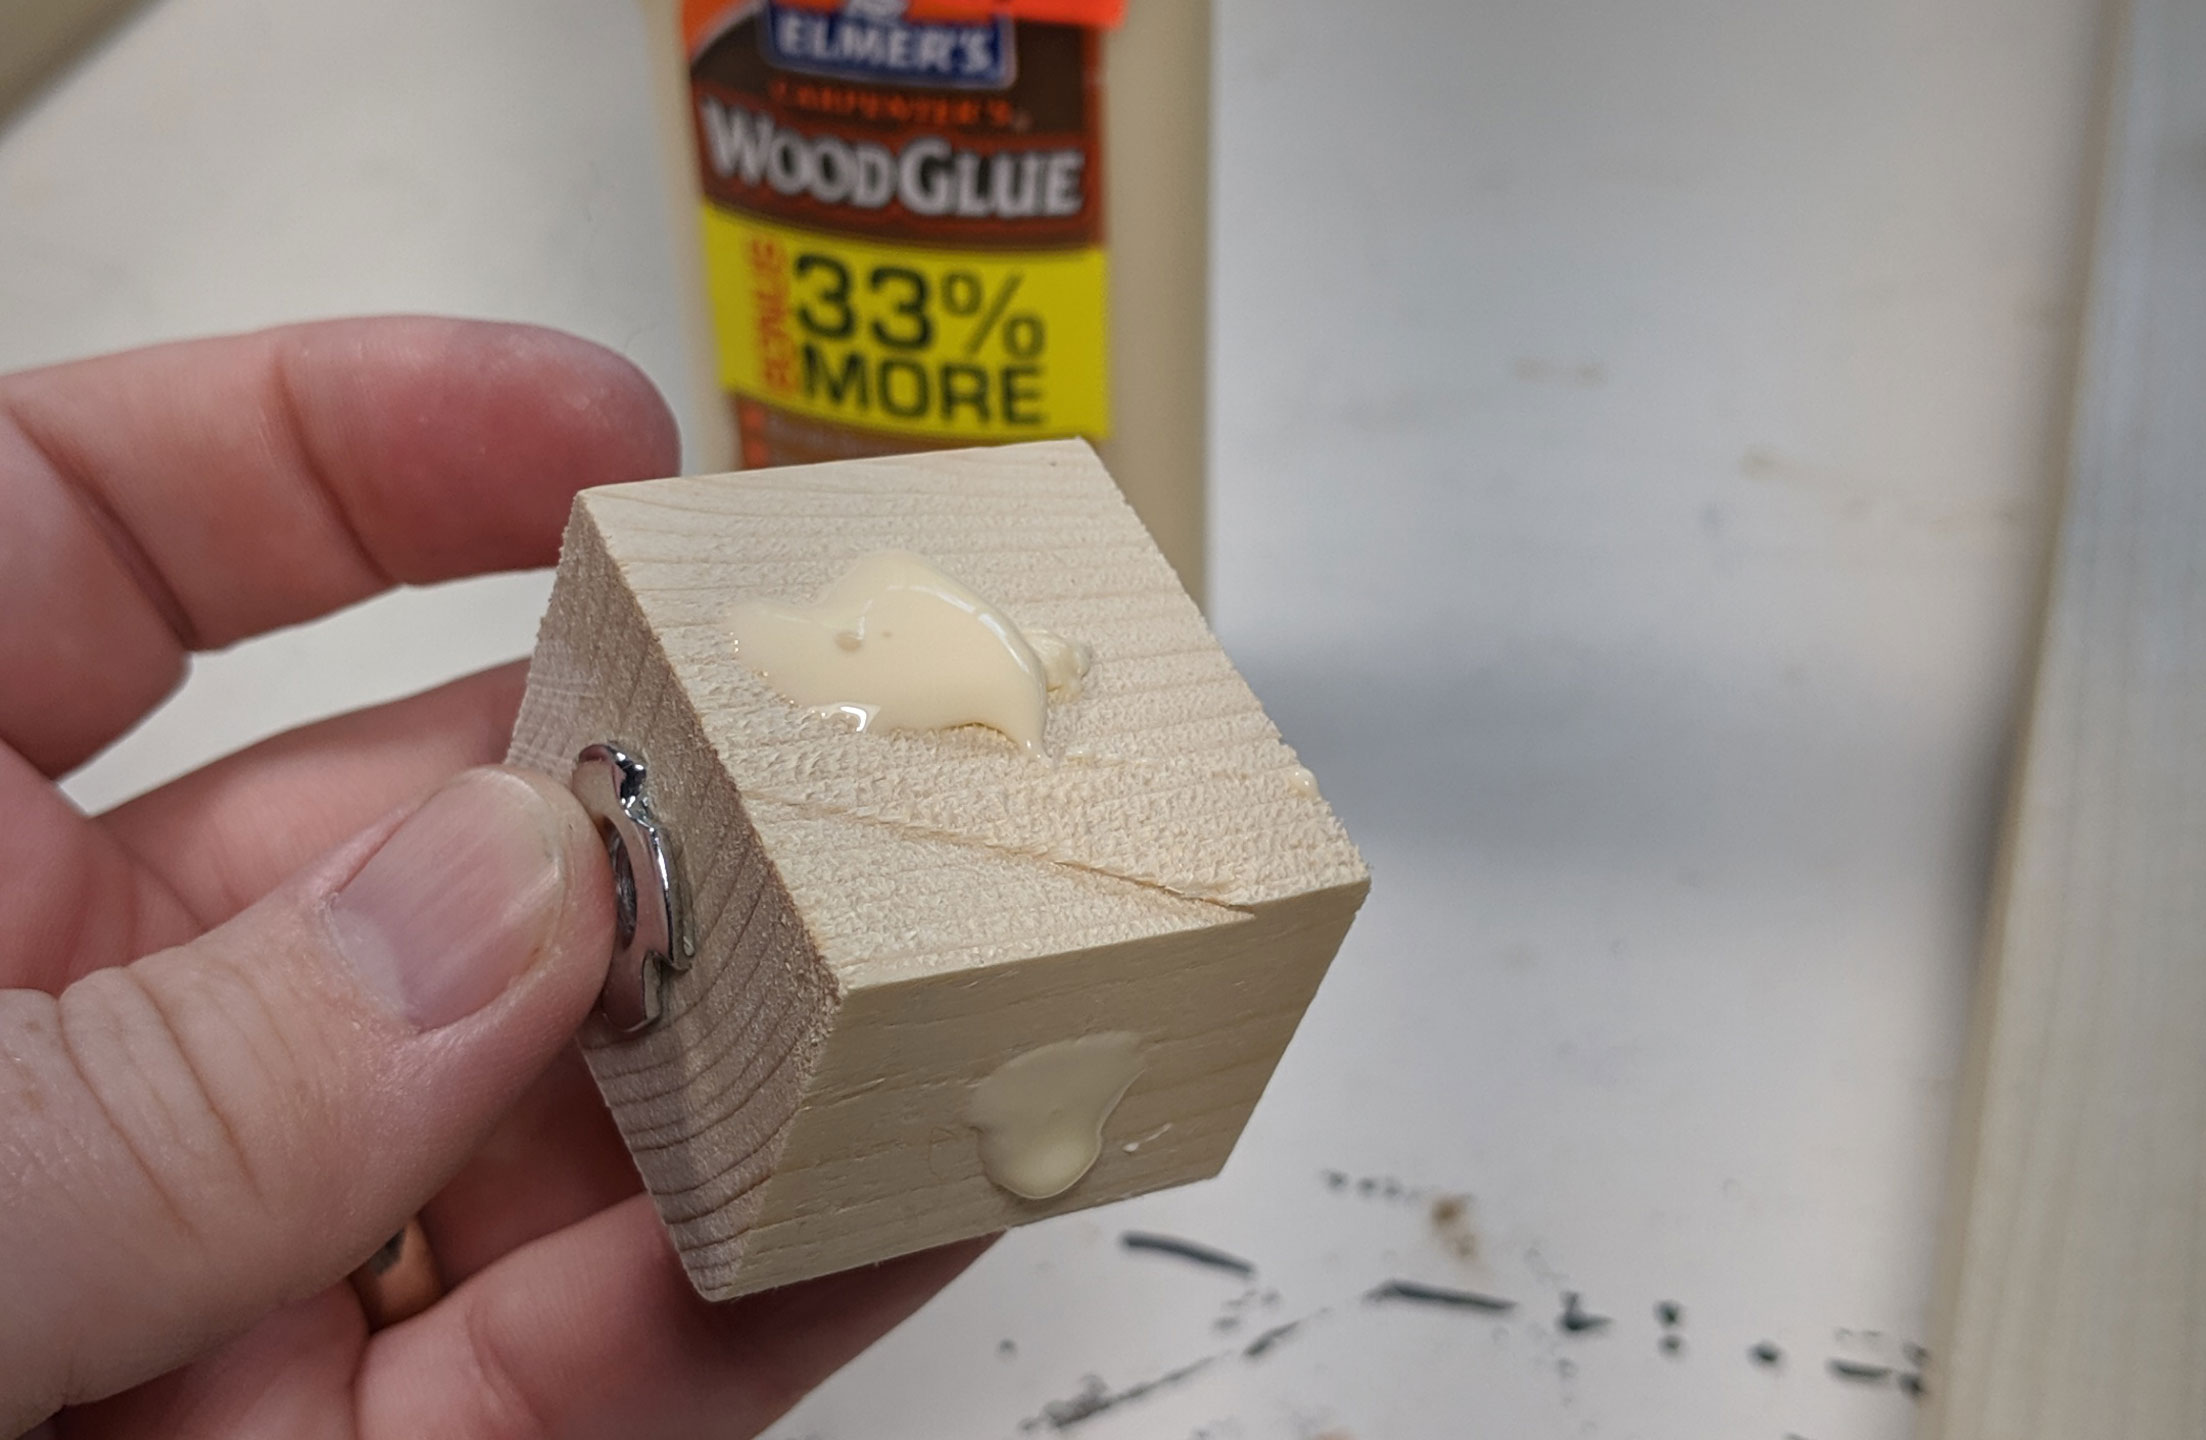
You’ll want to make corner pieces out of chunks of 2×2 dimensional lumber (although larger pieces are fine if you’ve got scrap 2x4s around to cut down. These serve two purposes: to brace the corners of the modules and to provide a place to drill through and hold the height adjustment bolts. I usually cut these to about 1.5″ lengths then bore a hole through the center for the t nut and bolt. Install the t nut before attaching the corner blocks by pounding them into the holes. On TTRAK modules I usually go with a 1″ bolt which will give you plenty of adjustment room. I’ve standardized on 1/4-20 hardware because it makes inventory keeping simple and getting it is usually pretty cheap (there are some good deals on it on Amazon).
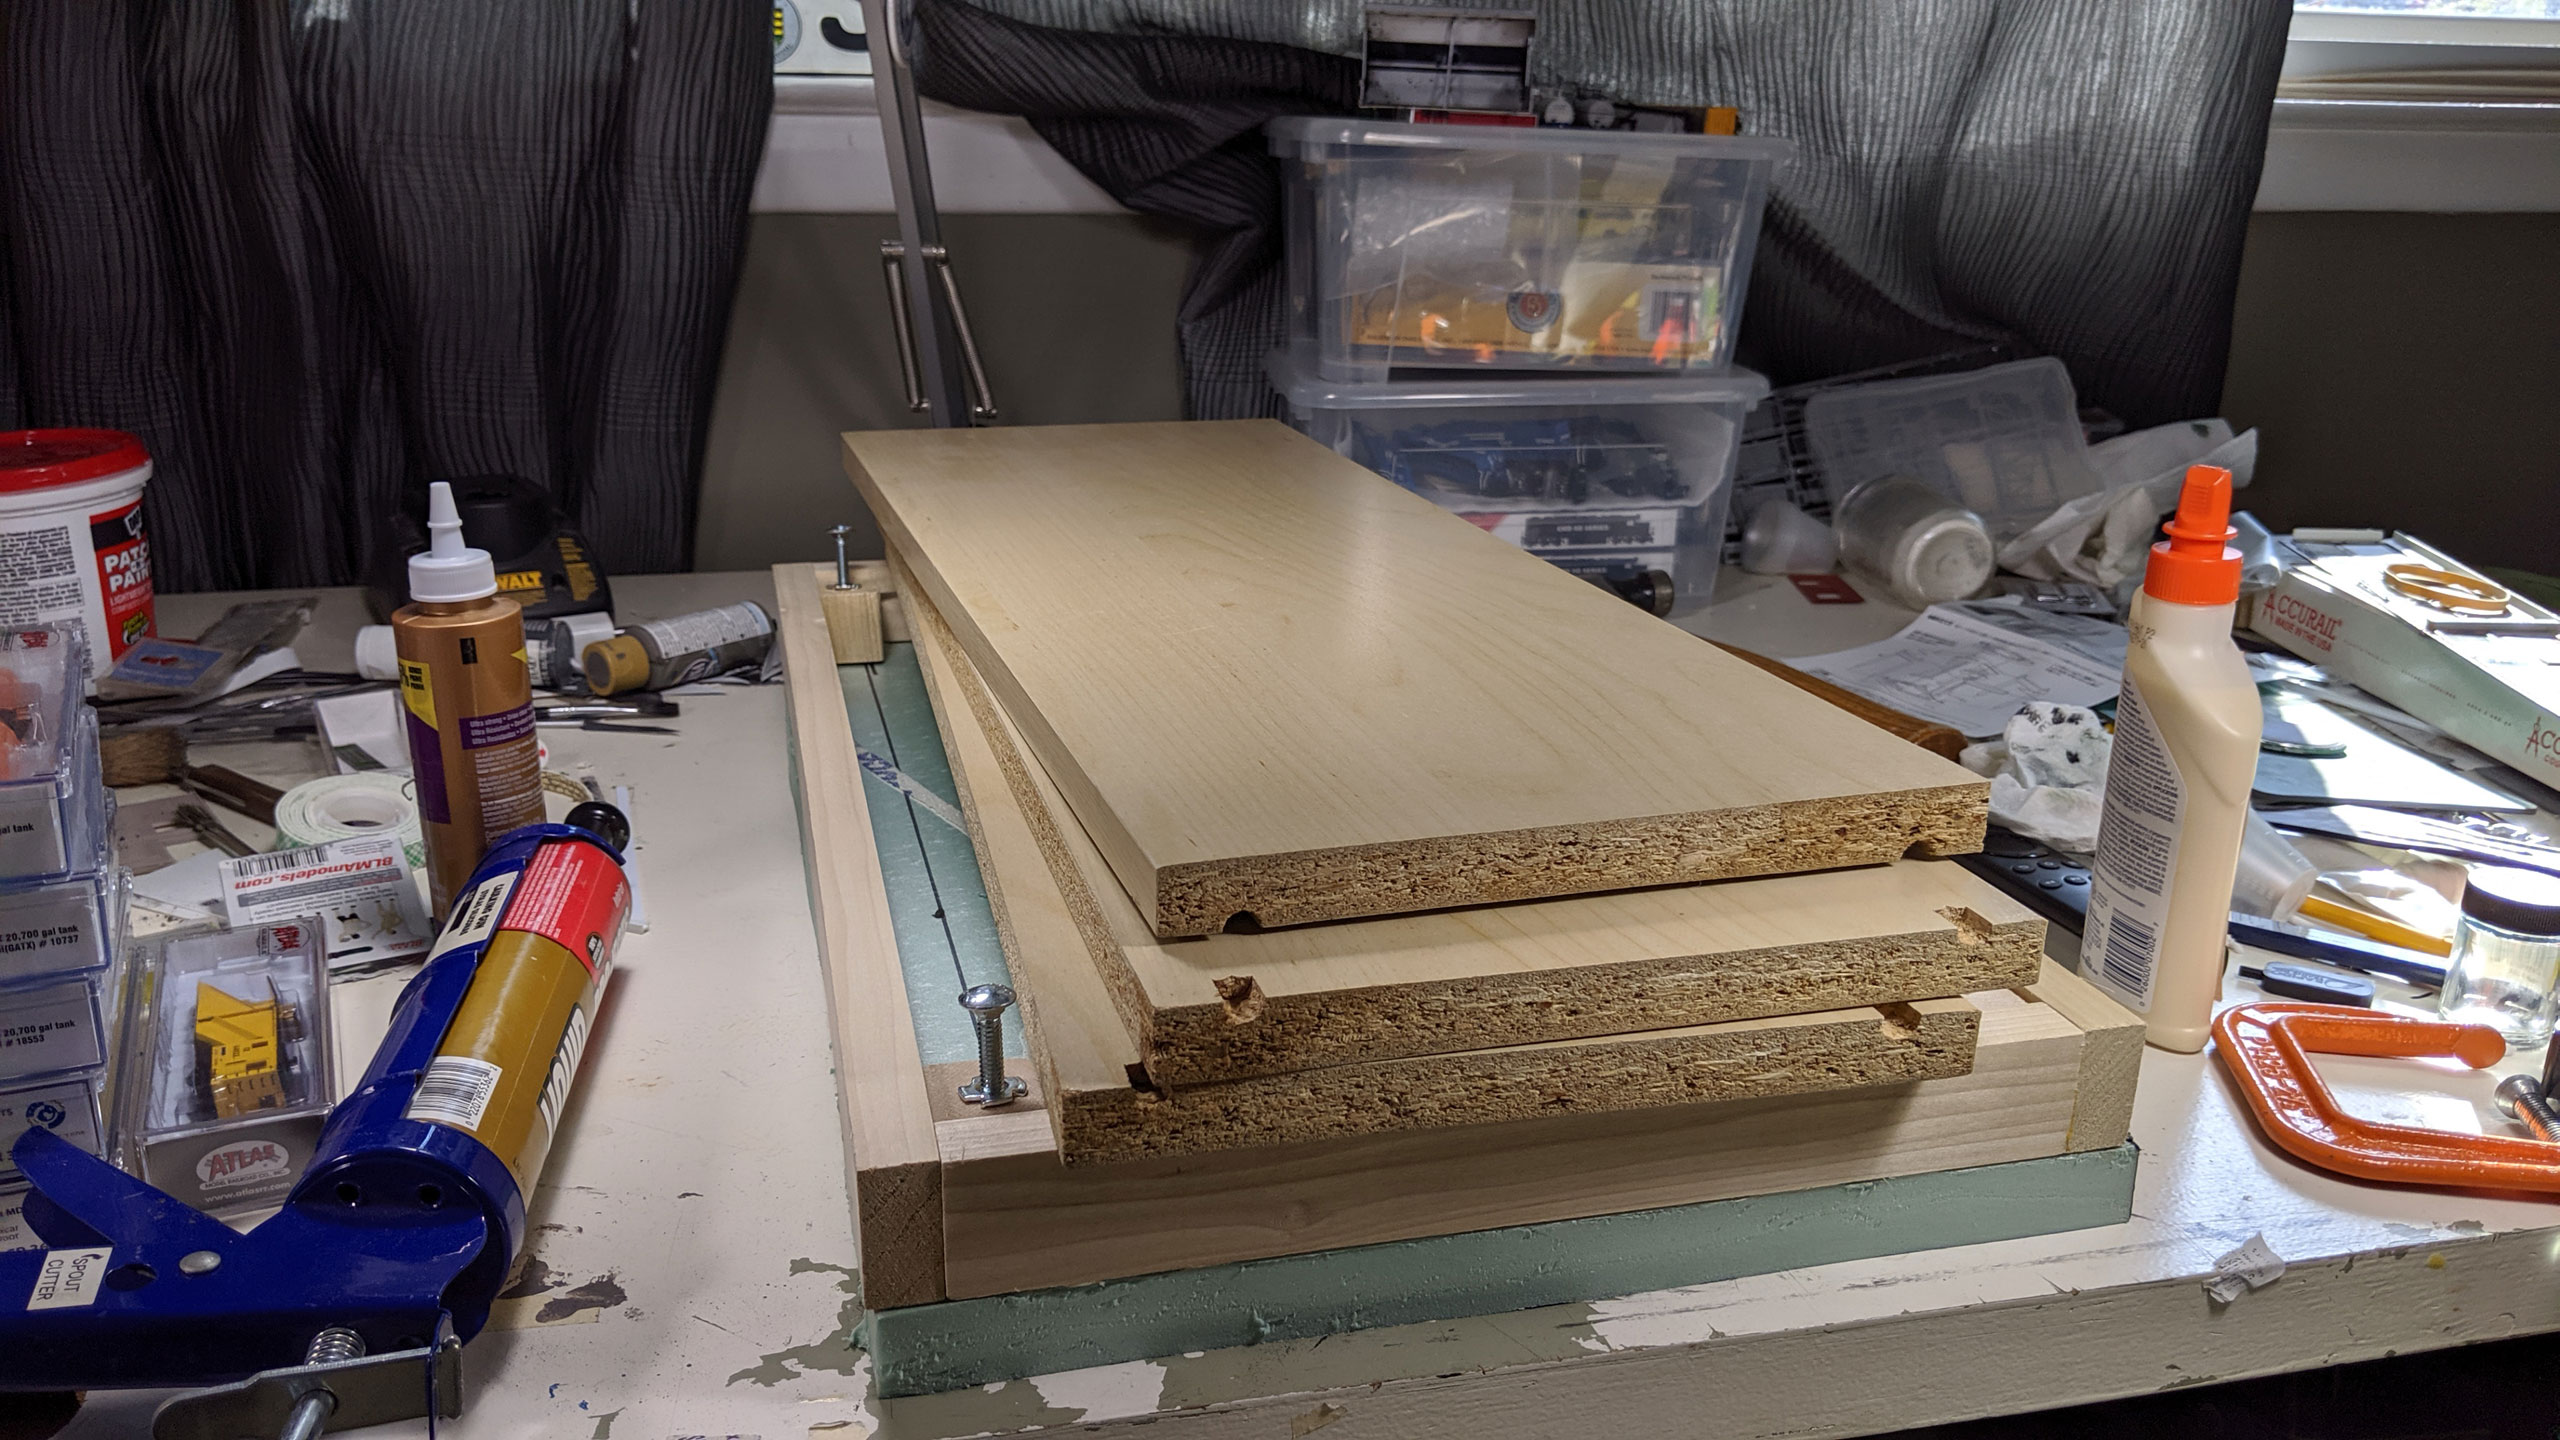
With the blocks in place I’ll get the top going. 1″ extruded polystyrene foam (the pink, blue or green stuff, NOT the white stuff) makes a perfect top. It’s easy to carve into and generally the right height to give you the proper elevation on the frame. I have a stash of the stuff but in this example you can see me re-using parts of my old Windsor St layout. I generally just place the frame down on it, trace it, and cut it with a large “snap off” style utility knife. Again, dimensions aren’t critical as long as the appropriate length of Unitrack, assembled, overhangs the ends by enough to mate up with its neighbor.

I use Liquid Nails for Projects to adhere the top to the frame. You can either use the handy project sized squeeze tube (I keep a few around) or the full size tube in a caulking gun. I orient the frame so the “recessed” end of the corner braces is facing down (so you can run the bolts in and clear the frame if you need to for transportation. Run a bead along the top of the frame and the top of the corner pieces and press the top down onto it.
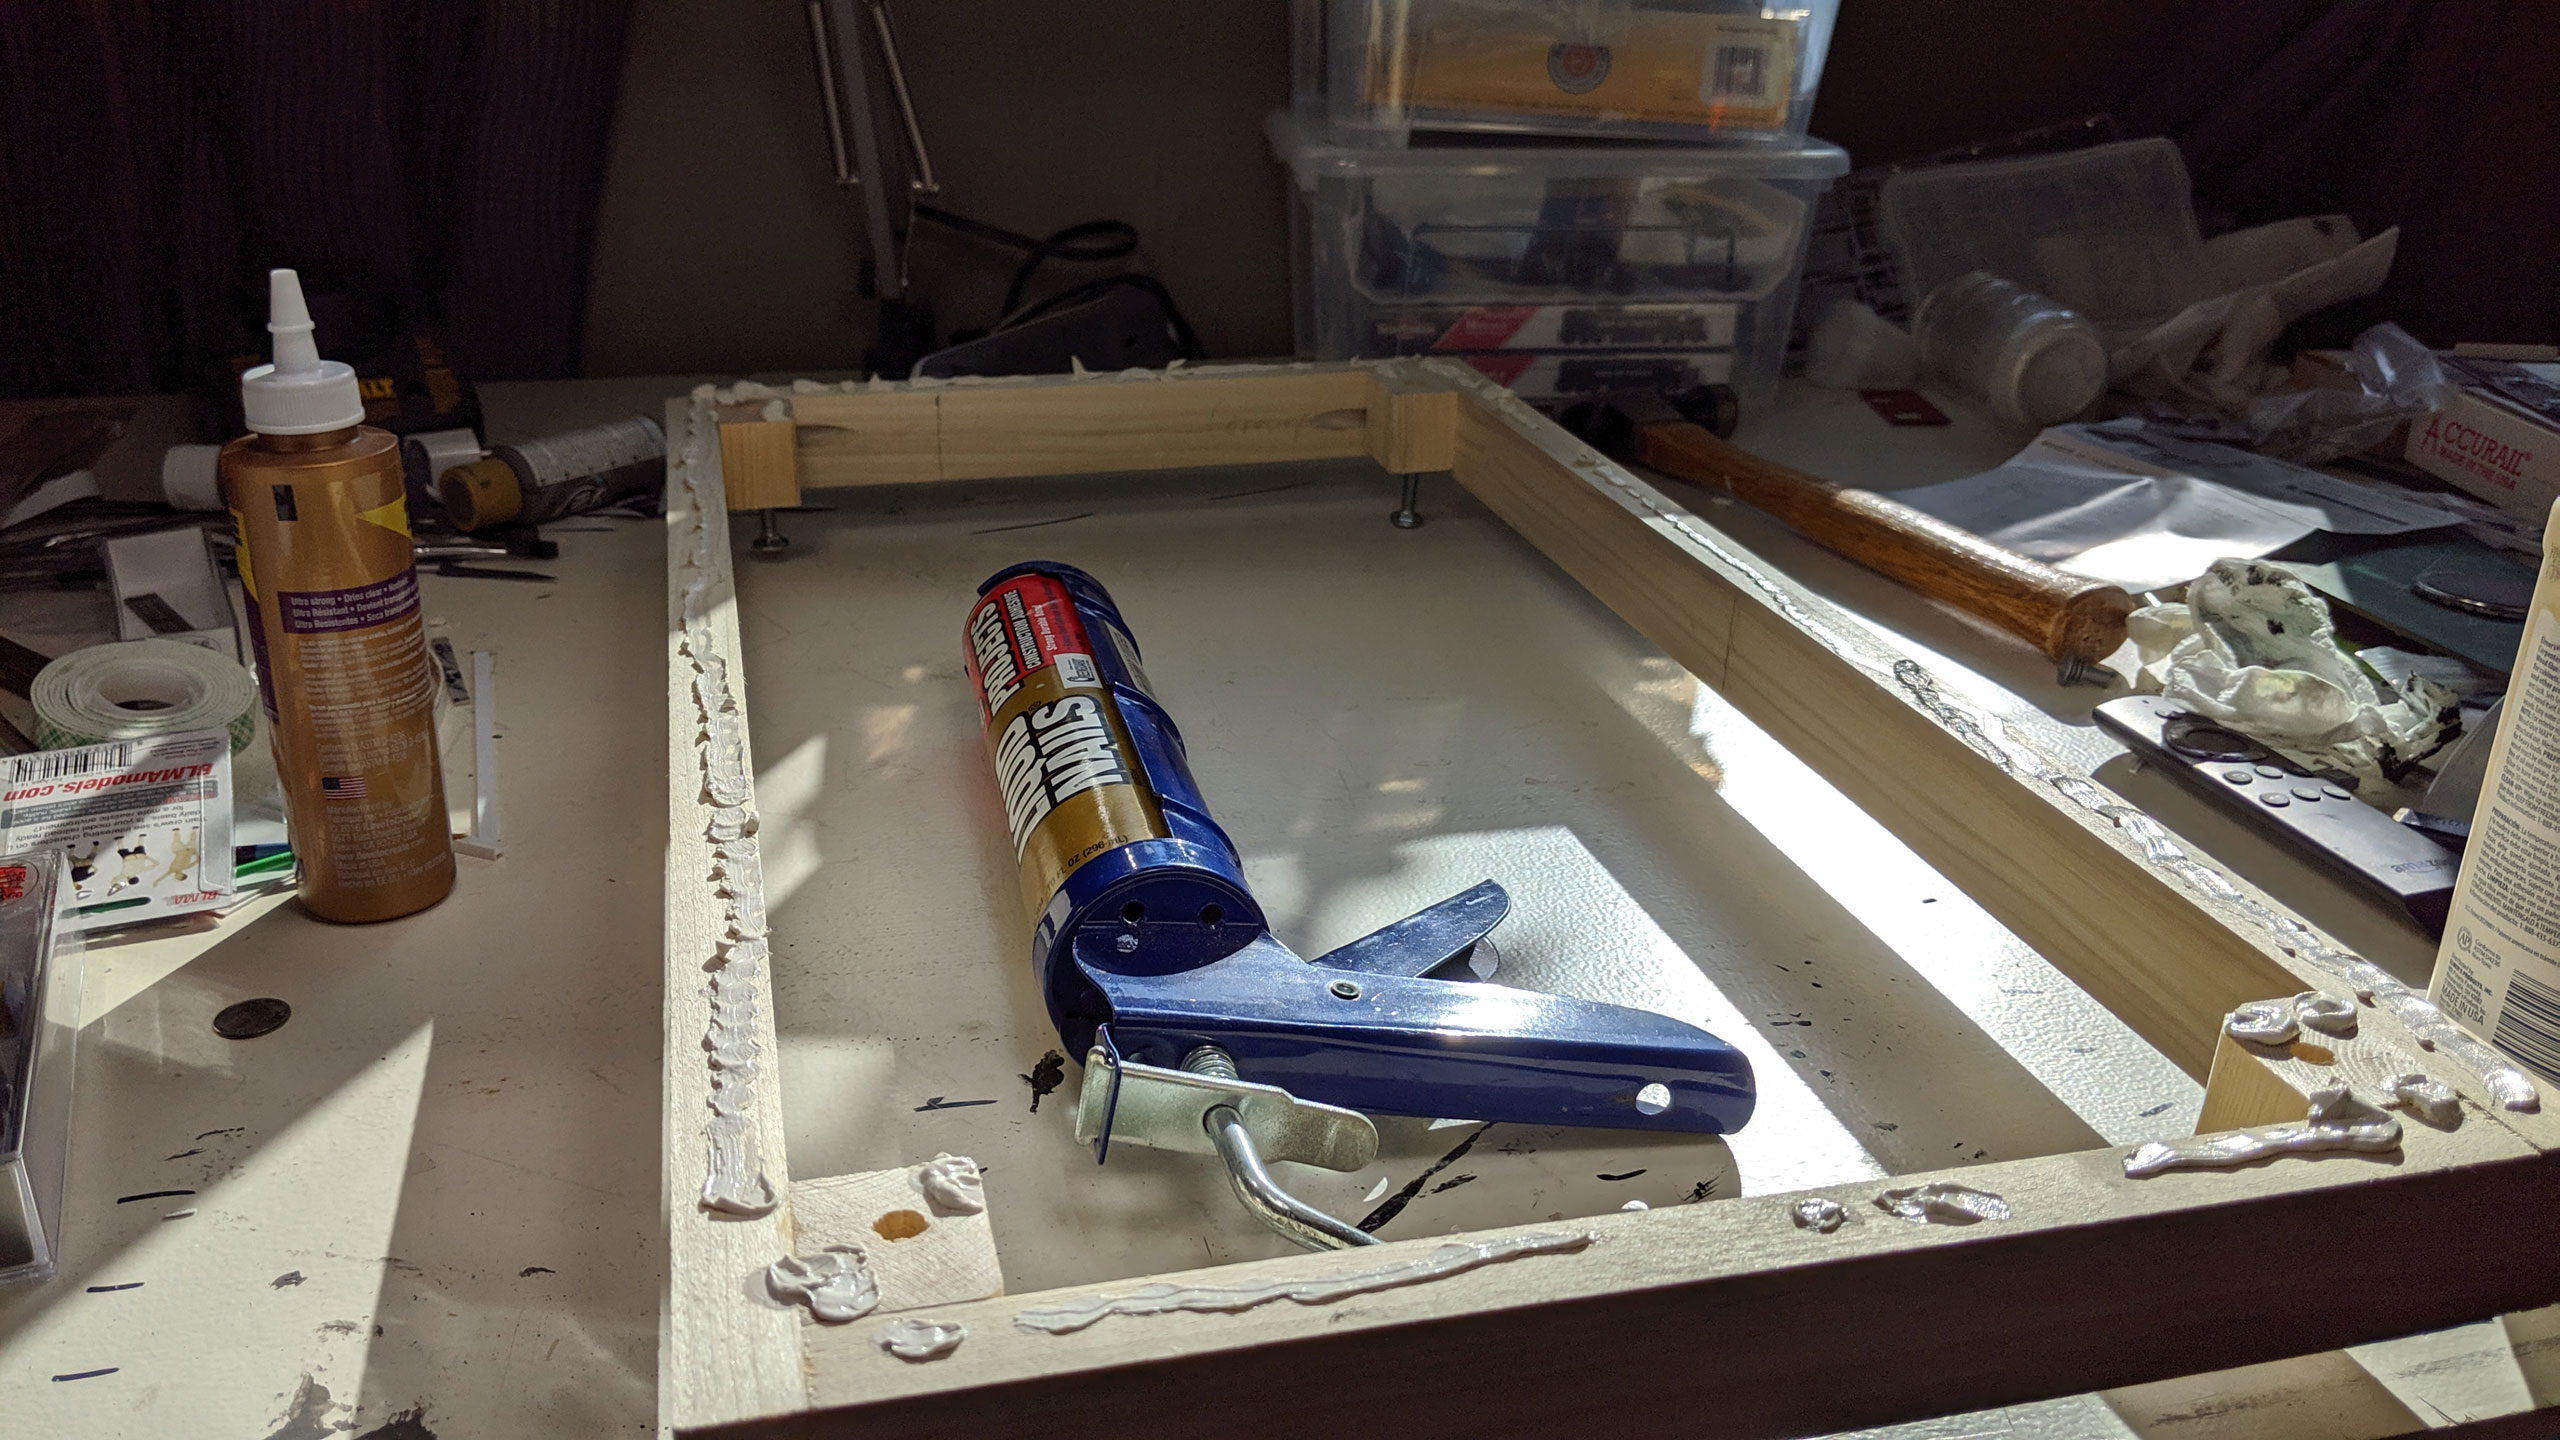
It’s also helpful to then weight the whole thing down while it dries. I had some old shelves floating around and they worked perfectly.
Once everything has dried, it’s time to lay some track. I do this by pre-assembling the Unitrack how you’ll like it, then sitting it on the deck. I’ve used a bunch of tools for poking holes for feeders (remember, BWWB front to back) including actual drill bits or my handy utility knife. Just do your best to keep the hole INSIDE the profile of the track so you don’t have to patch it.
I’ve tried numerous adhesives for attaching the track itself including the same liquid nails I used for the top, but recently I’ve been a fan of running a bead of Aileen’s Tacky Glue along the outside of the “ballast edge” of the track and holding it all in place while it dries. That makes it easy to “undo” things, gives it just a bit of “give” but still holds things down sufficiently (at least in my testing).
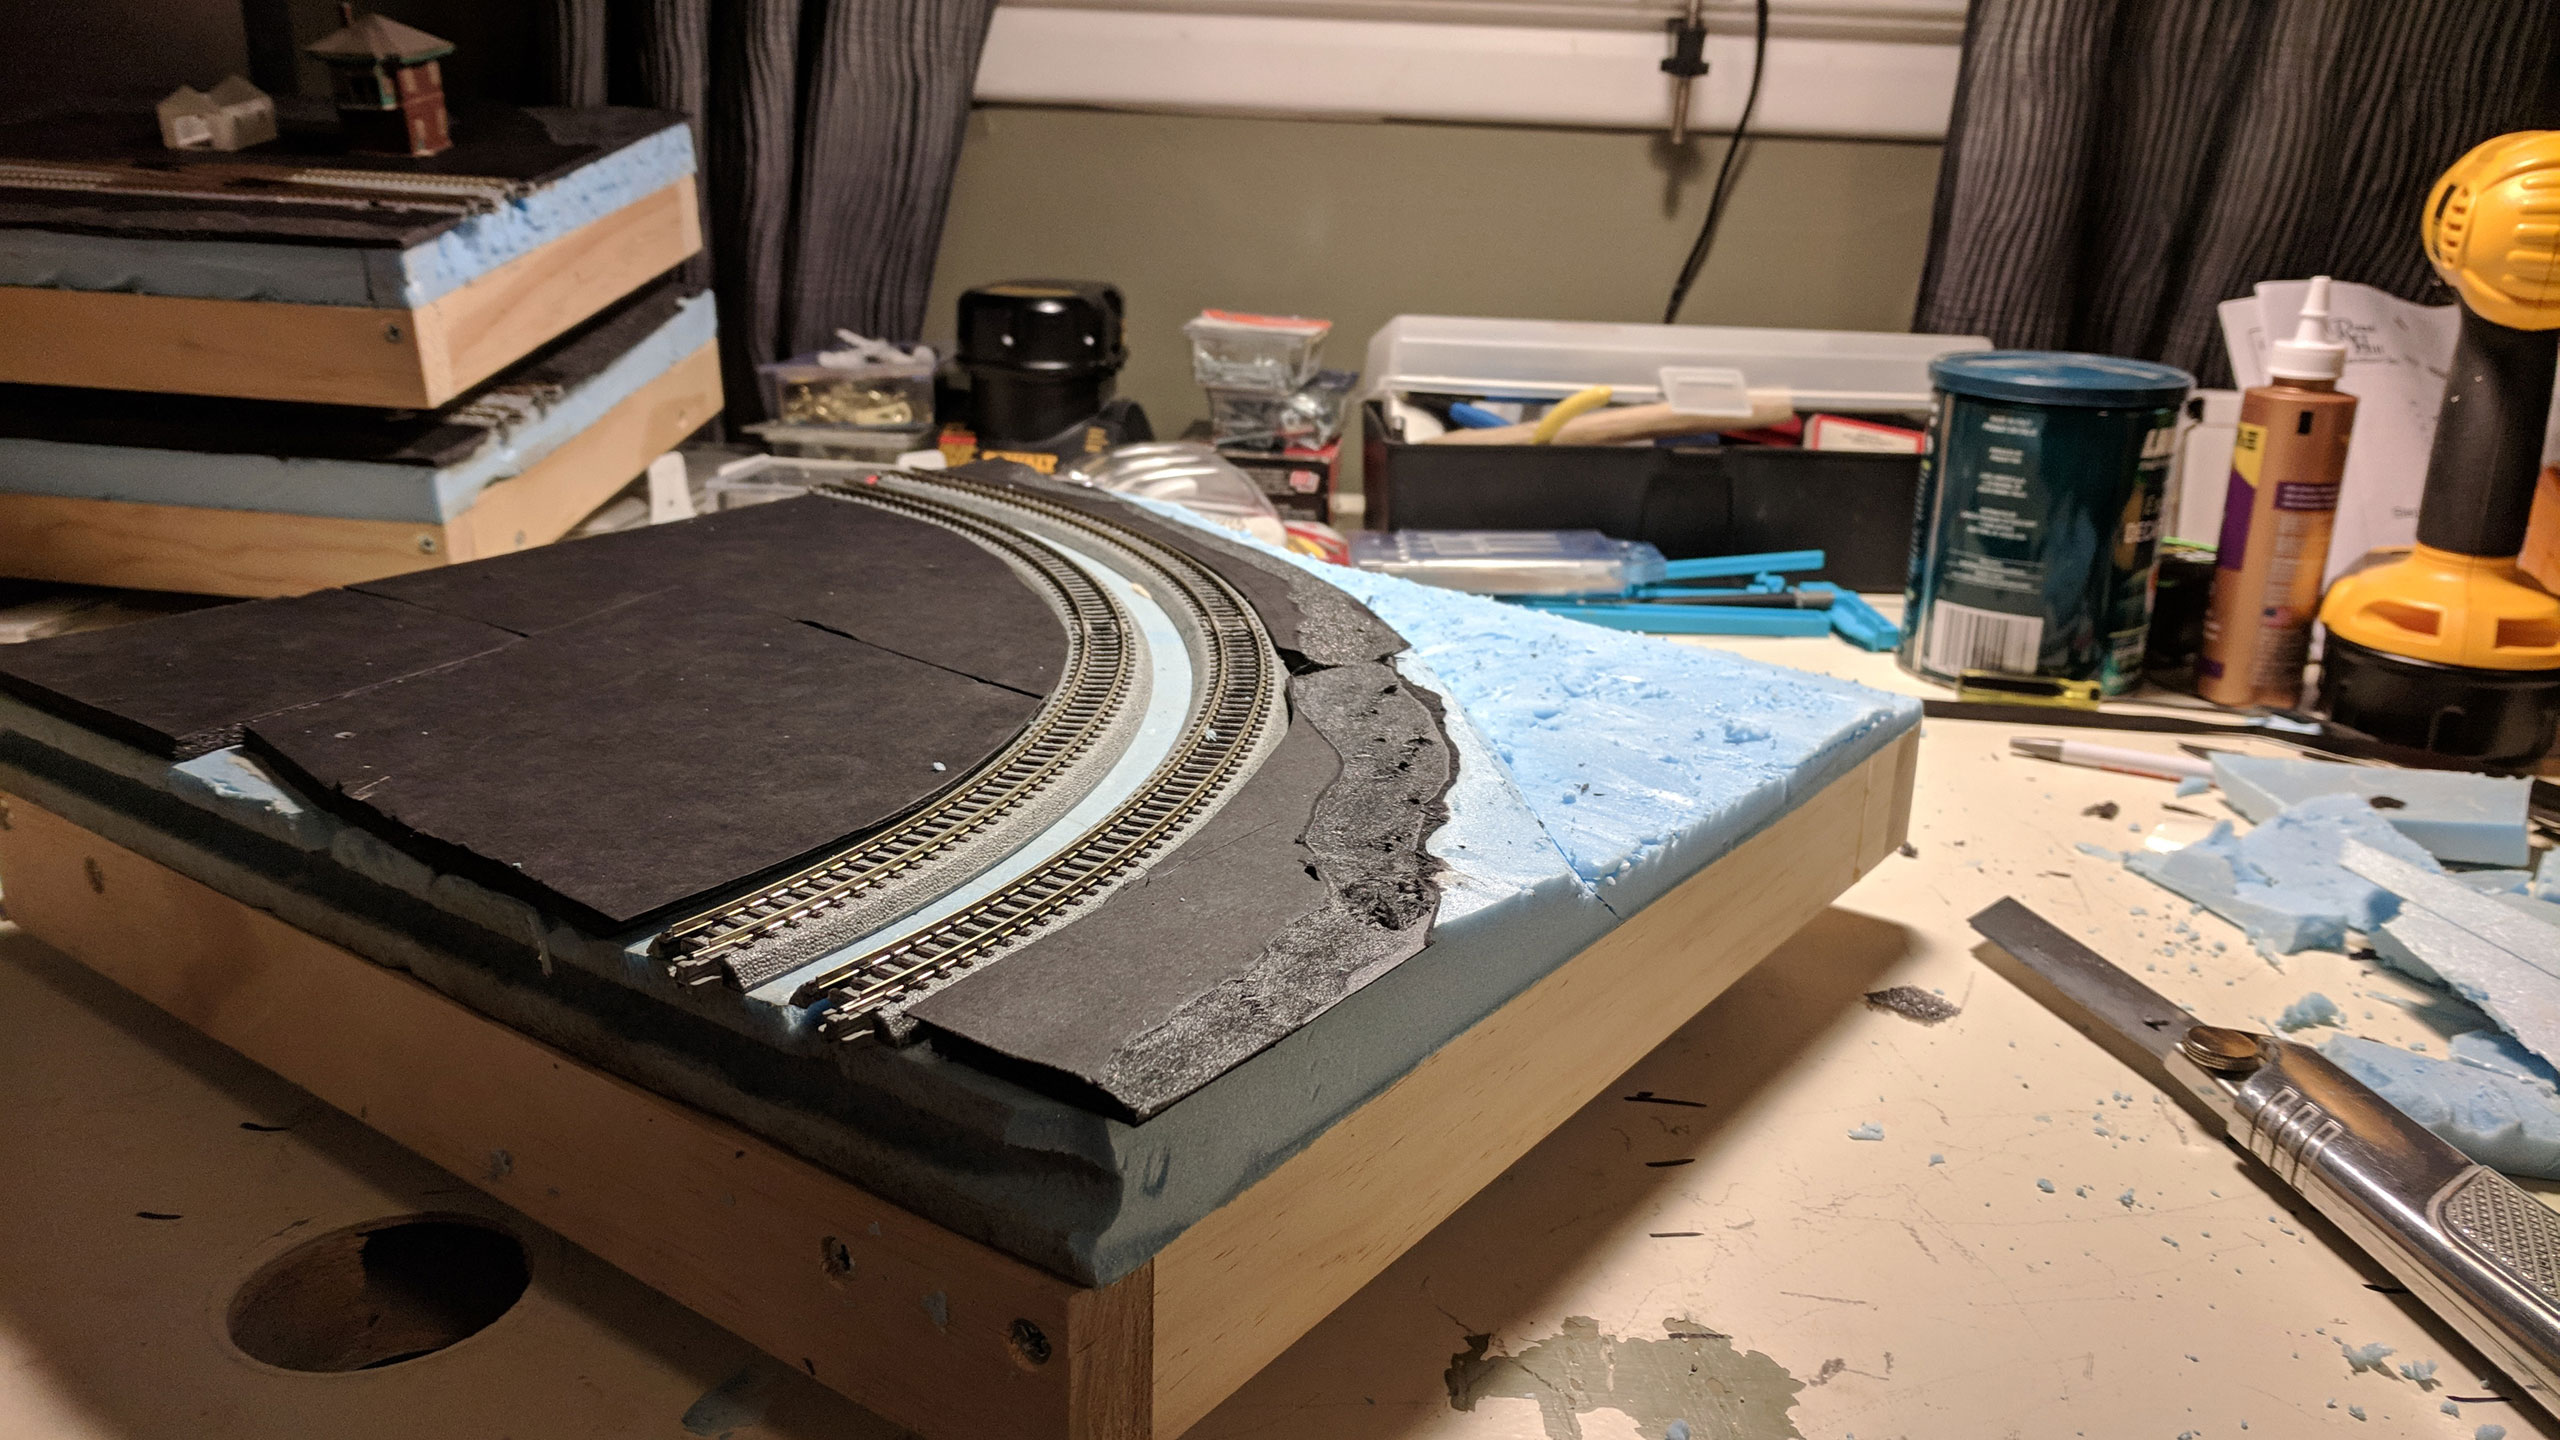
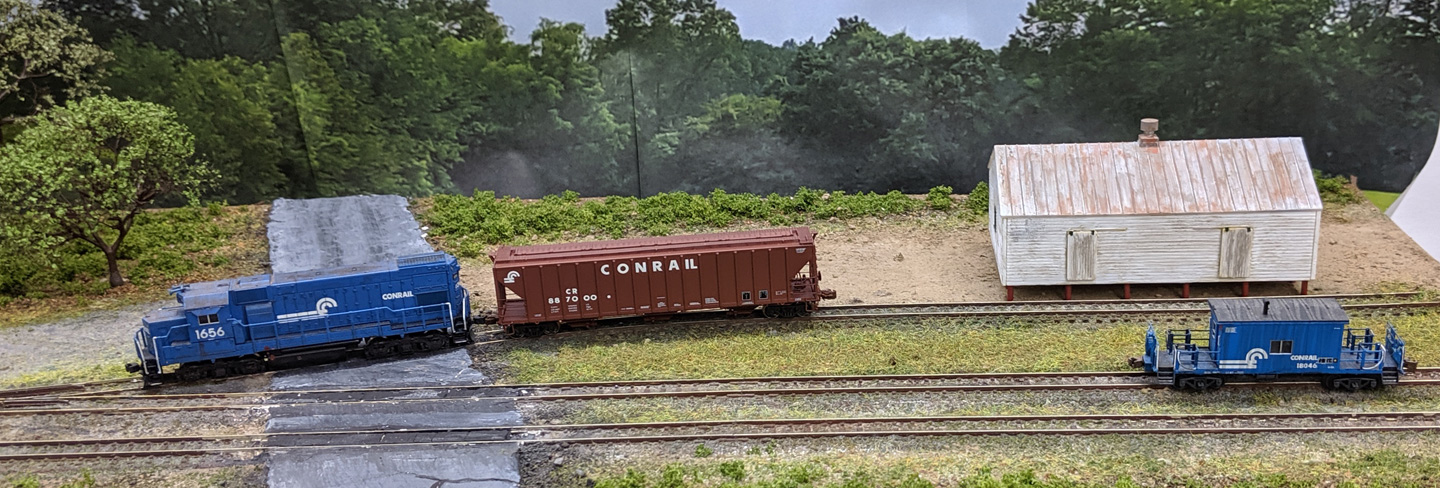
Lastly, as a pro-tip, if you dislike the look of Unitrack as much as I do, you can use a number of tricks to hide it. Chief among them is burying it in the surrounding ground and painting it. The photos below illustrate the effect on a couple of different modules (at varying degrees of completion).