I’m a big fan of TTRAK. I think the format opens the fun and benefits of modular model railroading to a wider audience because of the ease of construction and transportation that its format affords. But because I’ve always cared about the aesthetics of what I build, TTRAK has always had a huge drawback in its aesthetics: you have to use Kato Unitrack.

Unitrack is a wonderful product. Without it, TTRAK would be impossible. This is because of the magic of the Unijoiner. Unijoiners are the proprietary rail joiners that Unitrack uses that provides alignment, electrical connectivity, and most importantly, positive connection, between sections of track. The Unijoiner is critical to the format because, in addition to joining tracks within a module, it is the sole method used to keep adjoining modules connected. With other modular formats, this can be accomplished with bolts or clamps, but due to the lack of clearance under TTRAK modules, there is no easy method to connect them without the integrated “snap in” feature of the Unijoiner.
There is another aspect of Unitrack that greatly improves the “usability” of TTRAK: because of the available Unitrack components are all engineered to work together in a “system”, you can be relatively sure that any TTRAK module will “fit” and be compatible with others. All of the straight track lengths are multiples of 62mm (except for a very few oddballs), almost anything that works with multiple tracks (like switches or double track sections) will space those tracks at 33mm apart (the TTRAK standard track spacing) and curves are available in radii that correspond to that same 33mm spacing. These standards ensure the interoperability of modules by design because they make doing the most correct thing the easiest path, and even if someone does do something non-standard (like making a module that isn’t a multiple of the basic TTRAK module length), it’s very easy to “fix” a layout during setup with an assortment of the standard Unitrack pieces.

For years, however, I’ve thought about how to use non-Unitrack track on TTRAK modules. This is because I want the more prototypical appearance of other track products and also wish it were possible to use track geometries that Unitrack components do not provide (broader curves featuring easements, for example). I have seen some solutions attempted, including only using short Unitrack pieces on the ends of modules or removing and replacing the rails themselves, but neither of these solutions really fit my criteria or completely solved the problem I had.
In order to solve the problem I have designed 3D printable roadbed that emulates the roadbed in Unitrack that can have different track attached. This roadbed incorporates spaces at the ends of pieces that accept Kato Unijoiners and is designed in lengths that correspond to or are compatible with Unitrack standards.

The roadbed is used by cutting a length of alternative track product (Micro Engineering Code 55, for example) to the length of the printed roadbed section, removing the last few ties, and glueing it and the roadbed together. Slip a Unijoiner in the left pocket at the end, and you suddenly have a piece of Code 55 track that can mate right up to standard Unitrack.

There is only one potential problem that I have encountered in my use of the track, and that is that there is a slight height difference between the head of Unitrack rails and the head of the Code 55 rails. This, of course makes sense: Code 55 rail is .055″ tall, and Unitrack rail (roughly equivalent to Code 70) is .070″ tall. This results in a small bump where the two different rail heights meet, but in my testing this has not proven to be any more of a problem than any other rail joints between modules, especially ones that might meet at slightly different angles. You’d be surprised how truly “up and down” joints between modules can be, even with the “bullet proof” Unitrack and Unijoiner combination.
I used TinkerCad to create my 3D models because they are actually relatively simple, and TinkerCad makes it easy to create, edit, and share them. I am releasing the models as open source under a Creative Commons “Attribution-ShareAlike 3.0(CC-BY-SA 3.0)” license. This means that you are able to copy them, make variations, and share them as long as you share attribution (tell people that I originally created them), and not benefit commercially from them.
Access the TinkerCAD File here or download the STL File.
I have created a separate post on this site about actually using this stuff on a TTRAK module. If you want to see how it works, check out Using my “Hacked Unitrack” on a TTRAK Module.
I have also created a “Technology Demonstrator” module to show this stuff off, along with some other innovations. You may want to check that blog post out too.
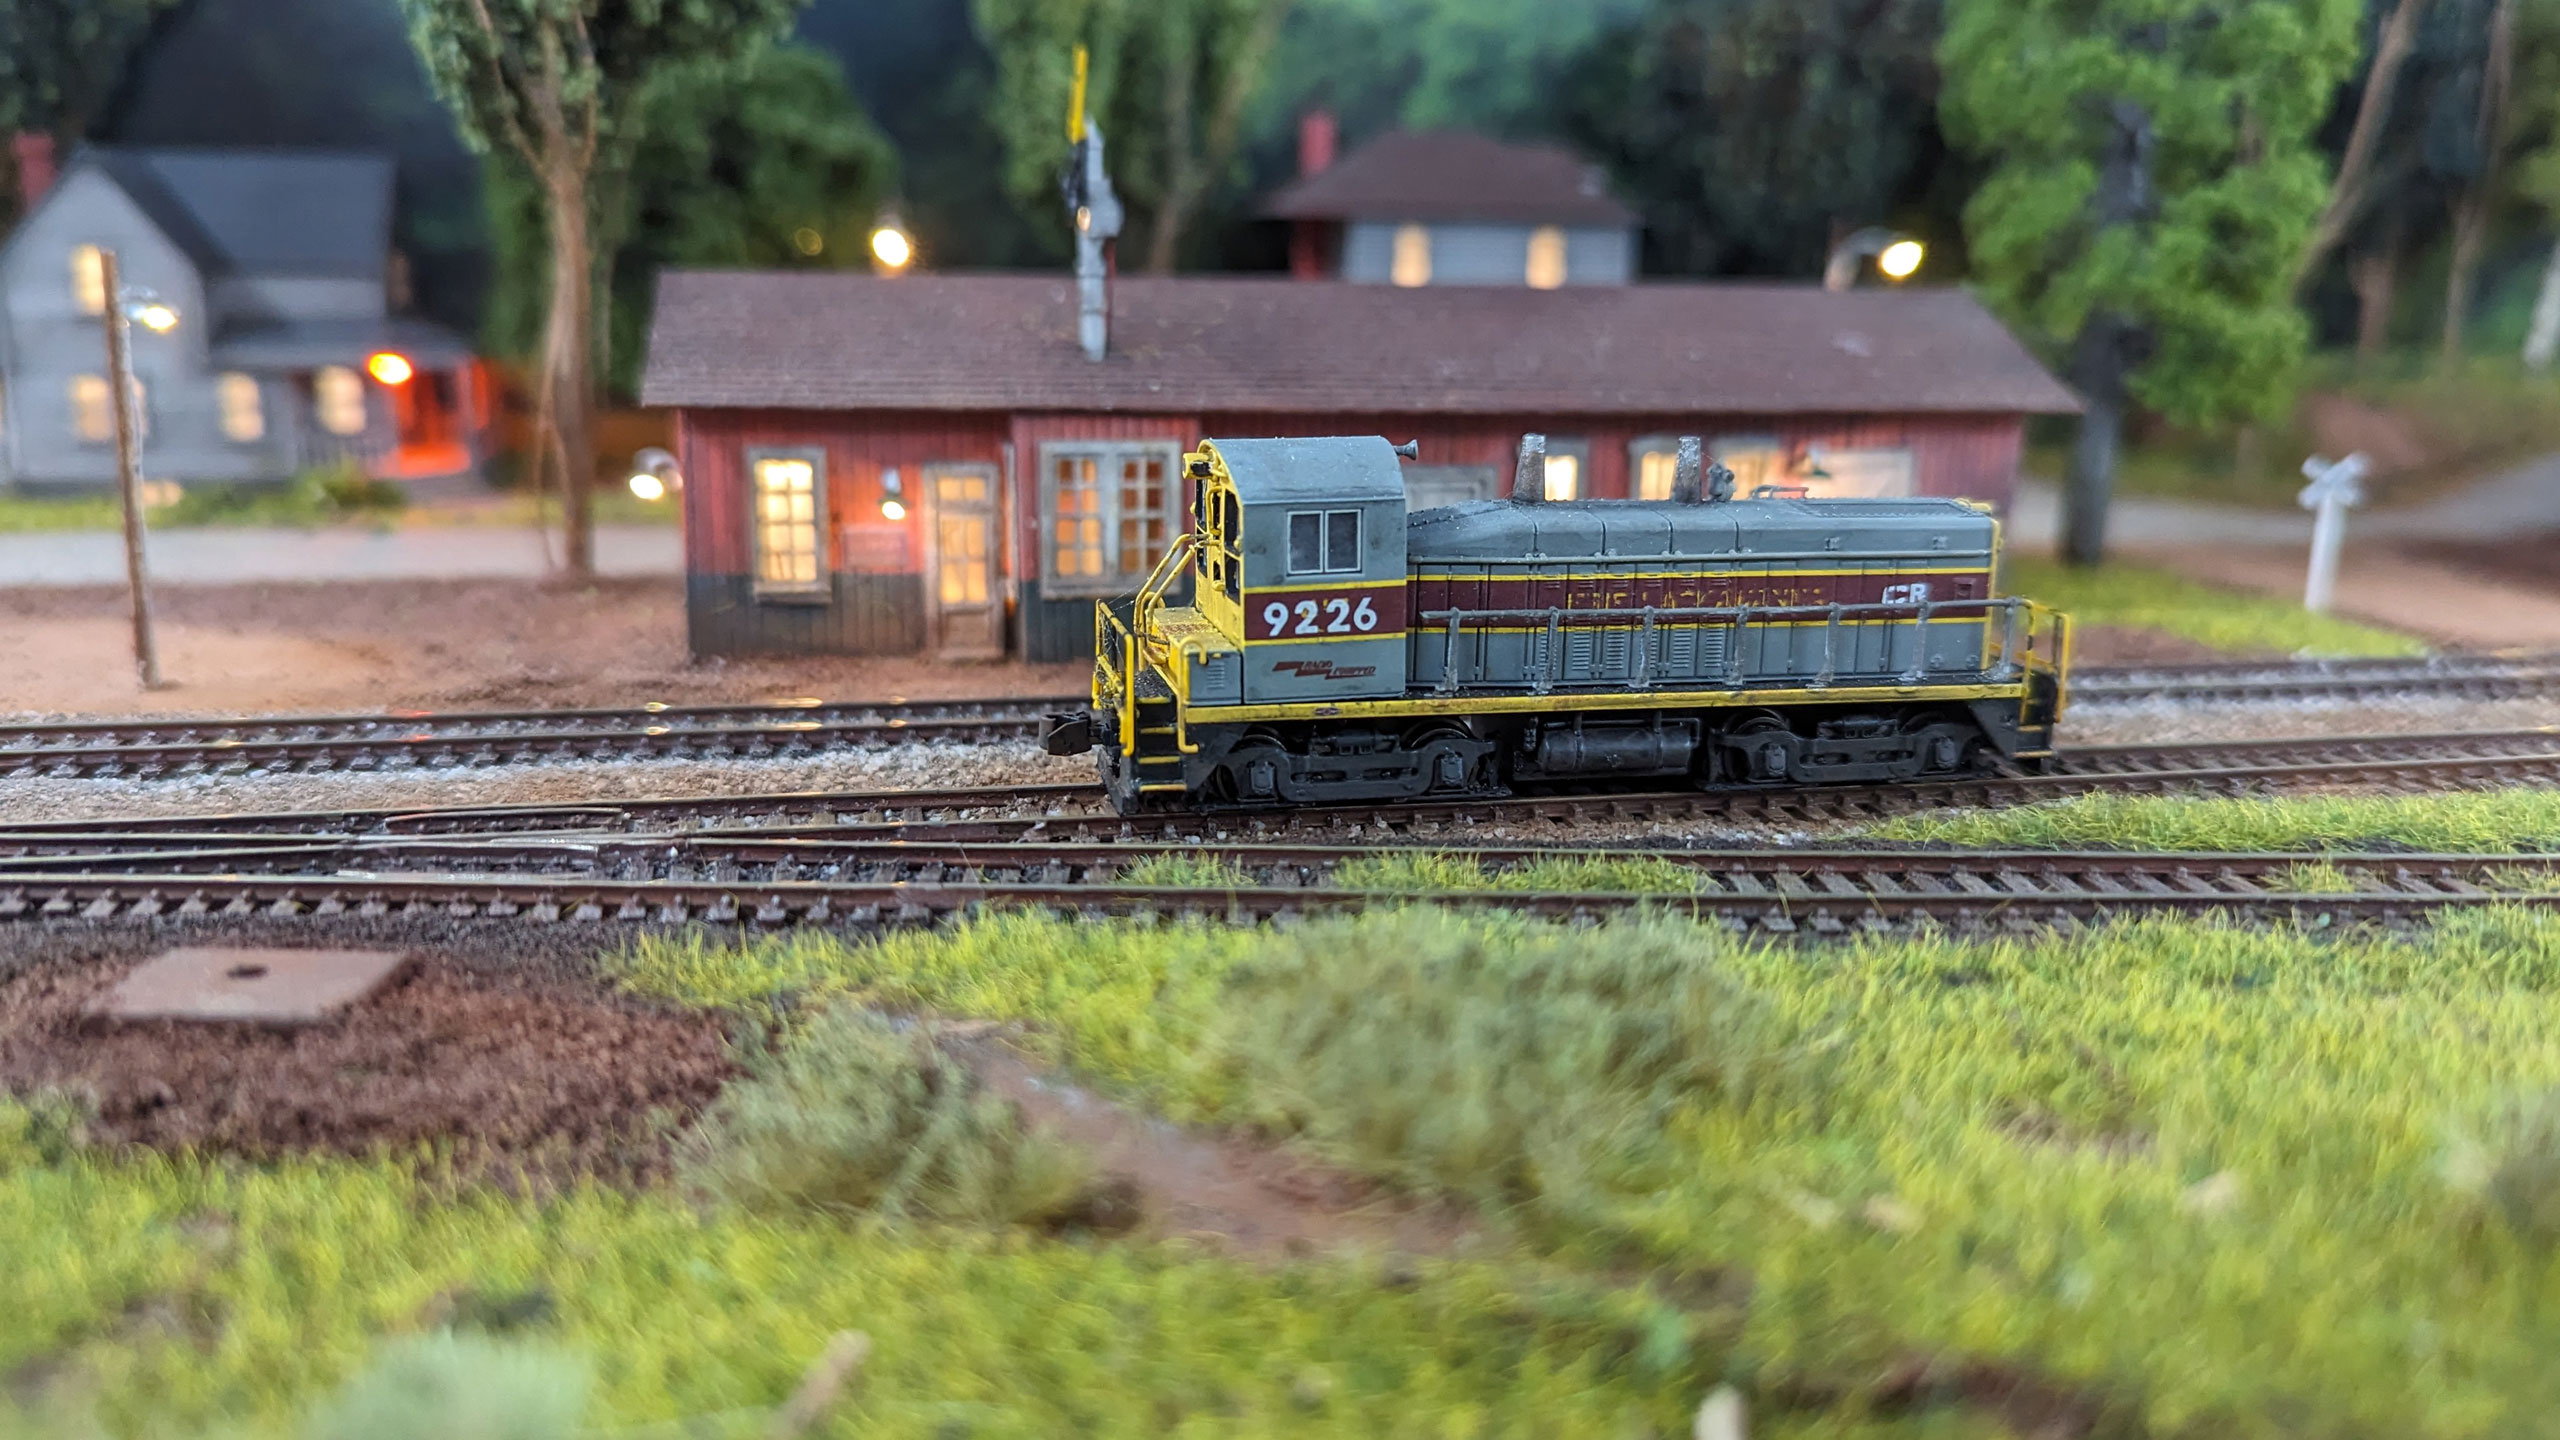
With the demonstrator in hand, I have successfully used this stuff with both Micro-Engineering Code 70 and Peco Code 55 track in a TTRAK layout with zero issues. I’m happy to report it works great, and even if thing may look a bit rough in some photos (note that the gap visible in the bottom photos was NOT due to the module or track), operationally, everything worked fine.


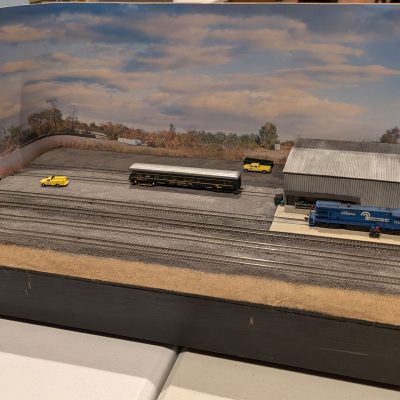
I’ve only used this stuff on two modules so far: the demo module shown above and my “Pavonia Diesel Shop” module. The latter has allowed me to do something I’ve been wanting to for years though: build a T-TRAK module that also works as a realistic looking photo diorama.