There are some important precautions that must be taken when installing DCC decoders in Micro-Trains’s SW1500s.
The MTL SW1500s were welcome additions to the N Scale world. Despite their too-wide hoods, they fill a huge gap in available diesels. Even better: despite using the DCC un-friendly Life-Like designed SW1200 mechanisms, they’ve been upgraded to be able to accept a “plug and play” decoder.
There’s only one small problem: as they arrive, they require lots of additional insulation to prevent short circuits that will blow up decoders.
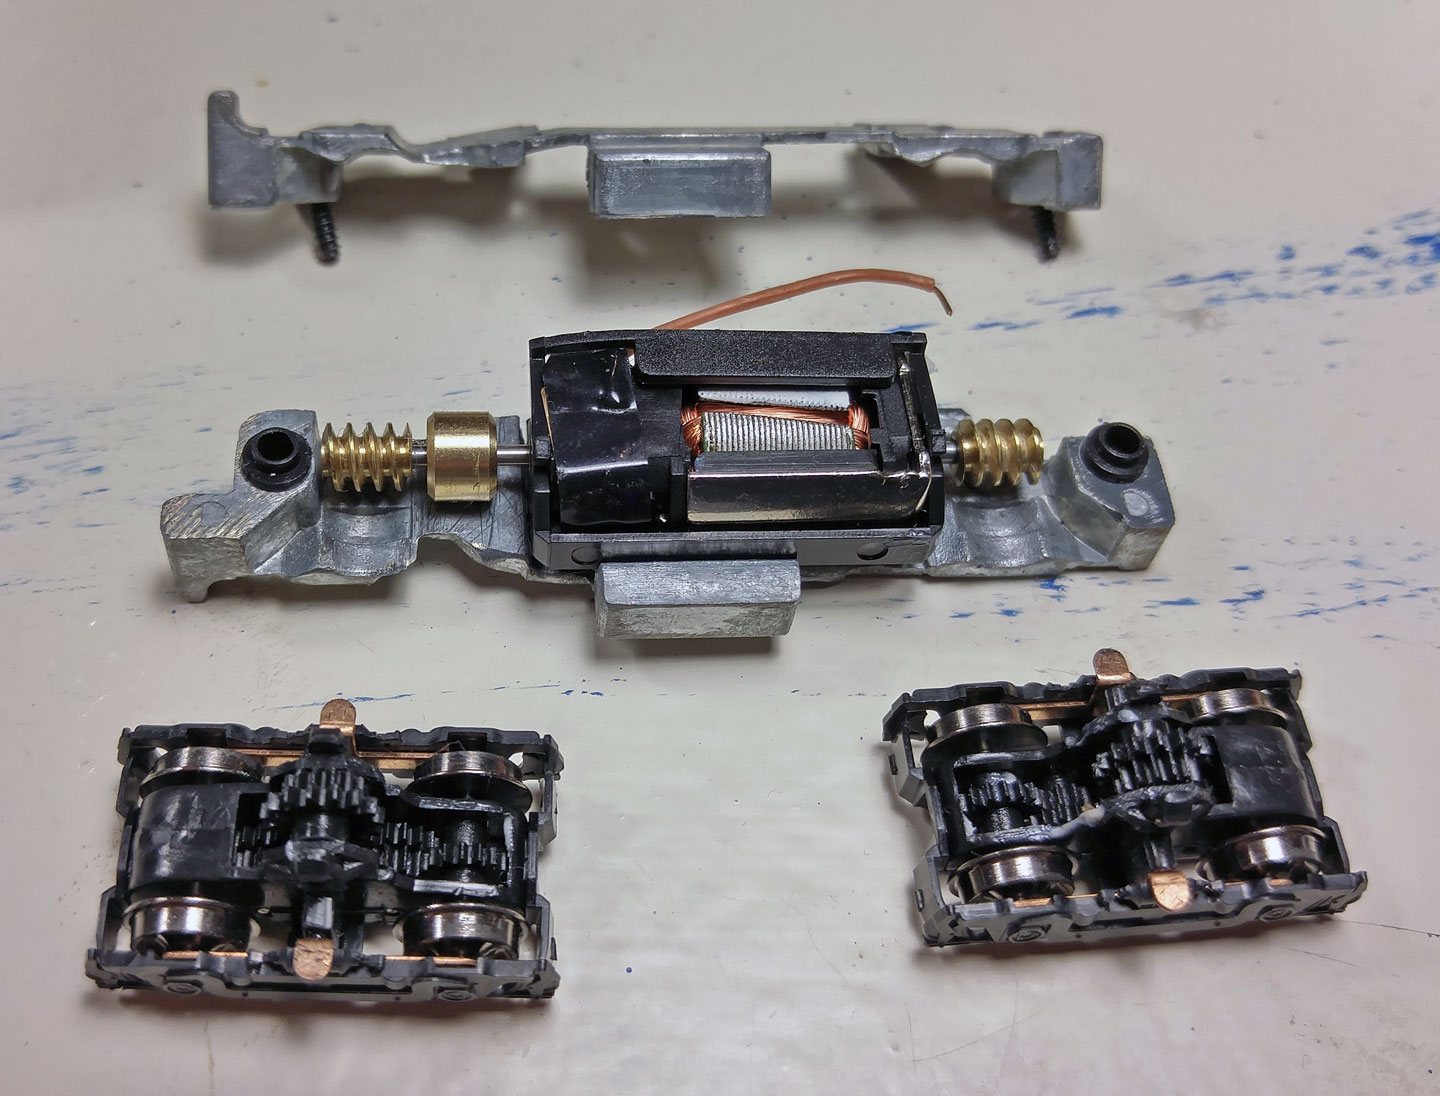
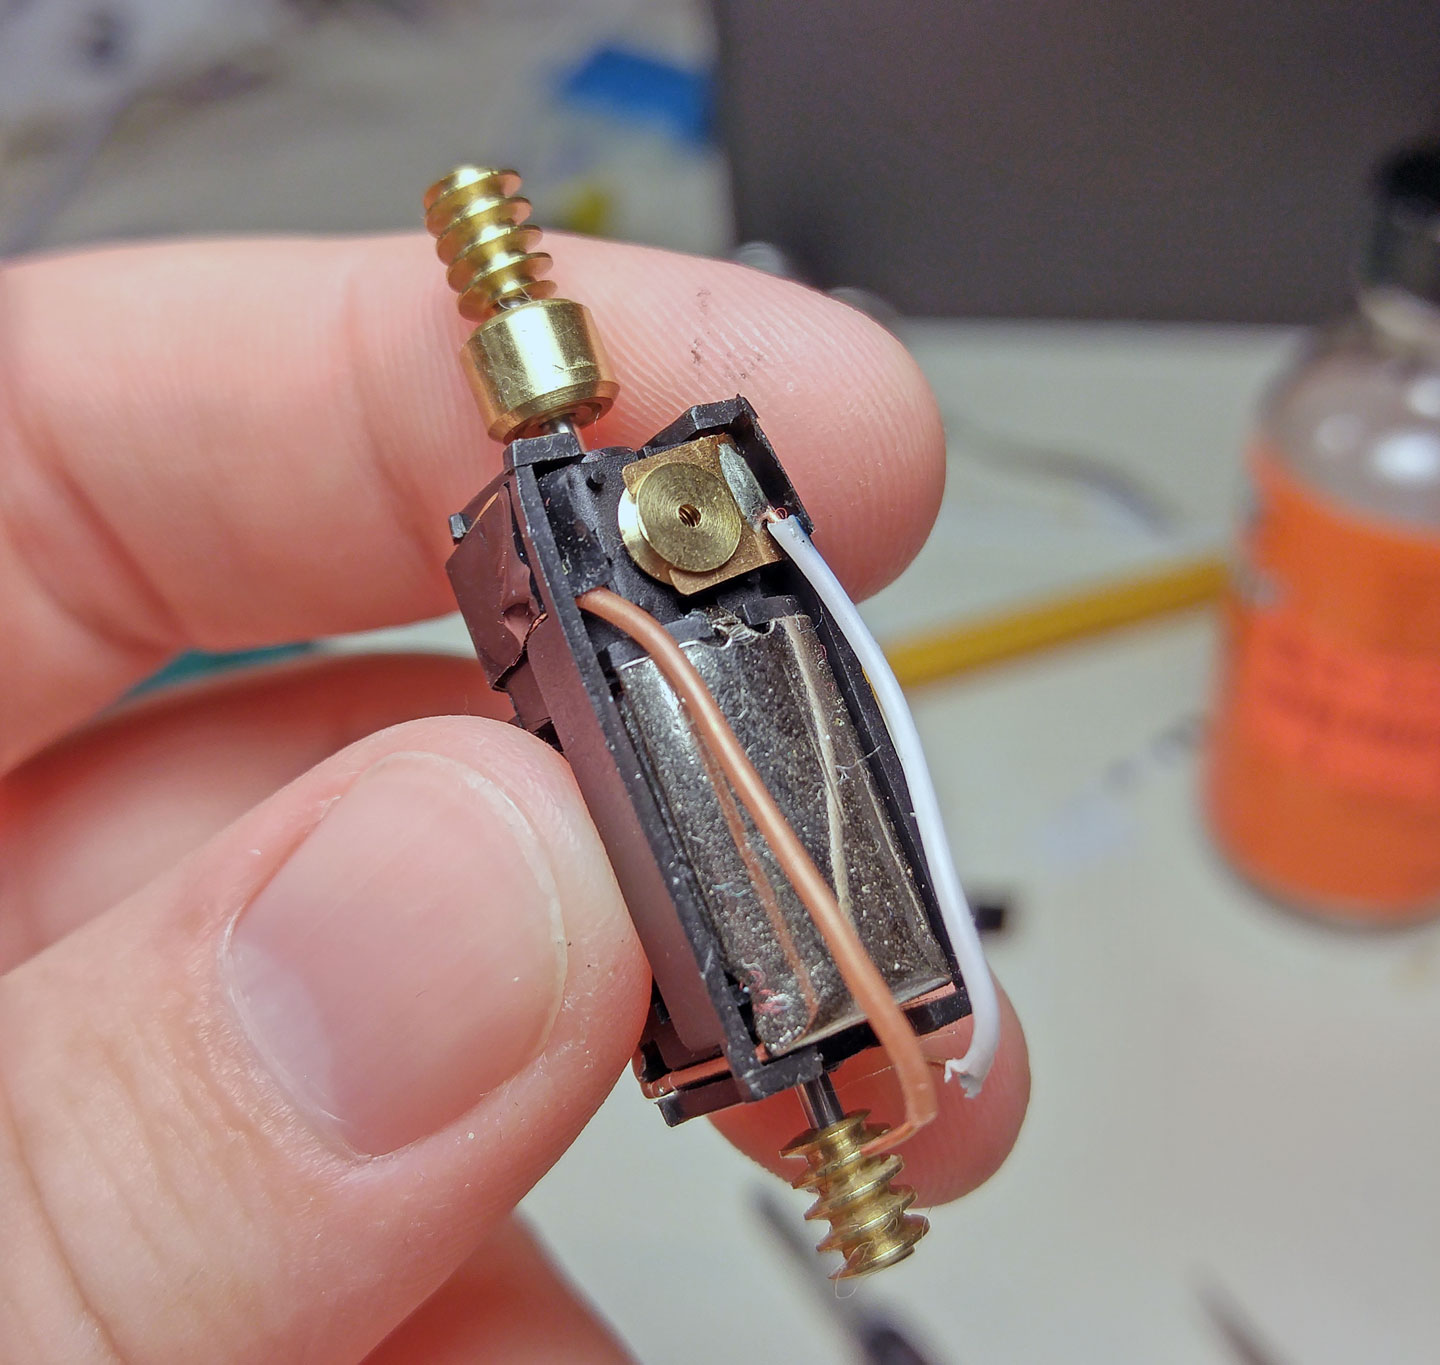
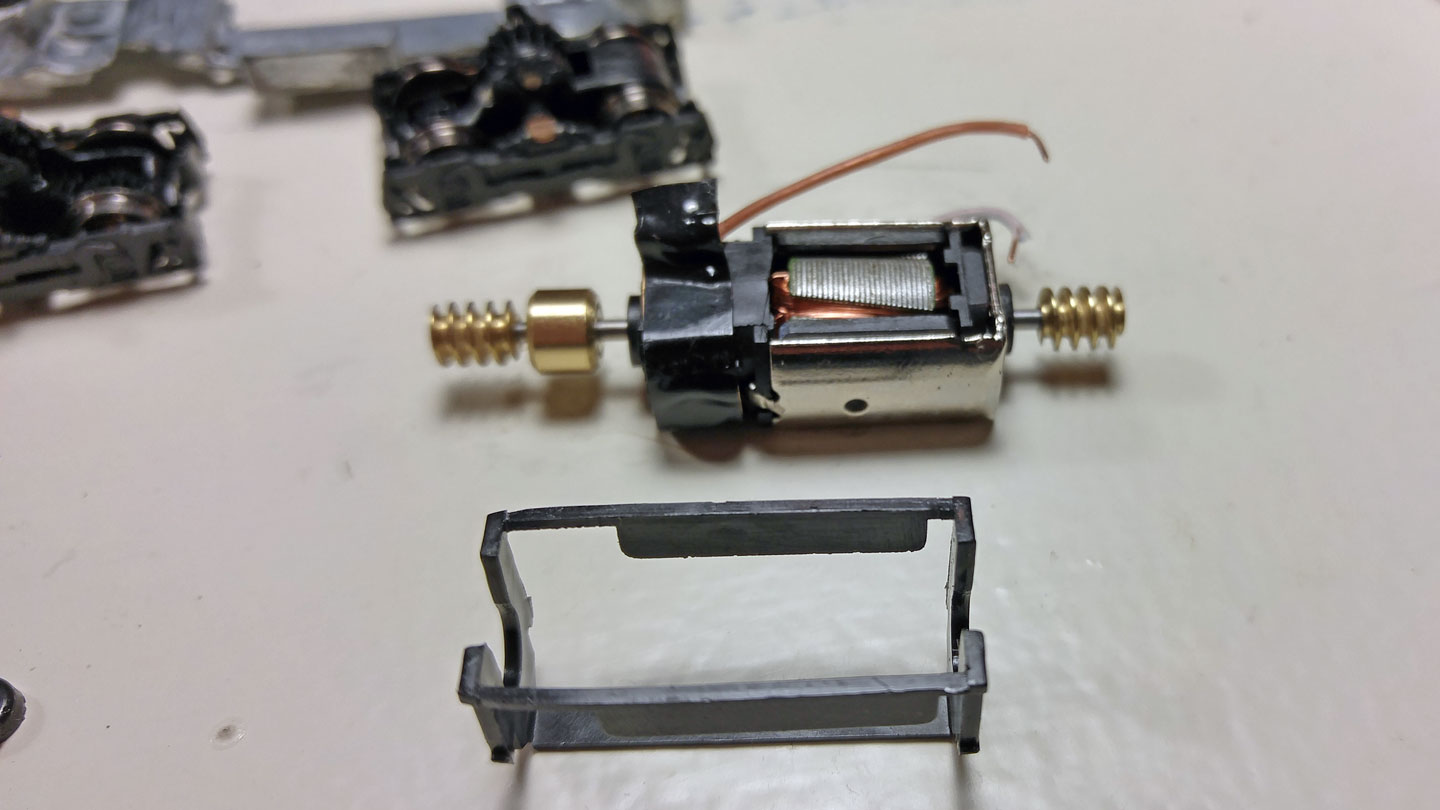
The mechanism with the non-DCC light board removed.The mechanism disassembled.The removed motor in its cradle. Something about the way the wires are arranged can cause a short.Remove the motor from the cradle, and remove the ineffectual seeming electrical tape insulation.
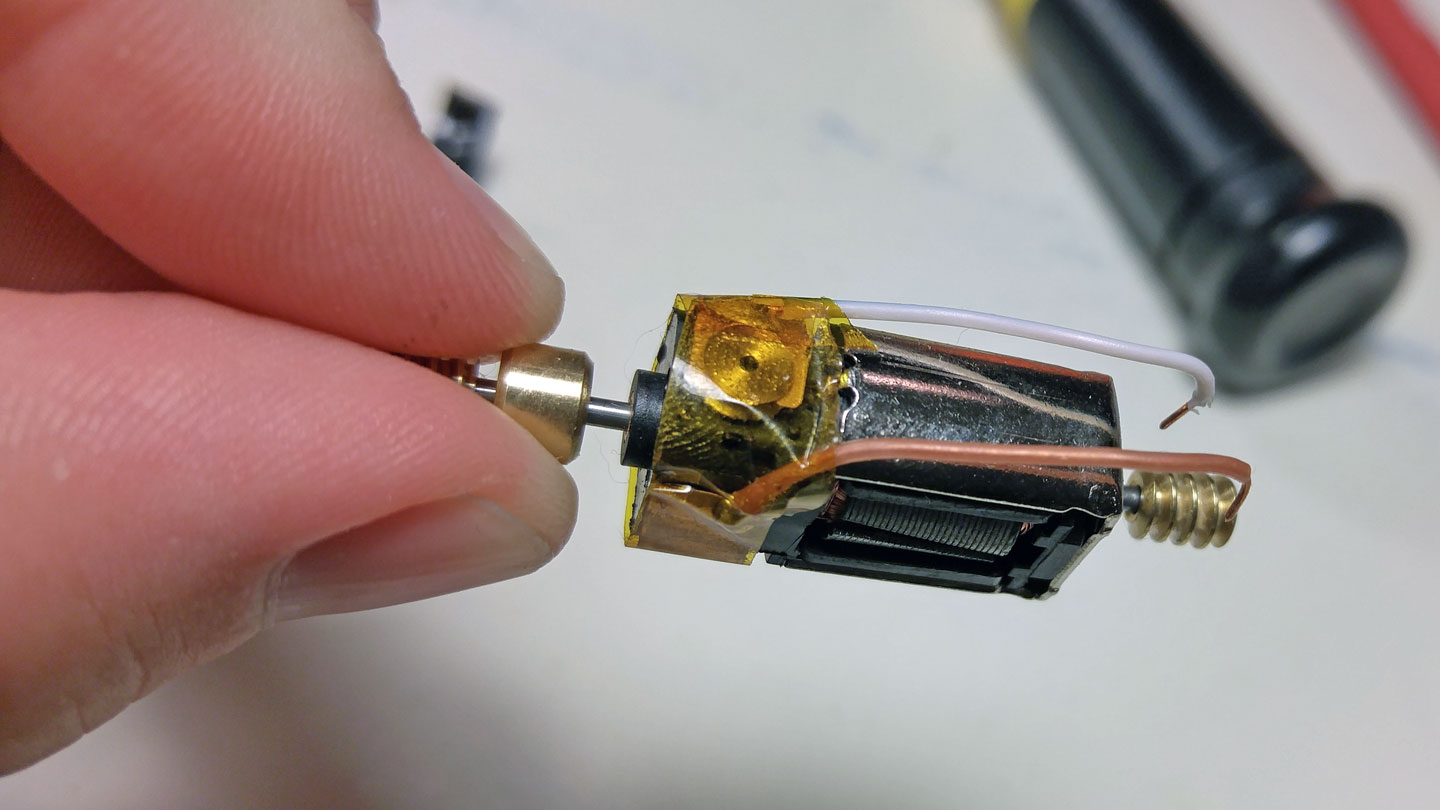
Wrap everything electrical in Kapton tape
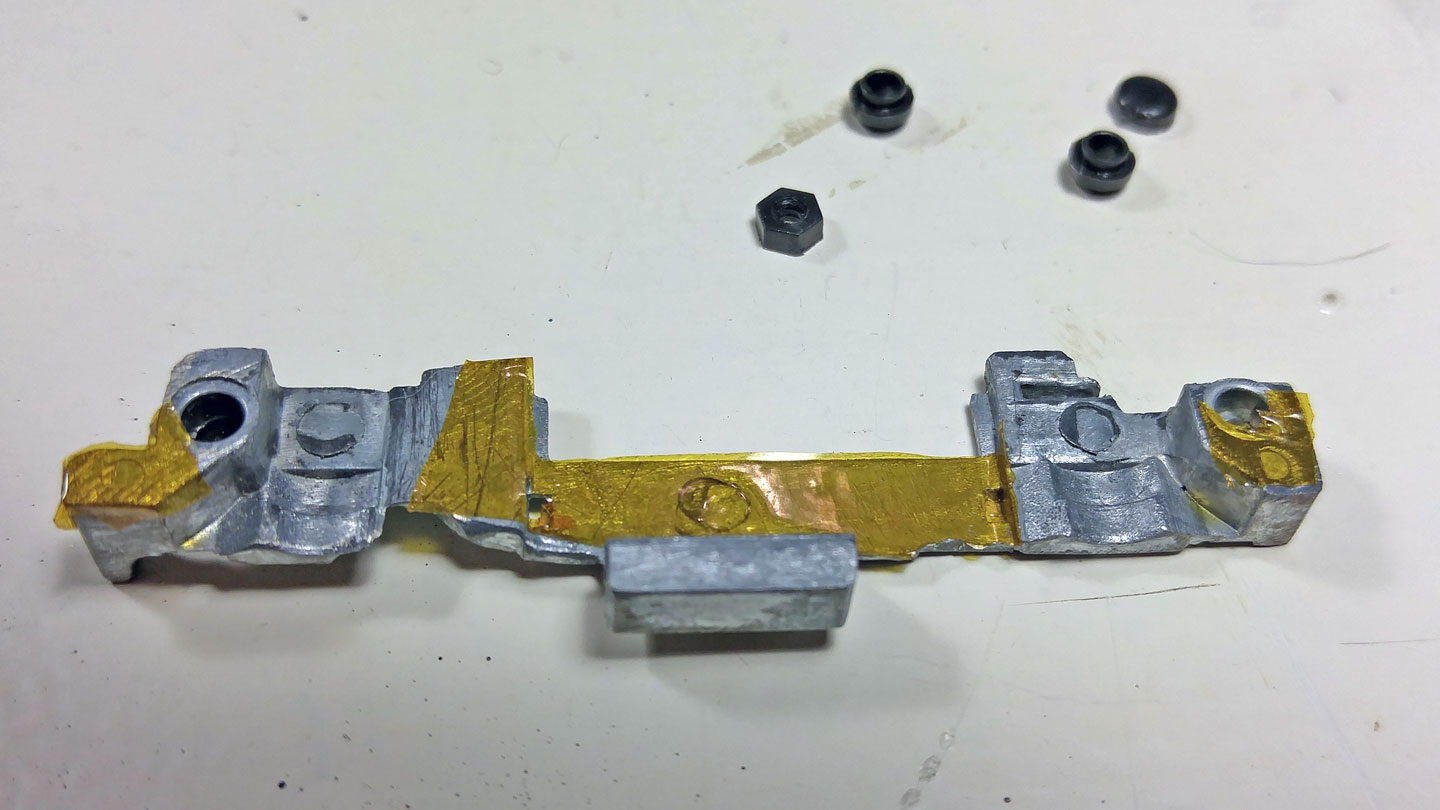
Next turn your attention to the frame halves. Everywhere where things might touch should be insulated. This may be over-kill, but better safe than sorry.
Don’t forget the other side too.Reassemble everything once insulated, and add another piece of tape under where the decoder sits. This is possibly the most important piece in the entire conversion.The solder pads on my decoders were too thick, so I had to give them a gentle, but firm, squeeze in some pliers to make them thin enough to fit into the slots in the mechanism.
Finally, slide the decoder in and push the motor leads into the connectors.
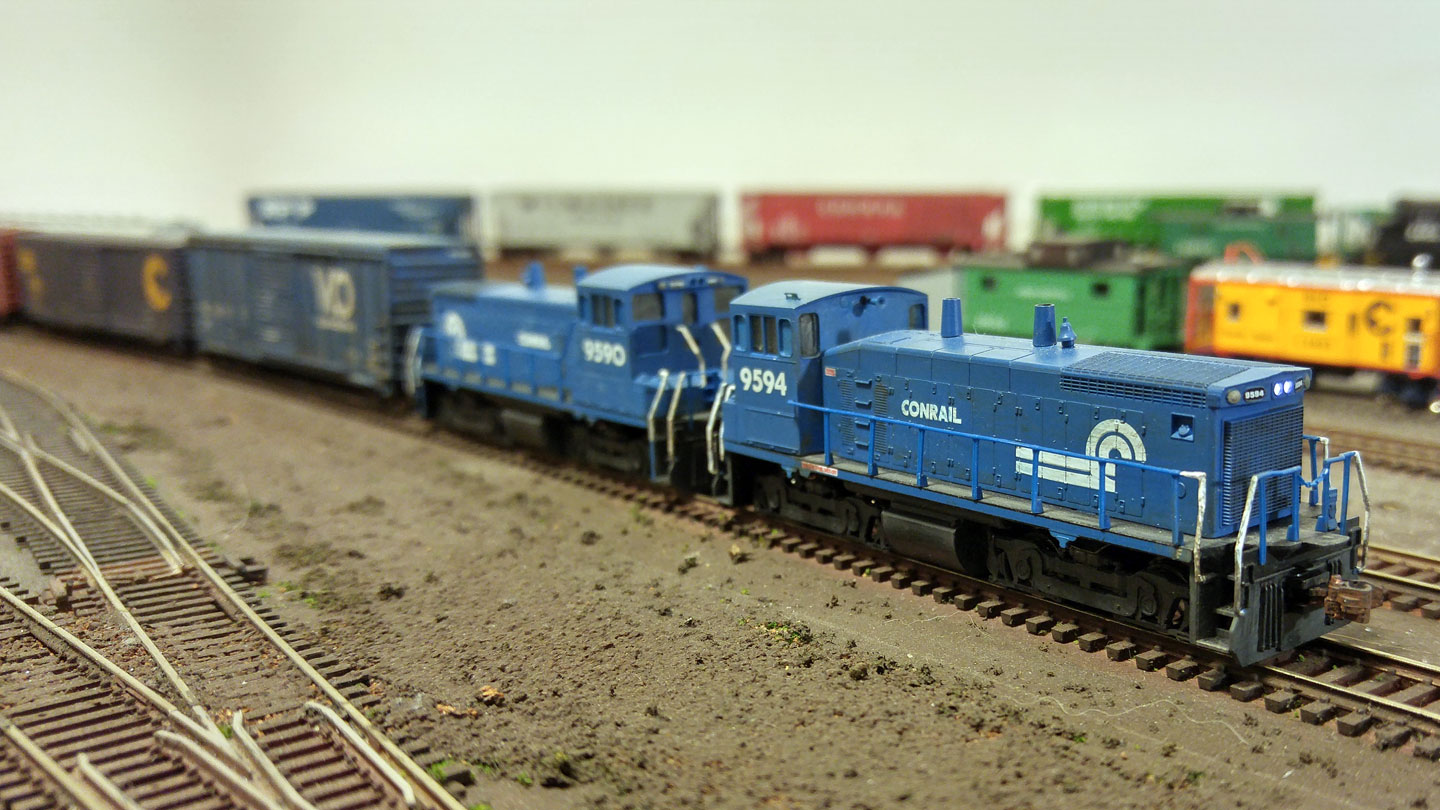
And finally, the finished products.
One thought on “DCC Installation in Micro-Trains SW1500s”


One thought on “DCC Installation in Micro-Trains SW1500s”
Comments are closed.